



A ripped patio screen is more than just ugly—it’s a welcome mat for every bug, bit of dust, and allergen in the neighborhood. Learning to spot the early signs of trouble, like a sagging screen or a bent frame, is the key. It helps you decide if this is a quick weekend screen repair patio door project or if it’s time to call in a pro.
Signs Your Patio Screen Door Needs Repair
Before breaking out the tools, you need to play detective and figure out exactly what’s wrong with your screen door. Sure, a hole from your dog’s claws or an errant frisbee is hard to miss. But often, the real damage is more subtle, especially here in places like Phoenix and Scottsdale, where the sun is absolutely brutal on outdoor materials.
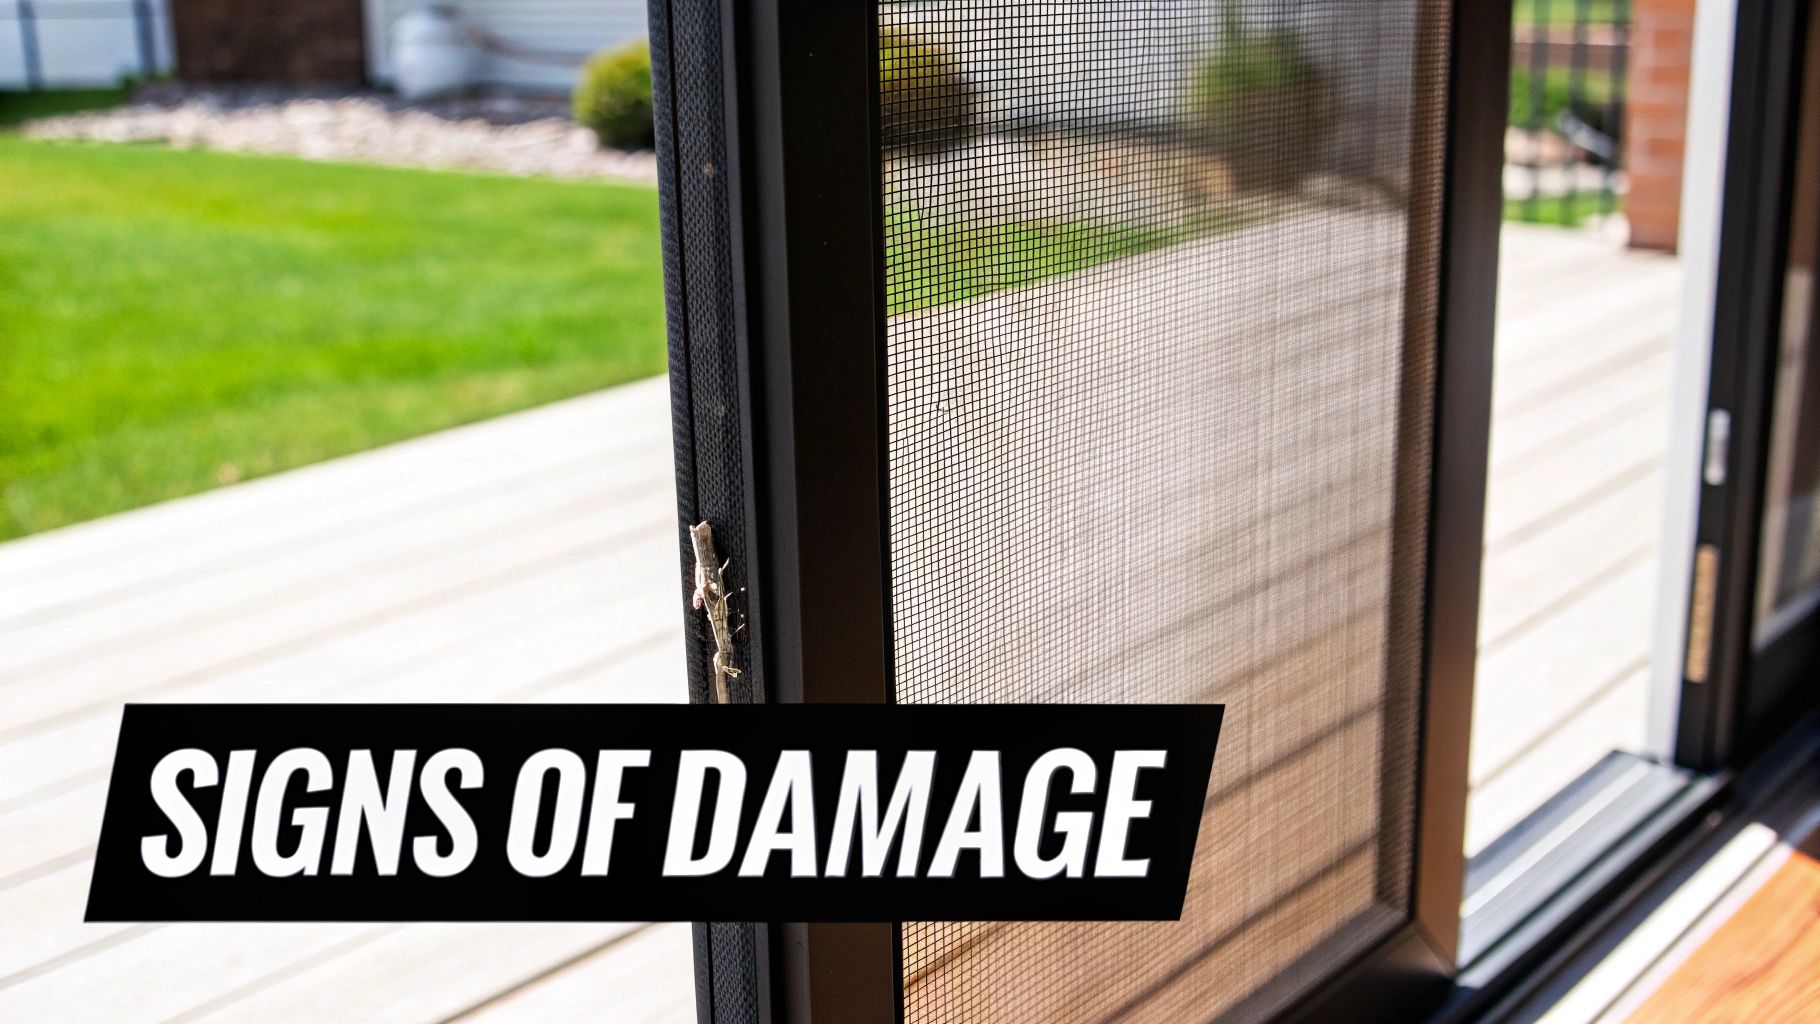
Beyond the Obvious Tears
A big tear gets all the attention, but other problems can make your screen just as useless. Get up close and really look at the mesh. Is it loose or starting to sag in the middle? This is a classic sign of age and stretching from temperature changes, and it creates tiny gaps along the edges that insects love to exploit.
Another tell-tale sign is brittleness. After a few years of baking in the Arizona sun, screen material can get stiff and fragile. If you gently poke it and it feels crunchy or cracks under the slightest pressure, its time is up. That screen has lost all its flexibility and won't stand up to much more.
Assessing Frame and Functionality
Don't forget to check the frame itself—it’s not always about the mesh. A bent or warped frame can make the door a nightmare to open and close, and worse, it won't create a proper seal. Gently run your hand along the top, bottom, and sides. Do you feel any dents, bows, or warping? Frame damage often signals a bigger issue that a simple re-meshing won't fix. We dive deeper into these issues in our guide on sliding patio door maintenance.
It's a common problem, and the demand for fixes is surging. The global market for Door and Window Repair is set to jump from USD 0.73 billion in 2026 to an estimated USD 1.32 billion by 2035. North America, with its countless residential properties, is leading this trend. Constant exposure to sun, dust, and the occasional bump from kids or pets means these doors are always in need of a little TLC. You can see the full breakdown in the latest industry research.
Choosing the Right Tools and Materials
Walking into a hardware store for a screen repair project can feel a little overwhelming. There are aisles of gadgets and materials, but you really only need a handful of specific items to do the job right. Getting the right gear from the start is the difference between a frustrating afternoon and a finished screen you can be proud of.
The key is to make a solid checklist before you go. Nothing kills a project's momentum like having to run back to the store for one tiny thing you forgot. Let's walk through exactly what you'll need.
Your Core Toolkit
These are the absolute must-haves. Trying to improvise with other tools will almost certainly lead to torn mesh and a whole lot of frustration.
- Spline Roller: This little tool is your MVP. It has a wheel on each end: one with a concave (curved in) edge and one with a convex (curved out) edge. The convex side gently pushes the screen into the channel first, and the concave side firmly seats the spline on top. Seriously, don't try using a screwdriver—you'll just rip the screen.
- Sharp Utility Knife: A fresh, razor-sharp blade is non-negotiable for trimming the excess screen. If your blade is dull, it won't cut cleanly. Instead, it’ll snag and pull the fibers, leaving you with a messy, frayed edge.
- Flathead Screwdriver: You'll want a small one to help dig out the old, brittle spline that's stuck in the frame's groove.
For a deeper dive into what makes a good tool, we’ve put together a full guide on the essential window screen repair tools we use every day.
Selecting the Right Screen Mesh
The material you pick for your screen will make a big difference in how long it lasts, how clear your view is, and even how cool your home stays.
Standard fiberglass is what you'll find on most doors. It’s affordable, flexible, and perfect for most situations. But if you’ve got specific challenges, it’s worth considering an upgrade.
If you have pets or young kids, pet-resistant screen is a game-changer. Made from a tough, vinyl-coated polyester, it’s about seven times stronger than standard fiberglass. It can stand up to claws, paws, and the occasional pushed toy without tearing.
Living in a hot, sunny climate? A solar screen is an excellent choice. This specialized mesh is designed to block the sun's harsh UV rays, which keeps your home noticeably cooler and can even lower your energy bills. Depending on the type, they can block anywhere from 65% to 90% of solar heat.
Pro Tip: Always buy a roll of screen mesh that’s a few inches wider and longer than the actual frame. This gives you extra material to grip while you're working and ensures you have enough slack to get the tension just right. Trimming the excess is the easy part.
Don't Forget the Spline
Finally, you’ll need spline. That’s the rubbery cord that locks the screen mesh into the frame’s channel. It comes in different diameters, and getting the right size is absolutely critical.
If the spline is too thin, the screen will simply pop out of the frame. If it’s too thick, you’ll fight and sweat trying to force it in, likely damaging the frame or screen in the process.
The easiest trick in the book? Snip off a small piece of the old spline and take it with you to the hardware store. Matching it up directly is a foolproof way to make sure you walk out with the perfect size. Taking a few minutes to get the materials right ensures your repair will hold up for years.
Your Step-by-Step Guide to Replacing a Patio Door Screen
Alright, let's roll up our sleeves and get this done. Replacing a torn screen isn't just about looks; it's about getting fresh air without letting every bug in the neighborhood join you for dinner. We're going to walk through the entire process of re-meshing your door, breaking it down into simple, manageable stages.
First things first, you need to get the door off its track. Find a nice, flat work surface—a clean driveway, the patio, or a garage floor is perfect. Most sliding screen doors have adjustable rollers at the bottom. You'll likely see a screw on the face of the door near the bottom corner; turn that screw (often counter-clockwise) to retract the wheels. This should give you enough play to lift the door up and swing the bottom out of its track.
Laying the door flat makes the whole job infinitely easier. Trust me on this.
Removing the Old Screen and Spline
With the door on the ground, your first real task is to get rid of the old, beat-up screen. The key is the spline, that rubbery cord tucked into the channel around the frame's edge. If it's been baking in the sun for years, it can get brittle and stubborn.
Grab a small flathead screwdriver or an awl and carefully dig into a corner to pry up an end of the spline. Once you get a little piece to grab, you can usually pull the rest out in one long strip. With the spline gone, the old mesh will just lift right out.
Before you go any further, take a minute to clean out that channel. A stiff brush, a vacuum with a crevice tool, or even a can of compressed air works wonders. You need a clean groove for the new spline to seat properly.
This diagram gives you a quick visual of the three key players you're about to work with.
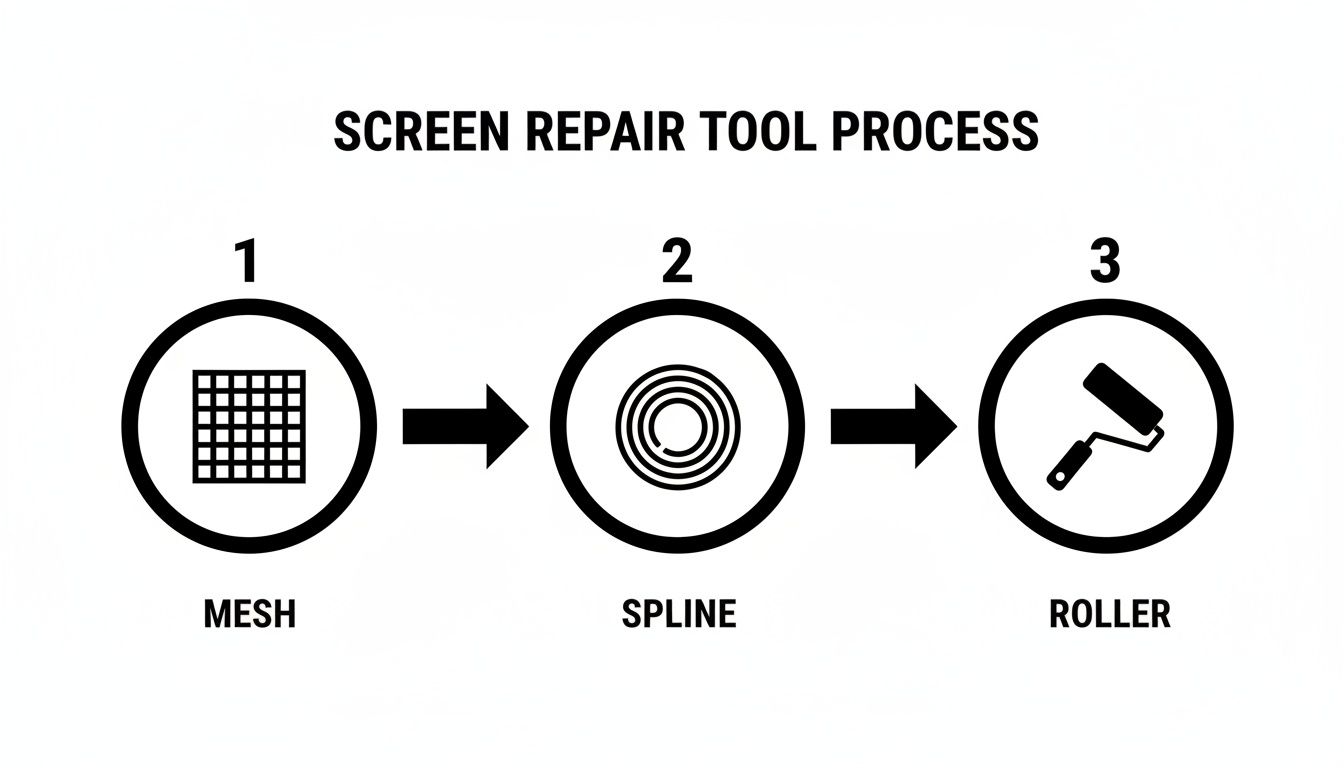
Seeing how the mesh, spline, and roller tool work in harmony is the "aha!" moment for most first-timers.
Installing the New Mesh and Spline
This is the main event. Unroll your new screen mesh over the frame, making sure you have at least a few inches of overlap on all four sides. That extra material is your handle—it helps you keep things straight and apply tension later.
Pick one of the shorter sides to start. Take your spline roller and use the convex wheel (the rounded one) to gently press the screen down into the channel. This pre-forms a little groove and makes the next part much easier.
Now, grab your new spline. Starting at a corner, use the concave wheel (the one with the groove) to press the spline firmly down into the channel, right on top of the mesh you just creased. Apply slow, steady pressure and work your way down the entire side. The spline should sink in snugly, locking the screen into place.
My Two Cents: Don't try to pull the screen drum-tight on this first side. Just let it lay flat and smooth. The real tension comes when you do the opposite side.
Once side one is secure, move directly to the parallel side. This is where the magic happens. Gently pull the screen taut across the frame—you're looking for "firm," not "I'm-bending-the-frame" tight. Just enough to remove the slack. Now, repeat the exact same process: use the convex wheel to crease the mesh, then the concave wheel to roll the spline in.
Finish up by doing the same for the two remaining sides, and you're in the home stretch.
Final Trimming and Finishing Touches
Take a look at your work. The screen should be tight and free of any wrinkles or sags. The last step is trimming off the excess mesh to get that clean, professional finish.
Using a fresh, sharp utility knife, carefully cut away the extra screen. The trick is to run the blade along the outside edge of the spline, angling it slightly away from your new screen. A steady hand here is what separates a DIY job from a "looks like a pro did it" job. Once it's all trimmed, your screen door is ready to be popped back into its tracks.
Doing this yourself is a huge money-saver. Materials will typically only run you $20 to $50. Compare that to the professional repair market, which is booming. The Door and Window Repair Service market is set to grow from USD 30.26 billion in 2026 to USD 38.34 billion by 2030. Locally in places like Mesa or Tempe, a simple pro re-screening might average $65, while a full replacement door can easily cost $300 or more. Suddenly, an hour of your time looks pretty valuable. You can dive deeper into the numbers with the full market research report.
Troubleshooting Common DIY Repair Mistakes
Even the most carefully planned DIY screen repair can hit a few bumps. It’s a common story: you finish the project, stand back to admire your work, and something just isn’t right. Don’t get discouraged—most of these hiccups are completely fixable and are part of the learning process. Let's walk through the most frequent issues and how to solve them like a pro.
One of the trickiest parts of the job is getting the screen tension just right. You pop the door back in its track only to see a saggy, wavy mesh. This almost always means the screen wasn't pulled taut enough as you installed the spline. But be careful—pulling it too tight is also a problem. Over-tensioning the mesh can actually bend the frame inward, creating a bow that makes the door stick or refuse to slide smoothly.
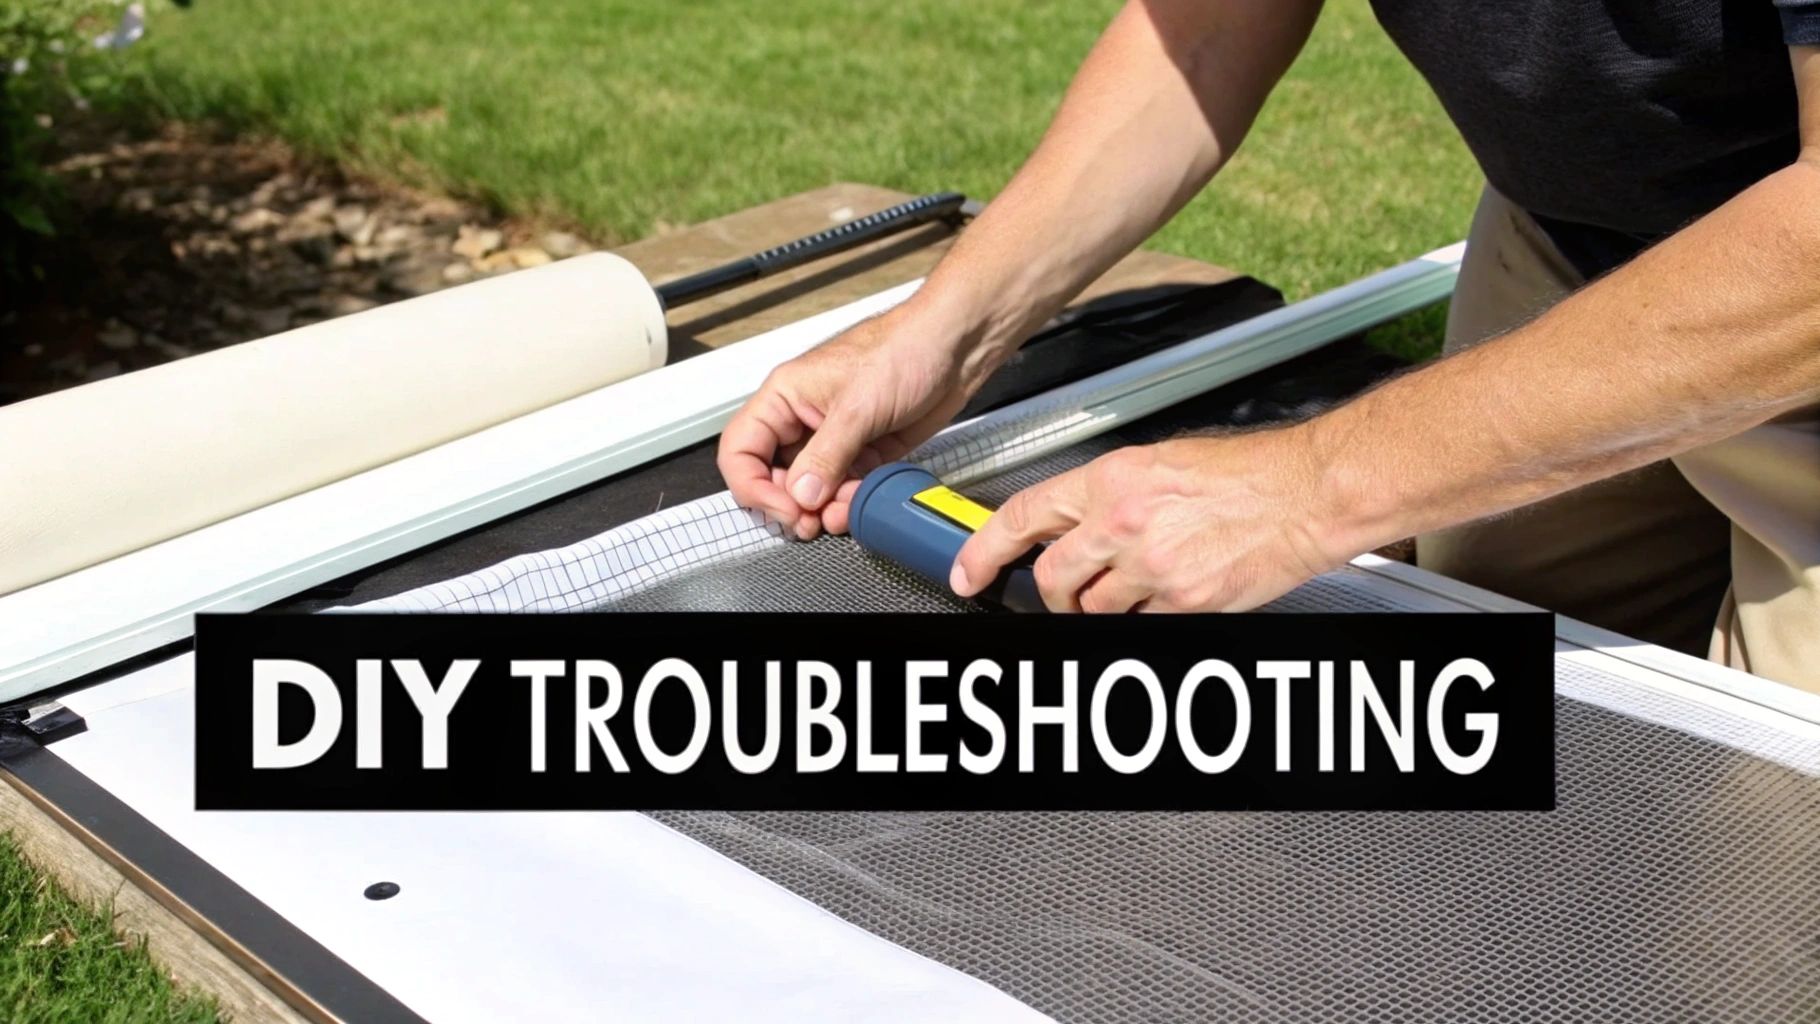
Fixing Tension and Spline Problems
If the screen is too loose, the good news is you probably don't have to start all over. A quick adjustment can often solve it. Try removing the spline from just one of the long sides of the frame. From there, gently but firmly pull the mesh to remove the slack, and then carefully re-roll the spline back into its groove. It’s amazing what a difference this small tweak can make.
But what if the spline itself is fighting you every step of the way? If it keeps popping out of the channel, there are usually two culprits:
- Wrong Size: This is the problem 90% of the time. A spline that's too thin won't create enough friction to hold the screen securely. One that's too thick will be a nightmare to press in and will likely pop out under pressure.
- Stretched Spline: It’s a natural instinct to pull the spline as you feed it into the channel, but don't do it! Stretching thins it out temporarily. Later, it will shrink back to its original size, leaving gaps in the corners and making it easy for it to pop loose. Just guide it in without tension.
For a great visual breakdown of this process, check out our guide on how to rescreen a sliding screen door.
Handling Accidental Cuts and Tears
It happens to the best of us. Your utility knife slips while trimming the excess mesh, and suddenly there's a fresh cut right next to the frame. Your heart sinks, but don't panic! A tiny nick doesn't mean you have to scrap the whole thing. A small dab of clear superglue or even nail polish can seal the fibers and stop the damage from getting worse.
For a more significant slip-up, a screen patch kit is your best friend. These are basically adhesive mesh stickers that cover the mistake cleanly. Just make sure the screen is clean and dry before you apply the patch for a solid, lasting bond. It's a quick fix that saves you from having to re-mesh the entire door.
The core principles here—careful work, precise measurements, and knowing how to fix small errors—apply to many home improvement jobs. For instance, this complete DIY repair guide for another tricky project offers a similar mindset for troubleshooting and making things right.
When to Skip the DIY and Call a Pro
Let's be honest, every great DIYer knows their limits. While tackling a simple tear in your screen mesh is a satisfying weekend project, some problems are best left to the professionals. Pushing ahead when you're in over your head is a surefire way to turn a small issue into a costly replacement.
Knowing when to put down the tools and pick up the phone is the smartest move you can make. If the problem with your patio door goes beyond the screen fabric itself, it’s a clear sign you need an expert eye.
Red Flags That Scream "Call a Professional"
Some issues seem straightforward at first but are actually hiding bigger structural problems. Trying to fix these without the right experience can do more harm than good.
-
Bent or Warped Frames: A frame that's been bent out of shape from an impact or has warped over the years isn't a simple fix. You can't just stretch new mesh over a crooked frame and expect it to work. It won’t seal right, it will look terrible, and it will never slide smoothly again without a professional straightening or replacing it.
-
Jammed Rollers or Damaged Tracks: Is your door a nightmare to open and close? The problem probably isn't the screen—it's the rollers or the track they run on. Replacing these parts can be surprisingly complex, often requiring special tools and a knack for precise alignment to get the door gliding like new.
-
Tough-to-Handle Specialty Screens: If you’re upgrading to a heavy-duty pet screen or a rigid solar screen, you're not dealing with standard fiberglass anymore. These materials are much stiffer and require a lot more tension and specific techniques to install without creating wrinkles or, even worse, bowing the frame.
A professional touch doesn't just fix the immediate problem; it delivers a solution that lasts. When you're dealing with bigger issues, understanding the full scope of general property maintenance and repairs can help you decide on the best course of action.
The Real Value of a Professional Screen Service
When you hire a pro, you're not just paying for a quick fix—you're investing in experience, proper tools, and peace of mind. The U.S. market for windows and patio doors is massive, valued at USD 8.51 billion in 2024, and sliding doors are a huge piece of that pie.
Think about it this way: a DIY re-meshing might set you back around $65. But if that project goes south, you could be looking at a $300 bill for a complete door replacement. A professional service is your insurance against that costly mistake, guaranteeing the job is done right the first time. You can read more about these market trends yourself.
At Sparkle Tech Screen Service, we’ve seen it all. We bring specialized equipment and years of hands-on experience to every single job. We can spot the root cause of a problem in minutes, make precise repairs, and we stand by our work.
Don't let a frustrating screen door ruin your weekend. If you're looking at a repair that seems a little too tough, let us take care of it for you.
For quick quotes and same-week service, Text or Call Sparkle Tech today:
- Local: 623-233-0404
- Toll-Free: 800-370-3998
Your Patio Screen Repair Questions Answered
Even with the best instructions, you probably still have a few questions rolling around in your head. That's completely normal. Nailing these little details is what takes a DIY job from "good enough" to a professional-grade repair that'll hold up for years.
Let's dive into some of the most common things homeowners ask me about their patio door screens. Think of this as the final bit of know-how that can save you a ton of frustration later on.
How Long Should a Patio Screen Last?
That’s a great question, and the honest answer is: it depends. The two biggest factors are the screen material itself and the climate where you live. In a milder part of the country, a standard fiberglass screen can easily last 8-10 years, assuming the kids or the dog don't get to it first.
But out here in sunny Arizona, it's a different story. The relentless UV rays are brutal on screens, breaking down the material and making it brittle. In our climate, you might only get 4-5 years out of a standard screen before it starts cracking. This is exactly why so many of us opt for tougher materials like solar screens or pet-resistant mesh—it's just a smarter investment in the long run.
Can I Just Patch a Small Hole Instead of Replacing the Whole Screen?
You bet! For a tiny rip or a puncture smaller than a quarter, a patch is a quick and wallet-friendly fix. You can grab a simple screen patch kit from any local hardware store. Most of them are basically heavy-duty stickers; you just press the adhesive mesh firmly over the hole.
Here's a pro tip for making a patch stick: clean the area first. Any dust or grime around the hole will prevent the adhesive from getting a solid grip. A quick wipe with a clean, dry cloth makes all the difference.
Just remember that a patch will always be visible. If you're particular about the look of your screen door, or if the damage is more significant than a small tear, re-meshing the entire frame is the way to go for that clean, like-new appearance.
What Is the Best Way to Clean My Patio Screen Door?
Giving your screens a regular cleaning does more than just improve your view—it actually helps them last longer. All that built-up dust and pollen can trap moisture right against the mesh, which speeds up how fast it breaks down.
The best cleaning method is also the simplest and gentlest:
- First, pop the screen door out of its track and lay it down on a clean, flat spot, like your driveway.
- Next, give it a gentle rinse with a garden hose to knock off all the loose stuff.
- Then, mix a little mild dish soap with warm water in a bucket and use a soft-bristled brush to give both sides a light scrub.
- Rinse all the soap away thoroughly.
- Finally, let it air dry completely before you put it back. This is key to preventing any mildew from showing up.
Whatever you do, don't use a pressure washer. The high-powered stream is way too aggressive and will stretch, tear, or completely ruin the mesh in a heartbeat. A little gentle care is all it takes.
Feeling like this is more than you bargained for? If you'd rather skip the hassle and get a perfect result, the team at Sparkle Tech Screen Service is here to help. We offer same-week service and quick, no-nonsense quotes. Visit us at https://sparkletechscreenservice.com or just give us a call at 623-233-0404.


