


A screen patio isn't just a home improvement project; it's a lifestyle upgrade. It turns an ordinary outdoor area into a comfortable, bug-free living space where you can actually relax. Think of it as a valuable extension of your home—a new favorite spot for dining, entertaining, or just kicking back.
Is a Screen Patio Installation Worth the Investment?

Before you start measuring and pricing materials, let's talk about what a screen patio really brings to the table. This is about more than just keeping mosquitoes away. It's about fundamentally changing how you enjoy your property and boosting its appeal.
This addition acts as a perfect bridge between the comfort of your home and the beauty of the outdoors. You get all the fresh air and natural light without the usual annoyances, making your backyard more accessible and enjoyable no matter the time of day or season.
Expanding Your Livable Space
One of the best perks is how much functional area you gain. A well-built screen patio is basically a whole new room. Suddenly you have the perfect spot for:
- Morning Coffee: Start your day peacefully without swatting away flies.
- Outdoor Dining: Host dinners with family and friends in a pleasant, pest-free setting.
- A Safe Play Area: Give kids and pets a secure, enclosed space to play outdoors.
- Evening Relaxation: Unwind with a good book, surrounded by the sounds of nature instead of buzzing insects.
By enclosing an existing patio, you instantly boost your home's square footage for living and entertaining. It's one of the most cost-effective ways to add a versatile room that enhances daily life.
A Smart Financial Decision
Let's be clear: the demand for high-quality outdoor living spaces isn't a fad. It's a real shift in what homeowners are looking for. You can see this reflected in the market data for outdoor structures. Industry reports show the global market for outdoor screens was valued at USD 2.98 billion in 2024 and is projected to climb to USD 5.16 billion by 2033. You can explore more about this growing market and how it’s shaping home improvement trends.
This data really drives home the point that a screen patio is a wise investment. It adds tangible value that catches the eye of future buyers, making your property stand out. It’s a functional upgrade that pays you back, both in everyday enjoyment and in long-term property value.
DIY or Hire a Pro? Making the Right Call for Your Screened-In Patio
One of the first big questions you'll hit when planning your patio screen project is a classic one: "Should I do this myself or call in the experts?" It's a choice that really shapes the entire experience—from your budget and timeline to how much you'll enjoy your new outdoor space in the end. Both paths have their merits, but they also come with their own set of realities you need to consider.
The Allure and Challenge of a DIY Installation
There’s a certain pride that comes with building something with your own two hands, and a screened-in patio is no exception. Taking the DIY route can feel incredibly rewarding. Beyond the satisfaction, the most obvious benefit is the potential to save a good chunk of money by cutting out labor costs. You’re just paying for the materials.
But let's be realistic—this isn't a casual weekend project. A proper screen installation demands a high level of precision and patience. You have to be confident taking measurements where even a quarter-inch mistake can throw off the whole frame. It also means you need to be comfortable handling power tools and know how to get everything perfectly square and level.
What Going It Alone Really Looks Like
When you decide to DIY, you’re instantly wearing three hats: project manager, laborer, and quality control. The real headaches often pop up when you least expect them. For example, you might start building the frame only to realize your patio slab has a slight, unnoticeable slope. Suddenly, you're back to the drawing board, figuring out how to adjust the entire structure on the fly.
Another common pitfall is material waste. It’s easy for someone without experience to miscut a piece of aluminum or accidentally tear the screen mesh while trying to spline it into the frame. This is why most veterans of DIY will tell you to order 10-15% extra material just in case, which, of course, starts to chip away at those initial cost savings. And trust me, getting that perfectly taut, professional-looking screen without any wrinkles is a lot harder than it looks.
Choosing the DIY path is a great option if you have some solid construction experience under your belt, own a good set of tools, and have the time to really focus on the details. If you're ready for a bit of a learning curve, the result can be something you're incredibly proud of.
The Professional Advantage: Peace of Mind and a Flawless Finish
On the flip side, hiring a professional team takes all that pressure off your shoulders. When you bring in the experts, you're buying peace of mind. These crews come equipped with specialized tools and have honed their techniques over hundreds of jobs. They’ve seen it all—from tricky roofline angles to uneven foundations—and know exactly how to handle it.
The biggest benefit here is pure expertise. A professional crew can knock out a project in a couple of days that might take a DIYer several weekends to complete. The end result is a durable, flawless finish that’s built to last. Plus, reputable installers almost always offer a warranty on their workmanship, so if any problems pop up later, you're covered. To see how a smooth and efficient process works, you can explore the options for a professional screen installation from Sparkle Tech.
The main consideration, of course, is the higher upfront cost. You're paying for skill, labor, and convenience. However, when you tally up the potential costs of your own time, tool rentals, and wasted materials from a DIY attempt, that price gap might start to look a lot smaller.
To help you lay it all out, we've created a simple decision matrix to compare the two routes.
DIY vs Professional Installation Decision Matrix
This side-by-side comparison should help you weigh the key factors and decide which path is the best fit for your situation and comfort level.
| Factor | DIY Installation | Professional Installation |
|---|---|---|
| Cost | Lower upfront material cost. | Higher initial investment (labor + materials). |
| Time | Can take multiple weekends or longer. | Typically completed in just a few days. |
| Complexity | High; requires skill and problem-solving. | Low; handled entirely by experienced installers. |
| Final Quality | Varies based on skill; risk of flaws. | Professional, wrinkle-free, and sturdy result. |
| Warranty | None; you are responsible for all fixes. | Workmanship is usually guaranteed. |
Ultimately, whether you choose to build it yourself or hire a pro, the goal is the same: a beautiful, functional outdoor space you can enjoy for years to come.
Picking the Right Materials and Tools for the Job
Any successful patio screening project comes down to two things: the quality of your materials and having the right tools on hand. Getting this part right from the start makes the whole build smoother and guarantees your new outdoor space will stand up to the elements and look great for years. Think of this less as a simple shopping list and more as a game plan for your specific project, climate, and budget.
Before you even think about heading to the hardware store, grab a pencil and paper and sketch out your patio. Get all the dimensions down, mark where the doors will go, and note any existing posts or beams you'll be working around. This quick sketch is your best defense against expensive mistakes. When you're ready to buy, precise measurements are everything. A helpful trick is to calculate square footage to linear footage to make sure you get the right amount of framing and screen material.
My Pro Tip: Always buy about 10-15% extra material. Trust me, this little buffer is a project-saver. It covers you for any miscuts, mistakes, or those "what if we did this instead?" moments without sending you on a frustrated trip back to the store.
Framing Your Vision: Wood vs. Aluminum
The frame is the skeleton of your new patio space, and you’ve basically got two choices: good old-fashioned wood or modern aluminum. They both have their pros and cons, and the right one for you often comes down to your local climate and the look you're going for.
- Wood Framing: You can't beat the classic, natural look of wood. It can be stained or painted to perfectly match your home's exterior, giving it a warm, custom feel. The downside? It's a commitment. Wood needs regular maintenance like sealing and painting to keep it from rotting, warping, or becoming a snack for insects, especially if you live somewhere humid.
- Aluminum Framing: This has become the go-to for a reason—it’s durable and incredibly low-maintenance. Aluminum is light but strong, and it won’t rust or corrode. It’s a fantastic "set it and forget it" option that works just about anywhere.
For most people building a new screened-in patio, aluminum is the smarter choice. Its longevity and hands-off nature mean you get a clean, professional-looking structure that you don't have to worry about year after year.
Choosing the Perfect Screen Mesh
The screen itself is what makes the magic happen, keeping the bugs out while letting the breeze in. The type of mesh you pick has a huge impact on how comfortable and durable your new space will be.
There are a few popular types of screens for patio enclosures you'll run into:
- Fiberglass Screen: This is the standard, most budget-friendly option you'll find. It's flexible, pretty easy to work with, and offers great visibility. The trade-off is that it’s the easiest to tear.
- Aluminum Screen: A step up in strength from fiberglass. It’s more rigid and holds up better against punctures. Just be careful, as it can get dented or creased, and it might corrode over time if you're near the coast.
- Pet-Resistant Screen: If you have dogs or cats, this is non-negotiable. Made from a heavy-duty polyester mesh, it’s built to withstand claws and paws without shredding like standard screen.
- Solar Screen: This stuff is fantastic for sunny, hot climates. It's designed to block a huge chunk of the sun's UV rays—up to 90%—which keeps your patio cooler and stops your furniture from fading. It also adds a nice bit of daytime privacy.
Your final decision really comes down to what you need most, whether it’s toughness against pets, protection from the sun, or just a solid, budget-friendly option.
Your Must-Have Tool Kit for a Flawless Finish
You don't need a pro-level workshop, but having the right tools is the difference between a frustrating weekend and a job you can be proud of. Get these ready before you start.
- Tape Measure & Level
- Power Drill with a good set of bits
- Miter Saw or a simple Hacksaw for cutting the frame pieces
- Utility Knife
- Rubber Mallet
- Screen Spline Roller: This little gadget is the MVP. It's specially designed to push the rubber spline into the frame's channel, which is what holds the screen tight and gives you that smooth, wrinkle-free look. Don't try to substitute it
Getting the Installation Right: Sturdy, Square, and Wrinkle-Free
Alright, you've got your materials and tools lined up. Now comes the fun part: putting it all together. This stage is all about being precise and patient. A little extra care here is what makes the difference between a flimsy, saggy screen room and a sturdy, professional-looking patio that will last for years.
First thing's first: prep the area. Before you build anything, give your patio a good cleaning. You need a clean, clear surface to get accurate measurements and make sure your new frame sits perfectly flush against your house and the slab.
Laying the Foundation: It All Starts with the Measurement
You’ve heard it a million times, but "measure twice, cut once" is the golden rule here. This is the bedrock of your entire project. If your initial measurements are off, you're setting yourself up for a world of frustration, wasted materials, and a finished product that just looks… wrong.
Take your time and measure the width, height, and depth of the planned enclosure at several different spots. Here’s a pro tip: existing structures and concrete slabs are almost never perfectly level or square. Always use the smallest measurement for each dimension. This little trick ensures your frame will fit without any surprise gaps.
This meticulous approach is especially important in places where outdoor living is a huge part of life. We see massive demand for screened-in patios across North America, with homeowners investing heavily to make the most of their outdoor spaces. This trend is what drives both the DIY market and the need for skilled professionals. You can actually dig into outdoor improvement trends to see just how much people value these spaces.
This diagram breaks down how your first material choices set the stage for the whole installation.
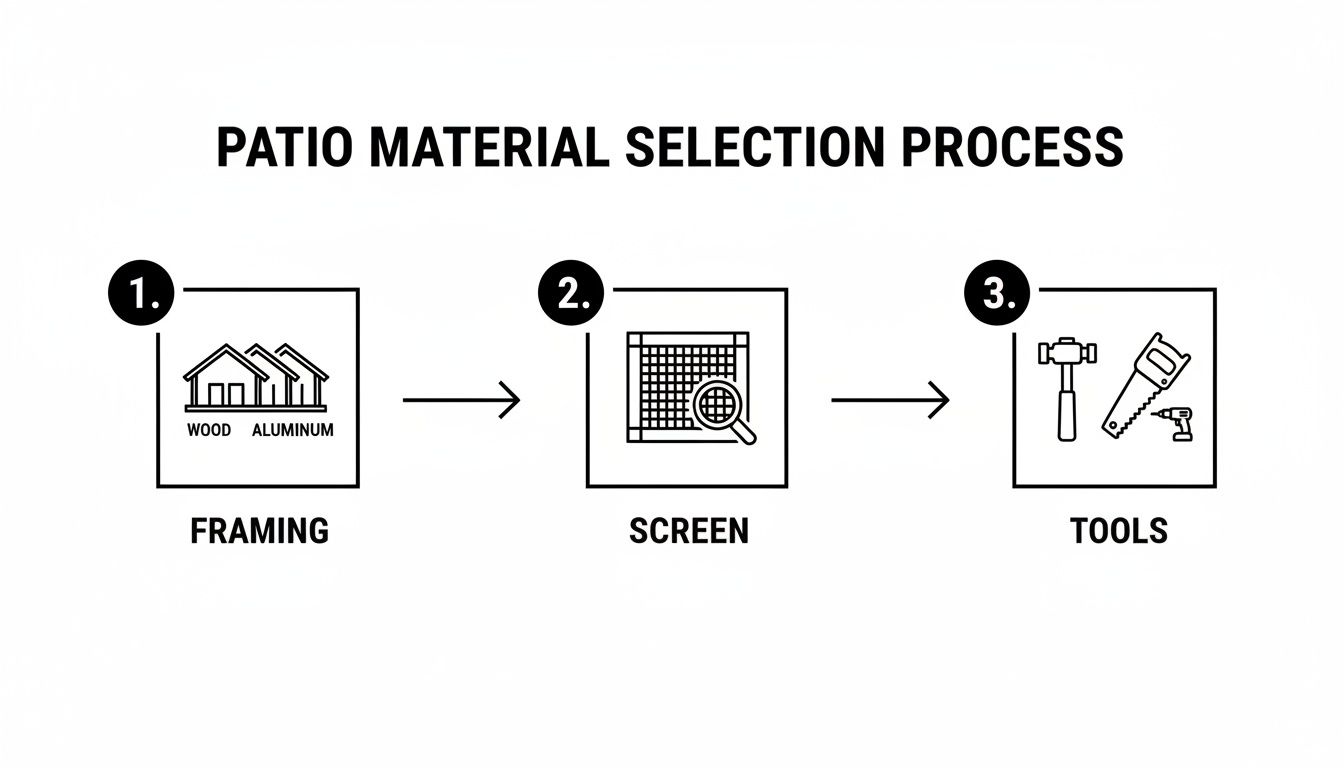
As you can see, your decision on framing and screen type directly influences the tools you'll need to get the job done right.
Building and Securing a Square Frame
With your measurements triple-checked, you can start cutting and assembling the frame. Whether you're working with wood or aluminum, the goal is identical: a structure that is perfectly square, level, and plumb. Keep your level handy and use it constantly—on the horizontal pieces, the vertical posts, and even diagonally across the corners to check for squareness.
Now, securely anchor the frame to your house, the patio slab, and any existing columns. This is not the place to skimp. Use the right fasteners for the job, like concrete anchors for the base and hefty lag bolts for attaching it to the house. A wobbly frame is the number one cause of sagging screens and a structure that feels unsafe.
A sturdy, well-anchored frame is the secret to a professional-grade screen patio installation. It provides the rigid skeleton needed to stretch the screen taut, preventing the sags and wrinkles that plague amateur jobs.
Mastering the Art of the Spline
Installing the screen mesh can feel like the most intimidating part, but it's also where you see it all come together. Your new best friend for this task is the screen spline roller. This simple little tool is specifically designed to press the rubber spline into the frame's channel, locking the mesh tightly in place.
Here’s a technique we've perfected over countless installations for a tight, smooth finish:
- Start at the Top: Always secure the screen along the top horizontal channel first. Make sure your piece of screen is a few inches larger than the opening on all sides.
- Tack the Corners: Gently push the spline into the top corners of one of the side channels. This will hold the screen in place while you work.
- Apply Gentle Tension: As you roll the spline down that first side channel, use your free hand to pull the screen with light, even tension. You want it taut, but not so stretched that it could tear.
- Work Methodically: After the top and one side are done, move to the bottom channel, again pulling gently. Finish with the last side. This step-by-step process is the key to eliminating wrinkles.
The trick is to not overstretch the mesh. Too much force will create weird-looking distortions or, even worse, rip the screen and send you back to square one. It's a feel you'll get with a bit of practice.
Adding the Finishing Touches
With the screens tight and secure, you're on the home stretch. Carefully hang your screen door, making sure it swings smoothly and closes securely with no gaps. Grab a sharp utility knife and carefully trim the excess screen mesh and spline from the edge of the channels for that clean, professional look.
Finally, step back and take a look from a few different angles. Check for any loose spots, make sure the door hardware is solid, and just admire the awesome new space you’ve just built. It's this final attention to detail that really makes a project shine.
Keeping Your Screened Patio in Top Shape for Years to Come
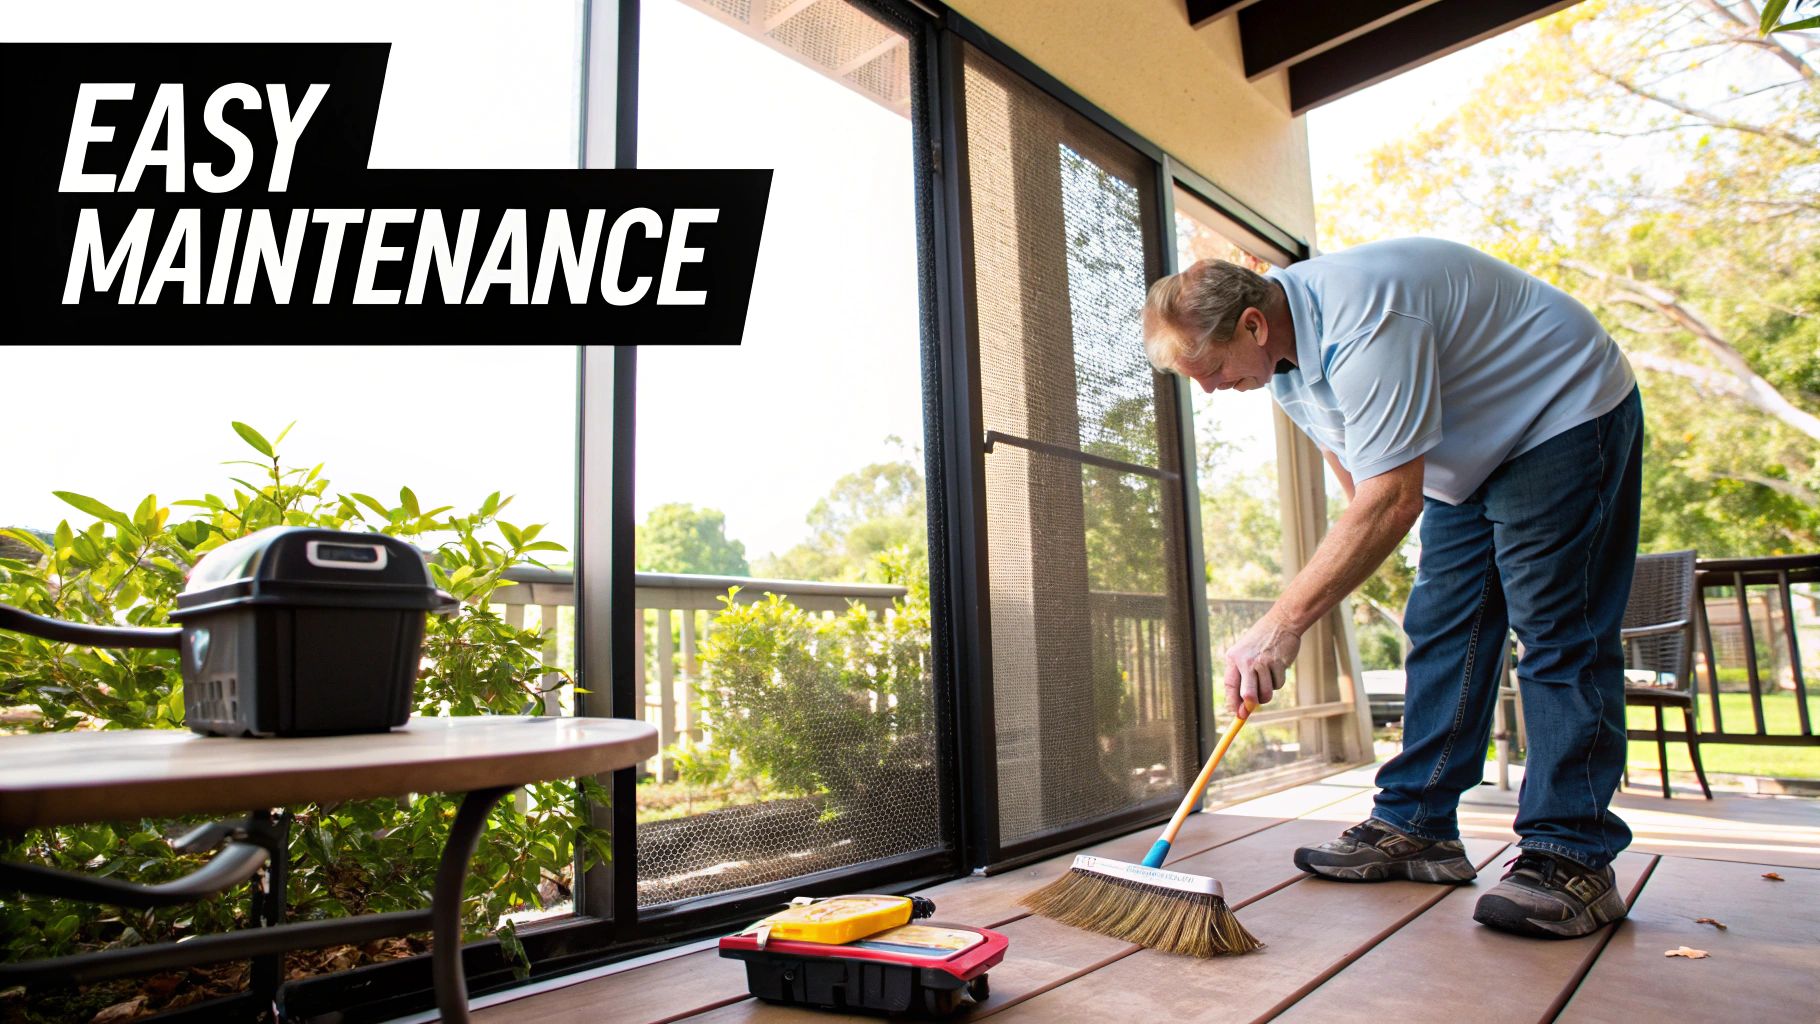
Once the last screen is in place and the tools are put away, the job isn't quite done. To get the most out of your investment, a little bit of upkeep goes a long way. Think of it less as a chore and more as a simple routine to keep your beautiful outdoor space in perfect condition.
Regular care is all about prevention. It’s about catching small issues before they snowball into big, expensive headaches. A tiny rip from a wind-blown branch might not seem like a big deal, but if you ignore it, that small tear can easily grow and force you to replace the entire screen panel. A few minutes of inspection now can save you a lot of time and money later.
A Simple Maintenance Schedule That Works
Keeping your enclosure looking great doesn't require a huge time commitment. Just a few targeted tasks throughout the year will make all the difference.
Here’s a realistic schedule I recommend to my clients:
- Once a Month: Do a quick walk-around. Look for any dirt or pollen building up, check if any screens are starting to sag, and keep an eye out for small holes or tears. Pay special attention to the screens closest to trees and bushes.
- Every Quarter: Give the screens a gentle cleaning. All you need is a soft-bristled brush and some mild, soapy water. Wiping them down removes the grime and dust that can block your view and slowly wear down the screen material itself.
- Once a Year: It’s time for a deeper inspection. Check all the hardware, from the screws holding the frame together to the door handles and latches. Tighten anything that feels loose. It's also a great time to adjust patio doors for a tighter seal and smoother operation to keep bugs out and ensure everything works perfectly.
DIY Patch or Call a Pro?
For minor issues, a DIY approach is often the perfect solution. Small holes, especially those less than three inches, are easily managed with a screen patch kit you can grab at any local hardware store. They're inexpensive and incredibly easy to use.
But some jobs are just better left to the experts.
If you're looking at major damage—like large rips from a storm, several panels that are sagging badly, or damage to the frame itself—a simple patch kit isn't going to cut it. Trying to tackle a big repair on your own can sometimes make things worse.
When the damage is widespread or looks too complicated for a patch, that's your cue to call for professional help. A technician can properly assess the damage and provide a lasting screen enclosure repair, making sure your patio is secure, functional, and looking its best again.
Answering Your Top Screened-In Patio Questions
When you start thinking about screening in a patio, a few questions always pop up first. Sorting these out early on helps you create a solid budget, pick materials that actually fit your life, and make sure you’re following local rules right from the get-go.
So, What's This Going to Cost Me?
That's the big one, isn't it? The honest answer is: it depends. If you're tackling this yourself and have a small or medium-sized patio, you could pull it off for anywhere between $800 and $2,500. That number covers the basics—framing, screen mesh, spline, and any tools you might need to buy.
But if you're bringing in the pros, the numbers look a bit different. A professionally installed screen patio usually starts around $3,000 for a straightforward job. For larger spaces, custom frames, or high-end materials like solar screens, that price can easily climb past $10,000.
My best advice? Always get at least three detailed quotes from trusted local installers. It’s the only way to get a true sense of the market rate in your area and see who offers the best value for your money.
What’s the Best Screen for a House with Pets?
If you've got four-legged family members, this is an easy one: pet-resistant screen. Trust me, this isn't just clever marketing. It's a seriously tough polyester mesh that's way stronger and more resistant to tears than the standard fiberglass stuff.
Yes, it costs more upfront, but it's an investment that pays for itself. All it takes is one excited jump or a few claw-sharpening sessions to destroy a regular screen. That starts a frustrating cycle of repairs. Pet-resistant screens are built to handle that kind of abuse, saving you a ton of hassle and money in the long run.
Will I Need a Permit to Screen in My Patio?
This all comes down to your local building department and the size of your project. For something simple, like just adding screens to an existing covered patio, you probably won't need one.
However, the game changes if you're doing any structural work. Are you adding a brand-new roof? Pouring a concrete slab? Tying into your home’s existing frame? In those cases, you’ll almost certainly need to pull a permit.
Don't ever assume. Before you spend a dime on materials, make a quick call to your local building or zoning office. It’s a five-minute conversation that can save you from big fines or the nightmare of having to tear down your beautiful new space.
Ready to transform your outdoor space without all the guesswork? The expert team at Sparkle Tech Screen Service offers same-week service and quick, no-obligation quotes to get your project moving. Check out what we can do for you at https://sparkletechscreenservice.com and see how simple this can be.


