


That ripped or faded screen door might look like a lost cause, but don't rush out to buy a new one just yet. Tackling a rescreening project yourself is one of the most satisfying and budget-friendly home repairs you can do. For a small fraction of what a brand-new door costs, you can get yours looking and working like new again, boosting your home's curb appeal while keeping those pesky bugs outside where they belong.
Why Rescreening Your Door Beats Replacing It
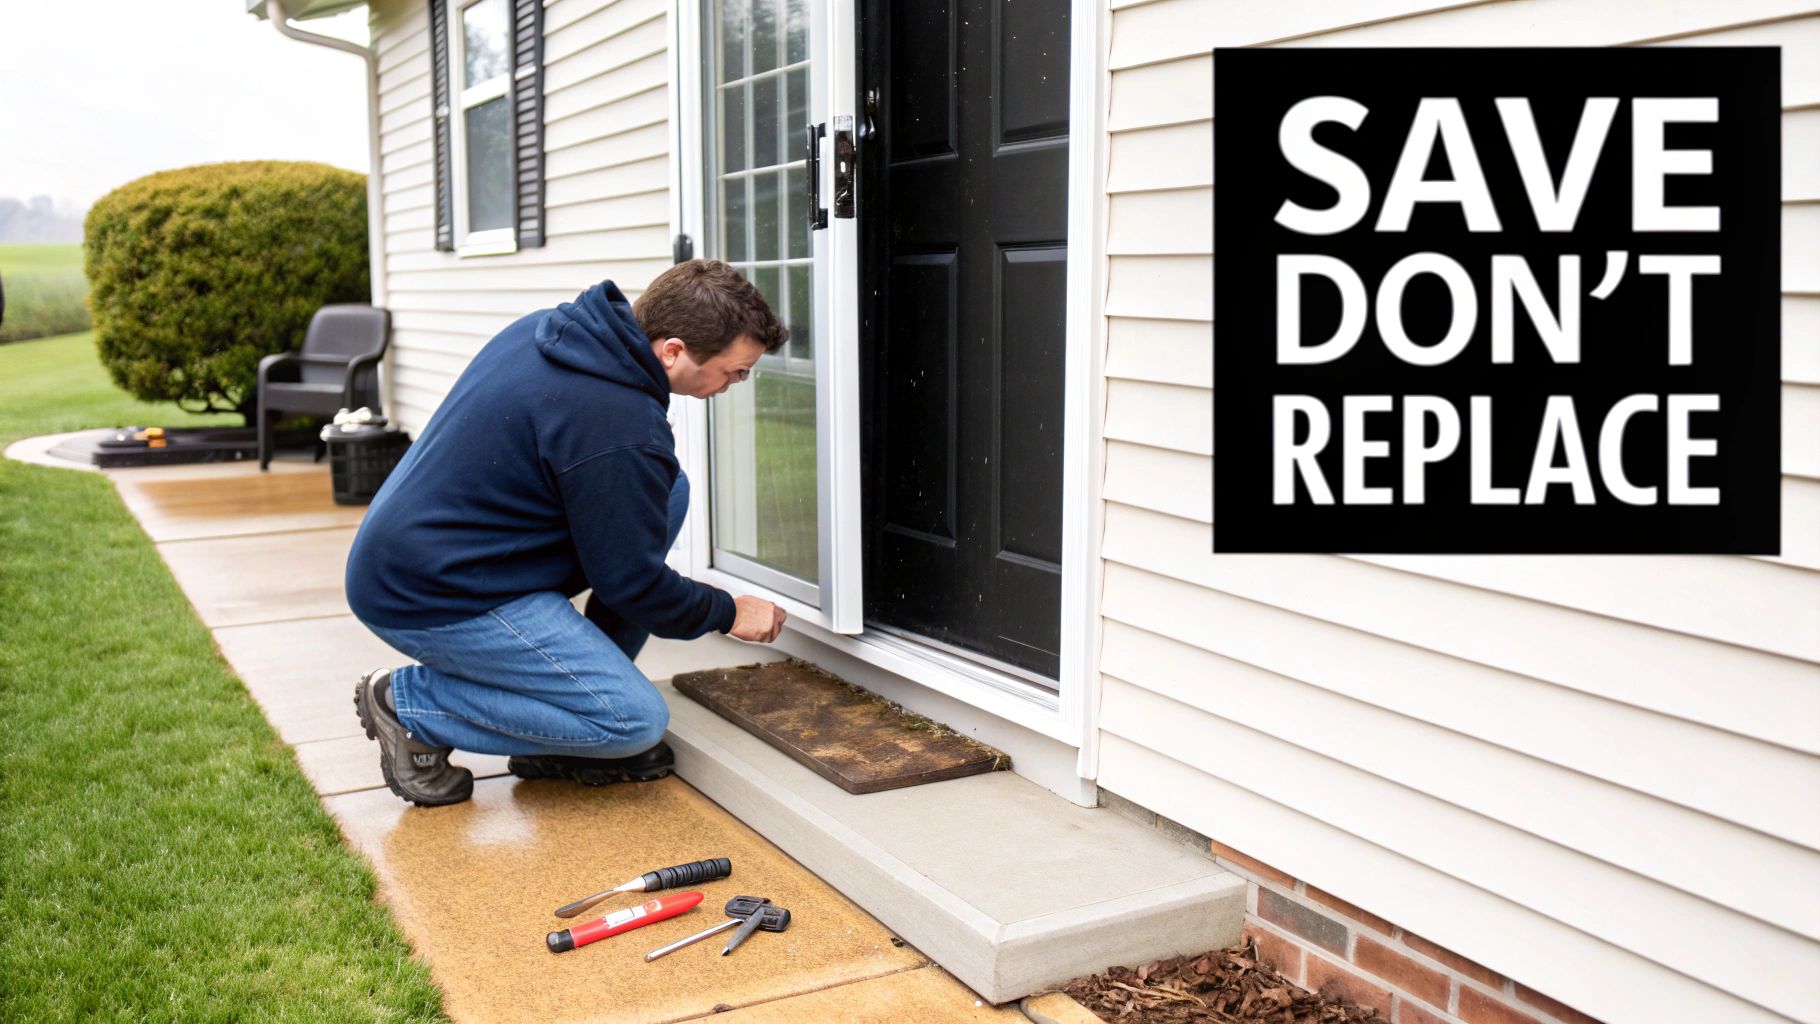
When a screen gets a tear, many people’s first instinct is to start shopping for a full replacement. That's often a costly mistake. The price difference is huge—a new screen door can easily set you back several hundred dollars, but the materials for a DIY rescreening job usually come in under $50. You can get a better sense of the numbers by looking into the average screen door repair cost.
Beyond the obvious cash savings, sticking with your current door frame has a few other smart advantages.
- Keep Your Perfect Fit: You already have a door that fits your home's style and, more importantly, its exact dimensions. Why start over?
- Upgrade Your Material: This is your chance to improve your screen. You could switch to a heavy-duty, pet-resistant mesh, install a solar screen to cut down on UV rays, or even choose a high-visibility screen for a crystal-clear view.
- Build Your DIY Confidence: There's a real sense of accomplishment that comes from fixing something yourself. You're not just saving money; you're adding a practical skill to your repertoire.
This repair-over-replace mindset is catching on. The global market for retractable screen doors, for example, was valued at $8.54 billion in 2021 and is expected to keep growing. It just goes to show that homeowners are investing in functional, smart upgrades for their existing homes.
When to Rescreen vs. Replace
Go for a rescreen if your problem is purely cosmetic—think tears, small holes, sun-bleached material, or a screen that’s just gone loose in its frame. However, if the door frame itself is bent, cracked, or has broken hardware that's tough to source or fix, a full replacement is probably the more sensible long-term investment.
Getting Your Rescreening Tools and Materials Together
Nothing stalls a weekend project faster than a mid-job run to the hardware store. Let's make sure you have everything you need to rescreen your door right from the start, so you can get it done smoothly and without any headaches.
Before you even think about tools, you need to nail down your two main materials: the new screen mesh and the spline. The spline is just that little rubber cord that locks the screen into the frame's channel. The simplest trick to getting the right size? Just carefully pull out an inch or two of the old spline and take it with you to the store. Match the diameter exactly.
Choosing the Right Screen Material
The screen you pick is more than just a bug blocker; it affects how your door looks, how long it lasts, and how much you can see through it. Take a moment to figure out which material is the best fit for your home.
Here's a quick comparison to help you decide:
| Material Type | Key Benefit | Best For |
|---|---|---|
| Fiberglass | Flexible and Forgiving | General use and first-time DIY projects. It's the standard for a reason. |
| Aluminum | Crisp and Clear | Homes where excellent visibility and a sharp, clean look are top priorities. |
| Pet-Resistant | Ultra-Durable | Households with dogs or cats that tend to scratch, claw, or lean on screens. |
Most people land on fiberglass because it's so easy to work with, but if you have a furry friend who loves to greet visitors at the door, investing in pet-resistant screen will save you from doing this job all over again in a few months. It's often 7 times stronger than standard mesh.
Takeaway: Getting the right materials is more than half the battle. The wrong size spline or a screen that doesn't fit your lifestyle will just lead to frustration and a do-over.
Your Essential Tool Checklist
With your screen and spline ready, it's time to gather a few key tools. Honestly, you can't wing this part. The one tool you absolutely cannot skip is the spline roller—it's the secret to a tight, professional-looking finish.
For a deeper dive into the "why" behind each tool, check out our guide on essential window screen repair tools.
Here’s what you’ll need to have on hand:
- Spline Roller: This little gadget is your best friend. It has two wheels—one to push the screen into the channel and the other to seat the spline perfectly. Don't try the job without it.
- Utility Knife: A fresh, sharp blade is crucial for trimming the excess screen at the end. A dull knife will snag the mesh and ruin your hard work.
- Flat-Head Screwdriver or Awl: You’ll need something to dig in and pry out the old, stubborn spline. It can get brittle over time and break apart.
- Clamps (Optional but highly recommended): A couple of basic spring clamps are fantastic for holding the screen fabric taut as you work. This is the pro-tip for avoiding wrinkles and sags.
The Rescreening Process from Start to Finish
Alright, you've got your tools and you're ready to tackle this project. The real secret to getting a professional-looking finish when you rescreen a screen door is simply taking your time. Work methodically, don't rush it, and you'll be amazed at how well it turns out.
First things first, get that door off its hinges and onto a flat, stable surface. A couple of sawhorses or a big workbench is perfect. Trying to do this while the door is still hanging is a recipe for frustration.
Now, hunt for the end of the old rubber spline—that cord tucked into the frame's groove. Use a small flat-head screwdriver or an awl to gently pry up one end. Once you get it started, you should be able to pull the whole thing out in one long piece. After that, the old screen just lifts right off.
Removing the Old Screen and Prepping the Frame
Before you even think about putting the new screen on, take a minute to clean out that groove. You'd be surprised how much gunk and grime builds up in there over the years. A quick once-over with a stiff brush or the crevice tool on your vacuum will do the trick. A clean channel is your best friend for getting the new spline seated properly.
Next, unroll your new screen material over the frame. Make sure you have at least an inch or two of overlap on all four sides. This extra material is critical—it gives you something to grip and prevents you from coming up short halfway through. If you have some spring clamps, now's a good time to clip the screen to the top of the frame to keep it from sliding around.
This handy infographic sums up the main actions you'll be taking.
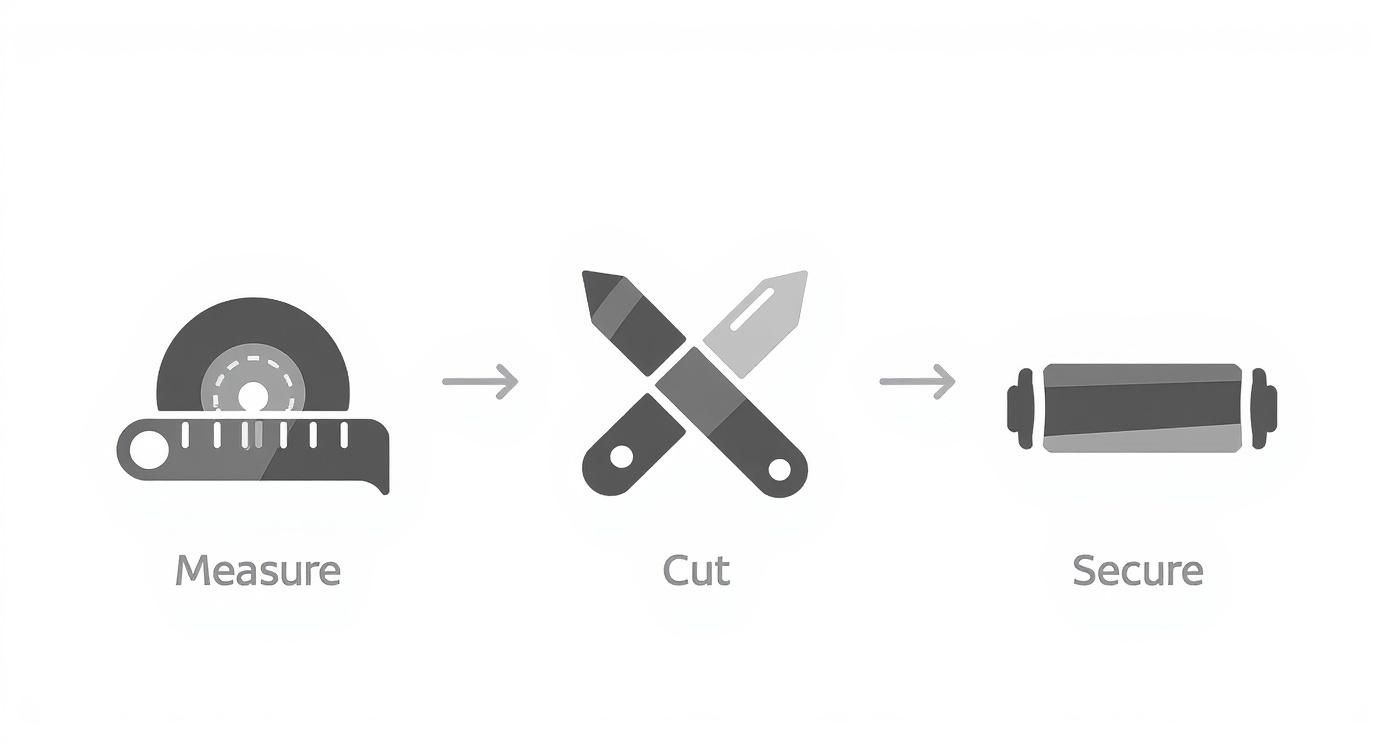
As you can see, it really just boils down to measuring, cutting, and securing. It's a straightforward process you can definitely handle.
Installing the New Spline and Screen
This is where the magic happens. Grab your spline roller—the tool that looks like a tiny pizza cutter. Start with the convex (rounded) wheel and gently press the screen mesh into the groove along one of the long sides. This pre-forms a little channel for the spline.
Now, take the end of your new spline and start it in a corner. Switch to the concave (grooved) wheel on your roller tool and press the spline firmly down into the channel, rolling it all the way down that first side. You'll feel the screen start to tighten up as you go.
Move to the opposite long side and repeat the process. This time, pull the screen gently taut as you roll the spline in to eliminate any wrinkles or slack. Don't pull so hard you create a bow in the frame, just enough to make it smooth. Finish up by doing the two shorter sides.
Pro Tip: The corners can be tricky. When you reach one, use your flat-head screwdriver to firmly poke the spline into the 90-degree bend. This keeps the corners looking sharp and square instead of rounded and puckered.
With the spline fully seated, all that's left is the finishing touch. Using a utility knife with a fresh, sharp blade, carefully trim off the excess screen. The key here is to angle the blade away from the spline so you don't accidentally slice it. Run your knife right along the outside edge of the spline for a perfectly clean cut. And that's it—job done.
Avoiding Common DIY Screening Mistakes
Even a project that seems as straightforward as rescreening a door has a few classic traps that can trip up the most confident DIYer. I've seen them all over the years, but knowing what to look for is half the battle. Getting ahead of these common stumbles will make the difference between a frustrating afternoon and a flawless, professional-looking finish.
The number one issue I see is getting the screen tension wrong. It's a real balancing act. If you don't pull the screen taut enough as you roll in the spline, you’ll be left with ugly sags and wrinkles that flap every time a breeze comes through. Not only does it look sloppy, but it's also not great at its main job: keeping bugs out.
On the flip side, some people go too far the other way and pull the screen incredibly tight. While the effort is admirable, yanking on it too hard can actually bend the door frame, causing it to bow inward. This can make the door stick in its track or create new gaps for pests to sneak through, completely defeating the purpose of your work.
A bowed frame is the tell-tale sign of too much tension. If you see the sides of the door curving inward while you're pushing in the spline, just stop. It's so much easier to back up and ease off the tension right then than to try and straighten a bent aluminum frame later.
Nailing the Screen Size and Spline Fit
Another headache that’s completely avoidable is cutting the screen material too short right at the start. Always, and I mean always, give yourself a generous overhang of at least two to three inches on all four sides. This extra material is your handle for pulling the screen tight and provides a vital margin for error. You can trim the excess in seconds, but you can't magically add more screen once it's cut.
A few other small details can save you from a world of frustration:
- Using a Dull Blade: Trying to trim the excess screen with a dull utility knife is a recipe for disaster. It will snag and pull the mesh, leaving you with a frayed, ugly edge. Always pop in a fresh blade for that final, clean cut.
- Forgetting to Clean the Channel: That little groove where the spline sits is a magnet for years of caked-on dirt and grit. If you don't clean it out first, you'll fight to get the new spline seated properly.
- Winging the Spline Size: Don't just guess the spline diameter. A spline that's too small won't hold the screen tight, and one that's too big will be a nightmare to install and might even damage the channel.
Taking just a minute to get these details right from the start will save you from the most common do-overs and help you get a result you can actually be proud of.
Think Beyond the Standard: Upgrading Your Screen Mesh
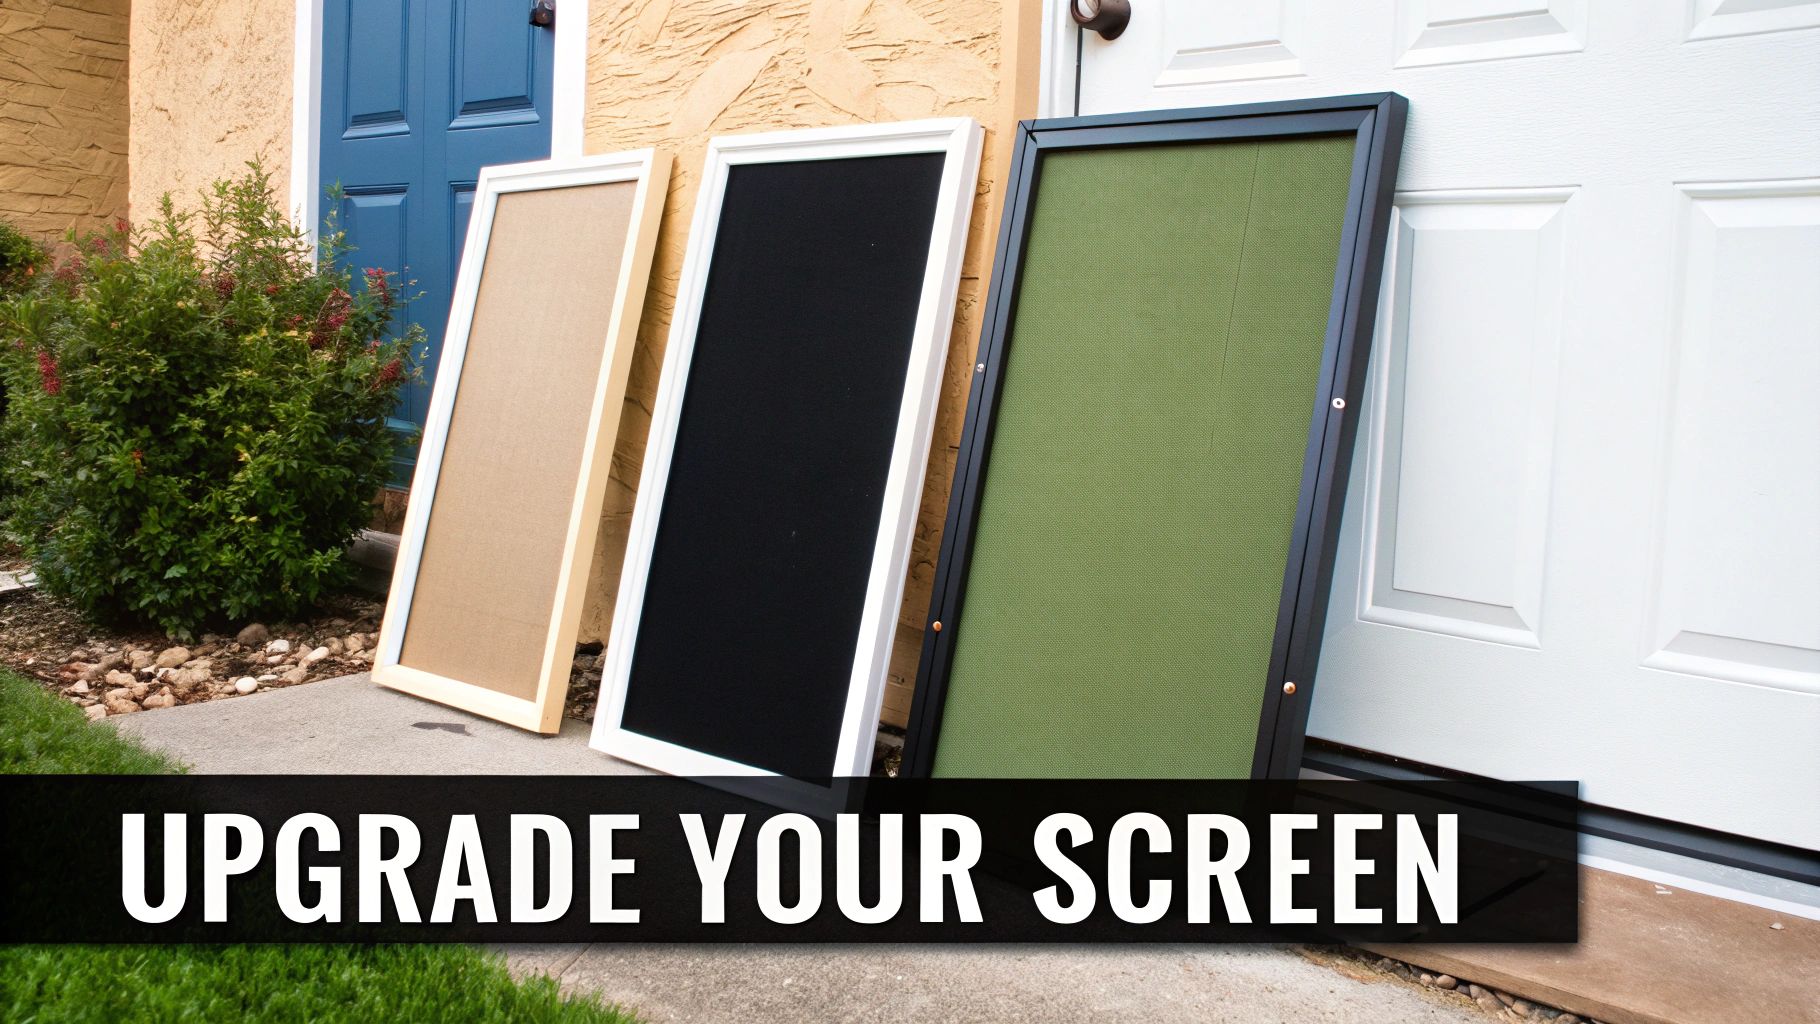
A torn screen door doesn't have to be just another chore on your to-do list. I always tell homeowners to see it as a golden opportunity. Instead of simply swapping out the old, damaged material for more of the same, you can actually upgrade the door's function to better suit your life.
Standard fiberglass mesh does its job, sure. But specialty screens can solve some of the most common annoyances around the house and genuinely add value.
Take a moment to think about how you use the space. Is your beautiful backyard view spoiled by a fuzzy, gray screen? High-visibility mesh uses ultra-fine threads to make the screen almost disappear. Or maybe the intense afternoon sun turns your living room into a sauna? A solar screen can block a huge chunk of UV rays, which helps cut down on cooling costs and saves your furniture from fading.
What Modern Screens Can Do For You
For a lot of people I work with, the real win comes from choosing a screen that fixes a specific problem. These are a few of the most popular upgrades that make a simple repair feel like a smart home improvement.
-
Pet-Resistant Screens: If you have dogs or cats, this stuff is a lifesaver. It’s made from a super-tough polyester that’s built to handle claws and paws without shredding. No more constant patching!
-
Security Screens: For a serious upgrade in peace of mind, security screens are in a league of their own. This market is booming, with a projected value of $2.5 billion by 2025. In fact, one security screen door market report shows it's expected to grow at 7% annually.
By picking a material that actually fits your lifestyle, you're doing more than just fixing a hole. You're making your home more comfortable, secure, and enjoyable. To see what else is out there, check out our guide on the different types of window screen mesh.
A Few Lingering Questions
Even with a good guide, a few questions always come up, especially when you're doing this for the first time. Let's tackle some of the most common ones I hear from homeowners.
What's the Real Cost to Rescreen a Door Myself?
The biggest win for any DIY project is usually the savings, and this is no exception. For most standard doors, you can expect your total material cost to land somewhere between $20 and $50.
That should easily cover a roll of fiberglass screen, the new spline you'll need, and a basic spline roller. When you consider that a professional job can cost quite a bit more, it's clear you're keeping a good chunk of change in your wallet by doing it yourself.
Do I Really Have to Take the Door Off?
I get this one a lot. While you can sometimes wrestle with a sliding screen door while it's still hanging, I strongly advise against it. Honestly, the single best thing you can do to guarantee a tight, smooth finish is to take the door off and lay it flat.
Trying to fight gravity while working vertically makes it nearly impossible to get the tension just right. The result? You'll almost always end up with a saggy screen that just doesn't look right.
How Should I Clean My New Screen?
Keeping your new screen looking great is easy. A couple of times a year, just grab a soft brush and some mild, soapy water to gently wipe away any built-up dust or grime.
Then, give it a light rinse with your garden hose on a low-pressure setting. This simple habit keeps dirt from embedding in the mesh and ensures your view stays clear.
If you remember one thing, make it this: be gentle. High-pressure water or harsh chemicals can easily damage the screen material, which will only send you back to the hardware store sooner than you'd like.
How Do I Figure Out the Right Spline Size?
This is a critical detail, but it's simple to get right. The most foolproof way is to carefully pull out a small section of the old, existing spline from the frame's channel.
Take that little piece with you to the hardware store. You can match it up directly to make sure you're buying the exact same diameter. If your old spline is completely gone or crumbled, your next best bet is to measure the width of the channel itself.
Decided this project isn't for you? If you'd rather have a flawless, professional finish without the weekend workout, Sparkle Tech Screen Service is ready to help. We provide fast and reliable rescreening and repair services throughout the valley.


