



A successful screen door installation has less to do with raw handyman talent and more to do with smart preparation. Honestly, the whole project hinges on getting the details right before you even pick up a drill. Nail the prep, and you're in for a smooth, frustration-free afternoon.
Your Pre-Installation Game Plan
Jumping into an installation without a plan is a classic recipe for a crooked door, annoying gaps, and a wasted trip back to the hardware store. The secret to a great result is built on three key pillars: choosing the right door, taking dead-on accurate measurements, and gathering all your tools before you start. This approach turns what could be a tricky project into a satisfying weekend win.
A little foresight not only saves you a ton of time but also helps you dodge the most common DIY mistakes. You’ll have the right materials on hand and be ready for any quirks in your existing door frame. Let's walk through the essential steps to build your pre-installation blueprint.
Choosing the Right Screen Door for Your Home
First things first, you need to decide which type of screen door is going to work best for you. Each style brings something different to the table in terms of function, toughness, and looks.
- Hinged Screen Doors: This is your classic, workhorse screen door. They’re sturdy, often more affordable, and perfect for high-traffic spots like a back patio or kitchen door.
- Sliding Screen Doors: Made specifically for patio sliders, these doors glide on a track. They're a great space-saver since they don't swing out, making them ideal for decks or balconies where clearance is tight.
- Retractable Screen Doors: If you love an unobstructed view, retractable doors are a fantastic choice. They roll up into a small housing when you don't need them, giving you a clean, modern look. They're excellent for front doors or French doors, but just a heads-up, they might be less durable if you have very active pets or small kids.
Think about your daily foot traffic and who’s using the door. A beefy hinged door might be the smart move for a family with kids constantly running in and out, while a retractable screen could be the perfect, elegant touch for a quieter front entryway.
The Critical Step of Accurate Measurement
Before a single screw goes in, the most crucial part of your prep is learning how to measure a door for a perfect fit. This is where so many projects go wrong. An incorrect measurement is the number one cause of installation headaches, period.
To avoid this, grab your tape measure and check the width of the door opening at three different points: top, middle, and bottom. Do the exact same thing for the height—measure on the left, in the middle, and on the right. Always use the smallest of these measurements for both your final width and height. This ensures the door will fit, even if your frame isn't perfectly square. For a deeper dive, our detailed guide on how to measure for a screen door will walk you through it to guarantee you get it right the first time.
Pro Tip from Sparkle Tech: Always write down your measurements immediately. It’s surprisingly easy to forget the numbers or mix them up on the way to the hardware store. Double-check everything before you buy that door.
Assembling Your Installation Toolkit
Having every tool and all your materials laid out before you begin is non-negotiable. There's nothing worse than scrambling to find a specific drill bit or the right screws mid-project. It kills your momentum and dials up the frustration. A well-prepared toolkit makes the whole job feel easier and look more professional.
Getting everything ready is step one. Below is a checklist of what you'll typically need to get the job done right.
Essential Tools and Materials for Your Screen Door Project
This comprehensive checklist ensures you have everything needed for a smooth installation process, from basic hand tools to specialized hardware.
| Tool/Material | Purpose | Pro Tip from Sparkle Tech |
|---|---|---|
| Tape Measure | For accurate measurements of the door frame. | A metal tape measure is more accurate than a vinyl or cloth one. |
| Drill with Bits | For drilling pilot holes and driving screws. | A cordless drill gives you more freedom to move around. |
| Screwdrivers | Phillips and flat-head for various screws. | A multi-bit screwdriver can save space in your toolbox. |
| Level | To ensure the door hangs straight. | A 4-foot level is ideal for checking both vertical and horizontal alignment. |
| Hacksaw | For trimming a metal door frame to size. | Use a blade with at least 24 teeth per inch for a clean cut on aluminum. |
| Utility Knife | For cutting weatherstripping or trimming screen mesh. | Always use a fresh, sharp blade for the cleanest cuts. |
| Safety Glasses | To protect your eyes from debris. | Don't skip these—your eyes will thank you. |
| Screen Door Kit | Includes the door, frame, hardware, and screen. | Check the box to make sure all parts are included before you leave the store. |
| Weatherstripping | To seal gaps and prevent drafts. | Self-adhesive foam tape is the easiest to apply for DIY projects. |
Having these items ready will prevent those annoying mid-project interruptions and help you achieve a professional-quality installation.
Finally, take a moment to inspect your existing door frame. Look for any signs of rot, warping, or damage. A screen door is only as secure as the frame it's mounted on. If you find any soft spots or cracks, you'll want to tackle those repairs first to ensure a stable, long-lasting installation.
Mounting Your Screen Door Like a Pro
Alright, you've done the prep work, and now it's time for the payoff: hanging the door. This is where those careful measurements really count. Getting this part right transforms the job from a frustrating chore into a satisfying project you can be proud of. We're going to focus on the little details the pros use to get a perfect hang every single time.
The real goal here isn't just to get the door up; it's to make sure it swings smoothly, seals tightly, and looks like it was always meant to be there.
This whole process really boils down to three core stages.
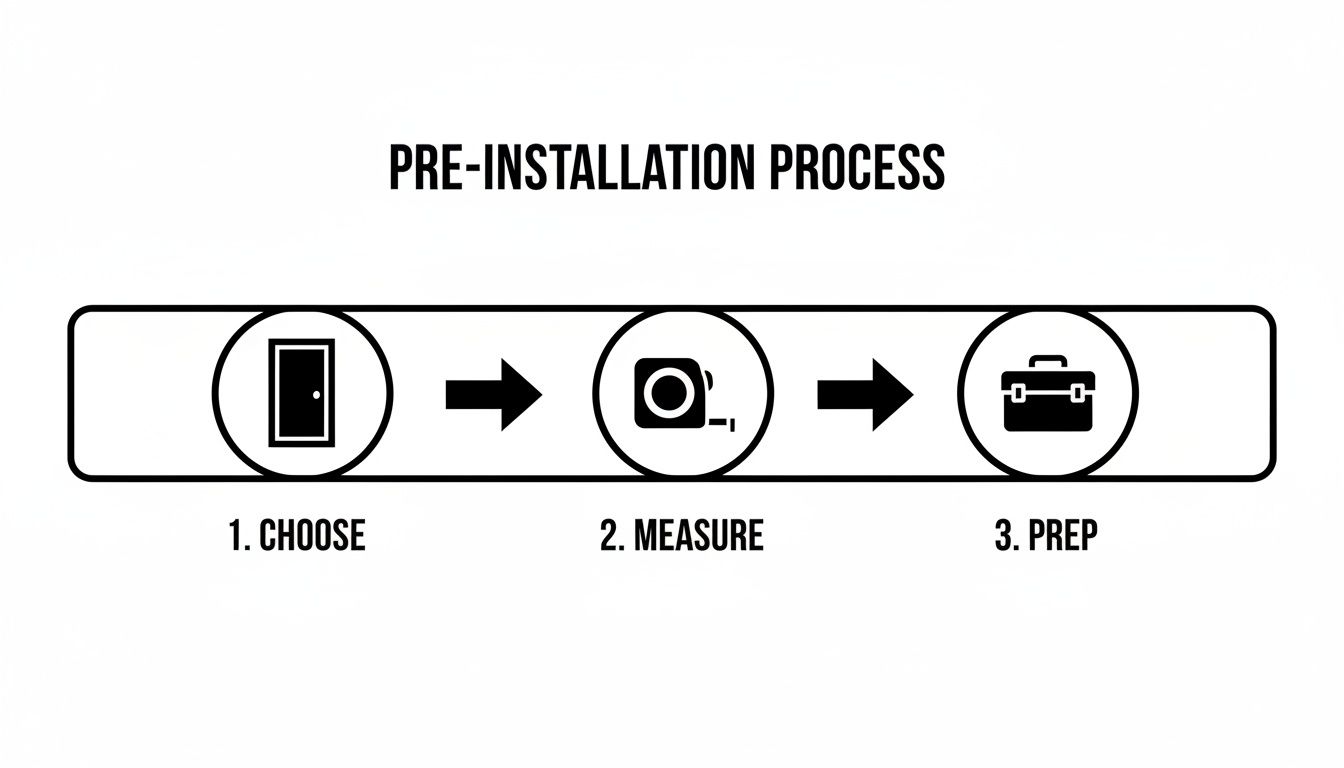
As you can see, the mounting itself is the final step. Success depends entirely on choosing the right door, measuring correctly, and getting your workspace ready.
Positioning the Hinge-Side Z-Bar
First things first: the hinge-side z-bar. This is the long metal or vinyl rail that the door's hinges screw into, and getting it right is the single most critical step. If this piece is even a tiny bit off-kilter, the door will never hang properly.
Take your level and place the z-bar against the door jamb where your hinges will go. You need to adjust it until that bubble is dead center. This means it's plumb (perfectly vertical), and it's non-negotiable. It doesn't matter if your house has settled and the door frame itself isn't perfectly straight—this z-bar must be.
Once it's perfect, lightly mark its position with a pencil. Now, before you even think about driving in screws, drill pilot holes. This is a game-changer, especially on older wood frames, because it stops the wood from splitting. Just use a drill bit that’s a little smaller than your screw's diameter.
Attaching the Door to Its Hinges
With the z-bar firmly mounted, it's time to actually hang the door. This can be awkward to do alone, so here’s a pro tip: use shims or a small block of wood on the threshold to prop the door up to the right height. This frees up both of your hands to work.
- Prop It Up: Place your shims or block on the threshold to get the door’s hinges lined up with the z-bar.
- Start at the Top: Fasten the top hinge first. Just put in one screw and don't tighten it all the way. This gives you a little wiggle room for adjustments.
- Secure the Rest: Move on to the bottom and middle hinges, securing each with a single screw as well.
Now, give the door a gentle test swing. Does it move without catching or rubbing? If it does, you're golden. Go ahead and install the remaining screws, tightening them until they're snug. Be careful not to overdo it, as you can warp the frame.
Pro Tip: A perfectly hung door should have a consistent gap all the way around—about the width of a nickel. This little bit of space ensures it won’t stick or bind when the frame naturally expands and contracts with the weather.
Installing the Top and Latch-Side Z-Bars
With the door swinging freely, you can install the last two pieces of the frame. Start with the top z-bar, often called the header. Set it in place along the top of the door frame so it just barely kisses the top of the screen door when closed. This creates that all-important seal. Drill your pilot holes and screw it in.
Finally, tackle the latch-side z-bar. This is the piece that will hold the strike plate for your door latch. Close the screen door and hold this final z-bar in position. You're looking for a snug fit—one that gently compresses any weatherstripping but doesn't make you force the door shut.
Mark its location, drill your pilot holes, and screw it down. At this point, your installation screen door project is really looking like a finished job. If you happen to be working on a patio entrance, the process is a bit different. For that, you can find specific advice in our guide on sliding screen door installation, which covers track alignment and roller adjustments.
For now, though, your hinged door is mounted, plumb, and ready for the handle and latch.
Installing the Hardware for a Perfect Finish
Alright, your door is hung and looking great. Now for the final stretch—installing the hardware that makes it all work. This is where we add the handle, latch, and closer. Getting these details right is what makes the difference between a door that's a joy to use and one that's a constant frustration.
Think of this as the part that brings it all to life. It's about getting that satisfying click when the door latches securely and knowing it will swing shut behind you every time. Let's get these finishing touches just right.
Attaching the Handle and Latch Mechanism
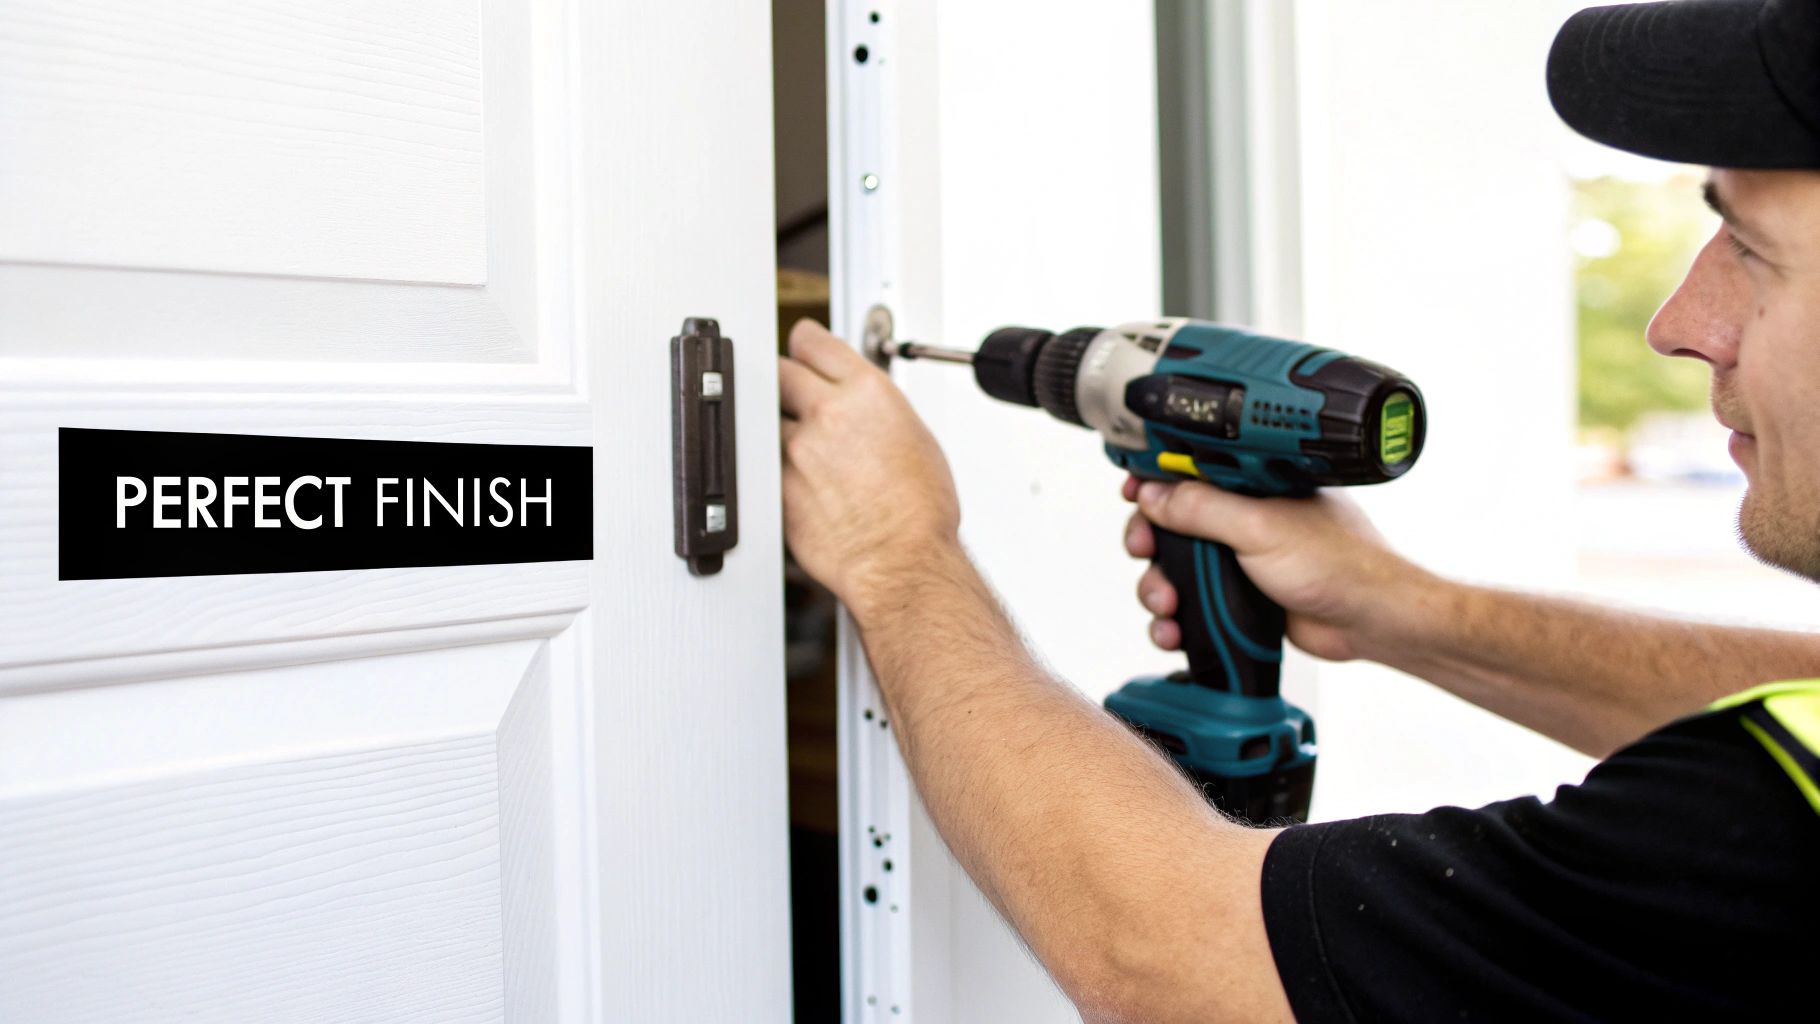
Your screen door kit should include a handle and latch assembly. Most modern kits make this pretty straightforward, with pre-drilled holes in the door. Go ahead and insert the mechanism, attaching the handle pieces on both the inside and outside. Make sure they feel solid and aligned.
Next up is the strike plate. This is the little metal piece that mounts on your door jamb and catches the latch. To get the placement perfect, close the door until the latch just touches the jamb and mark that spot with a pencil. Accuracy here is key.
Position the strike plate over your mark and drill small pilot holes before driving the screws in—this is a must to avoid splitting the wood. After fastening it, give the door a test. It should latch smoothly without you having to slam it. By the way, if you notice any damage to your screen mesh during this process, it might be a good time for an upgrade. We have a great resource on choosing replacement screens for screen doors right here.
Mounting and Adjusting the Pneumatic Closer
The pneumatic closer is the unsung hero of your screen door. It’s what stops it from slamming and makes sure it closes all the way to keep bugs out. Proper installation is everything.
You'll have two main brackets: one for the door and one for the jamb.
- The door bracket typically gets mounted near the top of the door, on the same side as the hinges.
- The jamb bracket goes on the door jamb, positioned directly across from the door bracket.
Once both brackets are secure, you can connect the pneumatic cylinder itself. It usually just snaps onto the pins on the brackets. Don't forget to use the small retaining clip to lock it in place.
Expert Insight: Here's a pro tip: always install the closer while the door is fully shut. This sets the correct distance between the brackets from the start, ensuring the closer has the right range of motion to work properly.
Fine-Tuning the Closer Tension
This final adjustment is what truly gives your installation a professional feel. Look for a small adjustment screw on the end of the pneumatic cylinder—this little screw controls the closing speed.
- Door slamming? Turn the screw clockwise (tighten it) to slow it down.
- Closing too slow? Turn the screw counter-clockwise (loosen it) to speed it up.
I recommend making tiny, quarter-turn adjustments and then testing the door each time. You're looking for that sweet spot where it closes firmly but gently. It’s a small detail that makes a world of difference in everyday use.
It's no surprise that projects like these are on the rise. The screen door installation market is expected to grow to $737 million by 2033, especially after a 35% jump in demand since 2020 as homeowners continue to invest in making their living spaces more comfortable. You can find more on this market trend at datainsightsmarket.com.
Fine-Tuning the Weatherproofing and Seals
You’ve got the door hanging straight and latching smoothly—now it’s time for the finishing touches that truly make the installation a success. A great screen door doesn't just keep out bugs; it needs to form a solid barrier against the elements. Getting the final seals right is what separates a decent DIY job from a professional-quality one that performs beautifully, whether it's up against the fierce Phoenix sun or a chilly Flagstaff night.
This last stage is all about blocking drafts, water, and any tiny pests that might try to sneak in. We'll dial in the bottom sweep, apply weather stripping, and caulk the frame to create a clean, watertight finish that protects your home for years to come.
Dialing in the Bottom Bug Sweep
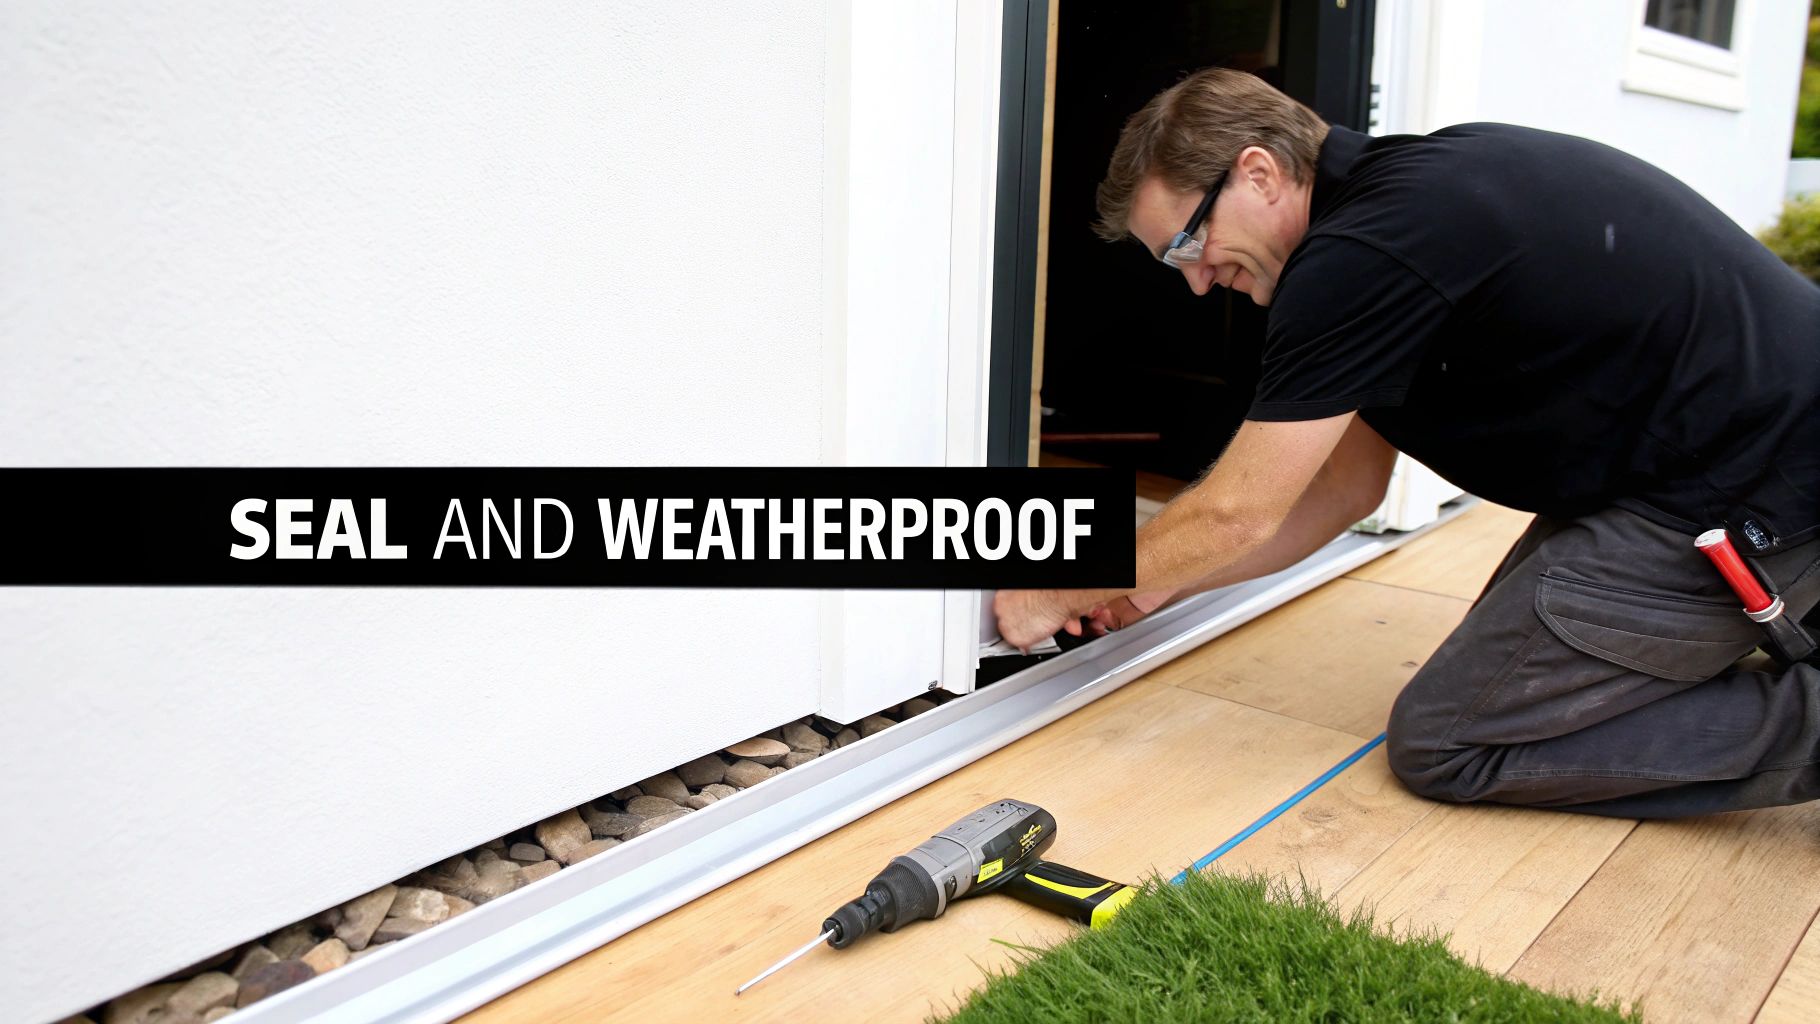
That flexible seal at the bottom of your screen door is called a "bug sweep," and its job is to bridge the gap between the door and the threshold. If it's set too low, it'll drag, scrape, and wear out in no time. Too high, and you're leaving an open invitation for critters. The goal here is a perfect, light touch.
Most sweeps are held in a channel with a few screws. Simply loosen them just enough so you can slide the sweep up or down.
Close the door and see how it feels. Can you see daylight underneath? It’s too high. Does it drag or make a scraping sound? It’s too low. You're looking for that sweet spot where it lightly brushes the threshold and creates a seal without any resistance. Once you find it, tighten those screws back up, and you're set.
Applying Weather Stripping for a Tight Seal
Next up is the door frame. Weather stripping is your go-to for stopping drafts, dust, and even some noise. For screen doors, the best place for it is along the inside of the z-bar frame, right where the door comes to rest when it's closed.
Getting a draft-free seal is straightforward:
- Prep the Surface: First, clean the inside channels of the z-bar with some rubbing alcohol on a rag. Any dust or oil will prevent the adhesive from sticking properly, so don't skip this.
- Measure and Cut: Measure the top, hinge side, and latch side of the z-bar. Cut your weather stripping to fit each section with a sharp utility knife for a clean edge.
- Apply with Care: Peel back just a few inches of the adhesive backing to start. Press the stripping firmly into the channel, slowly working your way down the frame. This helps you avoid stretching it or trapping air bubbles underneath.
You want the stripping to compress just slightly when the door is latched. That gentle pressure is what creates the airtight seal you’re after.
Expert Insight: It’s tempting to use the thickest weather stripping you can find, but that's a mistake. If you have to force the door shut, the stripping will wear out fast and put unnecessary stress on your hinges and latch. A gentle compression is all it takes.
Caulking the Exterior Frame
The final pro-level move is to caulk the seam where the outside edge of your new screen door frame meets the door jamb of your house. This is absolutely critical for preventing rainwater from seeping behind the frame, which can lead to wood rot and other nasty, expensive problems down the road.
Grab a tube of high-quality, exterior-grade silicone or polyurethane caulk—ideally one that matches your trim color. Apply a thin, steady bead along the entire outer perimeter of the frame. To get that clean, professional look, use a caulk tool or even just a wet finger to smooth the bead into a neat line.
This last touch on your installation screen door project is what truly protects your investment and your home from the elements.
Tackling Common Installation Headaches
Even the most carefully planned screen door project can hit a snag. It's incredibly frustrating when you follow all the steps, but the door just won't close right or you're left with a stubborn gap. Don't sweat it—most of these problems are pretty common and, thankfully, completely fixable with a few tweaks.
Think of this as the "what-if" guide for those last few hurdles. We’ll go over the most frequent issues our technicians at Sparkle Tech Screen Service run into in the field and give you the practical fixes to get your new door running perfectly.
The Ghost Door: Why Won't It Stay Shut?
You close the door, turn around, and it has drifted open on its own. No, your house isn't haunted; this is almost always a sign that your door frame isn't perfectly plumb (meaning, vertically straight). Gravity will always win, and even a slight lean is enough to pull the door open.
Grab your level and press it flat against the hinge-side z-bar. Is that bubble dead center? If not, you've found your problem. The fix involves using shims—thin, tapered wedges of plastic or wood. Just loosen the screws holding the z-bar, slide a shim or two behind it where needed to get the frame perfectly plumb, and then tighten everything back down.
When the Door Stops Short or the Latch Misses
Is your new door getting stuck just before it closes, or is the latch completely missing the strike plate? This usually points to one of a few culprits, so it’s a simple process of elimination.
- Check the hinges first. Are all the screws cinched down tight? A single loose hinge screw can let the door sag just enough to throw the whole thing out of whack.
- Is it "hinge-bound"? This happens when the hinges are set too deep into the jamb. If everything is tight but still misaligned, try placing a thin piece of cardboard behind one of the hinge leaves. This tiny shim can push the door out just enough to line everything up again.
- Look at the pneumatic closer. If the tension is too weak, the closer just doesn't have the oomph to pull the door that last inch and engage the latch. Look for the adjustment screw and try turning it counter-clockwise, just a quarter-turn at a time, to give it more closing force. Just be careful—too much tension and you'll have a door that slams shut.
Expert Insight from Sparkle Tech: Before you start shimming hinges or adjusting closers, do a quick "feel test." We've seen jobs where a single screw head that wasn't driven in all the way or a tiny bit of leftover manufacturing debris in the z-bar channel was enough to stop a door from closing. Run your fingers along the frame and feel for anything that shouldn’t be there.
Getting the Bug Sweep Just Right
A bug sweep that scrapes and drags along the threshold is not only annoying, but it'll also wear out in no time. On the flip side, a sweep with a big gap underneath is basically an open invitation for critters. You need to find that perfect balance.
Most sweeps are adjustable for this very reason. They usually sit in a channel held by a few screws. Simply loosen them, slide the sweep up or down until it just barely kisses the top of the threshold, and then tighten the screws. You're aiming for light, consistent contact without any real resistance.
If you still see gaps along the sides or top of the door, that’s a job for your weather stripping. Make sure you've got a continuous strip of foam or rubber stripping running along the inside of the z-bar. When the door is closed, it should gently compress this material to create a perfect seal. If gaps are still visible, you might just need a slightly thicker type of weather stripping.
Quick Fixes for Latches and Closers
Sometimes it's the little hardware details that cause the biggest headaches. Here’s a quick-glance guide for those final adjustments.
| Problem | Likely Cause | The Solution |
|---|---|---|
| Latch Won't "Click" Shut | The strike plate is misaligned. | Loosen the strike plate screws, close the door, and use a pencil to mark exactly where the latch hits. Reposition the plate to your mark. |
| Door Slams Violently | The closer's tension is way too high. | Turn the closer's adjustment screw clockwise in tiny increments. This slows it down. The goal is a firm but gentle close. |
| Door Closes Too Slowly | The closer's tension is too low. | Turn that adjustment screw counter-clockwise to give it more power. You want enough speed for it to latch securely every time. |
| Handle Feels Loose | Mounting screws aren't tight. | This is an easy one. Just tighten the screws on both sides of the handle assembly until they're snug. Don't crank on them too hard. |
Taking a few minutes to dial in these small adjustments will make a massive difference in how your screen door feels and how long it lasts. Getting a perfect, bug-free seal is a huge win. In fact, properly installed screens can block 95% of insects from getting inside. It's a key reason why demand continues to grow, especially in sunny areas where homeowners are also fighting heat—residents in Phoenix and Tempe, for example, install sun screens at rates 50% higher than the national average. To learn more, check out the market trends driving screen installations.
Common Questions We Get About Screen Door Installation
Even the best step-by-step guide can leave you with a few questions. I've been helping homeowners with these projects for years, and I've heard just about everything. Here are the most common things people ask, along with some straight-from-the-field advice to help you get it right.
Can I Put a Screen Door on Any Door Frame?
That's the million-dollar question, isn't it? For the most part, the answer is yes. Standard wood, vinyl, or even aluminum door frames are usually up to the task.
The real issue isn’t the material of your frame, but its condition. You need to give your existing frame a good, honest inspection before you even think about buying a new door. Is it solid? Is it square? Most importantly, is there any rot or significant damage? If you try to hang a brand-new screen door on a weak or warped frame, you're just setting yourself up for a headache. It'll never seal properly.
If you’re working with a metal or fiberglass frame, you might just need to switch up your hardware. You'll likely need some self-tapping screws designed for metal instead of standard wood screws. Always double-check what the door manufacturer recommends.
A Pro's Two Cents: If you push on your wood frame and find a soft spot, stop what you're doing. You have to repair that frame first. A solid foundation is everything for a good installation.
Hinged vs. Retractable: How Do I Choose?
This really comes down to how you live and where the door is going. There’s no single right answer, just the right fit for your home.
-
Hinged Doors: Think of these as the classic, durable choice. They’re built to last, often cost less, and are perfect for high-traffic spots. If it’s a back door that the kids and pets are constantly flying through, a hinged door is your best bet.
-
Retractable Doors: These have a sleek, modern feel because they vanish when you're not using them. This makes them a fantastic option for a front door or a set of French doors where you don't want to spoil the view. Just know that they are typically more delicate than a traditional hinged door.
Think about your day-to-day. A retractable screen is great for a formal entryway, but a sturdy hinged model is going to stand up better to the chaos of a busy family hub.
What’s the Best Way to Maintain My New Screen Door?
A little bit of upkeep goes a long way. If you want your new door to last for years, especially with all the dust we get here in Arizona, a simple routine makes all the difference.
Here's what I recommend:
-
Clean the Mesh: A couple of times a year, give the screen a gentle cleaning with a soft brush and some mild, soapy water. It gets rid of all the built-up dust and pollen, which clears up your view and helps the air flow better.
-
Lubricate Moving Parts: Once a year, hit the hinges and the pneumatic closer with a silicone-based spray lubricant. It's the secret to stopping those annoying squeaks and keeping everything operating smoothly.
-
Check the Hardware: Every so often, just give the screws on the hinges, handle, and frame a quick check to make sure they’re tight. Daily use can vibrate them loose over time.
-
Inspect Your Seals: Take a look at the bug sweep along the bottom and the weather stripping. If it starts to look cracked or worn out, replace it. It’s a cheap and easy fix that keeps the pests out.
For answers to additional product-related questions that might come up, that resource is a great place to check.
At Sparkle Tech Screen Service, our goal is to help Arizona homeowners get that perfect mix of fresh air without the bugs. Whether you need a fresh installation, a quick fix, or a full rescreening, we provide fast, dependable work. Get a quick quote and start enjoying your new screens.
Learn more about our screen installation and repair services!


