


A ripped, sagging screen door is more than just an eyesore—it’s a welcome mat for every bug in the neighborhood. The good news is that learning how to rescreen that door is a surprisingly simple project. You can knock it out in under an hour, instantly making your home more functional, bug-free, and better looking.
Why You Should Rescreen Your Own Door
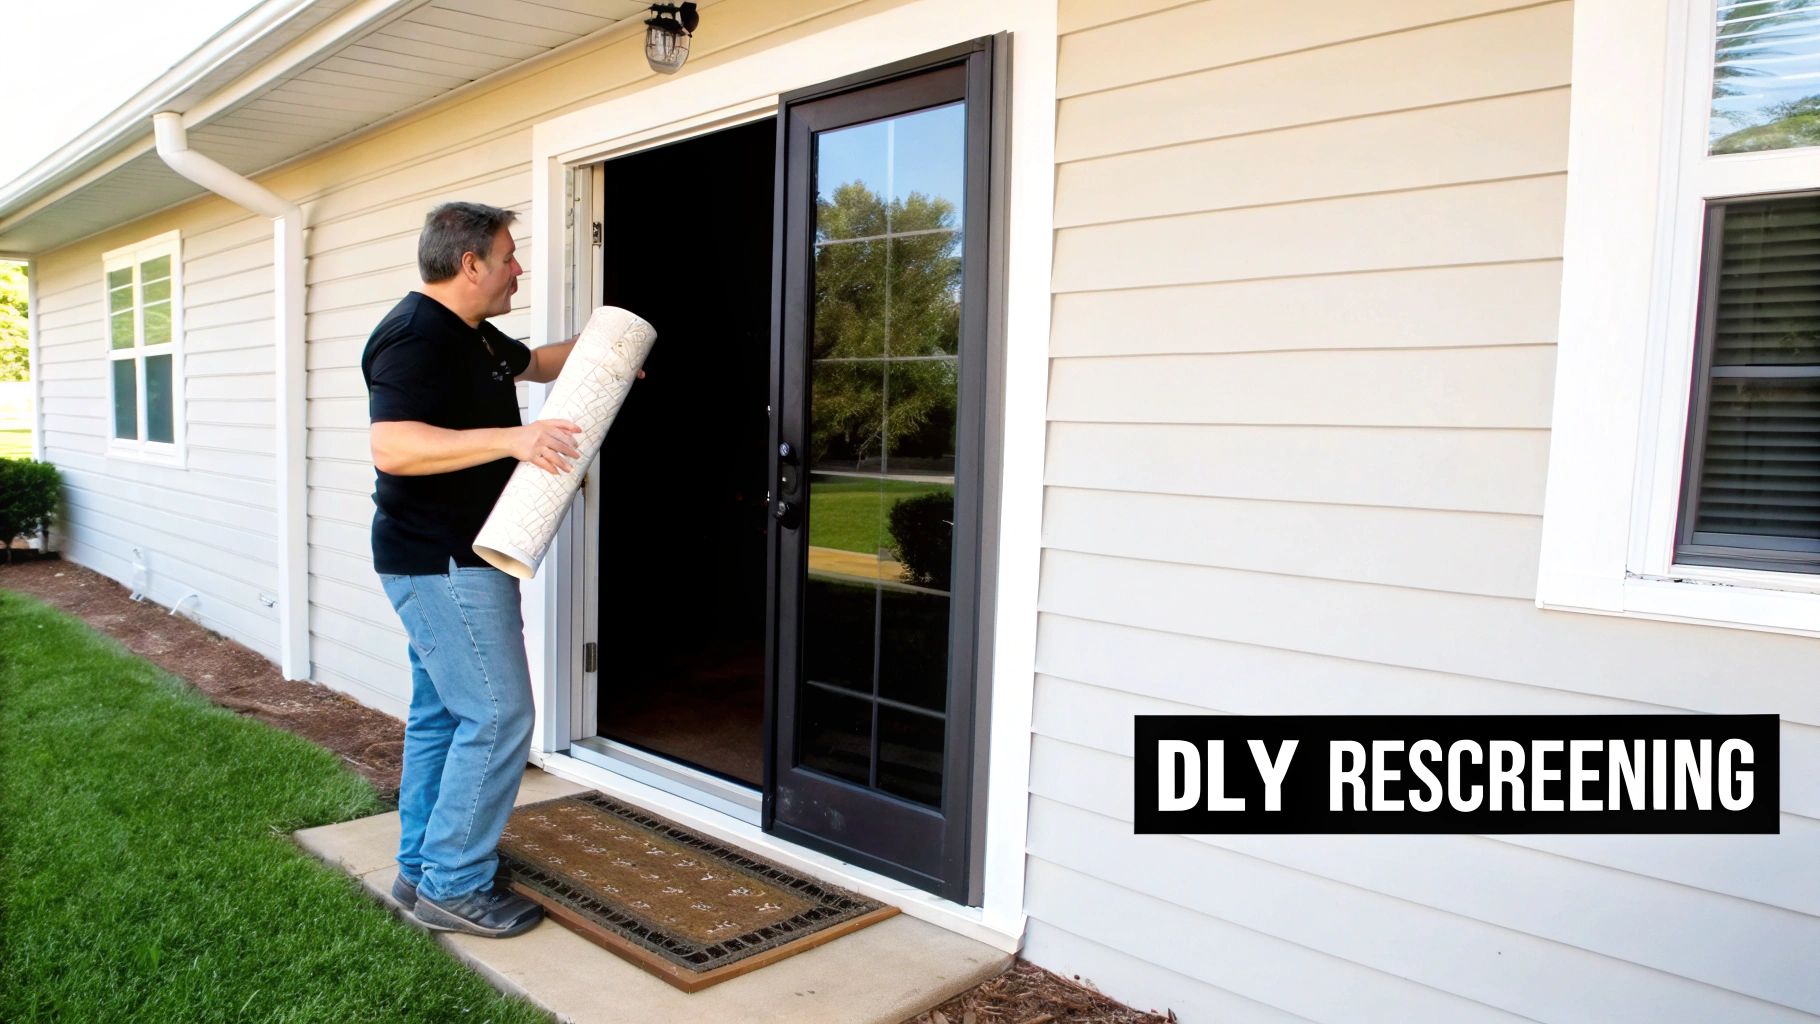
Fixing a screen door yourself is one of those home improvement projects that delivers a ton of bang for your buck, both financially and in personal satisfaction. The most obvious win here is the cost. While calling in a pro is always an option, it definitely comes with a higher price tag.
Doing it yourself is a classic weekend warrior win. A typical DIY rescreening project will set you back about $20 to $50 for materials like a roll of fiberglass screen, some new spline, and maybe a tool or two. Compare that to the $150 to $300 you might pay for a professional service, and you're looking at savings of 80-85%. It's a no-brainer.
Beyond the savings, though, there's a real sense of accomplishment that comes from fixing something with your own two hands. It's an empowering feeling and a great way to build your home repair confidence.
The Perks of a DIY Approach
Opting to tackle this yourself gives you more than just a fatter wallet. It puts you in complete control.
- Fix It on Your Schedule: No need to book an appointment or wait around for a technician. You can get the job done whenever you have a spare hour.
- Learn a Valuable Skill: This is a perfect gateway project for anyone new to home repairs. The skills you learn here—like patience and working with tension—are useful for all sorts of other tasks.
- Get Exactly What You Want: You’re in the driver's seat when it comes to materials. You can choose standard fiberglass, go for a heavy-duty pet-resistant screen, or even install a solar screen to help block harsh UV rays.
This isn't just about patching a hole. It's a quick, empowering upgrade that improves your home's function and value. A fresh, tight screen looks sharp and clean, giving your entire property's curb appeal a noticeable lift.
Once you get a taste for DIY, it's easy to get hooked. If you're looking for other practical ways to take charge of your home maintenance, check out these ideas for natural home cleaning solutions.
Gathering Your Tools and Materials
Before you even think about yanking out that old, cracked spline, let's talk about prep work. Getting all your tools and materials lined up first is the secret sauce to a smooth, headache-free project. It's the difference between a quick Saturday afternoon fix and multiple, frustrating trips back to the hardware store.
Think of this as setting up your workshop. A little organization now means you can get into a good rhythm and knock this out without any interruptions. We'll start with the most important decision: the new screen itself.
Choosing the Right Screen Material for Your Door
Not all screen mesh is the same. The material you pick has a huge impact on how long your new screen lasts, how clear your view is, and even how much it costs. This isn't about finding the "best" screen, but about finding the right screen for your specific door and lifestyle. For example, a door that gets baked by the afternoon sun has different needs than one that has to stand up to a playful German Shepherd.
To help you decide, here’s a quick comparison of the most popular options you’ll find.
| Material Type | Key Benefits | Best For | Average Cost |
|---|---|---|---|
| Standard Fiberglass | Very affordable, flexible, and the easiest to work with. Doesn't crease easily. | Most homes, general use, and is a great choice for your first DIY rescreening project. | $ |
| Aluminum | Stiffer and a bit more durable than fiberglass. Offers fantastic visibility and a crisp look. | High-traffic doors where you want a sharp view, as long as pets aren't a factor. | $$ |
| Pet-Resistant | A tough, vinyl-coated polyester mesh that's about 7 times stronger than standard fiberglass. | Homes with cats or dogs that like to scratch, claw, or lean against the screen door. | $$$ |
| Solar Screen | Blocks a large percentage of the sun's heat and damaging UV rays. Adds daytime privacy. | Doors that face intense, direct sunlight, helping to cut down on energy costs. | $$$$ |
For most people, standard fiberglass is the perfect all-around choice. It’s forgiving to install and easy on the wallet. But trust me, if your last screen was torn to shreds by a pet, the extra money for a pet-resistant screen is a smart investment. You really don't want to be doing this all over again next spring.
The Essential Tools for the Job
With your new screen mesh picked out, you just need a few other key items. The good news is that most are inexpensive, and you probably have a couple of them in your toolbox already.
-
New Spline: This is the flexible cord that holds the screen tight in the frame's channel. Do not reuse the old spline. It gets brittle and hard over the years and simply won't grip the new screen properly. The best way to get the right size is to pull out a small piece of your old spline and take it with you to match it at the store.
-
Spline Roller: This is the one specialty tool you absolutely need. It’s a simple little gadget with two wheels—one to press the screen into the groove and the other to pop the spline in right behind it. Don’t try to fake it with a screwdriver; you’ll just end up frustrated and with a torn screen.
-
Utility Knife: Make sure you have a fresh, sharp blade. A sharp knife is crucial for getting that clean, professional-looking trim at the very end.
-
Flathead Screwdriver or Awl: You’ll need something small and pointed to dig under the old spline and pry it up to get it started.
Pro Tip: Always buy a roll of screen that’s a few inches wider and longer than the actual frame opening. That extra material gives you something to hold onto while you're working, making it much easier to pull the screen taut as you install it.
Having everything you need within arm's reach makes all the difference. For a closer look at the tools involved, this guide to window screen repair tools is a great resource that applies just as well to doors.
Okay, with your supplies gathered, you’re ready for the fun part. Let’s get that old screen out of there.
The Rescreening Process From Start to Finish
Alright, with your tools and materials all lined up, it's time to get down to business. This is where we turn that sad, torn screen into a taut, professional-looking barrier that lets the breeze in but keeps the pests out. I’ll walk you through every move, from ripping out the old stuff to getting that flawless final trim.
First things first: find a good workspace. A couple of sawhorses, a sturdy workbench, or even a clean patch of garage floor will do the trick. The key is to get the door horizontal and at a comfortable height. Trust me, your back will thank you later, and you'll get much better results.
Removing the Old Spline and Screen
The first real step is a little bit of demolition. The goal here is simple: get the old, worn-out materials out without messing up the door frame itself.
Look for an end of the old spline—that's the rubbery cord holding the screen in the channel. A small flathead screwdriver, an awl, or even a sturdy pick is perfect for this. Gently dig under the spline and pry a section up. Once you've got a piece you can grab, you can usually just pull the whole thing out of its groove.
Don't be surprised if the spline is brittle and snaps into pieces. That’s totally normal for older doors that have been baking in the sun for years. With the spline gone, the old screen just lifts right out. Before you toss it, take a second to clean out the channel with a stiff brush or a rag to get rid of any trapped dirt. A clean groove is crucial for getting the new spline to seat properly.
All in all, this part is surprisingly quick. For a standard door, you're probably looking at just 5 minutes from start to finish.
Laying and Securing the New Screen
Now for the most critical part of the job, and the one where patience really pays off. Rushing this step is the number one reason people end up with wrinkles and sags.
Drape your new roll of screen mesh completely over the door frame. You'll want at least a couple of inches of overhang on all four sides. This extra material gives you something to hold onto while you work and ensures you don't come up short. A little pro tip: if the screen has a natural curve from being rolled up, lay it so the curve bows up and away from the frame.
Grab your spline roller. Using the convex (rounded) wheel, gently press the screen into the channel along one of the long sides of the door. You're not trying to jam it in there, just create a pre-crease in the mesh. This makes it much easier to install the spline.
Next, take your new spline and start at a corner. Now switch to the concave (grooved) wheel on your roller and press the spline firmly into the channel, right over the screen you just creased.
Mastering Tension and Corners
As you roll the spline into that first side, use your free hand to keep a slight, even tension on the screen. The idea isn't to stretch the material like a rubber band, but just to keep it taut and flat as you go.
Once the first side is done, move directly to the opposite side. This is the secret to a perfectly tight, wrinkle-free finish. As you press the spline into this second channel, pull the screen gently but firmly away from the side you just finished. This creates that crucial horizontal tension that eliminates any sags. You’ll feel the screen start to get nice and drum-tight.
After the two long sides are secure, just repeat the process for the shorter top and bottom sides.
Field-Tested Tip: When you get to a corner, don't try to roll right through it. You'll likely bunch up the spline or tear the screen. Instead, use the tip of your flathead screwdriver to carefully poke the spline snugly into that 90-degree turn before you continue rolling.
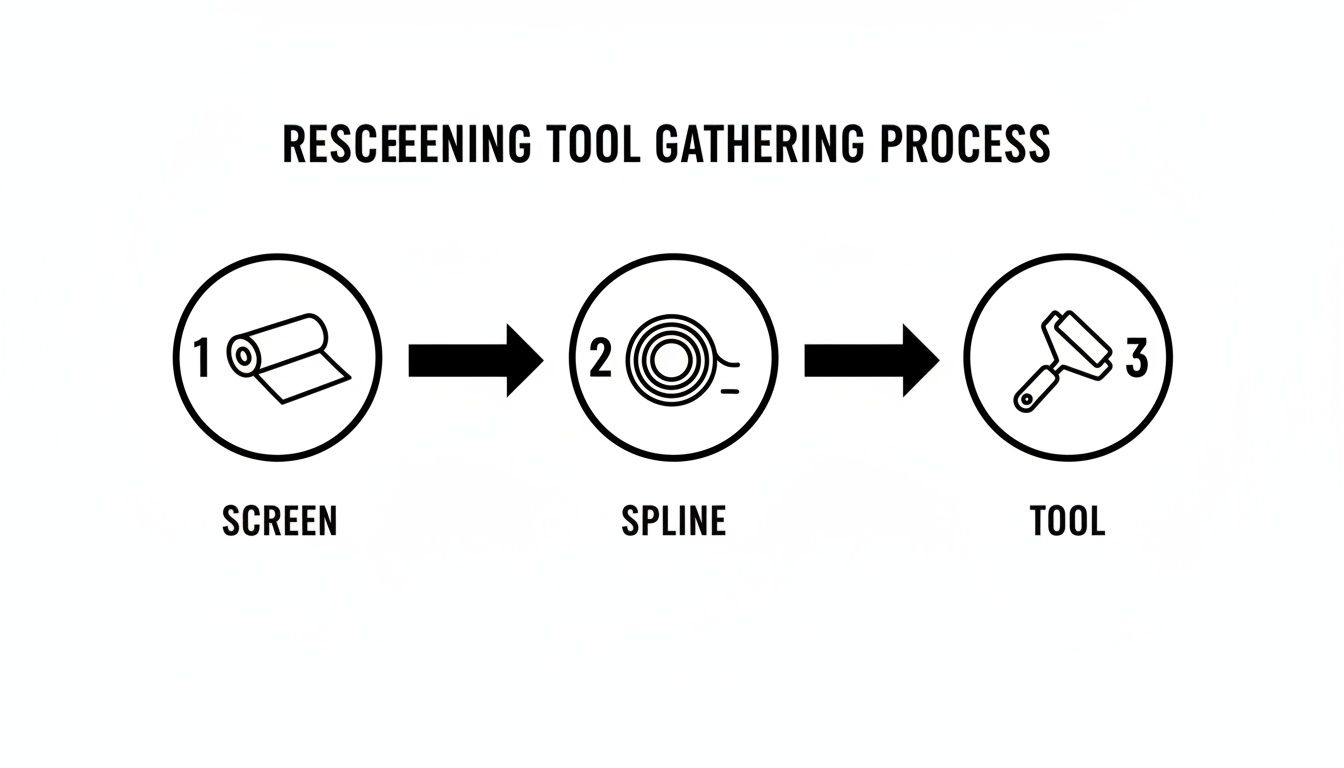
The image above really breaks it down. Success comes down to those three key elements: the right screen, the correct spline, and that essential little roller tool.
Trimming for a Professional Finish
You're on the home stretch! With the new screen and spline locked in place, all that's left is to trim off the excess for that clean, factory look.
Take a utility knife with a fresh, sharp blade—and I do mean sharp, as a dull blade will just pull and snag the mesh. Carefully run the blade along the outside edge of the spline channel. Angle the knife slightly away from the new screen to avoid any accidental slips that could cut your brand-new work. A steady hand and one smooth, continuous cut will give you the best result.
This is a great DIY skill to have, especially as durable security screen doors become more popular. Being able to rescreen these can extend their life by a good 5-10 years. A properly rescreened door is bubble-free and creates an airtight seal that stops 99% of insects from getting in.
Once trimmed, your door is ready to hang back up. Step back and admire your handiwork—you just did a professional-grade repair. If you want to dive deeper into the different material options out there, check out our guide on the various types of window screen mesh.
Troubleshooting Common Rescreening Mistakes
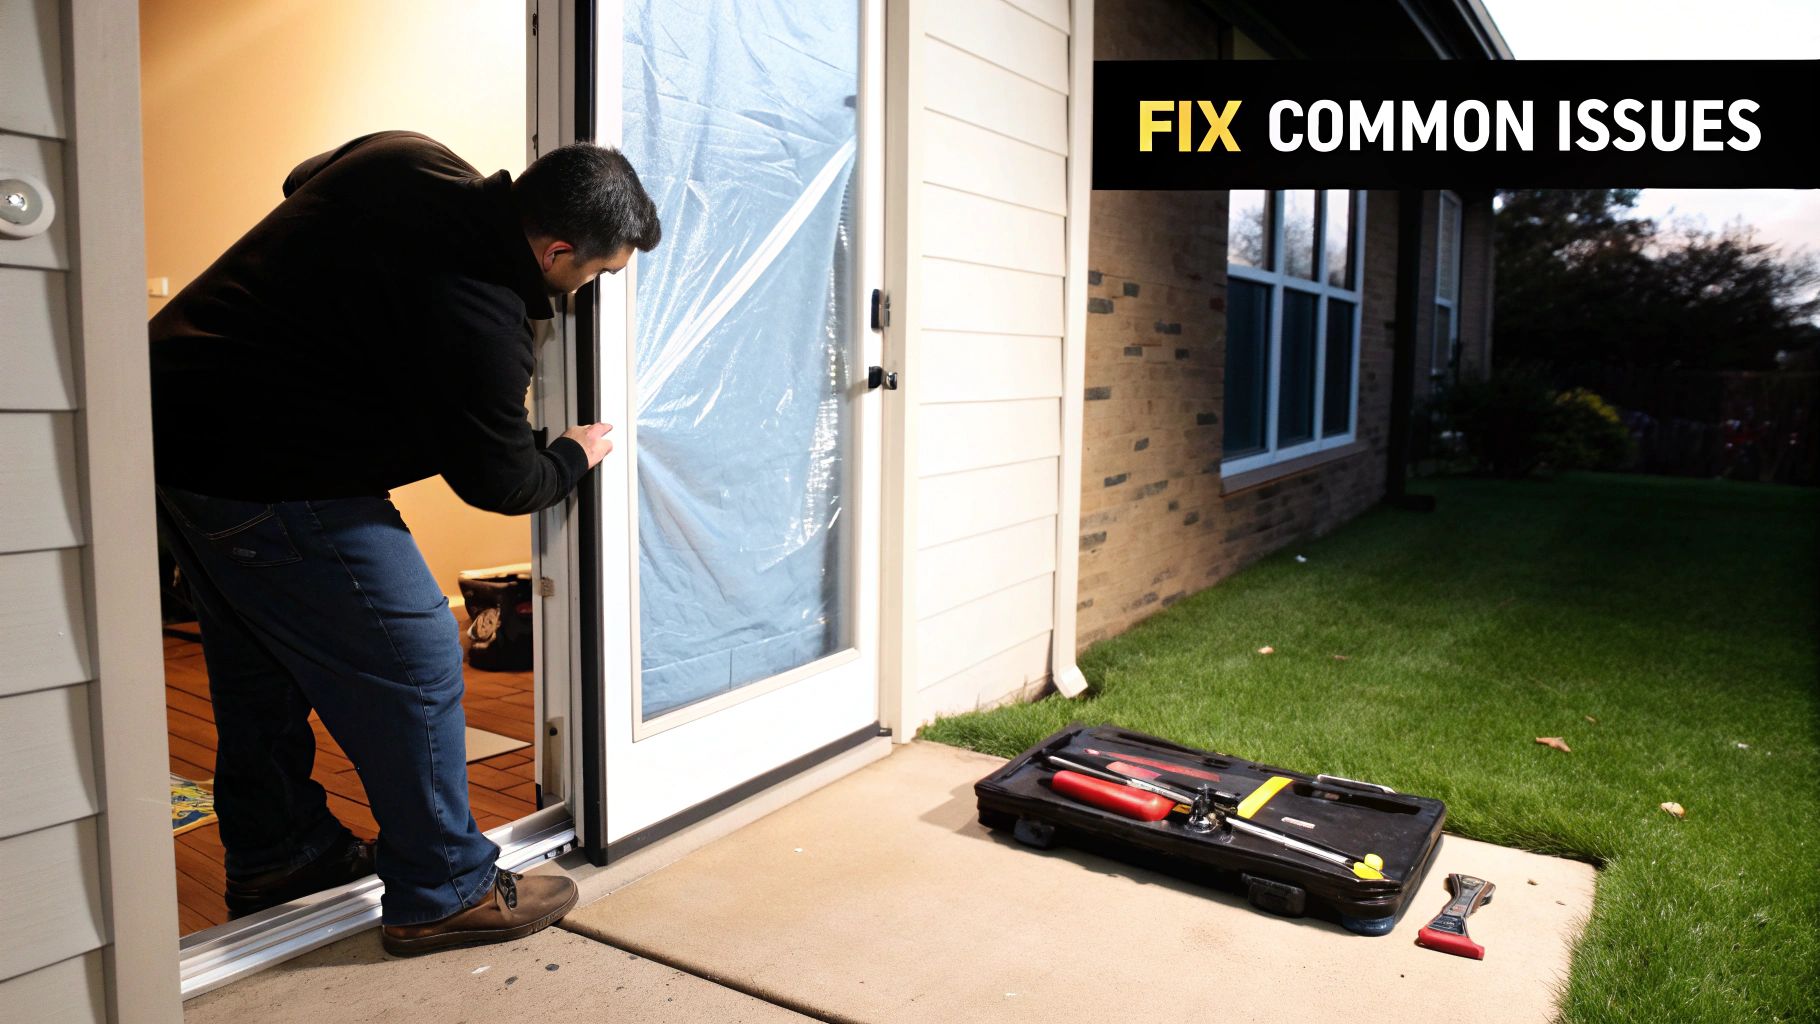
Even the most carefully planned DIY project can hit a snag. When it comes to rescreening, don't sweat it—most common problems are surprisingly easy to fix without having to rip everything out and start over. Let’s walk through the most common headaches and how to solve them.
The classic frustration? A screen that ends up looking saggy or wavy. This almost always boils down to one thing: uneven tension when you were installing the spline. It's an easy mistake to make, pulling a little tighter in one spot than another.
Another one I see a lot is accidentally poking a hole in the new screen with the spline roller, especially around the corners. That usually happens from pushing down too hard or trying to speed through the turns. Remember, a steady hand and consistent pressure will get you much further than brute force.
Fixing Sags and Wrinkles in Your Screen
If you stand back and notice a sag, the fix is pretty simple. Just use your screwdriver to gently pry out the spline on the sagging side and maybe the one next to it. Now, pull the screen mesh taut again—not crazy tight, just smooth and even—and roll the spline back into its channel.
Here’s a pro tip to prevent this from happening in the first place: work on opposite sides. Once you secure one of the long sides, move directly across to the other long side. This approach naturally balances the tension across the screen, making sags and wrinkles far less likely.
The core technique of rescreening has been refined since the spline was invented in the 1920s. Proper technique, including creating even tension, can yield a repair that lasts for 10 years, significantly reducing landfill waste by up to 70% compared to full door replacements. This sustainable practice makes home maintenance accessible. You can learn more about the evolution of screen door technology by reviewing market research from Persistence Market Research.
Dealing with Stubborn Spline
What happens when the new spline just refuses to go in? It might feel too big for the channel or keep popping out right after you roll it in. This usually means one of two things: you've got the wrong size spline, or the channel is full of gunk.
First, take a piece of your old spline and hold it up next to the new one. They should be the same diameter. If the size is right, grab a small flathead screwdriver or a stiff brush and give that channel a good cleaning. You'd be surprised how much dirt and grime can build up in there over the years.
- For tight fits: Is the spline the right size but still giving you a fight? Try soaking it in a bit of warm, soapy water for a few minutes. This makes the vinyl more flexible and much easier to work with.
- For corners: Instead of trying to roll the spline into a sharp corner, use the tip of your screwdriver to gently poke it down into place. This keeps it from bunching up and ensures a clean, tight fit all the way around.
Once you know what you’re up against, the solution is usually straightforward, and you'll have that spline locked in tight.
When a DIY Fix Just Won't Cut It
Every seasoned DIYer knows that a key part of any project is recognizing your own limits. While rescreening a door is a great skill to have, sometimes the problem is bigger than a simple tear in the mesh.
Pushing through a DIY fix when the door has deeper issues can quickly turn a weekend project into a major headache. Worse, you could end up causing more damage. Knowing the red flags will save you time, money, and a whole lot of frustration.
Signs You Should Call a Professional
Take a close look at your door. If the screen itself isn't the only problem, you might need more than just new mesh. If you notice any of the following, it’s probably a good idea to put down the tools and call for backup.
-
Bent or Warped Frame: This is a big one. If the metal frame of your screen door is twisted or bowed, a new screen won't fix how it hangs or closes. A pro can tell you if the frame can be salvaged or if it’s time for a replacement.
-
Faulty Rollers or Hardware: Sliding screen doors live and die by their rollers. If they're cracked, broken, or just plain worn out, the door will be a nightmare to open and close. Sourcing and installing the exact right replacement parts can be surprisingly tricky.
-
Tough-to-Handle Specialty Screens: Not all screen mesh is created equal. If you’re working with heavy-duty pet screens or stiff solar screens, you'll quickly find they don't have the same forgiving stretch as standard fiberglass. Professionals have the specialized tools to get these installed taut and wrinkle-free.
A warped frame or a broken roller won't be solved with new mesh. Trying to force a repair can strain the door track and lead to more expensive problems down the line. It's better to address the root cause for a lasting solution.
If you discover the job is more complex than you bargained for, you can always explore options for replacement screens for screen doors that tackle these bigger structural problems head-on.
And hey, there's no shame in calling for help. If the task is just too time-consuming or you want a guaranteed perfect finish, you could look into professional handyman services.
For those in our area, this is exactly what we do at Sparkle Tech Screen Service. We specialize in these tricky situations and offer same-day and same-week service to handle everything from a quick rescreen to a full repair, ensuring your door works perfectly every time.
Common Questions We Hear About Rescreening Doors
Even with the best guide, you're bound to have a few questions once you get your hands dirty. We get these all the time, so here are some straight answers to help you finish the job with confidence.
So, How Long Does This Actually Take?
For your first go-around, give yourself about an hour. That way, you won't feel rushed when you get to the tricky parts, like getting the tension just right before you lock in the spline.
After you've done one or two, you'll get the hang of it. An experienced hand can often knock out a whole door in just 20-30 minutes. The real goal is precision, not speed—especially when you're setting the screen.
My Dog Destroyed My Last Screen. What's the Best Material for Pets?
If you have a furry friend (or a few), pet-resistant screen is your best bet, hands down. It's a vinyl-coated polyester material that’s about seven times stronger than the standard fiberglass stuff. It’s designed to handle claws and paws without instantly shredding.
Yes, it costs a bit more, and the view through it is a little less clear, but it’s an investment that pays for itself. You’ll avoid the headache of redoing this same repair every few months. Trust me, starting with a durable screen saves a ton of frustration later.
Choosing the right screen is all about finding a balance between durability and your day-to-day life. For pet owners, a tough, pet-resistant screen breaks that endless cycle of rip-and-replace.
Can I Just Reuse the Old Spline?
Look, I get the temptation to save a few bucks, but I’m going to give you a hard "no" on this one. While you technically could if it's still soft and hasn't cracked, it's a really bad idea. Years of sun and weather make the old spline hard, brittle, and stretched out.
A new roll of spline is cheap and is the secret to a professional-looking, tight finish. Fresh spline is flexible and grips the new screen mesh securely in the channel, which is exactly what you need to keep it from popping out. It’s a tiny expense that makes a huge difference in how long your work will last.
If you get started and realize the frame is bent or the job is bigger than you thought, don't worry. When you want a perfect, hassle-free finish, Sparkle Tech Screen Service is ready to step in. We offer same-week and even same-day service to get your doors back in perfect shape. Find out more at https://sparkleechscreenservice.com.


