


A torn screen usually gets noticed at the worst time. You open a window for fresh air, then spot the rip, the loose corner, or the sagging mesh that's been bothering you for weeks. Some damage is a simple weekend fix. Some isn't. The hard part isn't learning one repair method. It's deciding whether you should patch it, rescreen it, or stop before you waste time on a frame that was never worth saving.
Most homeowners don't need more vague advice about “small tears” and “big tears.” They need a practical way to judge the job in front of them. If you're comparing materials, trying to match a solar screen, or wondering whether a pet screen is worth the extra effort, the right choice depends on the damage, the frame, and how clean a result you expect.
Your First Look at a Damaged Window Screen
Start with the screen still in the window. Don't grab tools yet. Look at the type of failure first.
A single puncture from a pet claw is different from mesh that's loose across the whole frame. A clean hole in otherwise solid screen usually points toward a patch. A screen that bows, wrinkles, or pulls away at the edges usually points toward a full rescreen. A frame that looks bent, twisted, or cracked often means repair is no longer the smart path.
One of the most useful habits is to treat window screen repair like triage. You're choosing among three lanes:
- Patch it if the damage is localized and the surrounding mesh still has good strength.
- Rescreen it if the frame is usable but the mesh has failed broadly.
- Hand it off if the frame, spline channel, or specialty material makes the job harder than it looks.
What to notice before removal
Check the screen from both sides. Small holes can hide loose strands and edge damage that don't show from inside. Press lightly on the mesh. If it feels dry, brittle, or easily deformed, patching often turns into a second repair later.
Also pay attention to what kind of screen you already have. Standard bug mesh is forgiving. Solar and pet-resistant products are not always as forgiving, and matching them matters for appearance and performance. If you're trying to compare styles or find quality window screens before you commit to a repair, it helps to see what a finished replacement looks like.
Practical rule: If the frame is straight and the mesh failure is the only problem, repair is usually still on the table.
If you want a quick reference for common failure patterns before choosing a method, this overview of window screen damage is useful because it separates mesh problems from frame problems. That distinction is what saves people from doing a neat repair on the wrong screen.
Gathering Your Tools and Assessing the Damage
A screen repair usually goes one of two ways. You lay out the right tools, confirm the frame is worth saving, and the job stays simple. Or you pull the screen first, then find brittle spline, a twisted frame, or specialty mesh that should have changed the plan from the start.

What to put on the table
Set out the basics before you remove anything:
- Spline roller for seating new spline without gouging the frame
- Flat screwdriver or pick for lifting old spline carefully
- Utility knife with a fresh blade for clean trimming
- Tape measure to verify frame size and mesh width
- Replacement mesh that matches the existing screen type
- New spline if the old one feels hard, cracked, or flattened
- Patch material or a repair kit if the damage is limited to one small area
Keep the parts organized as you go. Lost spline, mixed-up corners, and dull blades slow down screen work fast. Homeowners who like labeled bins and sorted parts sometimes borrow ideas from a general guide to deck and fence hardware, and that mindset helps here too.
If you want a simple shopping list before heading to the store, this window screen repair tools checklist is useful for matching the job to the gear.
Screen type changes the DIY decision
The mesh matters as much as the hole.
A standard bug screen is the most forgiving choice for DIY work. It cuts easily, rolls in with less resistance, and usually gives you a decent result even if your first corner is not perfect.
Solar screen asks for more judgment. It is thicker, darker, and more noticeable if the replacement does not match the other windows. Homeowners can rescreen it themselves, but only if they are sure about the material and accept that a slightly loose install will show more than it does on basic insect mesh.
Pet-resistant screen is where many DIY jobs go sideways. The material is stronger, but that extra stiffness makes it harder to tension evenly. It also puts more stress on light frames and old corners. On a small, ground-floor panel, DIY can still make sense. On a large window, a patio slider, or an older frame, paying for professional rescreening often costs less than replacing a bent frame after a bad install.
| Screen type | Good DIY use case | What makes it tricky |
|---|---|---|
| Bug screen | Small patches and straightforward rescreening | Easy to cut too aggressively near the spline edge |
| Solar screen | Full rescreen if you can match the existing material | Mismatch stands out, and tighter mesh is less forgiving during install |
| Pet-resistant screen | High-contact areas with a sturdy frame | Stiff mesh takes more force to roll in and can distort weaker frames |
How to assess the damage before you commit
Check the screen in the frame first, then on a flat surface if you remove it. That tells you whether the problem is only the mesh or the whole assembly.
Focus on three points:
Mesh condition
Look beyond the tear. Faded, brittle, or stretched mesh usually means the visible damage is only the first failure. In that case, patching saves little.Spline condition
Pinch a short section. If it feels dry, shrunken, or cracks when bent, plan on replacing it. Reusing bad spline is one of the fastest ways to waste new mesh.Frame condition
Check for bowed sides, loose corners, and a worn spline groove. If the channel is damaged or the frame will not sit flat, stop there. That repair gets harder fast, especially with solar or pet screen.
One practical rule I use is simple. If the mesh failed but the frame is square and the groove is clean, DIY is still a reasonable option. If the frame is bent, the corners are separating, or the material is specialty mesh you cannot match with confidence, that is usually the point to call a pro.
Quick Fixes for Small Holes and Tears
Patching works when the damage is small, clean, and away from the outer edge. It doesn't work well when the tear is ugly, stretched, or close to the spline.

When a patch makes sense
A patch is usually the right call when the surrounding mesh still lies flat and the frame is solid. For localized damage, a common repair spec is to cut the damaged area into a neat square and use a patch that overlaps the hole by about 1/2 inch on all sides according to this window screen repair guidance from Home Depot.
That overlap matters. Too little and the patch won't hold. Too much and the repair becomes more visible than it needs to be.
A clean patch sequence
Use this approach for fiberglass mesh:
- Remove the screen if you can. Flat work is cleaner.
- Trim the damaged area into a neat square.
- Cut a matching patch with about 1/2 inch of overlap on every side.
- Apply only minimal waterproof glue, or use an equivalent fastening method suited to the mesh.
- Let it set without tugging the screen.
For aluminum mesh, patching can work, but appearance is harder to hide. If the screen sits in a highly visible front window, many homeowners are happier rescreening the whole panel instead of living with a visible repair.
When patching stops being smart
If the opening is large, irregular, or close to the spline edge, patching can create distortion instead of solving the problem. That's especially true near corners where tension already concentrates.
- Near the edge means the patch can interfere with tension
- Irregular tears leave weak strands around the repair
- Multiple small holes usually mean the mesh is aging out, not just damaged once
Don't judge a patch by whether it sticks on day one. Judge it by whether the surrounding mesh is strong enough to support it.
A good patch is a lasting repair on a sound screen. On a failing screen, it's just a delay.
The Complete Guide to Rescreening a Window Frame
You pull the screen out, set it on a table, and the mesh is shot but the frame still looks decent. That is the point where homeowners need to decide whether this is a good DIY job or a job to hand off. If the frame is square, the spline groove is intact, and you are working with standard bug screen, rescreening is usually manageable. If the frame is bent, the corners are loose, or you are installing stiff pet or solar mesh, the job gets less forgiving fast.

A visual walkthrough helps if this is your first one:
Start with the frame, not the mesh
Before buying anything, check whether the frame deserves new mesh.
A reusable frame sits flat, has corners that stay tight when you press on them, and still has a clean spline channel. If the groove is cracked, chewed up, or packed with old hardened spline that will not come out cleanly, a DIY rescreen can turn into a frustrating half-fix. In that case, replacement or professional repair usually makes more sense than forcing new material into a bad frame.
Screen type matters too. Standard fiberglass bug screen is the easiest material for a first attempt. Pet screen is tougher and less forgiving because it resists rolling and puts more stress on the frame. Solar screen can look good when installed well, but the heavier weave shows alignment errors quickly.
A practical rescreen sequence
Set the frame on a flat surface. Lift one end of the old spline with a pick or small screwdriver, then pull it out in one piece if possible. Remove the old mesh and clean the groove fully. Any leftover spline bits or grit can keep the new spline from seating evenly.
Lay the new mesh over the frame with enough extra material on each side to hold and adjust as you work. Keep it centered. Do not trim it yet.
For bug screen, a homeowner can usually work side to side without much trouble. For pet or solar mesh, I recommend slowing down and checking the weave line before seating each side. If that material starts crooked, it rarely finishes straight.
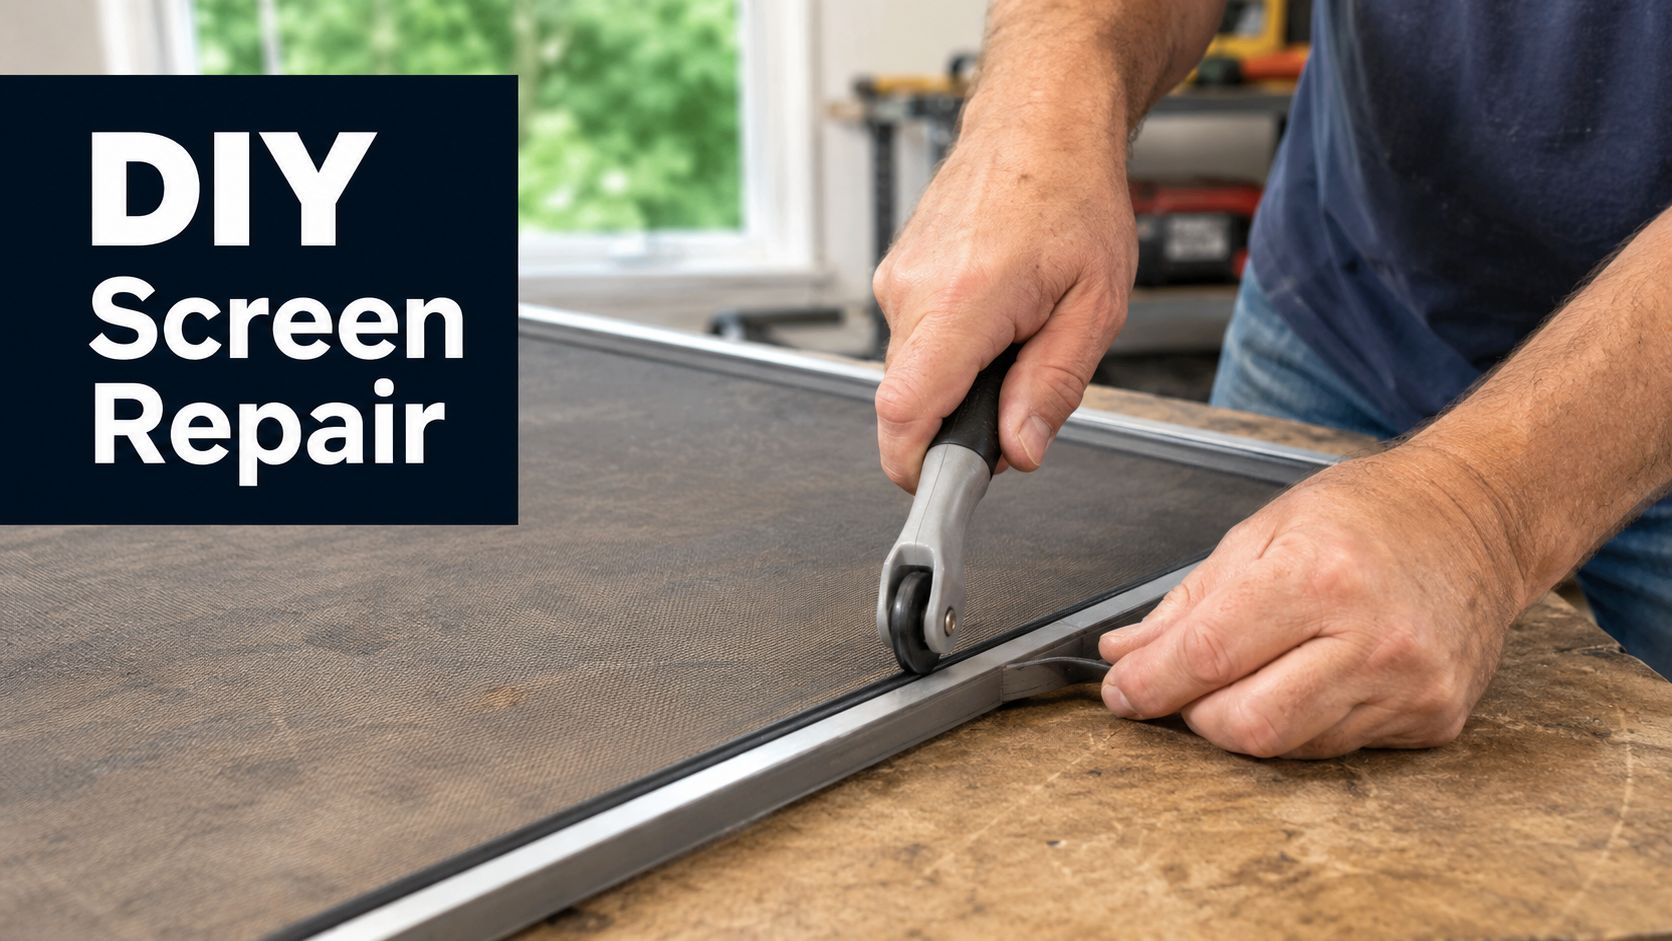
Roll the spline in without forcing the frame
Start on one long side. Use the correct roller and press the spline into the groove with steady pressure. Move to the opposite side next, then finish the remaining sides. Hold the mesh flat, but do not pull it hard enough to bow the frame.
Corners decide whether the repair lasts. Get the spline fully seated into each corner before trimming excess mesh. A screen can look fine across the middle and still lift later because one corner never locked in properly.
If the spline keeps jumping out, stop and inspect the groove and spline size. More force is not the answer.
DIY or pro? Make the call by screen type
Use this as a reality check before you commit:
| Screen type | DIY difficulty | Best advice |
|---|---|---|
| Fiberglass bug screen | Low to moderate | Good first DIY project if the frame is sound |
| Aluminum screen | Moderate | Possible for DIY, but creases and cosmetic flaws show easily |
| Pet screen | Moderate to high | DIY is possible, but bent lightweight frames often struggle with the added tension |
| Solar screen | High for first-timers | Worth hiring out if appearance matters or the window is highly visible |
That trade-off gets overlooked in a lot of guides. The steps are similar, but the margin for error is not.
Check the finished panel before reinstalling
Use a simple inspection:
| What you see | What to do |
|---|---|
| Flat mesh and straight frame | Reinstall it |
| Ripples on one side | Remove that side and reset it |
| Corner lift | Reseat the spline in that corner before trimming more |
| Frame bowing | Stop. The mesh is too tight or the frame is too weak for the material |
For many homeowners, the question is not whether rescreening is possible. It is whether the time, material, and risk of rework still make sense. If you want a clearer budget before deciding, this guide on the cost to rescreen windows helps compare a DIY repair with hiring it out.
A simple bug screen in a straight frame is a solid DIY project. A large panel, a fragile frame, or heavy mesh is where I tell people to be honest with themselves. If you are fighting the frame by the second side, stop there and call a pro.
Troubleshooting Common Repair Problems and Costs
You finish the screen, hold it up to the light, and something is off. One corner kicks up, the mesh ripples, or the spline starts walking back out of the groove as soon as you flex the frame. That is the point where the DIY versus pro decision matters most, because some problems are quick resets and some are signs the frame or material choice is working against you.

What to do when the screen looks wrong
Start by identifying whether the problem came from installation, the frame, or the mesh itself.
If the panel sags after installation, pull the spline back out on the affected side and reset that side before trimming anything else. Trying to add tension after the screen is already cut usually leaves waves, especially on aluminum mesh, where mistakes show fast.
If the spline will not stay in the groove, check for dirt, hardened old spline, or a channel that has been chewed up from past repairs. Standard bug screen is often forgiving enough for one more attempt. Pet screen and solar screen are less forgiving because they put more load on the frame and spline. If the groove is worn and you are using heavier mesh, DIY often stops making sense.
A poor fit after rescreening usually points to frame trouble, not mesh trouble. Homeowners often keep redoing the fabric when the frame is bent, out of square, or too light for the material they chose.
Here's a practical troubleshooting table:
| Problem | Likely cause | Smart next step |
|---|---|---|
| Sagging mesh | Uneven tension during install | Redo one side before reinstalling |
| Corner lifting | Spline not fully seated in corner | Reset the corner before trimming |
| Spline backing out | Worn spline or damaged groove | Replace spline or stop if the groove is compromised |
| Screen still fits poorly | Frame is bent or out of square | Consider replacement instead of more mesh work |
Understanding the costs
Cost depends less on the tear and more on what you can reuse. According to this window screen replacement cost guide, new mesh only for a repair commonly runs about $15 to $50 per screen, while full replacement typically averages around $316 per window and often falls between $147 and $513. The same window screen replacement cost guide notes that labor commonly adds $20 to $50 per screen or $50 to $80 per hour.
In practice, that means a simple bug screen with a straight frame is usually worth fixing yourself. A pet screen in a flimsy frame can turn into a redo. A solar screen on a front-facing window may be technically DIY-able, but the first visible wrinkle often sends homeowners back to the shop for new material.
If the frame is sound, rescreening usually saves money. If the frame is bent, the spline channel is damaged, or you already ruined one cut of specialty mesh, the cheap repair can get expensive fast.
For a side-by-side look at labor, material, and multi-screen pricing, see this guide on window rescreening costs for homeowners.
When to Skip the DIY and Call a Professional
You pull the screen from the window expecting a quick rescreen, then notice the frame rocks on the floor, one corner is loose, and the spline channel looks chewed up. That is usually the point where a one-hour DIY turns into a frustrating half-day with a result you still do not want to reinstall.
Cutoff is not hole size. It is whether the frame can still hold mesh under tension and go back into the opening without fighting you. If the frame is bent, the corners are loose, or the spline will not stay seated, new mesh will not fix the underlying problem. Guidance from this repair decision guide from Mr. Glazier makes the same point in simpler terms. Once the frame starts failing, repair gets less forgiving.
Jobs that usually deserve a pro
- Frames that are bent or out of square, especially if the screen no longer slides or seats cleanly
- Spline channels that are cracked, worn, or packed with old material and will not hold new spline securely
- Loose frame corners that let the screen rack sideways when you tension the mesh
- Solar screens where wrinkles, uneven tension, or a bad cut are obvious from the curb
- Pet screens in lighter frames that were not built for the extra mesh stiffness
- Slider screens, large panels, and patio screens where fit matters across a bigger span and mistakes waste more material
- Several damaged screens at once when you want the mesh type, color, and tension to match from window to window
Screen type matters more than a lot of DIY guides admit. Standard bug screen is forgiving. Pet screen is tougher but harder to tension, and it can twist a weak frame while you install it. Solar screen adds another layer. The material is less forgiving, cut accuracy matters more, and every ripple shows. A homeowner can absolutely handle some of these jobs, but the odds change fast once the material gets heavier or the frame gets larger.
Cost is part of the decision too.
A professional is often the cheaper choice when you are already on your second roll of specialty mesh, replacing bent corners, or trying to make one repaired screen match the rest of the house. I see homeowners do solid work on single bug screens all the time. I also see people spend good money chasing a pet or solar rescreen on a worn frame that never had much life left in it.
Sparkle Tech Screen Service handles bug screens, sun and solar screens, sliders, and patio rescreening. That is a practical option when the job has moved past basic mesh replacement and into frame repair, material matching, or multi-screen consistency.
If the frame is straight, the corners are tight, and you are working with standard insect mesh, DIY still makes sense. If the frame is failing, the material is specialty mesh, or the panel is large enough that a bad install will be obvious every time you look at it, call for help before you waste more time and material.


