



A bent or broken window screen frame isn't just an eyesore. It's an open invitation for bugs and can even mess with your home's energy efficiency. The good news is that fixing one is often a straightforward job, whether it's gently straightening a bent aluminum section or popping in a new corner piece to get it back into shape. This guide will walk you through it.
Why Bother Fixing Your Screen Frame?
When a screen frame is damaged, it's not doing its job. It's your home's first line of defense against pests and all sorts of outdoor debris. A warped frame can also drag down your home's curb appeal and mess up proper airflow. Learning to fix these common issues is a fantastic homeowner skill that saves you money and brings back your peace of mind.
Think of this as your complete roadmap. We'll cover everything from figuring out what's wrong to the nitty-gritty of the repair itself.
- We’ll look at the usual suspects behind bent aluminum, from an accidental bump to years of sun exposure doing a number on the metal.
- You'll get step-by-step instructions for carefully bending metal back into shape and replacing those little plastic corner keys that hold everything together.
- Most importantly, we'll give you the honest truth about when a DIY fix is the right move and when it's smarter to just call in a pro.
It's a Growing Trend in Home Maintenance
More and more people are choosing to repair rather than replace, and for good reason. The global market for window frame repair is expected to reach $2.5 billion by 2025. This is largely because a lot of homes are getting older—over 60% are more than 30 years old.
For homeowners, the choice is often simple. Repairing a frame can save you up to 50% compared to the cost of a brand-new one. It's a smart, cost-effective approach.
Pro Tip: Before you start anything, figure out what your frame is made of. The way you fix an aluminum frame is totally different from how you'd tackle vinyl or wood. If you're not sure, check out this breakdown of the most common https://sparkletechscreenservice.com/types-of-window-screen-frames/ to get it right.
Of course, there are times when a frame is just too far gone for a simple fix. In those cases, a full DIY window screen frame replacement is the only way to ensure it lasts. Our goal is to give you the confidence to make that call, so every repair you tackle is one that holds up. By the time you're done here, you'll be ready to handle these common screen problems yourself.
Getting Your Tools and Materials Ready
Trying to fix a window screen frame without the right gear is a recipe for frustration. Seriously, it's the difference between a clean, professional-looking repair and a sloppy mess that you'll just have to fix again later. Taking a few minutes to gather everything you need first will make the whole project go a lot smoother.
Think of it like setting up for any project—you need your core essentials. For almost any screen repair, whether you're just replacing torn mesh or trying to straighten a bent frame, there are a few tools you simply can't do without.
- Utility Knife: Make sure you have a fresh, sharp blade. A dull one will just snag and tear the new screen, which is incredibly annoying.
- Spline Roller: This is the special tool for the job. It has a wheel on each end (one curved in, one curved out) designed to perfectly seat the spline into the frame's channel. Don't try to use a screwdriver—it just doesn't work right.
- Needle-Nose Pliers: Perfect for yanking out that old, brittle spline that's been baking in the sun for years.
- Measuring Tape: You've heard it a million times: measure twice, cut once. It's especially true here, as screen mesh isn't cheap.
Here's a little perspective: The national average to have a pro fix a window screen frame is about $317. Doing it yourself saves a ton of cash. Your biggest costs will be the materials, like standard fiberglass mesh which should last you a good 10-15 years. Keep in mind, intense sun like we get in Phoenix can warp frames 25% faster, so a solid DIY fix can also improve your home's energy efficiency by up to 15%.
Choosing the Right Replacement Materials
Once you've got your tools, it's time to pick out the materials. This is where you can customize the repair for your home's specific needs—maybe you need something tough for a patio door, or something that offers better visibility. The two main things you'll be buying are the new screen mesh and the spline.
First up, the spline. You have to get the spline diameter exactly right. The easiest way is to just cut a small piece of the old spline and take it with you to the hardware store to match it up. If the old spline is gone, you can use the smooth shank ends of different drill bits as a makeshift gauge to figure out the width of the channel in the frame. This part isn't optional; spline that's too thin will let the screen pop right out, and spline that's too thick will be impossible to install.
Next, you'll choose your screen mesh. There are a bunch of options out there, each with its own pros and cons.
Choosing the Right Screen Mesh for Your Repair
Here's a quick comparison of the most common window screen mesh materials. This should help you pick the best one for your home and the environment it's in.
| Mesh Type | Best For | Durability | Visibility | Average Cost |
|---|---|---|---|---|
| Fiberglass | General-purpose use, affordability, and flexibility | Good | Excellent | $ |
| Aluminum | Areas needing higher durability and a crisp look | Very Good | Good | $$ |
| Pet-Resistant | Homes with cats or dogs that claw at screens | Excellent | Fair | $$$ |
| Solar Screen | Sunny climates, reducing heat and UV rays | Very Good | Fair | $$$$ |
Fiberglass is the go-to for most people. It's cheap, easy to work with, and doesn't hold a crease if you accidentally fold it. If you need something tougher, aluminum is a solid choice, but be aware that it can dent. For those of us with furry friends, pet-resistant screening is a game-changer—it's made of a heavy-duty vinyl-coated polyester that stands up to claws. And if you live somewhere hot, solar screens are fantastic for blocking UV rays and keeping your house cooler.
To get a more detailed look at the specific tools you might need for each of these materials, check out our complete guide to window screen repair tools.
Straightening a Bent Aluminum Screen Frame
It happens to the best of us. A ladder slips during gutter cleaning, a kid’s rogue baseball finds its mark, or maybe the delivery guy just wasn't paying attention. Whatever the reason, you're now staring at a bent aluminum screen frame. It doesn't just look bad; a bent frame breaks the seal, letting in bugs and compromising the screen's whole purpose.
The great thing about aluminum, though, is its forgiving nature. With a bit of patience and the right technique, you can often work that frame back into its original shape, saving you the cost of a full replacement.
Your first move is to get the screen out of the window. Most frames have small tabs you can pull or simply require gentle pressure to pop them out of the channel. Once it's free, find a flat, solid surface to work on—a garage floor or a sturdy workbench is perfect. A level surface is non-negotiable here; it's the only way to accurately see the extent of the bend and apply pressure evenly.
Prepping the Frame for Surgery
With the frame laid out, it's time to get the old screen mesh out of the way. Grab a small flathead screwdriver or the pointy end of a utility knife and carefully dig into a corner to pry up the spline. That's the rubbery cord tucked into the frame's channel that holds the mesh in place.
Once you get a little bit of it started, you can usually just pull the rest out by hand. Go easy, especially if the spline is old and brittle from sun exposure. You don't want to accidentally scratch or gouge the aluminum channel in the process.
After the spline is out, the old mesh will lift away easily. This is the perfect time to give that frame channel a good cleaning. A stiff brush or a blast from an air compressor will clear out years of accumulated dirt and debris, making it much easier to install the new spline later.
This quick diagram shows the basic toolset you'll rely on for just about any screen repair job.
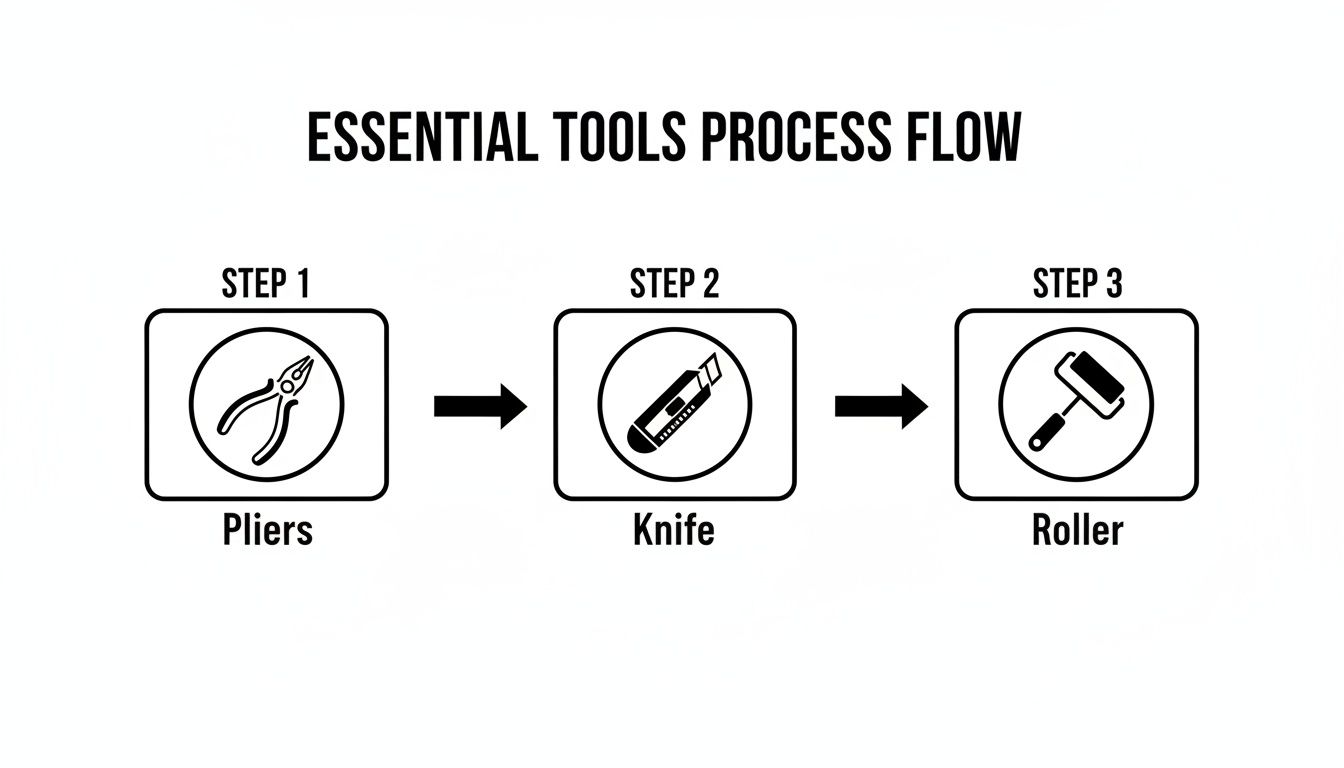
As you can see, the process relies on simple hand tools you probably already have, making this a very approachable DIY project.
The Gentle Art of Bending Aluminum Back
Now for the main event: straightening that bend. The absolute key here is to use gradual, controlled force. If you try to bend it back in one aggressive move, you risk weakening or even snapping the aluminum.
- For Minor Bends: I often start with two pairs of pliers. To avoid scarring the frame's finish, wrap the jaws of the pliers with a few layers of electrical or masking tape. Position one pair on each side of the bend and apply slow, steady pressure, working against the direction of the dent. Keep laying the frame flat to check your progress.
- For More Stubborn Dents: If the bend is putting up a fight, you'll need a rubber mallet and a small block of wood. The wood block is your best friend here—it distributes the force of the mallet's blow and prevents you from creating new, smaller dents. Place the block over the bent area and give it a few firm-but-gentle taps. Work your way along the bend, tapping and checking, until the rail is straight.
From what we see in the field, around 90% of screen frame issues boil down to either bent rails or torn mesh, both of which are highly fixable. In my experience, aluminum frames can be successfully reshaped in about 95% of cases using these simple techniques. Here in Arizona, environmental factors are a huge deal; the intense heat and monsoon dust storms contribute to nearly 40% of the annual frame stress we see, making these repair skills incredibly useful. For more on this, a comprehensive market analysis highlights the growing demand for these services.
Installing the New Screen Mesh
With a straight and clean frame, you're ready to install the new screen. Lay your new mesh over the frame, giving yourself at least two inches of overhang on all four sides. Don't skimp here; that extra material is crucial.
Pick a corner to start. Use your spline roller to press the new spline into the channel, locking the mesh down as you go. The trick to a professional-looking, sag-free finish is tension. Use one hand to keep a slight, even pull on the mesh while your other hand rolls the spline into place.
Once you finish one side, move to the opposite side. This helps keep the tension balanced across the screen. Then, finish up the remaining two sides.
When the spline is fully seated, all that's left is to grab your utility knife and carefully trim the excess mesh. Run the blade right along the outside edge of the spline for a clean cut. Pop your repaired screen back in the window, and you're done. Good as new.
What to Do About Broken or Cracked Frame Corners
If you've straightened a bent frame rail but it still feels flimsy, take a closer look at the corners. A wobbly frame, especially when the rails themselves are straight, is often a tell-tale sign of a broken corner piece. These small but mighty plastic or metal inserts, known as corner keys, are what give the frame its structural integrity. When one of them snaps, the whole thing loses its rigidity.
Fixing a broken corner key is a step up from just bending a frame back into shape, but it's definitely a DIY-friendly job. The process involves taking apart that corner of the frame, popping in a new key, and carefully reassembling it. The key here is precision—if the corner isn't perfectly square when you're done, the screen will never sit right in your window again.
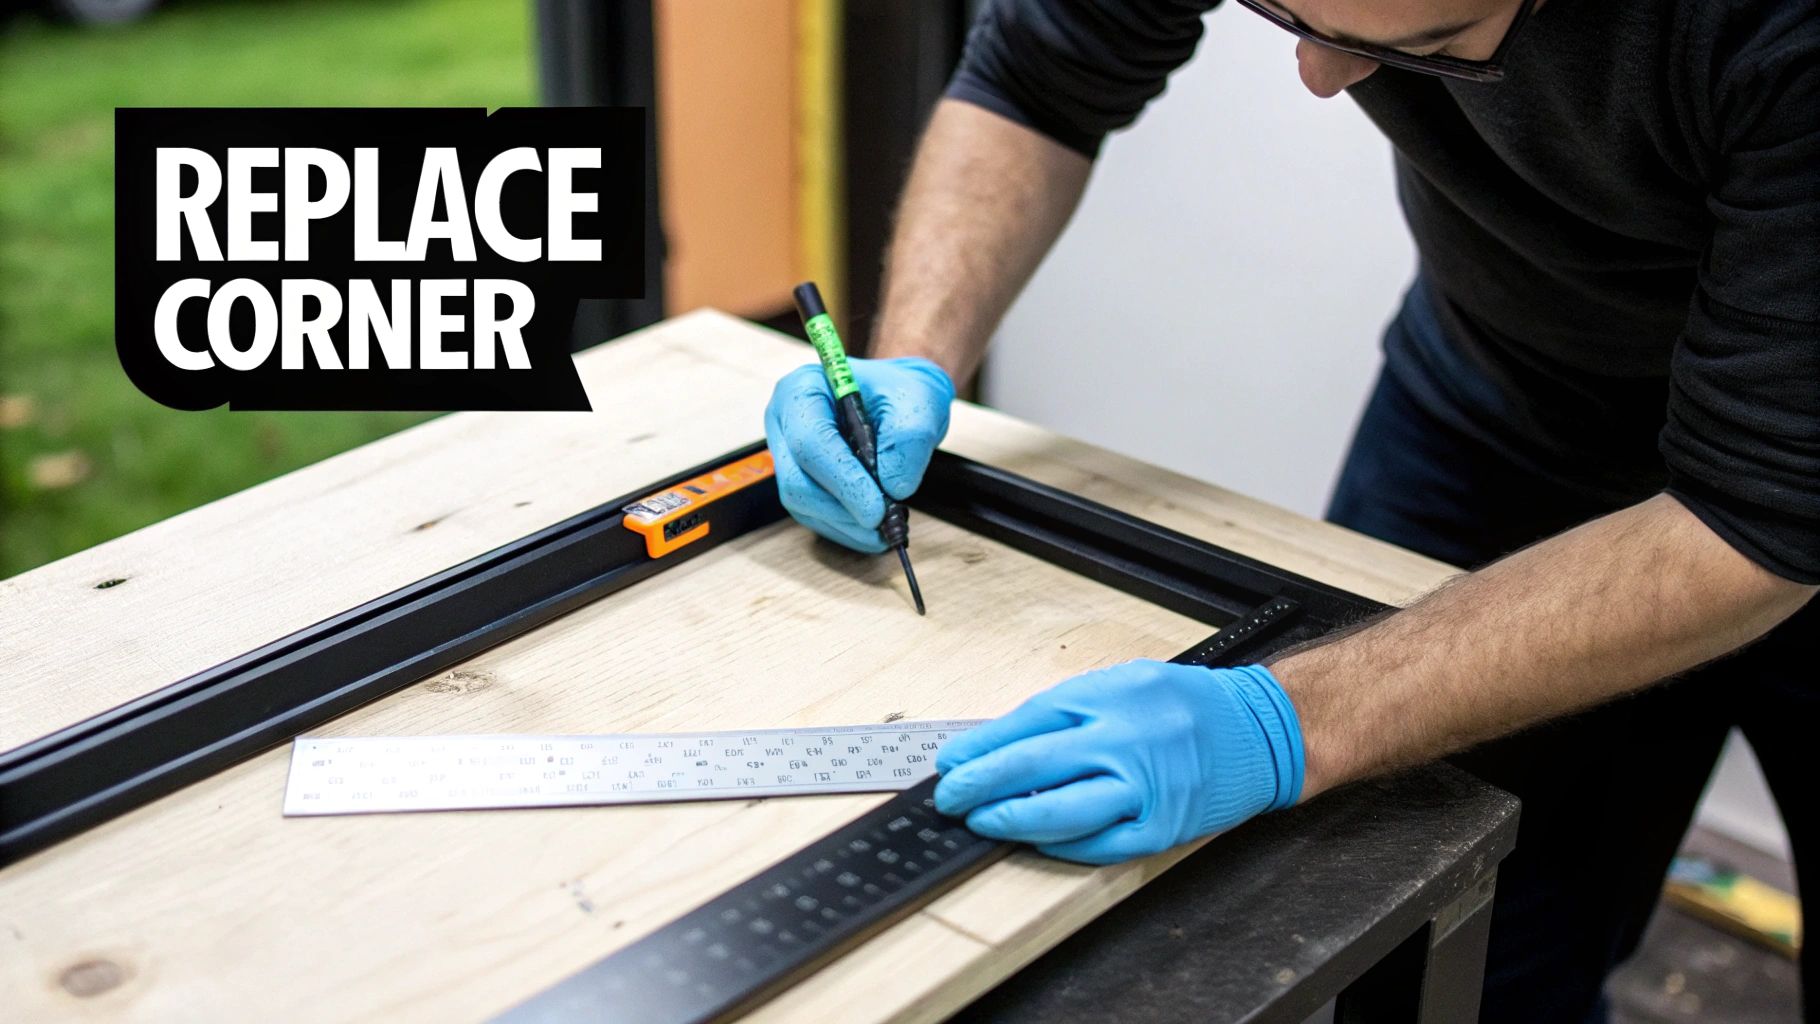
Finding the Right Replacement Corner Keys
First things first, you need to play detective. You can't just grab any corner key off the shelf; they come in a surprising number of shapes and sizes. After you've removed the old spline and mesh, gently pull the broken corner apart to get a good look at the key. I highly recommend snapping a clear photo or, even better, taking the busted piece with you to the hardware store.
You'll likely run into one of these common types:
- Internal Keys: The most common type, these slide right into the hollow channels of the aluminum frame.
- Mitered Keys: These are designed for frames with corners cut at a 45-degree angle.
- Square-Cut Keys: These are used when the frame rails meet at a clean 90-degree angle.
Getting an exact match is non-negotiable. The wrong size or style simply won't fit, so it pays to be sure. Most big-box home improvement stores have a decent selection to choose from.
Swapping Out the Old for the New
Once you have the new corner key, you're ready for the transplant. Lay the frame on your flat work surface and gently separate the two rails at the busted corner. The old, broken key should pop out, but if it's being stubborn, a little gentle persuasion with a pair of pliers usually does the trick.
Next, slide the new corner key into one of the frame rails. Then, carefully align the other rail and guide it onto the exposed arm of the key. Push the two pieces together until the corner is tight and flush. If you feel resistance, stop. Check that the frame channels are clear of any gunk and that you're holding the key straight.
My Pro Tip: The most critical step is making sure the corner is a perfect 90-degree angle. A frame that’s even a fraction of an inch out of square will be a headache to get back into the window. This is where a carpenter's square becomes your best friend.
Press the inside corner of your square snugly against the inside of the repaired frame corner. If you see any daylight between the frame and the square, gently adjust it until it’s perfectly flush. Taking a moment to nail this step ensures your screen will slide back into place smoothly. Once it's square, you can re-install the mesh and spline, knowing the job was done right.
Knowing When to Call a Professional
Knowing how to fix your own window screen is a great skill to have, but so is knowing when to call it a day. A good DIY repair ends with a tight, properly sealed screen. But sometimes, what looks like a simple project can quickly spiral into a frustrating mess, potentially doing more harm than good and costing you more in the long run.
Recognizing the red flags is the key to knowing when to put down the tools and pick up the phone.
Sometimes, the damage is just too much for a home fix. If an aluminum frame has deep creases or is warped all along its length, trying to bend it back yourself can weaken the metal or even snap it. This is especially true with older frames that have become brittle after years of baking in the sun. You might see signs of this as tiny cracks or a chalky texture on the surface. Trust me, forcing these frames back into shape is a gamble that rarely pays off.
When a DIY Fix Isn't the Answer
There are other times when calling in a pro is the smart move. Not all window screens are standard rectangles. If you're tackling something unique—like an arched window or a trapezoidal screen—you’ll need special tools and a lot of experience to get the tension and fit just right. A botched job on a custom screen not only looks terrible but it won’t seal properly, failing at its one job: keeping bugs out.
Consider calling an expert if you run into any of these situations:
- Seriously Bent Frames: If the frame has multiple complex bends or is twisted out of shape, straightening it without professional equipment is next to impossible.
- Signs of Metal Fatigue: Look for visible cracks, a chalky finish, or metal that just feels brittle. These are all signs the frame is on its last legs.
- Custom or Odd Shapes: Arched, circular, or any other non-standard screen shape really needs a professional touch to get a perfect fit.
- Big Projects: If you have a whole house worth of screens to repair or a large patio enclosure, an expert can knock out the job quickly and flawlessly.
A poorly repaired screen creates gaps that completely defeat its purpose. It's supposed to keep bugs out, but a bad fix can let them right in while also allowing your cool air to escape, hitting your energy bill. It’s a classic case of the cure being worse than the disease.
For these tougher challenges, bringing in a professional service is your best bet. At Sparkle Tech Screen Service, we handle everything from simple rescreening jobs to building custom patio enclosures, guaranteeing a durable and professional result every time.
If your project seems a little too big to handle, you can check out professional window screen repair services to see how we can get it done right. For a quick quote or to talk through your project, just give us a call at 623-233-0404 or 800-370-3998.
A Few Common Questions About Screen Frame Repair
Even the most detailed guide can leave you with a few lingering questions. That's perfectly normal. Getting the details right is what separates a decent DIY job from a professional-looking one, so let's tackle some of the most common questions we get from homeowners.
Can I Fix a Vinyl or Wood Frame the Same Way as an Aluminum One?
Absolutely not, and this is a crucial point. Each material has its own personality and demands a unique approach. If you try to bend a vinyl frame back into shape like you would with aluminum, you’ll probably just hear a loud crack. Vinyl gets brittle, and fixing it usually means using special adhesives or even a heat gun for very careful reshaping.
Wood frames bring their own headaches, mostly rot and splitting. A wooden frame repair is more like a woodworking project—you'll be digging out decayed sections, applying wood filler, sanding everything smooth, and then priming and painting. Using aluminum repair tactics on wood or vinyl is a surefire way to cause damage you can't undo.
How Do I Get the Right Measurements for New Screen or Spline?
This is where precision really pays off. For the screen mesh, just measure the inside dimensions of the frame's channel—both the height and the width. Once you have those numbers, add at least two inches to each one. That extra material is your "handle" for pulling the screen taut and ensures you don't end up a frustrating half-inch short.
When it comes to the spline, getting the diameter right is everything. The easiest trick in the book is to snip off a small piece of the old spline and take it to the hardware store to find an exact match. If your old spline has turned to dust or gone missing, grab a set of drill bits. The smooth shank end of the bits makes a great gauge; just find the one that fits snugly into the frame's channel to figure out the diameter you need.
What’s the Best Screen Mesh to Use if I Have Pets?
If you share your home with cats or dogs, pet-resistant screen mesh is your best friend. Don't even consider standard fiberglass. This heavy-duty material is a vinyl-coated polyester that’s built to take a beating from claws and paws. It's way stronger and more tear-resistant than the standard stuff.
Yes, it costs a bit more, and it might make your view slightly less crisp, but it's a smart investment. Choosing a pet-resistant screen will save you from the cycle of constant screen replacements and give you some well-deserved peace of mind.
What if the frame looks fine, but the screen is sagging? That’s almost always a tension problem from when it was first installed. The only real fix is to re-spline the whole thing. You'll have to pull out the old spline and mesh, then start from scratch, making sure you pull the mesh gently and consistently outward as you roll the new spline into its groove. Getting that tension right is the secret to a perfectly tight screen.
No matter the repair, having the right materials and solid advice can make all the difference. If you get started and realize the job is a bit more than you bargained for, Sparkle Tech Screen Service is always here to help. Visit our website or give us a call at 623-233-0404 for a quick, no-hassle quote.


