


Turning an underused patio into a screened-in oasis is one of the best home improvement projects you can tackle. It’s more than just putting up some mesh; you're building a frame and creating a protected, comfortable area that genuinely expands your home's living space. This is a game-changing DIY upgrade that adds a ton of value and everyday enjoyment.
Why a Screened Patio is Such a Great Home Upgrade
Picture this: you're sipping your morning coffee without swatting at mosquitoes, or you're enjoying a family dinner outside without flies dive-bombing your food. That's the core appeal right there—a bug-free zone. But honestly, the benefits go way beyond just pest control. This project completely changes how you experience your own backyard.
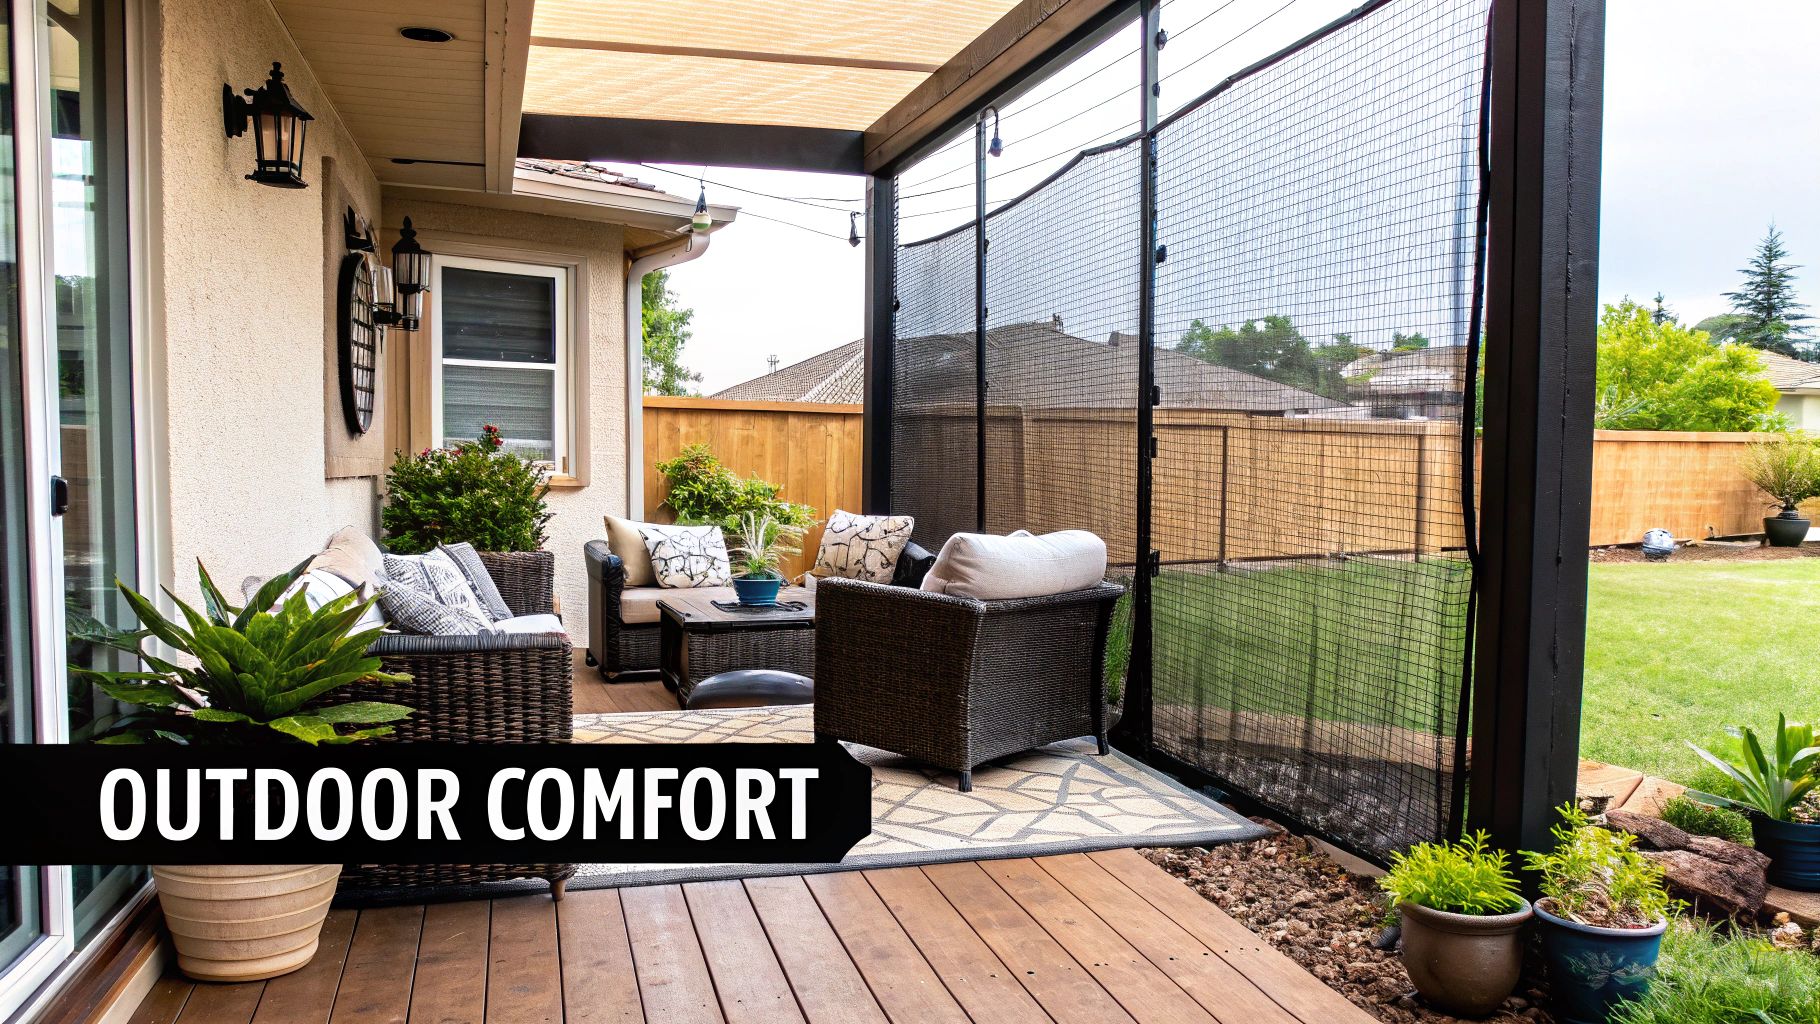
When you screen in your patio, you're essentially adding another room to your house. It’s a unique space that perfectly blends the comfort of being indoors with the fresh air and views of the outdoors. It quickly becomes everyone's favorite spot.
Think of it as a multi-purpose room for:
- Relaxing and Unwinding: It's the perfect spot to curl up with a book or listen to some music, shielded from the harsh sun and annoying insects.
- Dining and Entertaining: You can host dinners and get-togethers with friends in a comfortable, pleasant setting, no matter the time of day.
- A Safe Play Area: It’s a great place for kids to play outdoors without you having to worry about bug bites or them wandering off.
Boosting Your Home's Value and Appeal
Beyond the immediate lifestyle perks, a well-built screened patio is a smart financial move. It seriously boosts your home's curb appeal and adds to its usable square footage—a huge plus for any potential buyer down the road. It shows that a home has been thoughtfully designed for comfortable living.
The push to create private, functional outdoor sanctuaries is a major trend right now. The numbers back it up, too. The global market for outdoor privacy screens was valued at around USD 1.5 billion in 2024 and is expected to more than double by 2033. This explosion in growth shows just how much homeowners are prioritizing these personal retreats. You can dig into more data about this expanding market trend to see for yourself.
A screened-in patio isn't just a barrier against bugs; it's an investment in your quality of life. It creates a seamless transition between your indoor and outdoor worlds, offering a unique space where you can connect with nature without sacrificing comfort.
Planning Your Project Before You Build
Every successful patio screening project I’ve seen starts long before the first piece of wood is cut. It all begins with a good, solid plan. Rushing this stage is the quickest way to end up with costly mistakes and a finished product that just doesn't feel right. The absolute first thing you need to do is get dead-on accurate measurements.
Don't eyeball it. Grab a quality tape measure and get the precise height and width for every single opening you intend to screen. A little trick of the trade is to measure each section in at least two places. For height, measure the left side and then the right. This simple step catches any subtle sagging or unevenness that patios develop over time.
These numbers will drive every decision you make, from how much lumber you buy to the size of the screen rolls you’ll need. Get a notepad and write it all down.
Navigating Codes and HOA Rules
Alright, before you fall in love with a design, you have to do the less-exciting-but-critical homework: checking local rules. I can't tell you how many times people have gotten into hot water by skipping this. It can lead to fines or, even worse, being forced to tear down all your hard work.
First, give your city or county building department a call. Just ask them straight up if you need a permit to screen in a patio. In some places, it’s no big deal, but other areas have strict rules. If you're part of a Homeowners' Association (HOA), you’ve got another layer. Dig out those covenants and read the section on exterior modifications. They often have specific requirements for materials and even colors.
Pro Tip: When you call the building department, have your patio's dimensions handy. It helps them give you a clear "yes" or "no" on whether a permit is needed for a project of your specific scale.
Assess Your Existing Structure
Your current patio has to be ready to handle the new framework. Take a good, hard look at your posts, roof, and foundation. Are the posts solid and well-anchored? Is the wood free from rot, pests, or big, scary-looking cracks? While a screen frame isn't incredibly heavy, you're starting on a bad foot if the base structure isn't sound.
If you see anything that makes you nervous, it’s worth getting a professional opinion. Reinforcing a wobbly post now is a whole lot easier and cheaper than dealing with a structural failure down the road.
Finally, draw a simple sketch of what you're planning. It doesn't have to be a professional blueprint—a pencil-and-paper drawing is perfect. This visual guide will be your best friend, helping you:
- Map out your frame: Decide exactly where your vertical and horizontal supports will sit.
- Pick a door spot: Figure out the most natural and convenient location for your screen door.
- Visualize the final product: Make sure the new look flows with the style of your house.
This simple drawing keeps you focused and ensures the project stays on track. To get a better feel for all the possibilities, you can learn more about how to https://sparkletechscreenservice.com/screen-in-patio/ and really elevate your outdoor living space.
Choosing the Right Screening Materials
The materials you pick to screen in your patio will define just about everything—how long it lasts, how much you have to work to maintain it, and the overall feel of the space. This decision goes way beyond just picking a color. You're really matching the materials to your climate, your lifestyle, and your budget. Getting this right is the secret to a great-looking outdoor space you can enjoy for years.
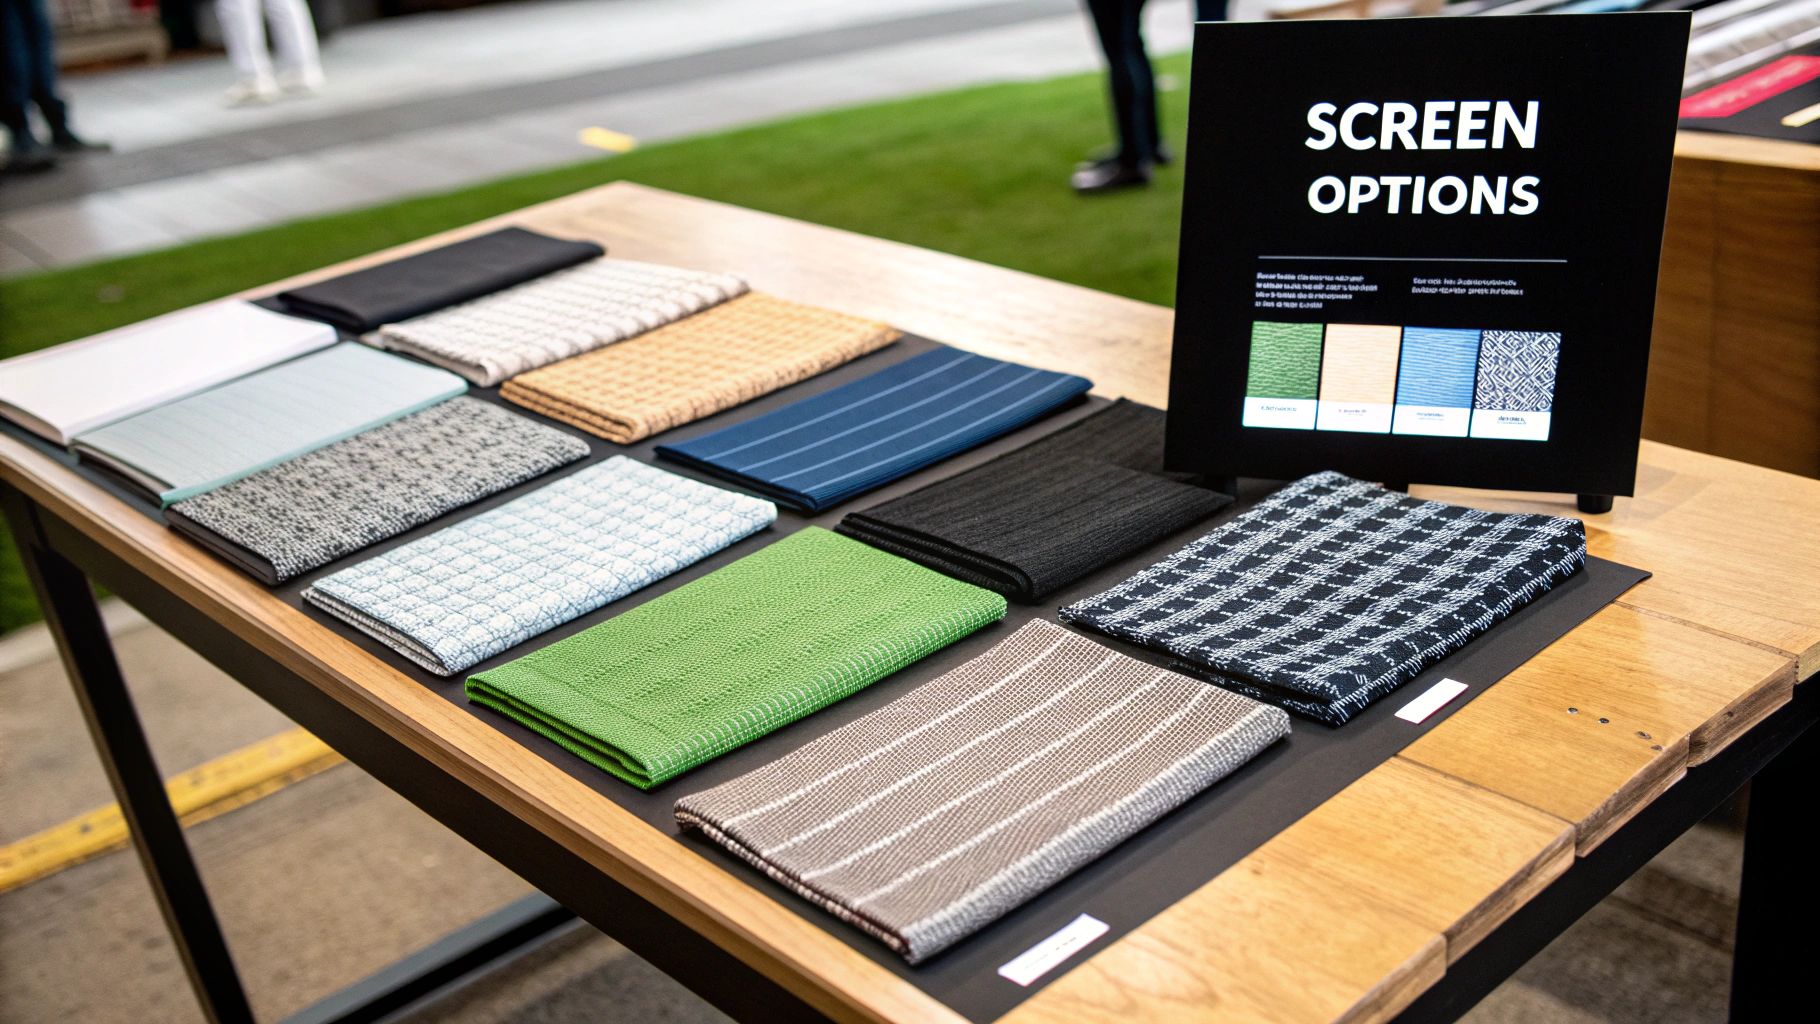
Let's dive into the most obvious part first: the screen mesh itself. You have more options than you might think, and each one brings something different to the table.
Picking Your Screen Mesh
The most common starting point, and the most budget-friendly, is fiberglass screen mesh. It's flexible, doesn't get creased or dented easily, and is pretty forgiving to install, which makes it a solid choice if this is your first time taking on a project like this. The trade-off? It’s not the toughest option out there and can tear over time, especially if you have pets or kids who might be a little rough on it.
If you’re looking for something that can take more of a beating, aluminum screen mesh is a great step up. It's noticeably stronger than fiberglass and gives you a really crisp, clear view. Just keep in mind that it can dent if something hits it, and those dings are usually permanent. It’s a fantastic choice for patios that aren’t in the line of fire from stray soccer balls or other projectiles.
For all the pet owners out there, one option stands head and shoulders above the rest.
Pet-resistant screen is an absolute lifesaver. Made from a tough, vinyl-coated polyester, it’s about seven times stronger than standard fiberglass. It’s built to stand up to claws and paws without shredding, which will save you a ton of headaches and repair jobs down the road.
Finally, don't forget about specialty screens that solve specific problems. Solar screen, for example, is designed to block a huge chunk of the sun's heat and damaging UV rays. If you live in a hot climate, this can make your patio feel a whole lot cooler and keep your outdoor furniture from fading.
To help you sort through these choices, here’s a quick breakdown of the most common materials you'll encounter.
Comparison of Patio Screening Materials
| Material Type | Pros | Cons | Average Cost | Best For |
|---|---|---|---|---|
| Fiberglass Mesh | Inexpensive, flexible, easy to install, won't crease or dent. | Less durable, can tear easily, lower visibility than aluminum. | $ | Budget-conscious DIY projects, low-traffic areas. |
| Aluminum Mesh | Strong, durable, excellent visibility, won't sag over time. | Can dent permanently, more difficult to install than fiberglass. | $$ | High-visibility needs, areas without pets or kids. |
| Pet Screen | Extremely durable, tear and puncture-resistant, long-lasting. | More expensive, thicker mesh can reduce visibility slightly. | $$$ | Homes with cats or dogs, high-traffic areas. |
| Solar Screen | Blocks 65-90% of solar heat and UV rays, reduces glare. | Highest cost, significantly reduces light and visibility. | $$$$ | Hot, sunny climates, west-facing patios. |
| Wood Framing | Classic, natural aesthetic, can be painted or stained to match. | High maintenance (requires sealing), susceptible to rot and insects. | $$ | Traditional home styles, homeowners who don't mind upkeep. |
| Aluminum Framing | Low maintenance, durable, won't rust or rot, easy to find in kits. | Can be dented, more modern look might not fit all home styles. | $$$ | Humid climates, modern homes, low-maintenance preferences. |
| Vinyl Framing | Very low maintenance, lightweight, resistant to moisture and pests. | Can become brittle in extreme cold, less rigid than aluminum or wood. | $$ | Coastal areas, homeowners looking for the easiest upkeep. |
As you can see, the "best" material really depends on what you're trying to achieve with your space.
Selecting the Best Framing Material
The frame is the skeleton of your new patio enclosure. It’s the structure holding everything together, so your choice here is a big deal for both the final look and how well it holds up over time.
- Pressure-Treated Wood: This is the classic go-to, giving you a natural, traditional look that you can easily stain or paint to match your house. It’s strong and relatively affordable, but it's also the most demanding in terms of maintenance. You’ll need to keep it sealed to protect it from moisture, rot, and insects.
- Aluminum: If you want something you can pretty much set and forget, aluminum framing is a fantastic modern option. It won’t rust, warp, or rot, which makes it perfect for wetter or more humid climates. You'll often find it sold in complete kits with pre-cut pieces and built-in channels for the screen spline, which can make the installation process a lot simpler.
- Vinyl: Just like aluminum, vinyl is another low-maintenance hero that stands up to the weather. It’s very lightweight and easy to cut and work with, though it might not have the same structural strength as wood or aluminum for really large, unsupported spans.
More and more homeowners are looking to create these kinds of private, bug-free outdoor spaces. In fact, the market for outdoor privacy screens was valued at around USD 2.98 billion in 2024 and is projected to grow to USD 5.16 billion by 2033, according to Business Research Insights. This growth is all about the demand for custom, easy-to-install systems.
To make the whole process feel less intimidating, especially if you're new to this, it's a good idea to check out some all-in-one systems. Our guide on how to properly install screens walks through the detailed steps that can help you get a feel for the process, no matter which system you end up with. These kits are a great way to make sure you have every part you need right from the start.
Building the Frame and Installing the Screen
With all the planning and material gathering out of the way, it's time to get to the fun part: building the frame and seeing your screened-in patio take shape. This is where you really start to see the project come to life. My best advice here? Take your time. A little extra care now ensures a professional-looking finish later.
Before you touch that saw, do yourself a huge favor and double-check every single measurement. You’ve heard it a thousand times: measure twice, cut once. It’s an old saying for a reason—it saves a ton of headaches and wasted lumber.
Assembling the Frame Structure
First up, you’ll be building the vertical supports and horizontal cross-members that create the panels for your screens. If you’re using wood, you’ll start cutting your 2x4s or 4x4s to the lengths you jotted down in your plan. Most of the time, you're just filling in the gaps between your existing patio posts.
I find it’s much easier to build each rectangular frame flat on the ground first. This way, you can make sure it’s perfectly square before you ever try to lift it into place. Grab a carpenter's square and check every corner as you join the pieces. I always use 3-inch exterior-grade screws for this; they’re tough and won’t rust on you. Once a frame is built and square, hoist it up and secure it to the existing posts, floor, and ceiling joists.
Pro Tip: A level is non-negotiable when installing the vertical frame pieces. Make sure they are perfectly plumb (that’s perfectly straight up and down). Even a slightly leaning frame can make installing the screen a real struggle and, frankly, it will look off.
Getting a Tight, Professional Screen Finish
Once your framework is solid and secure, it's time for the screening. This part seems to worry a lot of first-timers, but trust me, getting that tight, sag-free look is totally achievable. The secret weapon is a spline roller. It's a cheap little tool, but it makes all the difference.
Start by unrolling your screen mesh and draping it loosely over one of the frame openings. You'll want at least a couple of inches of extra material hanging over all four sides. Don't try to pull it tight yet—just let it hang.
Now, grab your rubber screen spline. This cord is what you'll press into the groove in your frame to lock the screen in. Pick a top corner to start. Use the rounded (convex) wheel of your spline roller to gently push the spline and screen into the groove for just a few inches. This creates your first anchor point.
From there, work your way down one of the vertical sides, pressing the spline firmly into the channel with the grooved (concave) wheel of the roller. The key here is to keep the screen material straight, but still not pulling it tight. We'll add the tension in a minute.
The Secret to a Sag-Free Installation
After you’ve locked in that first vertical side, move to the opposite one. This is where the magic happens. As you press the spline into this second side, use your free hand to apply gentle but firm tension to the screen. You're just trying to pull out any slack or wrinkles. You’re aiming for a surface that’s taut like a drum.
With both vertical sides splined in, do the same for the top and bottom. The last side you do will lock in the tension for good. When all four sides are secure, step back and admire your perfectly tight screen.
The very last step is trimming off the excess screen. Using a sharp utility knife, hold the blade at a slight angle pointing away from the spline. Run it carefully along the outside edge of the spline groove to slice off the extra material. You’ll be left with a crisp, clean finish.
Taking Care of Your New Screened-In Patio
You've put in the work, so you'll want your new space to last. A little bit of maintenance goes a long way in keeping it looking great and extending its life.
This quick guide lays out the simple but essential steps to protect your investment.
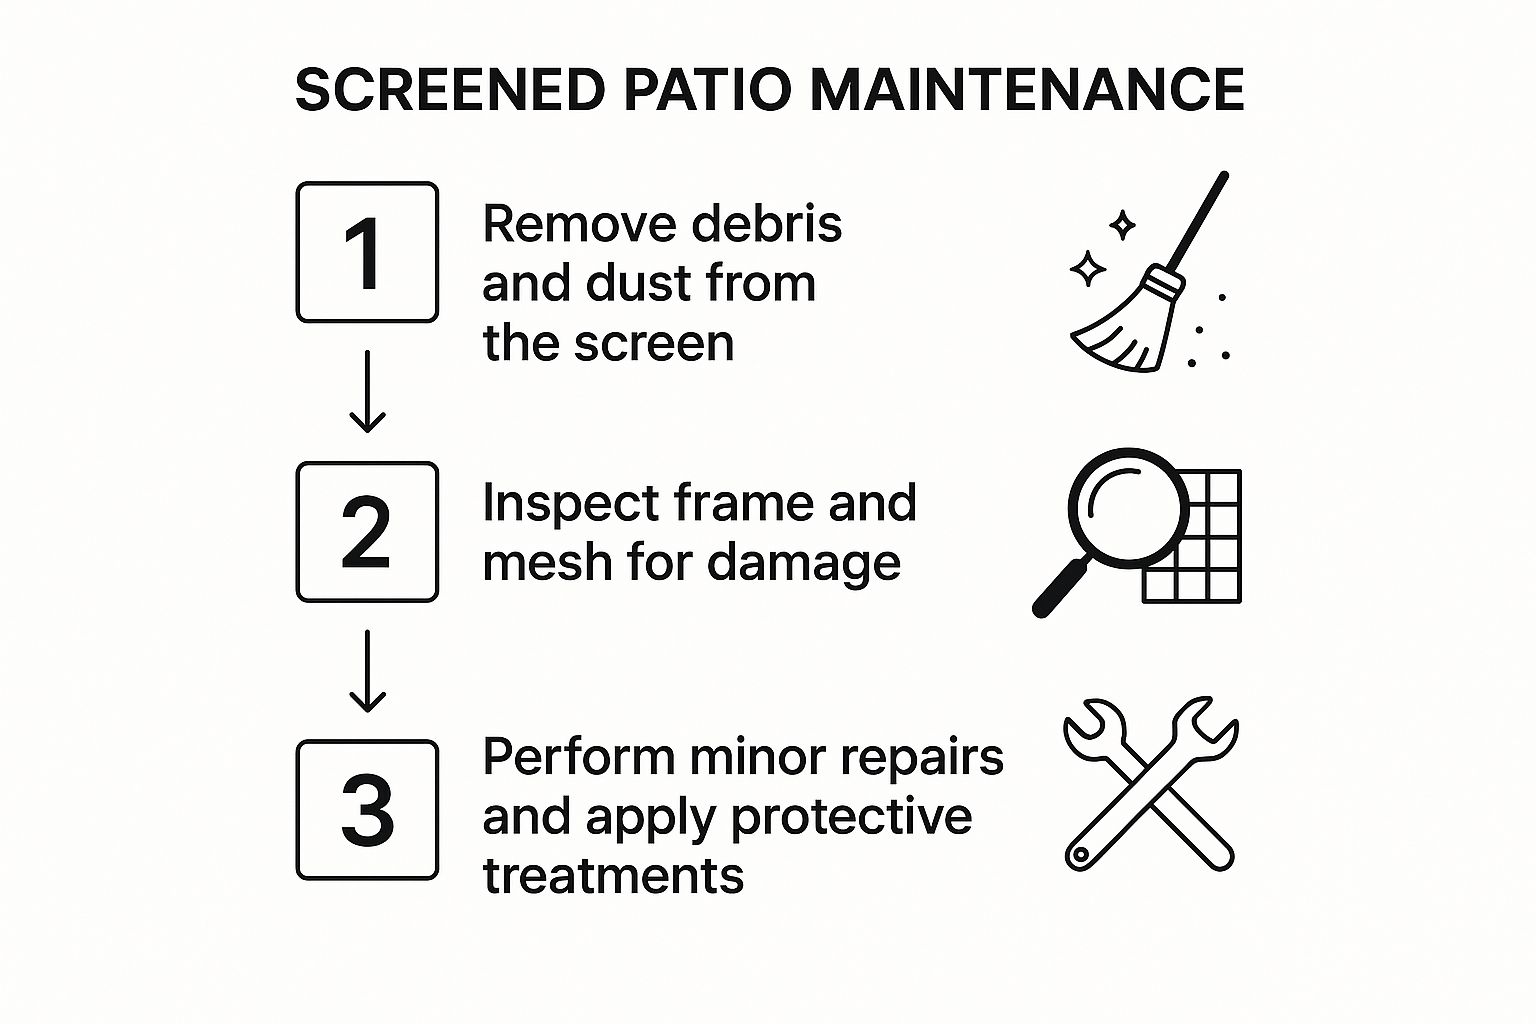
Running through this simple routine—a good cleaning, a quick inspection, and making any small repairs—each season will stop minor issues from turning into major headaches down the road.
Installing a Screen Door and Final Touches
You've got the main screens in, and the space is really starting to take shape. This is the exciting part—where we dial in the details that make your new patio feel less like an addition and more like a seamless part of your home. The biggest piece of that puzzle is the screen door.
The door you choose really sets the tone for the entire enclosure. A classic hinged screen door is a solid, dependable choice that many people love. If you go this route, the most important thing is building a perfectly square and sturdy frame. Trust me, if the frame is even slightly off, you'll be fighting a door that sticks, squeaks, or leaves just enough of a gap for mosquitos to sneak through.
Choosing and Hanging Your Screen Door
Lately, though, I've seen a huge surge in popularity for retractable screen doors. They're a fantastic modern option because they disappear into a sleek housing when you don't need them, giving you a completely open view. It's no surprise the market for these is booming—it was valued at around USD 371.5 million in 2024 and is only expected to climb. That number just proves how much homeowners are looking for clean, functional designs. You can actually see the data behind the retractable screen door market's growth to understand why they're such a hot item.
Whichever door you land on, getting the installation just right is key. If you're curious about what a professional job entails, our guide on professional screen door installation breaks down the entire process.
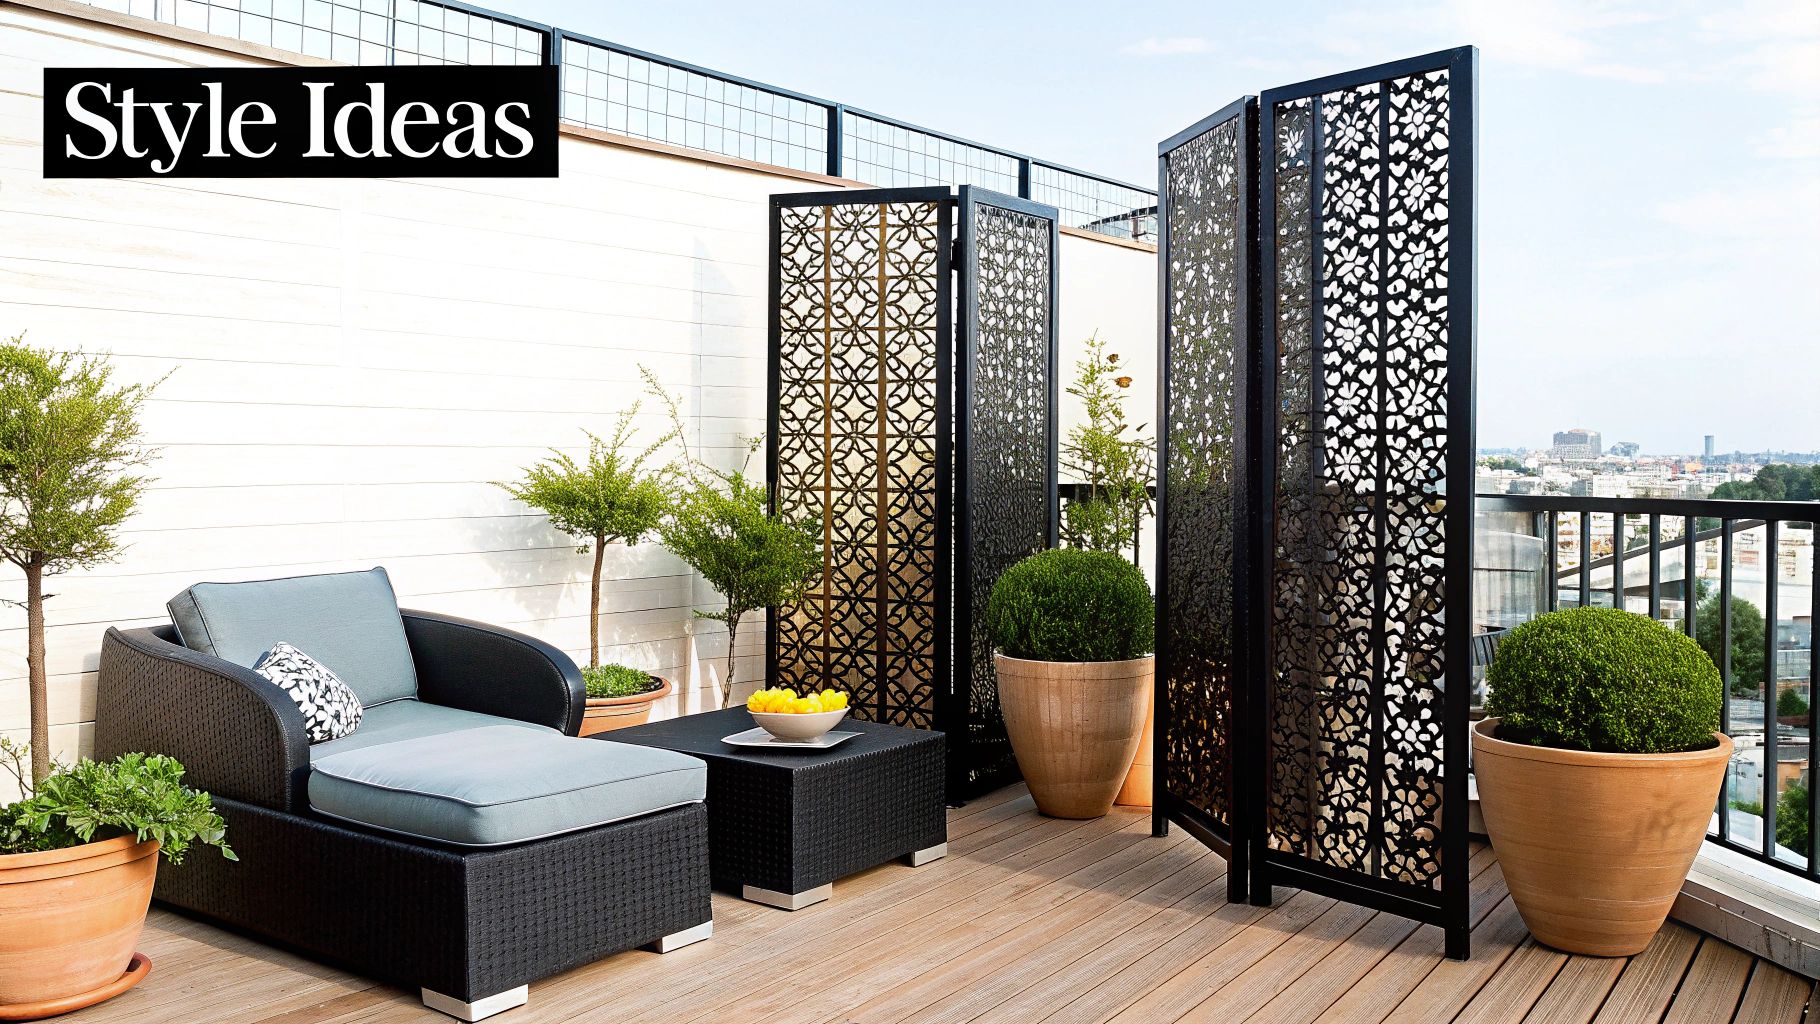
Applying the Finishing Touches
With the door hung and swinging smoothly, it's time to focus on those little details that give your project a truly polished look. Don't skip these final steps; they're what separate a decent DIY job from a professional-grade finish.
- Add Trim and Molding: Grab some thin wood or PVC trim and use it to cover up the seams where your new screen frame connects to the house. This little trick hides any imperfect cuts and makes the whole thing look clean and intentional.
- Paint or Stain: A fresh coat of paint or stain on the new framework works wonders. Try to match it to your home's existing trim color. This creates a cohesive look that makes it feel like the screen room was always meant to be there.
- Final Inspection and Cleanup: Walk the perimeter and give every screen panel one last check to make sure it's taut. Then, it's just a matter of sweeping up any leftover spline, wood dust, and debris.
Stepping back to admire the finished space is the best part of the job. These finishing touches aren't just about cleaning up; they're about putting the final, personal stamp on your project and getting it ready for you to enjoy right away.
Got Questions About Screening In Your Patio? We’ve Got Answers.
Even the most well-thought-out patio project comes with a few questions. It's totally normal. Let's walk through some of the most common things people ask, so you can tackle your project with confidence.
What's This Really Going to Cost Me?
This is usually the first question on everyone's mind. If you’re going the DIY route, you can expect to spend anywhere from $500 to over $2,000. The final number really boils down to the size of your space and the quality of the materials you pick.
If you decide to bring in a pro, the starting price for a professional installation typically hovers around $2,000 and can easily go north of $5,000 for bigger patios or more custom designs.
Can I Screen a Patio That Doesn't Have a Roof?
Absolutely, but it's a whole different ball game. Screening an uncovered patio means you're not just adding screens; you're building a complete roof structure from scratch. This involves setting posts, framing rafters, and adding roofing.
This immediately turns your weekend project into a serious construction job. You'll almost certainly need to pull permits from your local building department, so make sure you do your homework before buying any materials.
How Do I Keep My New Screens Clean?
Once your new outdoor oasis is ready, you'll want to keep it looking fresh. Cleaning your screens is actually pretty straightforward. For everyday dust and pollen, just use a vacuum with a soft brush attachment. Easy.
When it's time for a more thorough cleaning, here's what to do:
- Mix a bit of mild soap into a bucket of warm water.
- Wipe down the screens gently using a soft sponge or cloth.
- Rinse everything off with a garden hose on a light spray setting.
A word of caution: stay away from the power washer. The high-pressure stream can stretch, tear, or even pop the screen right out of its frame. You'll end up with a repair job you weren't planning on.
If you're feeling a bit out of your depth or just want a perfect, hassle-free result, Sparkle Tech Screen Service is ready to step in. We handle everything from small repairs to brand-new installations, making sure your outdoor space is exactly what you envisioned.
Get a Quick Quote for Your Patio Project at sparkletechscreenservice.com


