


Installing a new screen door is one of those weekend projects that pays you back immediately. It's about more than just another home improvement task; it’s about letting the fresh air in, keeping the bugs out, and making your home feel more connected to the outdoors. If you've been thinking about this upgrade, this guide will give you the confidence to get it done right.
Why a DIY Screen Door Installation Is a Smart Upgrade
Putting in a screen door yourself is a strategic investment in your home's comfort and function. The benefits are real and you'll feel them right away, which is why it's one of the most satisfying projects a homeowner can tackle. Practically speaking, a good screen door is your first line of defense against insects while letting natural air flow through your home, which can do wonders for your indoor air quality.
This one simple addition can completely change how you use your living space. Think about it: enjoying a cool evening breeze without having to swat away mosquitoes. It makes your home more pleasant and can even lead to real energy savings. By relying less on your air conditioner during those beautiful, mild days, you can cut down on your electricity bills. It's no wonder this upgrade has become so popular.
Understanding the Appeal and Market Growth
The value here isn't just a feeling. The professional screen door installation market is seeing some serious growth, which points to a bigger trend of homeowners investing in smart, energy-efficient upgrades. Market analysis shows the industry is valued at around USD 3.5 billion and is expected to grow quite a bit over the next decade. This boom is all about people focusing on improving their homes with products that add security and save energy. You can explore more data on this expanding market to see the full picture.
Key Takeaway: A screen door is more than just a barrier. It’s a lifestyle upgrade that merges your indoor and outdoor living, boosts your comfort, and can help you save on cooling costs.
Setting the Stage for Success
Before you even reach for a tape measure, you need to know what your options are. Screen doors aren't a one-size-fits-all product, and each type is designed for a different purpose.
- Hinged Doors: This is your classic, workhorse screen door. It's a sturdy, reliable choice for high-traffic spots like a back patio and is usually pretty straightforward to install.
- Sliding Doors: If you have a sliding glass patio door, this is your go-to. It's designed to work with that track system and saves space since it doesn't swing open.
- Retractable Doors: This is the elegant solution. Perfect for French doors or a beautiful front entryway where you want the screen to vanish when you're not using it, keeping your home's curb appeal front and center.
Picking the right type from the get-go is the most important first step. This decision ensures the door you install not only works perfectly but also looks like it truly belongs on your home.
Choosing the Right Screen Door for Your Home
Before you even think about installation, the first big decision is picking the right screen door. This is more than just getting the measurements right; it's about finding a door that truly fits your lifestyle, your home's look, and how you actually use your space. Get this part right, and the rest of the project will fall into place much more smoothly.
Think about it this way: the screen door for a busy back patio that sees kids and pets running in and out all day needs to be tough and reliable. A classic hinged door is usually perfect for that job. But what about a set of French doors that open up to a beautiful garden? You probably don't want a permanent screen blocking that view. That's where a retractable screen, which vanishes when you're not using it, is the ideal solution.
A Quick Rundown of Screen Door Types
You'll generally run into three main types of screen doors: hinged, sliding, and retractable. Each one is built for a different purpose, and knowing the pros and cons is the key to choosing one you'll be happy with for years to come.
- Hinged Screen Doors: This is the one you probably picture first—the traditional, outward-swinging door. They’re workhorses, built to last, and a great, affordable option for standard front or back doors that get a lot of use.
- Sliding Screen Doors: If you have a sliding glass patio door, this is your go-to. They glide on a track, so they don’t take up any extra room by swinging open. Simple and effective.
- Retractable Screen Doors: These are the modern, elegant solution. The screen rolls up into a sleek housing on the side of your door frame, completely out of sight until you need it. They're perfect for tricky spots like French doors, in-swing doors, or any entryway where you want to keep a clean, unobstructed view.
Choosing the right type is the first step. To help you weigh the options, here’s a quick comparison of what each one brings to the table.
Screen Door Type Comparison
| Door Type | Best For | Pros | Cons |
|---|---|---|---|
| Hinged | Standard front or back entryways with heavy traffic. | Durable, affordable, easy to operate, wide variety of styles. | Requires clearance space to swing open; can slam shut without a closer. |
| Sliding | Sliding glass patio doors. | Saves space, operates smoothly, provides a clear view. | Tracks can collect dirt and require cleaning; rollers may wear out over time. |
| Retractable | French doors, in-swing doors, and custom or wide openings. | Unobstructed view when not in use, sleek modern look, saves space. | More expensive, installation can be more complex, delicate mesh. |
Once you’ve settled on a style, the next piece of the puzzle is the material.
Frame Materials and Durability
The frame material is a big deal—it determines how long your door will last, how much upkeep it needs, and what it's going to cost.
Most doors are made from aluminum, vinyl, or wood. Aluminum is a fantastic all-around choice. It’s light but strong, and it won't rust, making it a solid pick for just about any climate. Vinyl is typically your most budget-friendly option and is super low-maintenance, but it might not feel as sturdy as aluminum. For a timeless, high-end look, wood is beautiful, but be prepared for regular upkeep like painting or sealing to protect it from the weather.
Retractable screens are more than just a trend; they're a fast-growing part of the market. Valued at over USD 371.5 million globally, this niche is booming as people look for smart ways to improve ventilation without compromising on style. You can learn more about the growth of the retractable screen door market to see why they’ve become so popular.
Ultimately, the best door is the one that fits your home, your daily life, and your budget. Taking the time to weigh these options is the most important step you can take. For more practical guidance, you might find our guide on how to install different types of screens helpful.
Gathering Your Tools and Taking Accurate Measurements
Any successful screen door installation comes down to two simple things: having the right tools for the job and getting your measurements dead-on. I can't tell you how many DIY projects go sideways because someone rushed this first part.
So, before you even think about unboxing that new door, take a moment to get organized. Having everything you need laid out and ready to go is the difference between a smooth afternoon project and a day full of frustration and trips to the hardware store.
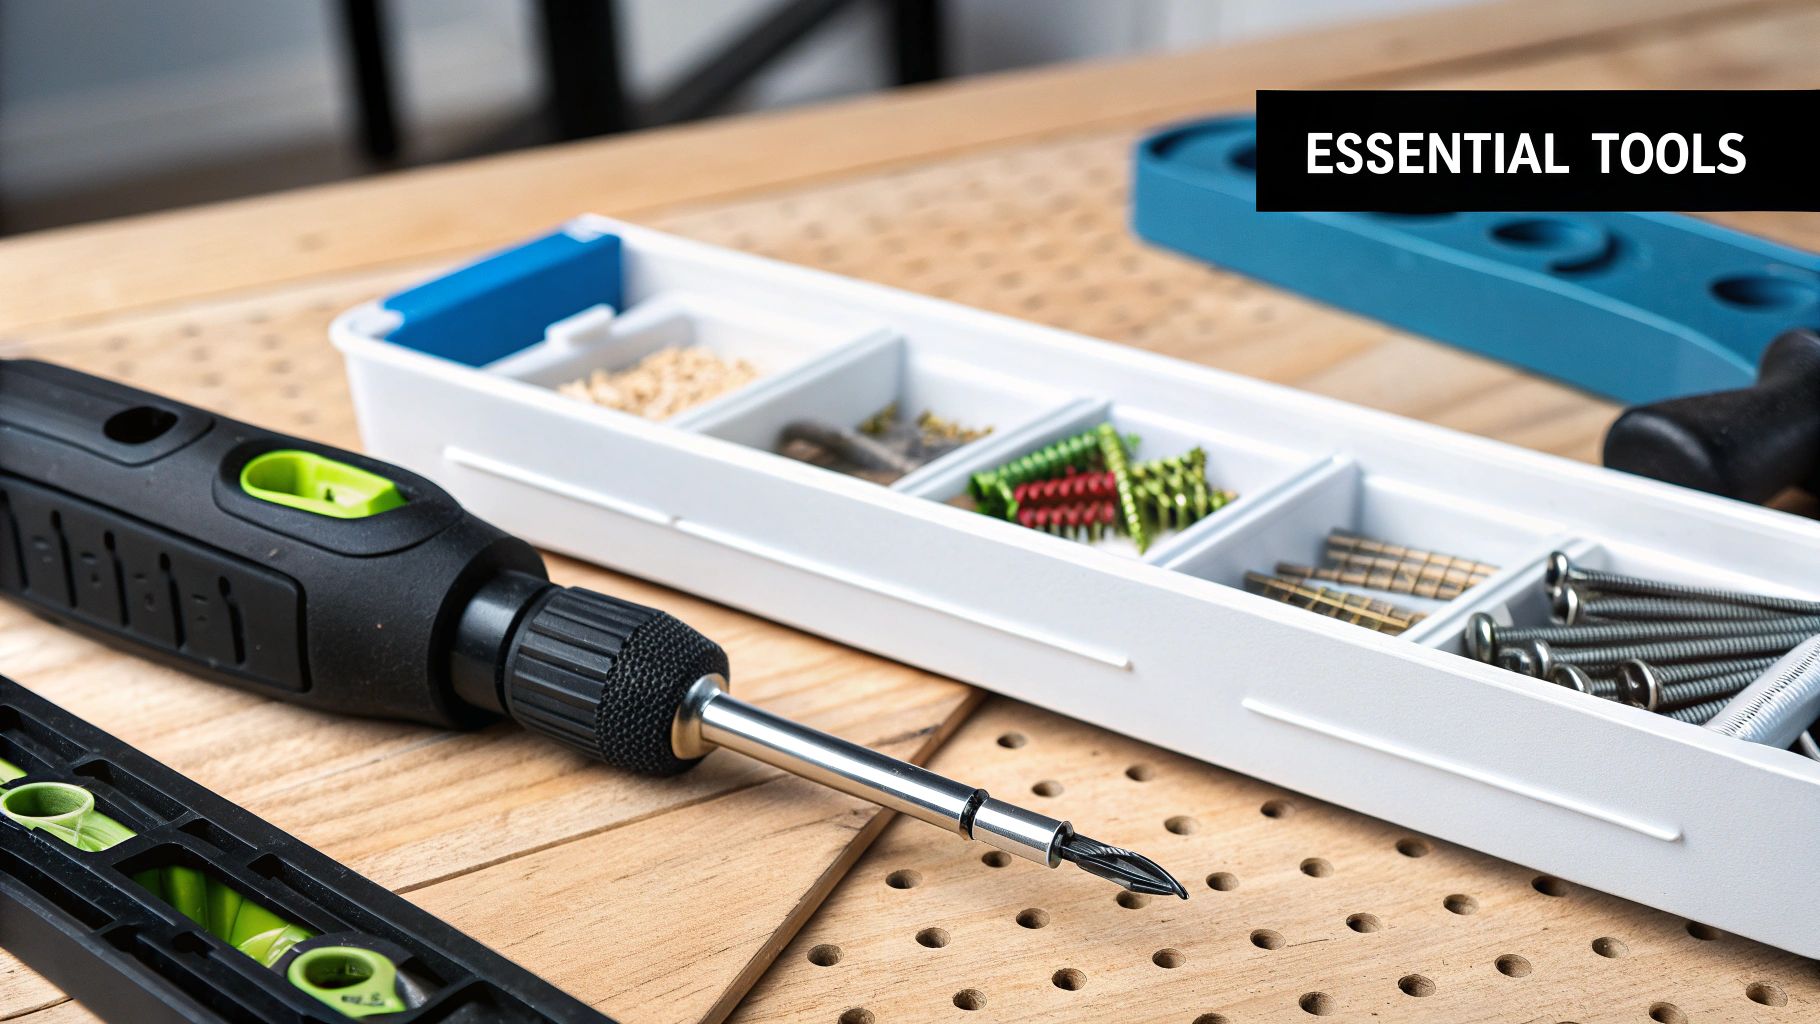
Your Essential Toolkit
Most screen door kits are pretty similar, but they all assume you have a basic set of tools. You probably have most of this stuff in your garage already, but a quick check now will save you a headache later.
Here’s a look at what you should have on hand:
- Tape Measure: This is non-negotiable for getting precise dimensions.
- Drill with Assorted Bits: A cordless drill makes life so much easier. If you have one with an adjustable clutch, use it! It's great for preventing you from stripping screw heads or cracking the door frame.
- Level: A 2-foot or 4-foot level will be your best friend for making sure the door hangs straight and doesn't scrape or stick down the line.
- Pencil or Marker: For marking exactly where to drill and cut.
- Utility Knife: Always handy for trimming weatherstripping or scoring materials.
- Hacksaw: If you're fitting a standard-size door into a slightly off-sized opening, you'll likely need this to trim the frame for a perfect fit.
- Wood Shims: Keep a small pack of these nearby. If your door frame isn't perfectly square (and many aren't), these are lifesavers for getting the hinge rail plumb.
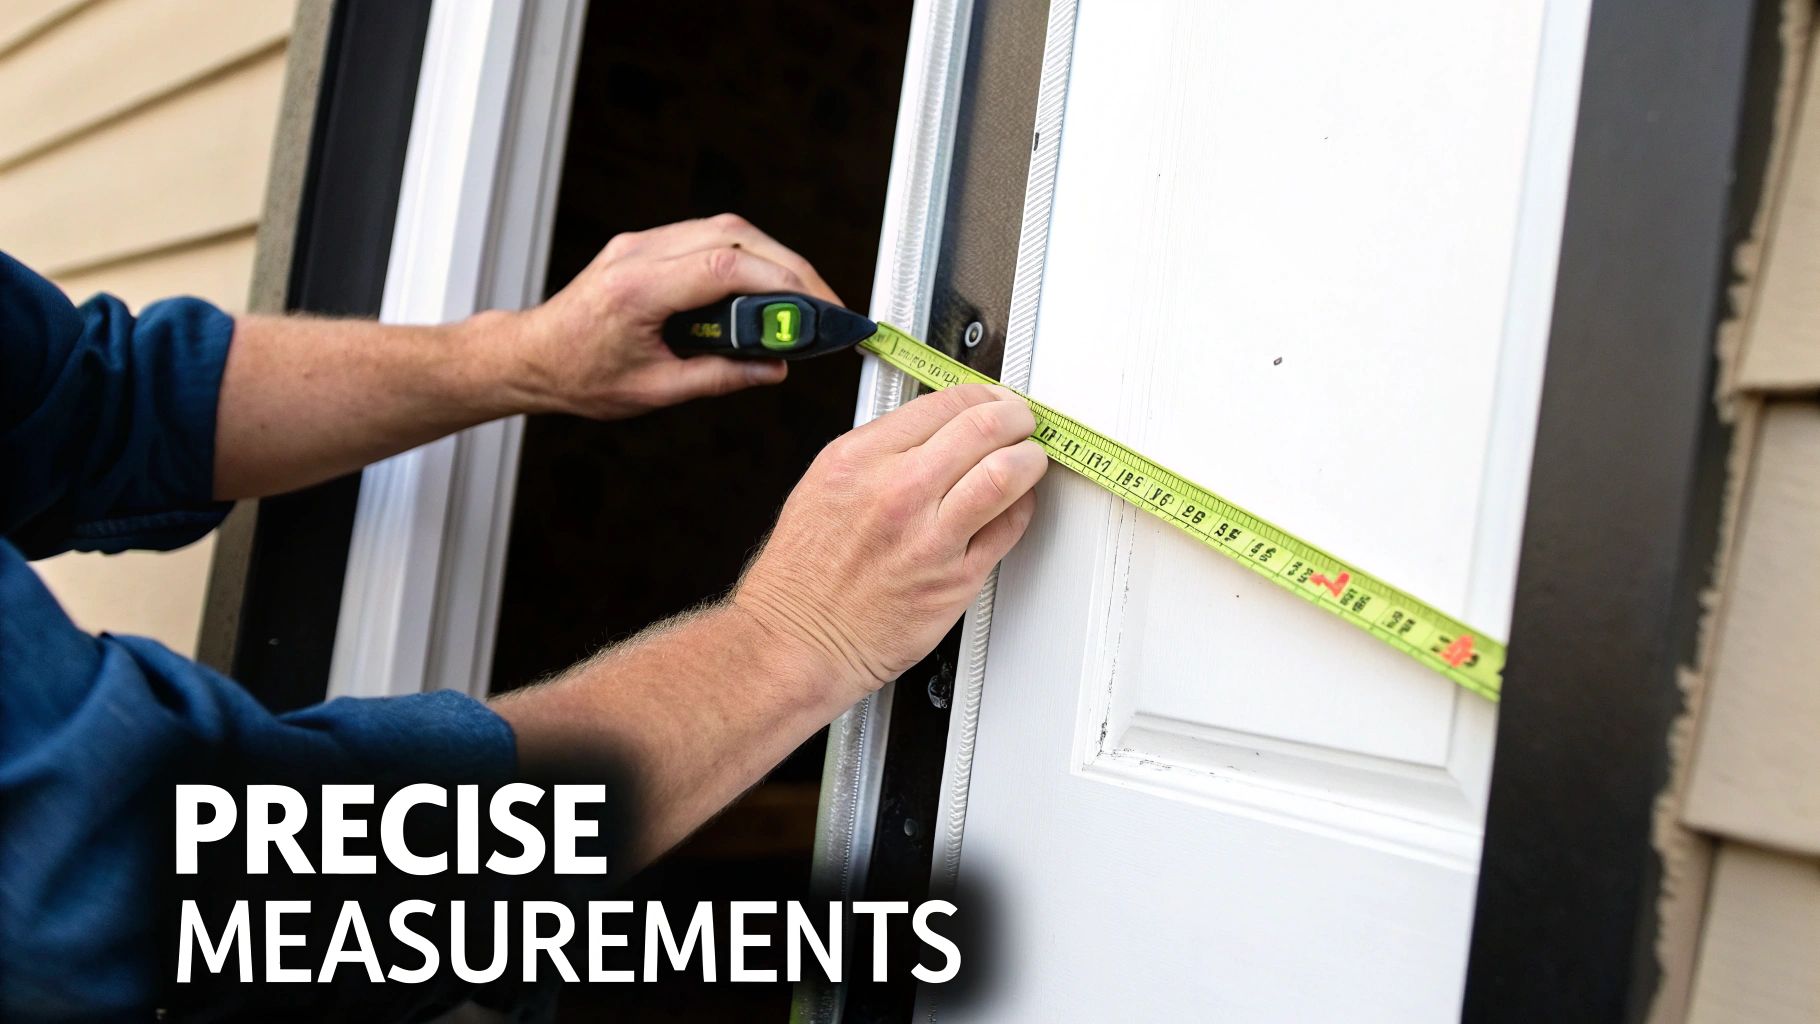
The Art of Accurate Measurement
Believe me when I say that bad measurements are the source of 90% of all installation problems. A door frame can look perfectly square to the naked eye but be just off enough to cause a major issue. To get around this, you have to measure in three different spots for both width and height.
Pro Tip: Measure the width across the top, middle, and bottom of the door opening. Do the same for the height, measuring on the left and right sides. Here's the key: always, always use the smallest of these measurements when you go to buy your door.
This three-point check accounts for any warping or settling that's happened to the frame over the years. For instance, if the top of your frame is 36 inches wide, but the bottom is 35 ¾ inches, you have to go with the smaller number. This ensures the door will actually fit into the narrowest part of the opening.
Jot down every single number and label it—you’ll thank yourself when you’re standing in the store trying to remember which measurement was which.
Your Hands-On Screen Door Installation Guide
Alright, this is where the fun starts—actually installing your new screen door. You’ve got your tools, you’ve checked your measurements, and now it’s time to bring it all together. Let’s walk through putting up a standard hinged door, which is the kind most people tackle themselves.
I find it helps to think of the project in a few distinct phases. Getting a mental picture of the workflow, from prepping the frame to that final hardware check, helps make sure you don't skip a crucial step. It really boils down to three simple actions: Measure, Fit, and Install.
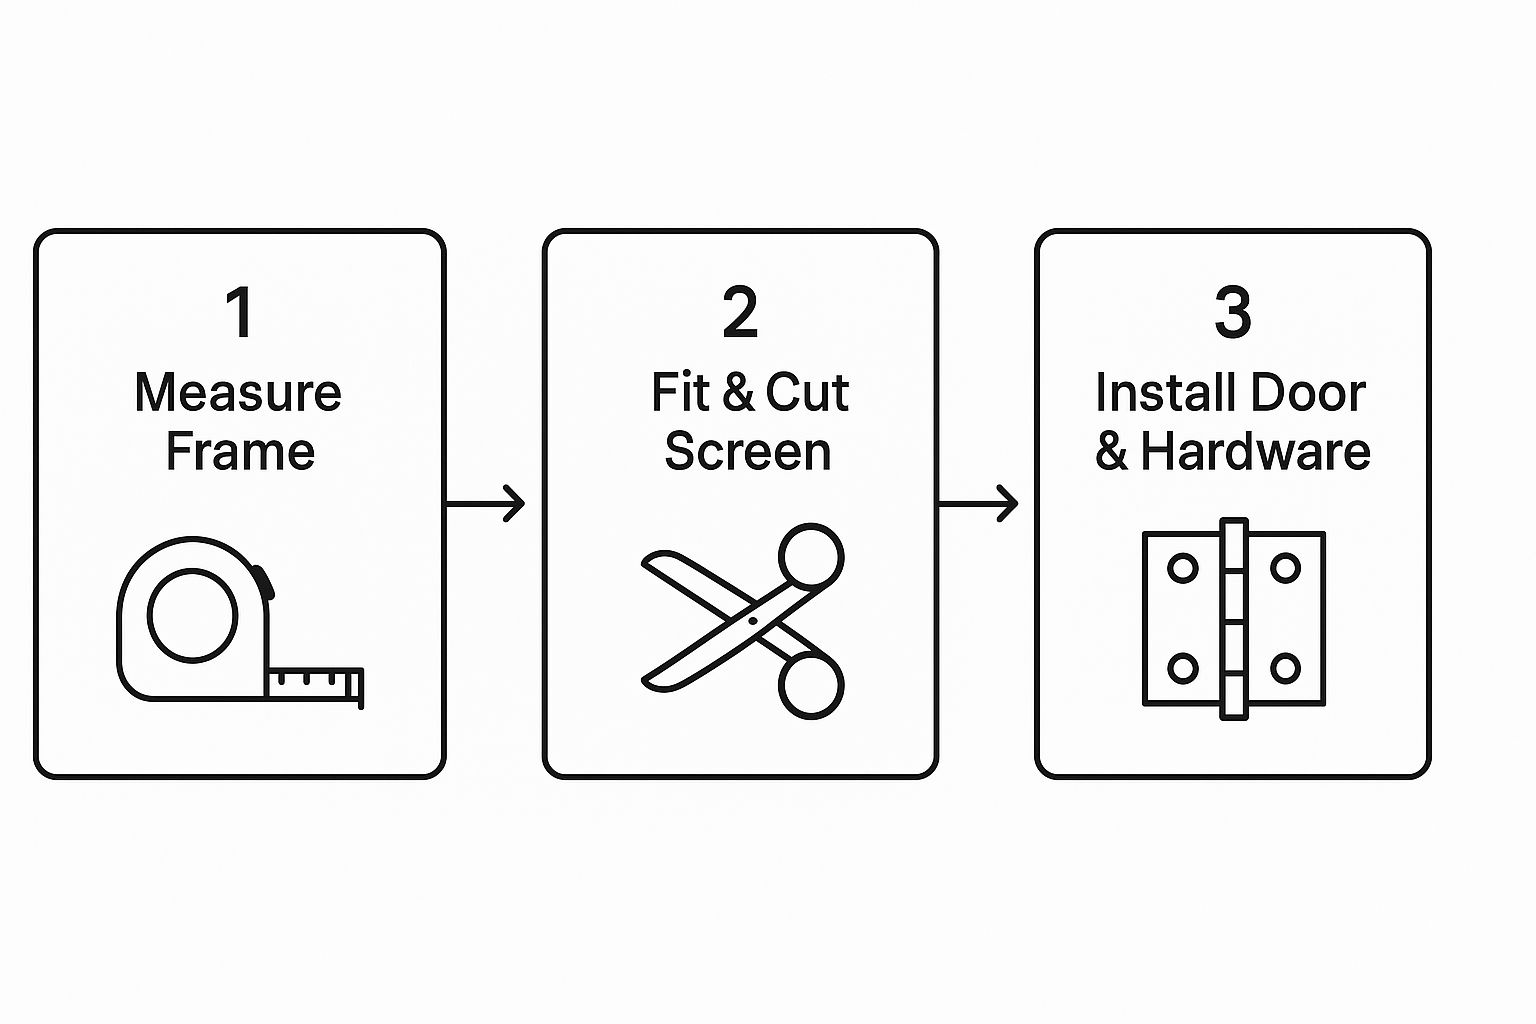
As you can see, getting the initial prep work right is everything. That precision sets the stage for a smooth installation.
Attaching the Hinge Rail
First things first, get everything out of the box and lay out all the parts. Your kit's instructions will point out what's what, but we're going to begin with the hinge rail. This is the long metal piece—sometimes called a z-bar—that will support the entire door.
Hold the hinge rail up against the door frame where you plan to hang the door. Now, this is a key decision. Stand outside facing your front door. If your main door's handle is on the left, you'll probably want the screen door's handle on the right. That means your hinge rail goes on the left side of the frame.
Grab your level and make sure the rail is perfectly plumb (that’s perfectly vertical), even if your door frame is a little wonky. This is critical.
A Tip from Experience: If you're working with an older home, chances are the frame isn't perfectly square. Don't just slap the hinge rail against it and call it a day. Instead, hold the level against the rail and slide thin wood shims behind it where you see gaps. This ensures the rail is perfectly vertical, which is the secret to a door that swings smoothly without sticking.
Once it's plumb, use a pencil to mark where the screws will go. Drill small pilot holes at your marks—this keeps the wood from splitting. Then, loosely attach the rail with just two screws, one near the top and one near the bottom. Don't crank them down tight just yet.
Hanging the Door and Getting the Fit Just Right
Time to hang the screen door on the hinge rail. With the door resting on the hinges, take a step back and check the fit. You’re looking for a small, even gap of about 1/8 inch all around—top, bottom, and handle side.
Most screen doors come with an adjustable bottom expander (or "sweep"). You can slide this piece up or down to close any gap at the threshold for a nice, snug fit.
What if the door is too wide? This is where your hacksaw comes into play. You'll need to trim the rail on the handle side. Measure twice, mark your cut line carefully, and saw slowly to get a clean edge. A quick pass with a metal file will smooth out any rough burrs.
Once the fit is looking good, go ahead and install the rest of the screws in the hinge rail and tighten them all down.
Installing the Handle and Pneumatic Closer
The hardware is what brings the door to life. Start with the handle, following the specific instructions that came with your kit. This step usually means drilling a couple of holes through the door's frame and screwing the inside and outside handle plates together.
Next up is the pneumatic closer. This little device is what keeps the door from slamming shut.
To give you a clear overview, here’s a quick checklist of the installation process. It breaks down the project into manageable parts, each with a clear objective.
| Phase | Key Action | Goal |
|---|---|---|
| Preparation | Unbox parts and identify the hinge rail. | Familiarize yourself with all components before starting. |
| Hinge Rail | Position, level, and loosely attach the hinge rail. | Create a perfectly plumb foundation for the door to hang from. |
| Door Hanging | Hang the door and check for even gaps. | Ensure the door fits the opening with proper clearance. |
| Final Fit | Adjust the bottom sweep and trim if necessary. | Achieve a snug, custom fit within the door frame. |
| Hardware | Install the handle, closer, and latch plate. | Make the door fully functional with a smooth, controlled close. |
This table helps you track your progress from start to finish.
Now, for that closer, here’s the process:
- Attach the main bracket to the top of your door frame, on the same side as the hinges.
- Secure the second bracket to the screen door itself, lining it up with the first one.
- Connect the closer cylinder to both brackets using the pins provided.
- Adjust the closing speed. There’s a small screw on the end of the cylinder for this. Turning it clockwise usually slows the door down, while counter-clockwise makes it close faster. You might need to tinker with it a bit to get that satisfying, soft close.
The very last step is installing the latch plate on the door frame so the latch catches properly. Open and close the door a few times, making any small adjustments you need. Taking your time on these finishing touches is what separates a decent job from a truly professional one.
For more visual examples and in-depth tips, checking out a comprehensive DIY screen door installation guide can be a huge help.
Troubleshooting Common Installation Problems
Even the most carefully planned installation can hit a few bumps. It happens to everyone. The good news is that most screen door hiccups are pretty common and, better yet, easy to fix. This isn't about something going wrong; it's just the fine-tuning stage to get that perfect, professional-looking fit.
Let's walk through some of the usual suspects you might encounter and get them sorted out.
Diagnosing and Fixing a Scraping Door
One of the most frequent frustrations is a door that scrapes or binds against the frame. Nine times out of ten, this means the door isn't hanging perfectly plumb.
Before you touch a single screw, just slowly swing the door shut and watch it like a hawk. Where exactly is it making contact? Is it catching that top corner on the latch side? Or is it dragging along the bottom threshold? Pinpointing the friction spot is half the battle.
Once you know where it’s binding, the fix is almost always at the hinge rail. If the door scrapes along the top, the hinge side probably needs to come down just a hair. If it’s dragging on the bottom, you’ll need to raise it.
Remember those wood shims? They’re your best friend here. Just loosen the screws on the hinge rail and slip a thin shim behind it, right near the problem area. This will ever-so-slightly change the door's angle. It’s a game of patience—make a tiny adjustment, tighten the screws, test the swing, and repeat. You’re aiming for a smooth close with a nice, even gap all the way around.
Eliminating Gaps and Improving the Seal
Another classic issue is finishing the job only to spot a gap, usually at the bottom. That little space is practically a welcome mat for bugs, which defeats the whole purpose of the door.
Thankfully, most screen doors are built for this. They come with an adjustable bottom expander, sometimes called a sweep.
This metal piece is designed to slide. Loosen its screws, push it down until it makes light contact with your threshold, and then tighten everything back up. If you still have gaps along the sides, a roll of self-adhesive foam weatherstripping is a quick, cheap, and effective fix. Just stick it to the door frame, and you're done.
Expert Insight: Be careful not to ram the expander down against the threshold. You want a gentle seal, not a hard scrape. Forcing it down too tight will make the door a pain to open and will wear out the sweep in no time.
Aligning a Latch That Won't Catch
So close to the finish line, but the latch won't click into the strike plate. It's a maddeningly common problem, but the solution is usually simple. The strike plate just needs to be repositioned.
Unscrew the strike plate from the frame. Now, close the door until the latch mechanism touches the frame and mark that spot with a pencil. That mark is your new target.
Reinstall the strike plate using your pencil mark as the guide. The latch should now slide right in and click shut. While these tips are geared toward hinged doors, sliding doors come with their own set of quirks. For help with those, you can learn more about how to fix a sliding screen door in our dedicated guide.
Your Screen Door Installation Questions, Answered

Even with the best guide in hand, there are always a few questions that come up mid-project. Getting a straight answer can be the difference between a smooth installation and a frustrating afternoon. We've been there, and we've heard it all.
Let's walk through some of the most common questions homeowners have when they're tackling this project. Think of this as your go-to FAQ for handling those little details that can sometimes cause the biggest headaches.
How Long Does a Screen Door Installation Take for a Beginner?
If this is your first time, set aside about 2 to 4 hours for a standard hinged screen door. That should give you plenty of time to unbox everything, read through the instructions, measure carefully, install the hardware, and make those final adjustments.
More complex doors, like retractable screens, will definitely take longer. The biggest mistake I see people make is rushing. It's far better to take your time and double-check your measurements than to have to backtrack later.
Can I Install a Screen Door on an Uneven Frame?
Yes, you can, but you'll need to be a bit more meticulous. Most modern screen door kits are built with some wiggle room. They often come with adjustable parts, like a bottom expander, designed to compensate for minor imperfections in the door frame.
If your frame is seriously out-of-square, your best friend will be a pack of wood shims. You can slip them behind the hinge-side of the door frame to build a perfectly level and plumb surface. The goal is to get the screen door hanging straight, even if the house frame it’s attached to isn’t.
Pro Tip: Don't try to hang the door crooked to match a crooked frame. That’s a recipe for a door that scrapes, sticks, and wears out its hardware. Instead, use shims to create a straight hanging surface. That’s the secret to a smooth swing and a professional-looking finish.
What Is the Difference Between a Left-Hand and Right-Hand Door?
This one trips a lot of people up, but it's pretty simple once you know the trick. It all comes down to where the hinges go and which way the door swings.
To figure out what you need, just stand outside, facing your main entry door.
- If your main door's handle is on the left, you'll want a right-hand screen door that swings open to the right.
- If the handle is on the right, you'll need a left-hand door that swings open to the left.
The good news is that many modern screen doors are "universal," meaning you can configure them for either side. Just be sure to double-check the box or product description before you buy to avoid a second trip to the hardware store.
When Should I Hire a Professional Installer?
While installing a standard screen door is a great DIY project, some situations are best left to a pro. If your project involves any of the following, it's probably wise to make a call:
- You need a custom-sized door.
- Your existing door frame is rotted or badly damaged.
- You're installing a high-end system, like a motorized retractable screen.
A professional installer will have the specialized tools and experience to ensure a flawless fit, which can save you a ton of time and prevent costly mistakes.
If your installation feels a bit over your head or you’d just rather have an expert take care of it, Sparkle Tech Screen Service is here to help. We provide professional installation to guarantee a perfect fit every time. Learn more about our screen services and get a quick quote today!


