



It can be tough to know when a screen door has reached the end of the line. When is it time to stop patching and just start over?
Here’s my rule of thumb after years in this business: If the problem is bigger than a simple tear in the mesh—think a warped frame, busted hardware, or rollers that just refuse to roll—you’re almost always better off replacing the whole thing. It’s the more sensible and secure choice for your home in the long run.
Knowing When to Repair or Replace Your Screen Door
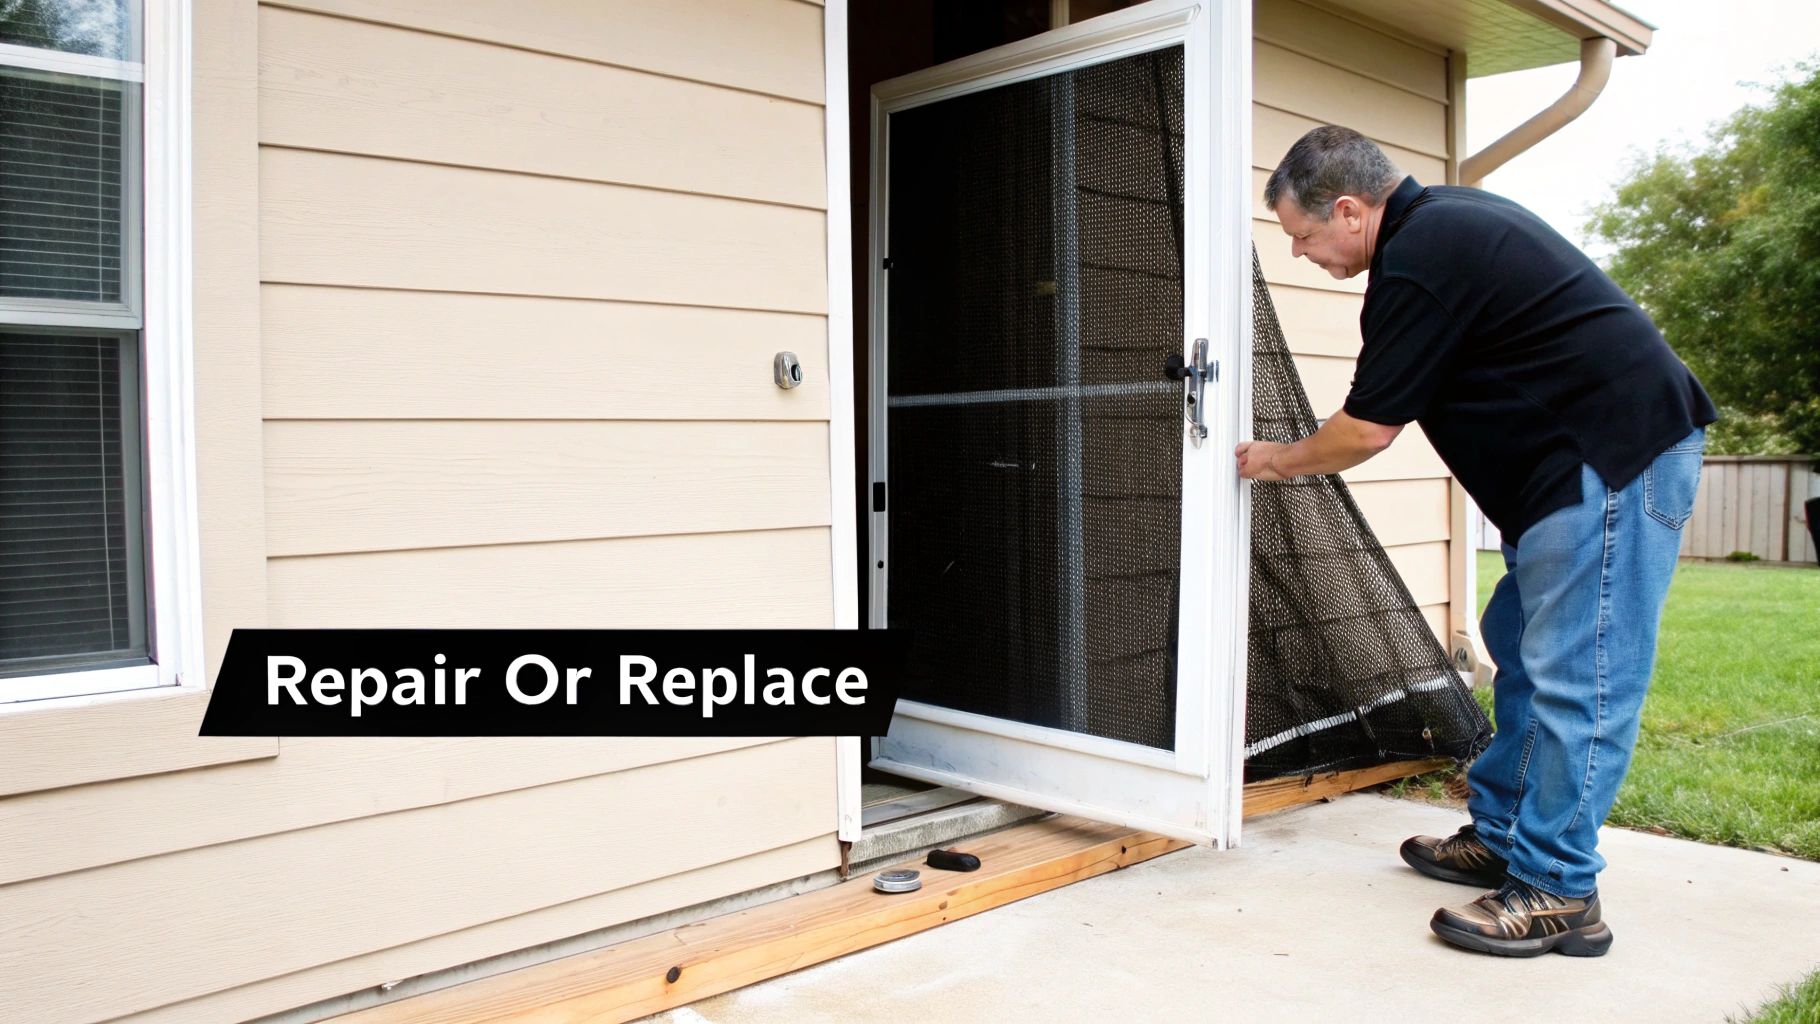
A small rip in the screen is an easy call; that’s a straightforward repair. But other problems are less obvious and can seriously affect your home's security and comfort. Before you commit to a full replacement, take a moment to really inspect your door. This quick assessment will tell you if a simple fix will do the trick or if a new door is the smarter investment.
Ultimately, the decision boils down to the door's structural health. After all, a brand-new screen is pretty useless if the frame holding it is falling apart.
Sometimes, a quick side-by-side comparison can make the decision crystal clear.
Repair vs Replace: A Quick Comparison
| Issue | Recommended Action | Reasoning |
|---|---|---|
| Small holes or tears in the mesh | Repair | This is a simple, low-cost fix. Rescreening is all you need. |
| Bent, warped, or cracked frame | Replace | The frame is the door's foundation. Damage here creates gaps for bugs and compromises security. |
| Sticky or broken rollers | Repair (usually) | Rollers can often be replaced individually, restoring smooth operation without a full replacement. |
| Faulty handle or latch | Repair | Like rollers, hardware is typically a simple swap-out, unless the frame mounting points are damaged. |
| Multiple failing components | Replace | When the frame, rollers, and handle are all failing, the cost of individual repairs adds up quickly. A new door is more economical. |
This table should give you a good starting point, but let's dig a little deeper into the two biggest culprits: the frame and the hardware.
Assessing Frame and Structural Damage
Think of the screen door frame as its skeleton. If that skeleton is bent, warped, or cracked, you’ve got a major problem that a patch won't solve. A warped frame leaves gaps around the edges, which is basically an open invitation for every bug in the neighborhood to come inside. Those same gaps also let your cool air escape in the summer, which can quietly drive up your energy bills.
The frame material matters, too. Old wooden frames can have rot or water damage that’s impossible to truly fix. Aluminum frames, while durable, can get bent out of shape from an impact or weaken from corrosion over time.
Key Takeaway: If the frame isn't sitting perfectly square and flush against the door jamb, a simple rescreening is just a temporary fix for a much bigger issue. At this point, replacing the entire door is the only practical solution.
Evaluating Hardware and Functionality
Beyond the frame itself, you have to look at the hardware—the parts that make the door actually work. Worn-out rollers can turn a smooth-gliding door into a jerky, frustrating mess. A broken handle, a latch that won’t catch, or a closer that slams shut aren't just annoying; they can be a real security risk.
Run through this quick mental checklist:
- Does the door latch securely every single time you close it?
- Do you have to wrestle with the door to get it open or shut?
- Is the handle wobbly, cracked, or just plain difficult to use?
While you can often replace these parts one by one, the costs can start to add up. If you're looking at replacing the rollers, the handle, and the latch, it’s a pretty clear sign the whole unit is on its last legs. Getting a clear picture of all the needed fixes is crucial, and it helps to understand what factors into the overall screen door repair cost before you decide.
It's a common dilemma for homeowners. Industry data shows that while 70-80% of screen issues are simple mesh tears, catching them early can slash potential replacement costs by up to 70%. A timely assessment can save you a lot of money, whether you end up doing a targeted repair or a full upgrade.
Choosing the Right Screen for Your Home and Climate
So, you’ve decided it’s time for a new screen door. The next choice isn't just about color or style—it's about picking the right door type and, crucially, the right screen mesh. This is especially true in a place like Arizona where the sun is relentless. Making the wrong call here can mean you end up with a door that just doesn't hold up or fit how you live.
First things first, think about the door's frame and how it needs to work. A classic hinged screen door is a solid, traditional choice. But for a patio, a sliding screen door is pretty much essential. Then you have retractable screens, which are a fantastic modern option that tucks away completely when you don't need it.
That trend toward modern, disappearing screens is really taking off. The global market for retractable screen doors is expected to jump from $8,541.64 million in 2021 to over $10,382.4 million by 2025. It’s clear that homeowners are looking for smarter, space-saving designs over older, clunkier models.
Finding the Perfect Screen Mesh
The real game-changer for any screen door is the mesh itself. This is where you can get specific about what you need, whether it's crystal-clear views, serious durability, or even a little help with your energy bills. Just grabbing the cheapest roll at the big-box store usually leads to regret.
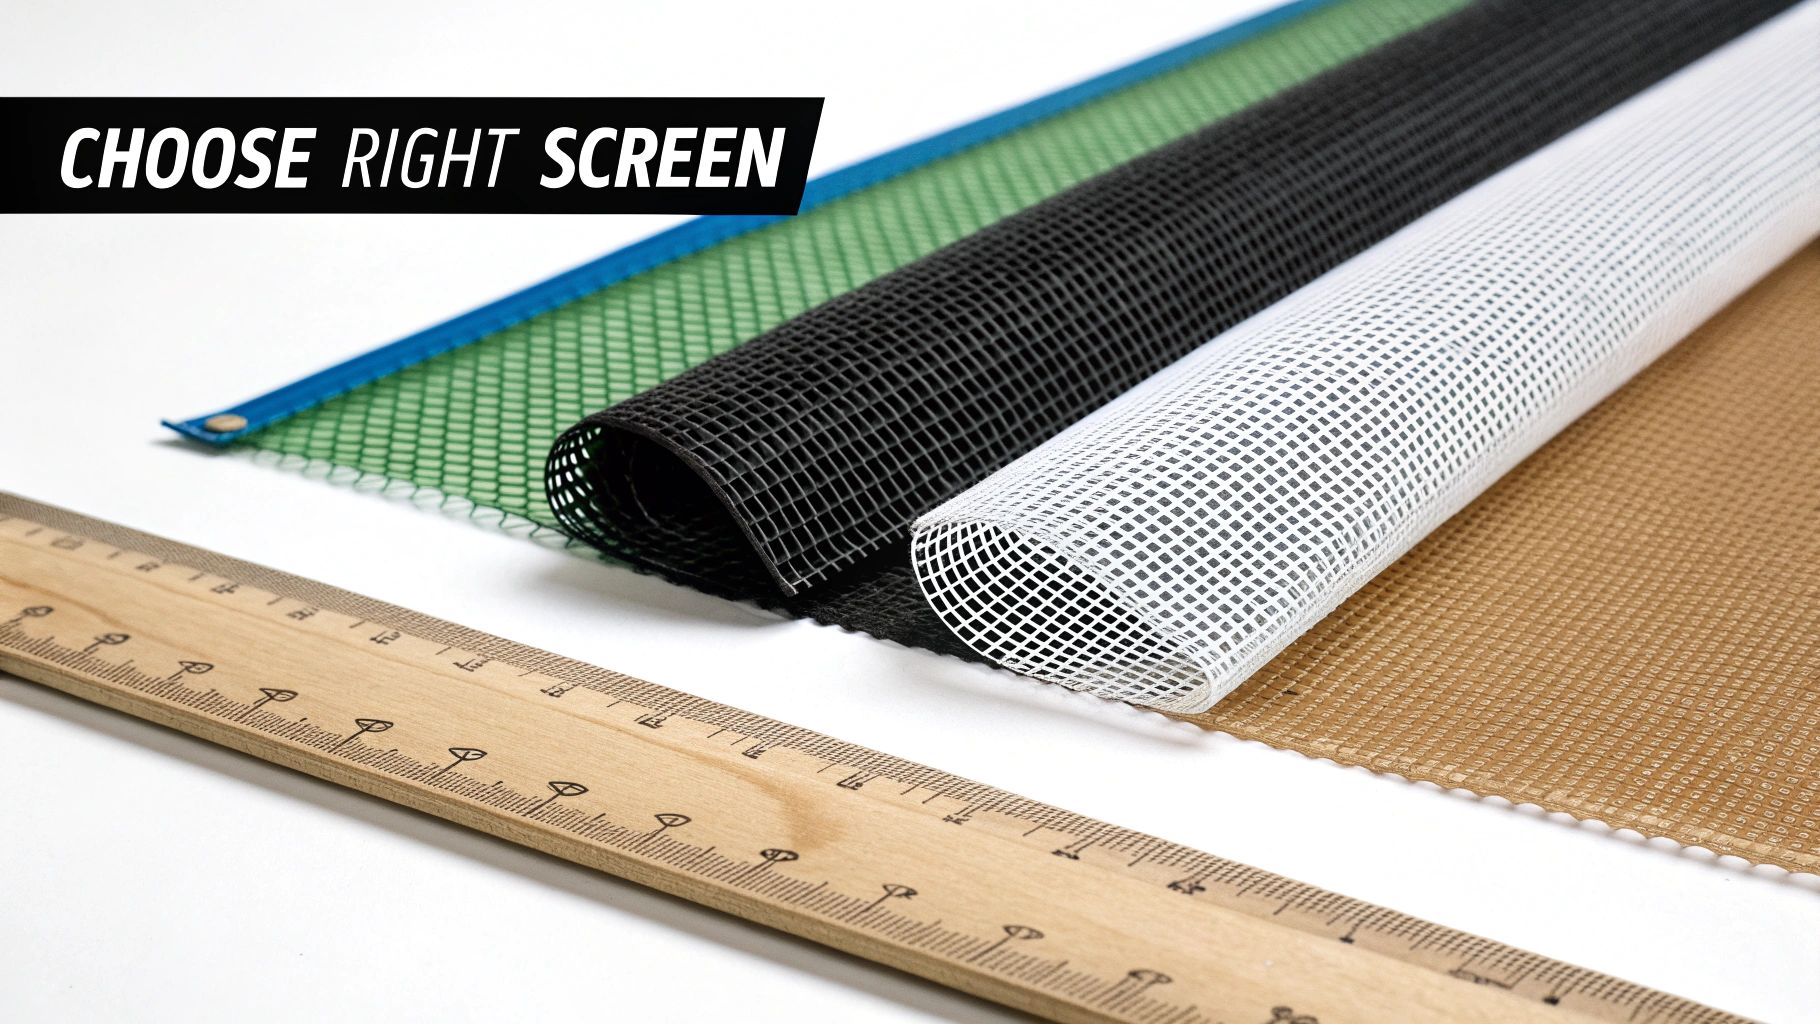
Here’s a quick rundown of the most common materials I see out in the field:
- Standard Fiberglass Mesh: This is your basic, budget-friendly option. It does a fine job of keeping bugs out, but it's the most delicate of the bunch and won't stand up to much abuse from pets or accidents.
- High-Visibility Screen: Made with super-thin strands, this mesh practically disappears, giving you an unobstructed view of your yard. It’s a great upgrade if you love your scenery, though it’s a bit less tough than standard fiberglass.
- Pet-Resistant Screen: If you have dogs or cats, this is a must. It's a vinyl-coated polyester that’s roughly seven times stronger than the standard stuff. It’s built to handle claws and paws without turning into confetti.
- Solar Screen: In a sunny climate, this is a lifesaver. Solar screens are specifically designed to block a huge chunk of the sun's heat and damaging UV rays. They can noticeably cool your home and stop your furniture from fading.
When you're picking a screen, ask yourself what problem you're trying to solve. Is it stopping the dog from blasting through the door again? Or is it taming that brutal afternoon sun that turns your living room into a sauna? Your top priority will point you straight to the right material.
Matching the Mesh to Your Lifestyle
Choosing the right screen material is always a balance of cost, looks, and pure function. For example, if you've got a beautiful backyard view you don’t want to spoil, investing in a high-visibility screen for your patio slider makes perfect sense. On the other hand, a family with active kids and a rambunctious lab will find that a tough, pet-resistant screen pays for itself in no time.
For anyone living in a sun-drenched area, the advantages of solar screens are impossible to overstate. They act like a good pair of sunglasses for your house, cutting glare and lowering the temperature inside. That can translate to real savings on your cooling bills. To dive deeper into the pros and cons, check out our detailed guide on the best window screen material for various needs.
Ultimately, replacing a screen door is a chance to upgrade, not just do a simple swap. By thinking through your home’s specific needs and our local climate, you can choose a door and mesh that will not only look great but perform perfectly for years.
Getting Your Tools and Materials Ready
Trying to replace a screen door without having all your tools lined up first is a recipe for disaster. You end up making a dozen trips to the garage or, worse, back to the hardware store, completely killing your momentum. Let's get everything you need in one place before you start—it’s the secret to a smooth, professional-looking job.
The great thing is, you don’t need a whole workshop full of fancy equipment. You probably already have most of what you'll need. Taking a few minutes to gather these items is the first real step toward a perfect installation.
The Must-Have Tool Checklist
Before you touch a single screw on that old door, run through this list. Having these tools ready to go will save you a massive headache later on.
- Power Drill & Bits: This is your workhorse for zipping out old screws and driving in new ones. Make sure the battery is fully charged!
- Good Measuring Tape: Accuracy is everything here. A flimsy tape measure can lead to a door that’s just a little bit off, which is infuriating.
- Sharp Utility Knife: Perfect for trimming excess screen material or cutting away old, stubborn caulk. A fresh blade is key to getting clean cuts without snagging the mesh.
- Pry Bar or Putty Knife: You’ll need this to gently persuade the old door or trim away from the frame without splintering the wood.
- Level: A 2-foot or 4-foot level is ideal. Don't just eyeball it—a perfectly level door is a door that opens and closes smoothly for years.
These are the core tools that will get you through most of the project. But a few other items are just as critical for getting the details right and keeping yourself safe.
Materials for a Clean, Professional Finish
It’s the small things that separate a DIY job from a pro installation. A few simple materials can make all the difference in achieving that tight, weather-sealed fit that makes a new screen door so satisfying.
The most obvious materials are the new screen mesh and the spline that holds it in the frame. You've likely already chosen your screen type (pet-resistant, solar, etc.), but the spline is where people often go wrong. It's that rubber cord that locks the screen into the frame's channel.
Pro Tip: Never guess the spline size. Snip off a small piece of the old spline and take it with you to the hardware store. Getting an exact match is the only way to get a taut, wrinkle-free screen. If the spline is too thin, the screen will sag. Too thick, and you'll never get it into the channel.
You will also absolutely need a spline roller. This is a cheap, specialized tool with a wheel on each end (one curved in, one curved out) designed specifically for pressing the spline into its groove. Trust me, trying to use a screwdriver will only end in a torn screen and a lot of frustration.
Finally, grab these project-savers:
- Shims: These thin, tapered pieces of wood or composite are your best friend for squaring up a new door in an old frame that's no longer perfectly straight.
- Exterior-Grade Caulk: You'll need this and a caulk gun to seal any gaps between the new door frame and your house. It's essential for keeping drafts and moisture out.
- Safety Gear: It's basic, but don't skip it. A good pair of gloves will protect your hands from sharp metal edges, and eye protection is a must.
Your Guide to a Flawless Screen Door Installation
Alright, you've got your tools and materials lined up. Now comes the satisfying part: actually replacing that screen door. This is where a little bit of careful work pays off big time, turning a job that could be a headache into a genuinely rewarding project.
The process isn't rocket science, but getting it right comes down to being precise, especially when you first pull out that tape measure.
We’ll walk through everything from getting the old door out of the way to locking the new one into place. Whether you’re putting in a brand-new pre-hung door or just rescreening an old frame that’s still in good shape, we've got you covered with tips that actually work.
Perfect Measurements: The Three-Point Technique
An accurate measurement is everything. I can't stress this enough. Door frames, especially in older homes, are almost never perfectly square. Over time, houses settle, and what looks straight to the eye can be off by just enough to cause a problem. That's why the pros always use the three-point technique.
Instead of just measuring once and calling it a day, you’re going to take three quick measurements for both the width and the height.
- For the Width: Measure across the very top, the middle, and the bottom of the door frame.
- For the Height: Measure down the left side, right through the center, and down the right side.
Here’s the key: always use the smallest of the three measurements for both your final width and height. This little trick ensures your new door will fit into the tightest spot in the opening. A door that's a tiny bit too small can be adjusted with shims, but a door that’s too big just won't go in.
Safely Removing the Old Screen Door
Measurements in hand, it's time to get the old door out. Don't just yank it off—rushing here is a surefire way to damage your trim or scratch up the paint, which just creates more work. The exact steps change slightly depending on if you have a hinged or a sliding door.
If it’s a standard hinged door, start with the door closer (that pneumatic tube that keeps it from slamming). Get that off first. Then, grab your drill and back the screws out of the hinges on the door jamb side. It really helps to have a friend hold the door steady while you take out those last few screws.
For a sliding screen door, it's usually easier. Just lift the door straight up into the top track. This should create enough of a gap at the bottom for you to swing the base of the door out and away from the track. Some older sliders have little adjustment screws on the rollers you might need to loosen first to get that extra slack.
This infographic breaks down the essential tool-driven steps of the process for easy visualization.
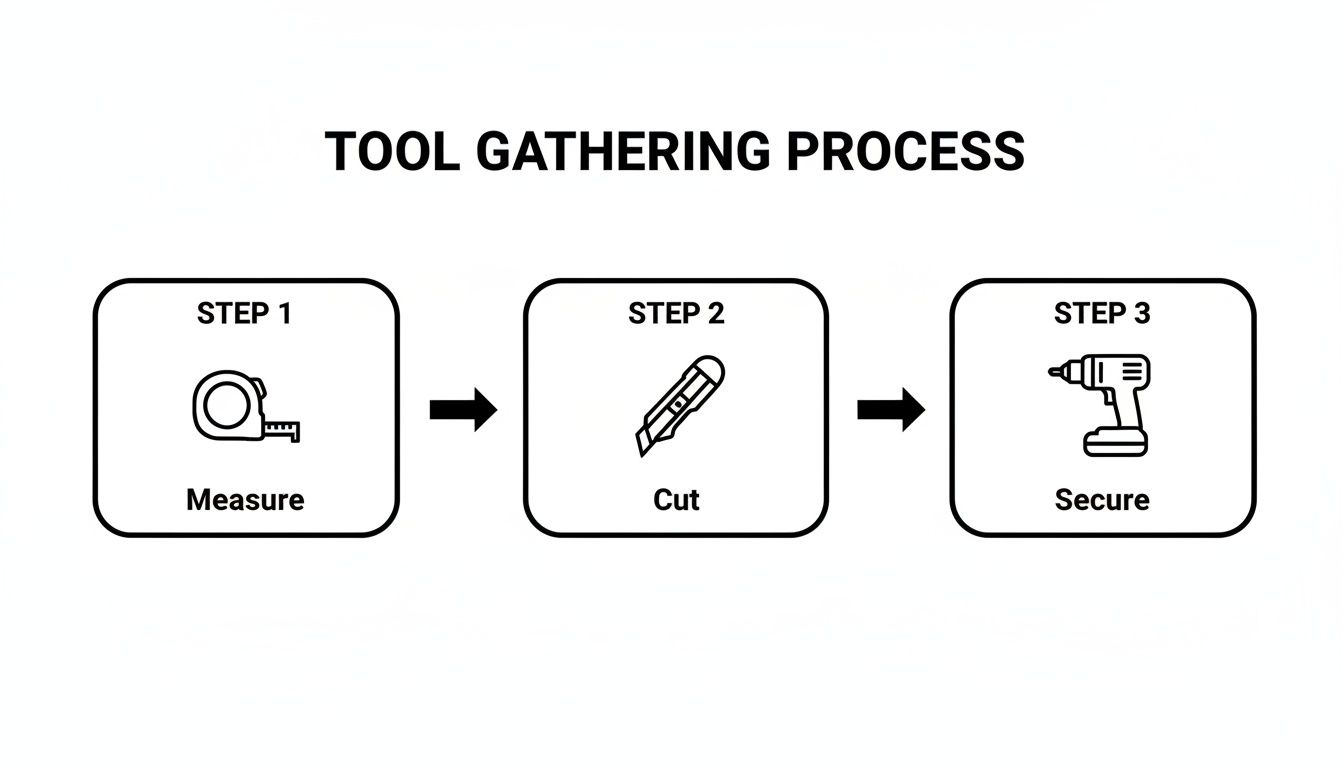
As you can see, the project flows logically from accurate measurements to precise cutting and the final securing, reinforcing why each step matters.
Installing a New Pre-Hung Screen Door
Going with a pre-hung screen door is the most straightforward route. These come with the frame already attached, which cuts out a lot of the hassle.
Start by setting the new door into the opening. Use shims to prop it up until you have an even gap all the way around—about the thickness of a nickel is a good target. Now, grab your level. Make sure the door is perfectly plumb (that’s vertically straight) and level (horizontally straight). This is absolutely critical if you want the door to open and close without sticking.
A classic DIY mistake is just assuming the house's door frame is square. Always, always trust your level, not your eyes. Shimming a door correctly is the real secret to a professional-grade installation that will work smoothly for years.
Once the door is positioned perfectly, drive screws through the pre-drilled holes in the frame, straight through your shims, and into the home's door jamb to secure it. The last step is to install the handle, latch, and closer based on what the manufacturer’s instructions say. For a deeper dive, our complete guide to a DIY screen door installation has even more tips.
The Art of Rescreening an Existing Frame
If your current door frame is still solid, rescreening is a fantastic, budget-friendly way to go. It takes a bit more finesse and patience, but the result is well worth it.
Lay the door frame down on a flat, stable surface. Unroll the new screen mesh over the top, making sure you have at least a couple of inches of extra material hanging over all four sides. A few clamps can help hold it in place while you work.
Next, it’s time for the spline roller. Using the convex wheel (the one that bows outward), gently press the screen into the groove running around the frame. Go all the way around, creating a nice channel for the spline to sit in.
Now for the spline itself. Start at a corner and use the concave wheel (the one that curves inward) to push the rubber spline down into the groove, trapping the screen mesh underneath. The trick is to keep the screen taut as you go, but don't pull so hard that you bend or warp the frame.
Apply firm, steady pressure. Once the spline is fully seated, the screen should be nice and tight, almost like a drum. The last thing to do is grab a sharp utility knife and carefully trim off the excess screen mesh right against the spline for that clean, professional look.
Troubleshooting Common Installation Problems
Even the most careful DIYer can run into a snag when installing a new screen door. You might step back to admire your handiwork, only to see the door scraping the frame, the new screen looking wavy, or a sliding door that just won’t glide. Don't worry. These little hitches are incredibly common and almost always fixable with a bit of patience.
This isn’t a sign you’ve messed up; it’s just part of the reality of fitting a perfectly square new door into an opening that has likely settled over time. Before frustration sets in, let's walk through the most frequent issues and how to solve them like a pro.
When Your New Door Doesn't Fit Right
You measured three times, but the door is still too tight in some spots and has gaps in others. This happens all the time, especially in older homes. This is exactly why you kept those shims handy.
If the door is scraping the jamb on the latch side, it probably isn't hanging perfectly plumb. Grab your level and place it on the hinge side of the door. If that bubble isn't perfectly centered, it's time for a small adjustment.
- For a Tight Spot: The easiest fix is to shim the hinges. Simply loosen the hinge screws, slip a thin shim or two behind the hinge plate (right against the door jamb), and retighten. This tiny tweak pulls the door slightly away from the side it's rubbing against.
- For Gaps: If you're seeing a noticeable gap along the top or bottom, shims are once again the answer. Use them to create a consistent, even gap all around the door before you fully drive in the screws.
Solving a Sticky Sliding Screen Door
A sliding screen door that sticks, grinds, or jumps its track is a classic headache. But the problem almost always comes down to two culprits: dirty tracks or misaligned rollers. You probably don't need a new door; a few minutes of troubleshooting can make a world of difference.
First things first, give that track a deep clean. Dirt, pet hair, and tiny pebbles are the natural enemies of a smooth-gliding door. A vacuum with a crevice tool, followed by a quick wipe-down with a damp cloth, usually does the trick.
If a clean track doesn't solve it, let's look at the rollers. Most sliding screen doors have adjustment screws on the bottom edge of the frame, and sometimes on the sides.
Key Adjustment Tip: Turning these screws raises or lowers the rollers. The goal is to get the door high enough to clear the track easily but low enough that it sits securely within the channel. Use your level to make sure the door is sitting straight, not tilted, after you adjust.
Fixing Wrinkled or Sagging Screen Mesh
You just finished rescreening a frame, but the mesh has ugly ripples or sags right in the middle. This is a dead giveaway that the screen wasn't pulled with even tension as the spline was installed. It might feel like you have to start all over, but you can usually fix it without pulling everything apart.
The secret is to work with the spline, not against it.
- Find the Wrinkle: Figure out where the sagging is coming from.
- Release the Spline: Use a flathead screwdriver to carefully pry up a few inches of the spline on the side closest to the problem area.
- Pull it Taut: With the spline lifted, gently pull the edge of the screen mesh until the wrinkle disappears. You don't need to yank it—just apply enough firm, steady pressure to make it flat.
- Reseat the Spline: Grab your spline roller and press the spline firmly back into its channel. This will lock the newly tightened screen in place.
This quick fix is often all it takes to go from an amateur-looking job to a perfectly taut, professional finish. Remember, you want a firm surface, not a banjo-string-tight screen that could end up warping the frame over time.
DIY or Hire a Pro? Making the Right Call
So you’ve found the perfect screen door. Now you’re at a crossroads: do you roll up your sleeves and install it yourself, or do you call in an expert? This really boils down to a classic trade-off between money, time, and how comfortable you are with home improvement projects.
Going the DIY route can feel fantastic. There's a genuine satisfaction that comes from completing a project with your own hands, not to mention the money you save on labor. But it’s important to be honest with yourself about what the job actually involves. Hanging a screen door properly isn't just a matter of sinking a few screws; it's about getting a perfect, weather-tight fit so the door glides open and shuts securely for years to come.
On the flip side, hiring a pro buys you peace of mind and a flawless result. A seasoned installer has seen it all before. They can spot potential issues, like an out-of-square door frame, from a mile away and have the right tools and tricks to handle them on the spot. A project that could easily eat up your entire weekend might only take them an hour or two.
The True Cost of a DIY Project
When people think about DIY costs, they usually just picture the price tag on the door itself. But the real cost is often much higher once you factor in all the necessary tools and supplies you might not have lying around.
Think about what you'll actually need to get the job done right:
- A good power drill with a fully charged battery and a quality set of bits.
- A sturdy level (at least 2 feet long) is non-negotiable. "Eyeballing it" is a recipe for a door that sticks or won't close properly.
- Specialty tools like a spline roller, which is an absolute must-have if you're rescreening.
- Consumables like shims for leveling, exterior-grade caulk for sealing, and maybe even a new set of screws.
These items can add up fast. And then there’s the biggest hidden cost: your time. If a professional can get it done in two hours, but it takes you all day Saturday, what is that time worth to you? For many homeowners, the sheer convenience and speed of hiring an expert makes it a bargain.
When to Leave It to the Professionals
While replacing a standard, run-of-the-mill hinged screen door can be a great project for a handy homeowner, some situations definitely call for professional help. These are the jobs where specialized skills and tools aren't just helpful—they're essential for a secure and functional installation.
A professional installation isn't just about speed; it's about precision. An improperly installed door can lead to security vulnerabilities, energy loss, and the daily frustration of a door that just never works right.
You should seriously consider hiring an expert for these kinds of projects:
- Custom or Oversized Doors: Non-standard openings require dead-on measurements and custom-fit doors. There's simply no margin for error.
- Complex Retractable Systems: These doors have intricate spring-loaded and track mechanisms that must be perfectly aligned to function smoothly.
- Heavy-Duty Security Doors: These doors are incredibly heavy and awkward to handle. Getting the installation right is critical to ensuring they actually provide the security they were designed for.
- Older Homes with Settled Frames: If your house has shifted over the years, the door frames are probably no longer perfectly square. A pro knows exactly how to shim and adjust the new door for a perfect fit.
The trend is clear: homeowners are upgrading to better, more advanced doors. The global platform screen door system market is expected to reach $1,010 million by 2026. This shows a broader shift toward investing in higher-quality home features. A professional installation ensures these advanced systems work as intended, which can even reduce energy loss by 20-30% thanks to better solar blocking.
If you're leaning toward bringing in an expert instead of tackling the job yourself, it’s worth exploring professional screen services. When you weigh the cost against the guaranteed quality and convenience, you can make the best choice for your home.
For a hassle-free, professional installation of your new screen door, trust the experts at Sparkle Tech Screen Service. We offer same-week service and quick quotes to get your project done right and on time. Get your free quote today!


