


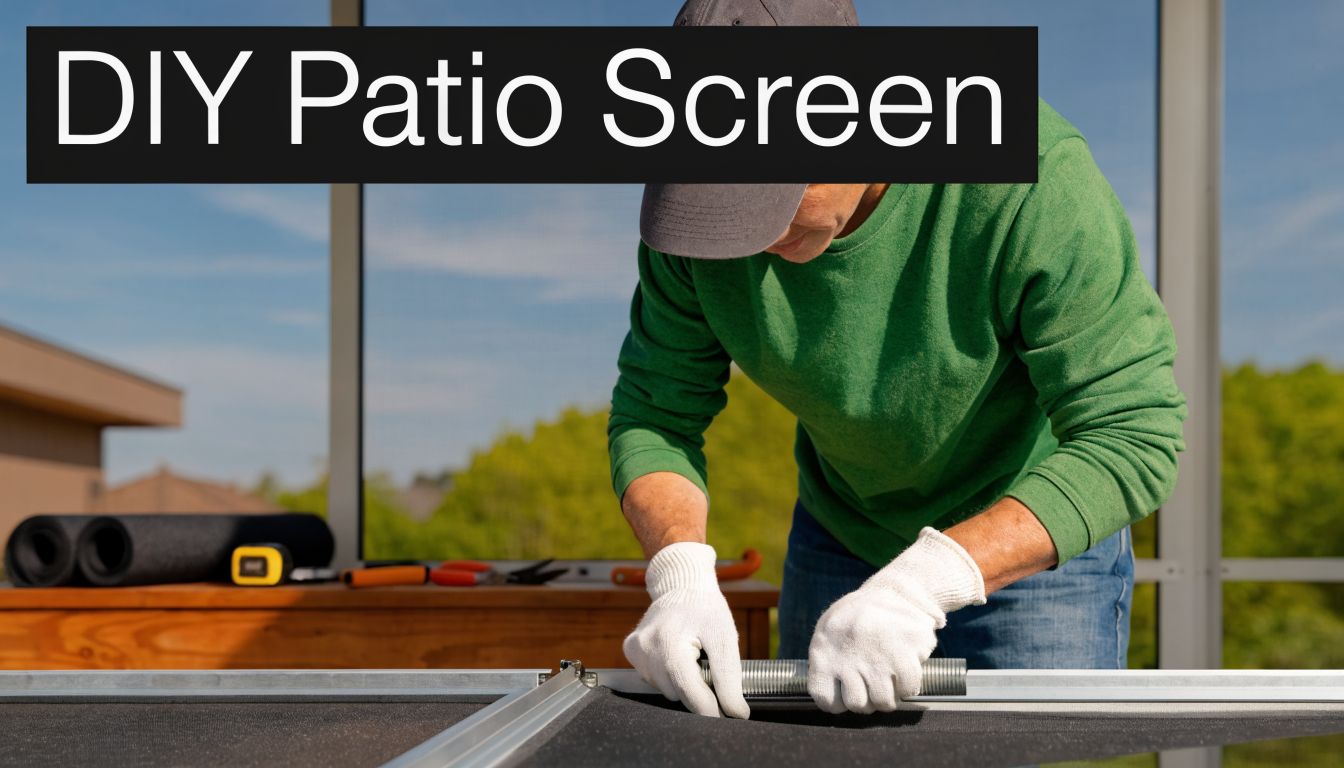

A lot of homeowners decide to replace screen patio panels at the exact moment the space stops feeling usable. You sit down outside with coffee, then notice the rip near the chair rail, the loose corner flapping in the breeze, and the bugs that somehow keep finding their way in anyway. In Phoenix, the problem usually looks worse by late summer. The mesh gets brittle, the sun fades it out, and dust settles into every edge.
A worn screen isn't just ugly. It stops doing the two jobs you bought it for in the first place: keeping insects out and making the patio comfortable enough to use. The good news is that a rescreen can absolutely be a solid DIY project if the frame is still sound and you work carefully.
Reclaim Your Outdoor Oasis
Most screened patios don't fail all at once. First it's one small tear near the bottom where a pet pushed through. Then a corner starts to loosen. Then the mesh gets chalky and tired-looking, and suddenly the patio that used to feel like an extra room feels neglected.
That shift matters because a screened patio changes how you use your home. It becomes the place where kids eat popsicles without flies around, where you can crack a book open in the evening, or where you get a little shade without hiding indoors. If you're also thinking about a broader outdoor refresh, these deck enclosure ideas are useful for seeing how screening, shade, and layout choices work together.
Homeowners in the Valley usually reach the same decision for the same reason. The patio still has good bones. The frame is there. The enclosure works. It just needs fresh mesh and a cleaner finish.
A patio screen should disappear when you're using the space. If you're constantly noticing sagging fabric, glare, bugs, or frayed edges, it's time to fix it.
A good rescreen starts with an honest look at what's salvageable and what isn't. If the aluminum frame is straight and the spline channel is intact, replacing the mesh can bring the whole enclosure back. If you want to compare a DIY repair against a full enclosure refresh, it helps to look at examples of an enclosed screen patio so you can judge whether you're repairing, upgrading, or rebuilding.
Done right, a rescreen gives you back a patio that feels finished again. Done poorly, it leaves you with waves, slack corners, and a panel you'll want to redo by next weekend.
Choosing Your Screen Mesh and Planning Your Project
The material decision is where most DIY patio jobs are won or lost. People often buy whatever roll is easiest to find, then wonder why the finished panel looks weak, blocks too much airflow, or doesn't hold up in desert sun.

For Phoenix-area homeowners, climate is a critical factor. Arizona's intense solar radiation can degrade standard screening 30-50% faster than in temperate regions. That makes UV-resistant and solar screening a practical choice for durability, not just a premium upgrade.
Pick the mesh for how you actually use the patio
If your patio is mostly for airflow and bug protection, standard fiberglass still has a place. It's familiar, flexible, and easier for many homeowners to work with than stiffer materials. But in direct western exposure, it may not be the longest-lasting choice.
If you're dealing with clawing pets, rough use, or furniture constantly brushing the lower panels, a heavier pet screen makes more sense. It won't feel as invisible as lighter mesh, but it usually handles abuse better.
For tiny insects, No-See-Um mesh offers finer protection. The trade-off is that the tighter weave can reduce openness a bit. If your patio backs up to landscaping or standing water, that trade is often worth it.
Solar screen is a different category. It isn't just about keeping bugs out. It's also about reducing glare and cutting some heat. In hot, sunny exposures, that matters every day.
| Mesh Type | Material | Pros | Cons | Best For |
|---|---|---|---|---|
| Standard Fiberglass Mesh | Fiberglass | Good visibility, flexible, common for general use | Less ideal for harsh desert exposure | Basic patio rescreening in shaded areas |
| Heavy-Duty Pet Screen | Heavy-duty synthetic mesh | More resistant to tears and pushing | Heavier look, harder to tension neatly | Homes with pets or rough traffic near lower panels |
| No-See-Um Mesh | Fine woven insect screen | Better protection from very small insects | Slightly reduced openness and airflow feel | Patios near landscaping or bug-prone areas |
| Solar Screen | Sun-control screen fabric | Reduces glare, helps with heat and daytime privacy | Darker outward view, different look than bug mesh | West-facing and high-sun patio enclosures |
Measure the frame, not your guess
A sloppy cut starts with sloppy measuring. Measure each panel individually. Don't assume matching panels are identical, especially on older patios where frames may have shifted slightly.
Use a tape measure and write down:
- Panel width: Measure inside the frame where the screen sits, not the outside trim.
- Panel height: Check both sides if the frame seems out of square.
- Spline condition: Old, brittle spline often needs replacement along with the mesh.
- Frame health: Bent rails, loose corners, and corroded channels can turn a simple rescreen into a frame repair.
Planning rule: If the frame is loose at the corners or the spline channel is damaged, new mesh alone won't save the panel.
Homeowners doing a larger outdoor upgrade should also think about how the screen relates to shade structure. If you're comparing screen replacement with structural changes overhead, this guide to patio cover installation is useful context because cover design changes how much sun and weather your mesh takes.
A final planning step is matching mesh type to frame type and opening size. If you need a primer on options before buying rolls and spline, this breakdown of types of window screen mesh helps sort out the practical differences between common materials.
Gathering Your Tools and Materials for Success
Walking into the store without a list is how a one-trip project turns into half your Saturday in the parking lot. A clean replace screen patio job doesn't require a huge kit, but it does require the right kit.

What you need on the table before you start
The essentials are straightforward:
- Screen roller tool: One with both convex and concave ends is the most useful because different frame channels and spline profiles respond differently.
- Flat screwdriver or pick: You need this to lift the old spline without chewing up the channel.
- Needle-nose pliers: Helpful for grabbing brittle spline and pulling long runs out cleanly.
- Utility knife with fresh blades: A dull blade snags mesh and ruins clean trim lines.
- Tape measure: Not optional.
- Replacement mesh: Buy enough to leave overhang on every side.
- Replacement spline: For most aluminum frames, 0.315-inch gauge vinyl spline is the standard choice.
- Work surface: A pair of sawhorses with plywood, or any large flat table, makes the job easier.
Where you can save and where you shouldn't
You can be frugal on the work surface. You can improvise with a folding table, plywood on supports, or even a very clean garage floor if you have enough room. You don't need a fancy setup.
Don't cut corners on blades, spline, or the roller. Cheap, inconsistent spline creates fit problems. A worn roller slips out of the channel and can damage fresh mesh. Old blades drag and leave ragged edges that scream DIY.
A few nice extras also help:
- Painter's tape: Good for temporarily holding mesh alignment on the frame.
- Small brush or vacuum: Cleans dirt out of the spline groove.
- Gloves: Useful when old aluminum edges are sharp.
- Marker or chalk: Lets you label panels if you've removed several at once.
Clean channels matter more than most homeowners think. Debris in the groove can keep the spline from seating fully and leave you with loose sections even when your technique is solid.
If you're unsure which hand tools are worth buying versus borrowing, a practical list of window screen repair tools can help you avoid spending money on gadgets you won't use again.
One more practical note for Phoenix. Start early. Mesh gets more difficult to handle in direct heat, and dark frames can get hot enough by midday to make steady work miserable.
The Professional Rescreening Process Step by Step
You can spot a rushed rescreen from across the yard. The mesh waves a little in the sun, the corners look chewed up, and one panel is already sagging by the time monsoon season shows up. Clean prep and controlled tension prevent most of that.

Remove the old screen without damaging the frame
Lay the frame flat on a stable work surface. Start at one corner with a pick or small flat screwdriver and lift the end of the old spline. Once you have enough exposed, pull it steadily with pliers. If the spline is brittle and keeps breaking, slow down and remove it in short sections instead of digging at the channel.
Then lift off the old mesh and inspect the groove closely. Older patio frames in Phoenix often have packed dust, oxidized aluminum, and tiny spline fragments buried in the corners. Leave that debris in place and the new spline will not sit evenly.
A clean removal usually follows the same pattern:
- Remove the spline before pulling the mesh. That keeps old screen strands from packing deeper into the groove.
- Brush or vacuum the channel. Even a small amount of grit can create a loose spot.
- Inspect each corner with your fingers and eyes. Corners hide damage and leftover debris more than straight runs do.
As noted in Patio Screen Pro's rescreening guide, dirty grooves, poor tension, and the wrong spline size all contribute to premature failure. That matches what shows up in the field, especially on older aluminum patio frames that have baked in the Arizona sun for years.
Cut oversized and square the weave
Roll the new mesh over the frame and leave about 2 inches extra on every side. That margin gives you room to align the screen and correct drift without coming up short at the edge.
Square the mesh before the spline goes in. On fiberglass screen, the weave lines will tell on you fast. If those lines run crooked at the start, the finished panel will still look off even if it feels tight.
One small trick helps in hot weather. Let the mesh relax in the shade for a few minutes before you set it on the frame. Screen that has been sitting in a hot truck or direct sun can feel springy and harder to control, especially on larger panels.
Set the first side with even tension
Start at the top center, not at a corner. Press the screen lightly into the channel with the convex wheel, then begin seating spline from the middle toward one corner, then return to center and work toward the other. That sequence keeps tension balanced across the panel.
Do not pull the mesh like you are stretching upholstery. Patio screen needs even tension, not maximum tension. Pull too hard and the frame can bow inward, especially on wider aluminum panels. In desert heat, that risk goes up because warm mesh and hot frames can behave differently than they do in a cool garage.
If the panel starts to ripple, stop and back up a few inches. Fixing a wrinkle early is simple. Fixing it after two sides are locked in usually means removing fresh spline and starting over.
Work around the frame in a controlled pattern
After the top edge is secure, install one side, then the opposite side, then finish the bottom. Check the face of the screen after every run. A quick visual check saves a lot of rework.
A practical order looks like this:
- Top edge first: Sets your alignment.
- One side, then the other: Keeps the pull balanced.
- Bottom edge last: Lets you fine-tune the final tension.
This short video is a good visual reference for hand position and roller control during the process:
Corners take patience. Seat the spline fully without jabbing the mesh, and use a screwdriver only for light tucking if the corner is stubborn. If you have to force it, something is wrong. Usually the spline is oversized, the channel is dirty, or the screen shifted out of square.
Press the finished panel lightly with your thumb. It should feel firm and even across the opening. A drum-tight panel can stress the frame. A soft panel will flap and look tired almost immediately.
Trim for a clean edge
Trim only after the spline is fully seated. Run a fresh utility blade along the outside edge of the spline at a slight outward angle so you do not nick the captured screen. One careless cut near a corner can ruin an otherwise good panel.
This part separates clean DIY work from amateur-looking results. Sharp blade. Slow hand. Good light.
If you are rescreening several panels in Phoenix heat, save the largest or most visible panels for early morning. By midday, dark frames get hot enough to make careful trimming harder, and fatigue starts showing up in the corners first. That is usually the point where calling a pro makes more sense than pushing through and redoing work later.
Estimating Your Project Cost and Time
A replace screen patio project is one of those jobs that looks cheaper and faster from ten feet away. Sometimes it is. Sometimes the labor savings disappear once you count your time, the tool run, and the second panel you redo.
What the national numbers tell you
The national average cost to professionally replace a screen patio ranges from $864 to $7,023, with most homeowners spending around $1,200 according to HomeAdvisor's patio enclosure repair cost guide. That same source puts materials at about $4.50 per square foot, with labor adding $1 to $3 per square foot.
Those numbers help you benchmark your own project. If your patio has multiple large panels, premium mesh, and difficult access, a professional quote may make more sense than many homeowners expect. If your enclosure is simple, ground-level, and built with standard frames, DIY can still pencil out.
A realistic way to budget the job
Think in three buckets instead of one:
- Material spend: Mesh, spline, and replacement odds and ends.
- Tool spend: Roller, blades, hand tools, and any supplies you don't already own.
- Time cost: The hours you'll spend to remove panels, prep them, rescreen them, and reinstall them.
A lot of homeowners only count the first bucket. That's where the budget gets distorted.
If your schedule is tight, time becomes a real project cost even if it never appears on a receipt.
The easiest way to decide is to price your materials, then compare that against a professional quote and your available weekend hours. Large patios with several panels often look manageable at first but can become an all-day project once you add cleanup, hardware issues, and inevitable adjustments.
Maintenance Tips and Knowing When to Call a Pro
Fresh mesh looks great on day one. Keeping it that way takes a little discipline, especially in dusty, high-sun climates.

Keep the screen clean and the frame honest
Dust doesn't just sit on the mesh. It works into corners, collects in tracks and channels, and makes the whole enclosure feel older than it is. Use a soft brush or gentle rinse and avoid aggressive scrubbing that can distort or abrade the screen.
Regular visual checks matter too. Look at lower corners, latch areas, pet-contact zones, and any panel with strong afternoon sun. Early fixes are simpler than letting a small failure spread.
A few habits help:
- Brush off debris: Dust and cobwebs left in the corners hold grime and stress the edges.
- Check spline lines: If a section starts lifting, deal with it before the mesh loosens across the panel.
- Watch furniture placement: Chair backs and grill tools can puncture screens faster than people expect.
- Inspect after storms: Windblown debris can create tears you won't notice from inside.
Know when DIY stops making sense
Well-maintained screens typically need replacement every 6 to 8 years, and a DIY patio project can take a homeowner 12+ hours for a typical enclosure, while professional service in major markets often runs $150 to $300 per panel, according to Angi's porch rescreening guide. That's the point where the decision becomes less about pride and more about practicality.
Call for help when:
- The frame is damaged: Bent aluminum, loose corners, or worn spline channels can make new mesh fail early.
- The patio has many panels: Repetition makes mistakes more likely, especially if you're learning as you go.
- Access is awkward or unsafe: Tall, oversized, or hard-to-remove sections are not worth a fall.
- You need a fast turnaround: A patio taken apart for days isn't fun in bug season or peak heat.
- You want warranty protection: That's often the deciding factor for homeowners who don't want to revisit the job.
One practical option in the Valley is Sparkle Tech Screen Service, which handles new screens, rescreening, repairs, and slider work with same-week service. That's useful when the project is bigger than expected or the enclosure needs more than fresh mesh.
The smartest DIYers aren't the ones who insist on doing every panel themselves. They're the ones who know when one test panel is enough to prove the rest should be outsourced.
If you've got one or two easy panels and a good frame, a DIY rescreen can be satisfying. If you're staring at a large enclosure in July with brittle spline, sun-beaten mesh, and half a weekend free, calling a pro is often the better call.
If you'd rather skip the trial-and-error and get a clean, durable finish the first time, Sparkle Tech Screen Service can help with patio rescreening, bug screens, sun screens, sliders, and screen repairs across the Phoenix area. Text or call 623-233-0404 or 800-370-3998 for a quick quote and same-week service.


