


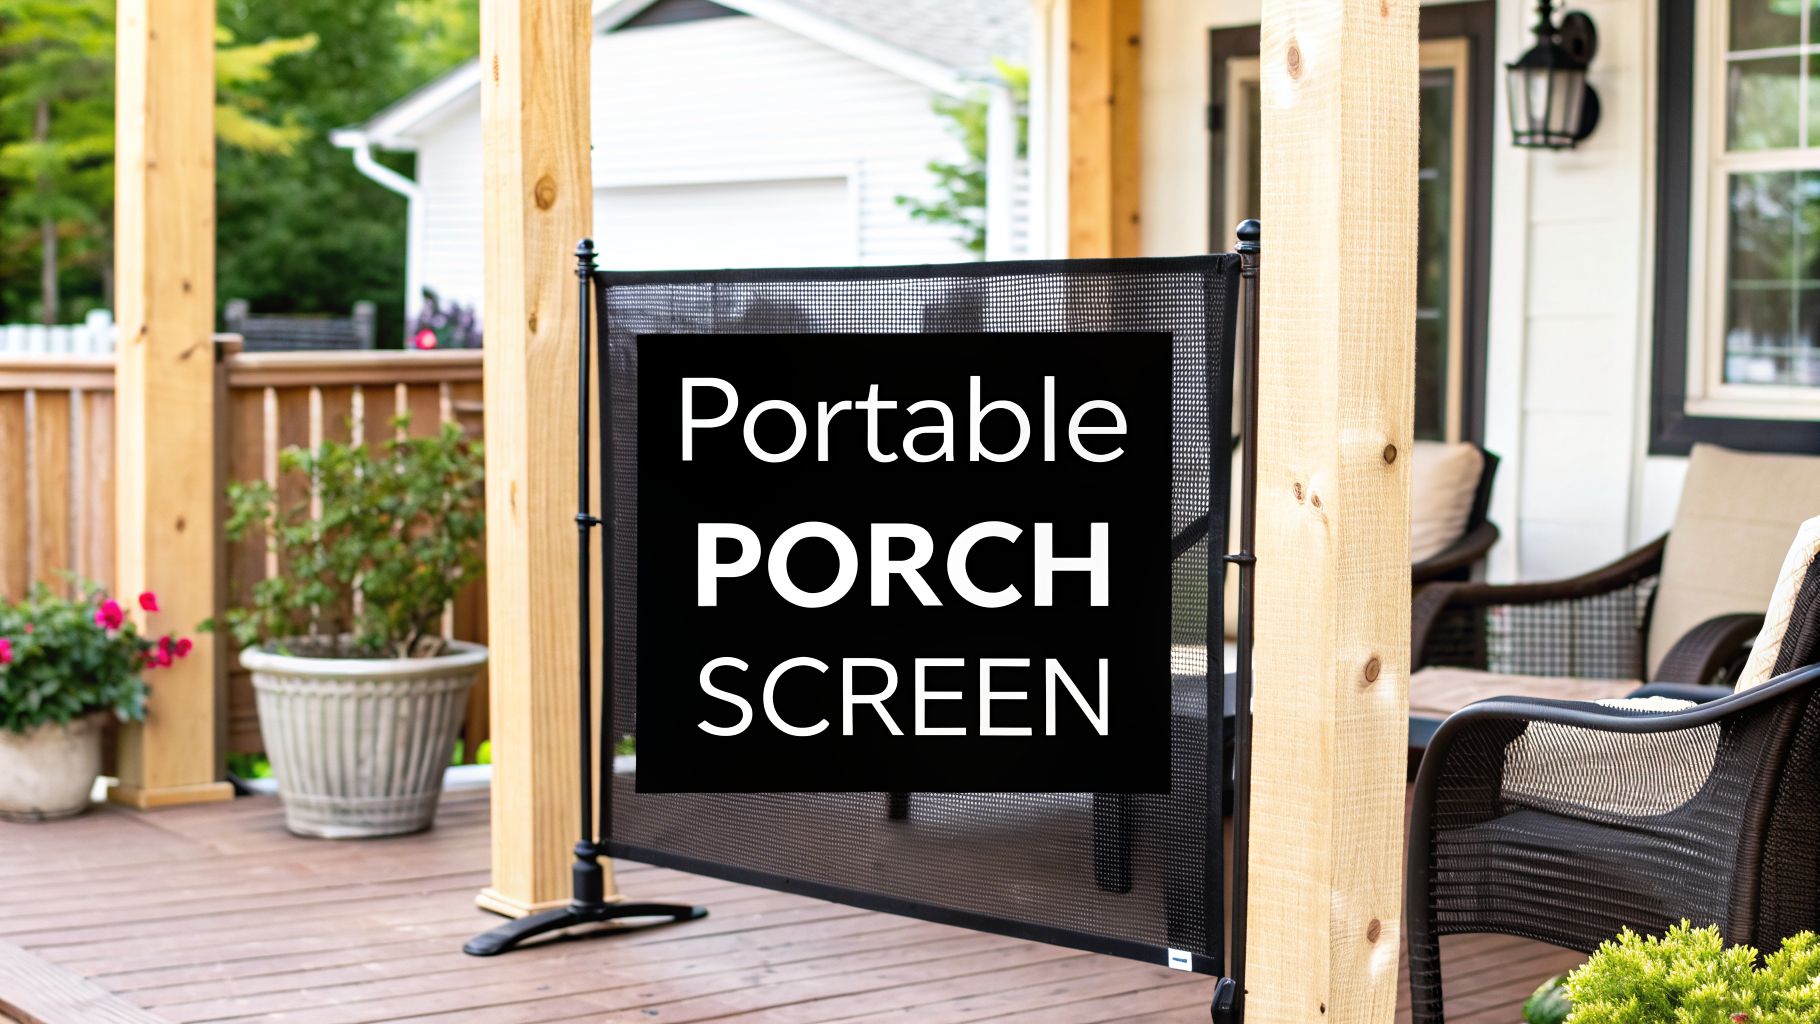

A portable porch screen is one of the easiest ways to reclaim your outdoor space from pests and harsh sun. Think of it as a temporary, flexible enclosure—a system that uses mesh held in place by magnets, zippers, or snaps. It's a fantastic, quick and affordable way to screen a patio without committing to permanent construction.
Choosing the Right Portable Porch Screen

Finding the right portable screen isn't about grabbing the first one you find online. The best choice really comes down to how you live, your climate, and what you expect from your porch.
It's no surprise that these products are taking off. The outdoor privacy screen market is expected to jump from USD 2.98 billion in 2024 to a whopping USD 5.16 billion by 2033. This boom makes sense when you consider that over 80% of homeowners are actively investing in their outdoor living spaces. You can see more details about this trend on businessresearchinsights.com.
Common Types of Portable Screens
Not all portable screens are built the same. The real difference is in how they attach to your porch, which affects everything from convenience to how well they keep bugs out.
Magnetic Closure Screens: These are your go-to for ease and affordability. They hang from the top of the opening and have a magnetic seam down the middle for hands-free entry. They’re perfect for high-traffic doors, but a strong gust of wind can blow them open.
Snap-On or Fastener-Based Screens: If you want something more secure, a snap-on system is the way to go. You mount snaps around your porch opening, either with adhesive or screws, and the screen snaps tightly into place. This gives you a taut, gap-free barrier that stands up much better to wind and pests.
Zippered Enclosure Screens: For total bug-proofing, a zippered screen essentially turns your porch into a self-contained room, much like a tent. They offer the most complete seal but can be a bit of a hassle if you’re constantly going in and out.
Choosing the Best Screen Material
The mesh itself is just as critical as the attachment method. Your choice here should be guided by your local weather and how you use the space.
For instance, standard fiberglass mesh is a solid, budget-friendly option. It gives you good visibility and airflow, making it a great all-around choice for temperate climates where intense sun isn't a huge issue.
However, if you're dealing with scorching sun in a place like Arizona, you’ll be much happier with a solar screen. This special mesh is designed to block a large percentage of UV rays, which keeps your porch cooler and stops your furniture from fading. For a permanent fix, you can always explore professional solar screen installation options.
A quick tip from experience: If you have pets or small children, it's worth spending a little extra on a heavy-duty polyester or "pet-resistant" screen. It’s much tougher and will save you the headache of patching up holes from claws and roughhousing.
To make things even clearer, here’s a breakdown of the most common options.
Portable Porch Screen Comparison Guide
This table compares the most common types of portable porch screens to help you pick the best one for your home and budget.
| Screen Type | Best For | Pros | Cons | Material Options |
|---|---|---|---|---|
| Magnetic Closure | High-traffic doorways and budget-conscious buyers | Easy, tool-free installation; hands-free entry | Can blow open in wind; less secure seal | Fiberglass, Polyester |
| Snap-On/Fastener | Porches needing a tight, secure seal | Excellent bug protection; wind-resistant | More involved installation; less portable | Fiberglass, Polyester, Solar Mesh |
| Zippered Enclosure | Complete bug-proofing and defined outdoor rooms | Creates a fully sealed space | Inconvenient for quick entry and exit | Polyester, Vinyl |
Ultimately, the best screen balances your need for protection with convenience. A magnetic screen might be perfect for a rarely used back door, while a snap-on system is ideal for a main patio you use daily.
Getting a Perfect Fit When Measuring and Installing
You can buy the best portable porch screen on the market, but if it doesn't fit right, it's not going to do its job. A precise measurement is the absolute key to a bug-free, clean-looking setup, and honestly, it's where most DIY projects go off the rails. You end up with frustrating gaps or a seal that just won't hold.
Before you even think about grabbing a tape measure, take a good look at your porch opening. Are there any warped boards, bows in the frame, or uneven spots where you plan to attach the screen? These little imperfections are incredibly common, especially in older homes, and you have to account for them.
Mastering the Measurement Process
Here's the golden rule I tell everyone: never trust a single measurement. Wood frames settle and move over the years, which means the top of your opening might easily be a quarter-inch wider than the bottom. To get ahead of this, you need to measure in several spots.
- Measure the Width: Get three horizontal measurements. One right at the top of the opening, another across the middle, and a final one at the very bottom.
- Measure the Height: Do the same thing vertically. Measure the height on the far left side, in the center, and again on the far right.
- Use the Smallest Numbers: This is crucial. When you go to order your screen, always provide the smallest width and the smallest height from your measurements. A screen can be pulled taut to fit a slightly smaller opening, but you can't magically shrink a screen that's too big.
I learned this the hard way on one of my first projects. The top of the porch was 96 inches wide, but the bottom had settled to 95.5 inches. By ordering to the smaller dimension, I made sure the screen was snug at its narrowest point, which kept the corners from bunching up or looking loose.
This triple-check method is your best defense against a screen that either sags or is so tight you can't even install it. It takes maybe an extra minute but will save you hours of headaches down the road.
Installing a Snap-On Screen Like a Pro
With your perfectly sized screen in hand, the actual installation can be pretty simple if you’re methodical. Let's walk through installing a snap-on system, which is a fantastic choice for balancing security with easy removal.
First things first, you have to prep the surface. The adhesive or screws holding your snaps need a perfectly clean, dry surface to grip. I always use isopropyl alcohol and a clean rag to wipe down the entire perimeter of the porch frame where the snaps will be. This cuts through any dust, pollen, or oils that could cause the adhesive to fail over time.
Next, lay out your screen and figure out your snap placement. Most kits suggest putting a snap every 10 to 12 inches. Don't just start on one side and work your way around. Instead, attach the four corner snaps first. This helps you create some initial tension and ensures the screen is square before you lock in all the other fasteners.
From there, work your way from one corner to the next, pulling the screen taut as you go. You want it crisp and smooth, but don't yank on it so hard that you risk tearing it. The goal is to eliminate any ripples or sags. If you're dealing with a really large or awkwardly shaped opening, it might be worth looking into a custom screen installation to make sure the fit is perfect and will last.
Once all the snaps are in, do one last visual check. If you see a droopy spot, it's almost always because two snaps are a bit too far apart. Adding one more snap in between them is a quick fix that makes a huge difference in getting that professional, sag-free look.
Keeping Your Screen in Top Condition
You've made a great choice with a portable porch screen—it’s one of the best ways to get more enjoyment out of your home. But to make sure it lasts season after season, a little bit of upkeep goes a long way. Think of it less as a chore and more as a simple routine that protects your investment.
Neglecting your screen is like leaving a car out in a hailstorm and hoping for the best. A quick check-up and cleaning, especially after a big storm or during peak pollen season, can help you spot tiny issues before they turn into major headaches.
Simple and Safe Cleaning Methods
A clean screen doesn't just look better; it actually lasts longer. Over time, built-up grime, dust, and pollen act like fine-grit sandpaper, wearing away at the mesh fibers every time the wind blows.
Getting it clean is easier than you think. Here’s my go-to method:
- Mix a simple solution: Grab a bucket of lukewarm water and add just a few drops of mild dish soap. Steer clear of anything harsh—bleach, ammonia, or abrasive powders will do more harm than good, potentially discoloring or weakening the mesh.
- Gently scrub: A soft-bristle brush or a microfiber cloth is all you need. Work in gentle, circular motions to lift the dirt without stretching the screen.
- Rinse it all away: Use a garden hose on a light spray or "shower" setting. High pressure can warp the mesh or even tear it, so always keep the pressure low and rinse until all the soap is gone.
Honestly, that’s usually all it takes to make your screen look brand new again.
Inspection and Minor Repairs
The best time to inspect your screen is right after you've cleaned it. With the mesh clean and damp, it's easier to spot potential problems. Pay close attention to the edges where the screen meets the fasteners, as these are the most common stress points. Look for any pinholes, small frays, or seams that look like they're beginning to pull apart.
Catching a tiny tear early on is a game-changer. I’ve seen small, inch-long rips turn into gaping holes after a single windy day. A simple screen patch kit costs a few dollars and takes minutes to apply, but letting it go can mean you're on the hook for a much bigger repair.
If you find a hole smaller than a quarter, a clear, self-adhesive screen patch is the perfect DIY fix. For anything larger, or if you see seams separating or damage to the actual fasteners, it's probably time to call in a professional. When you're not sure, getting an expert opinion from a patio screen repair service can save you time and ensure the fix holds up.
Smart Seasonal Storage
This might be the single most important thing you can do for your screen. Leaving it up through a harsh winter with ice, snow, and brutal winds is a surefire way to cut its lifespan in half. Taking it down for the off-season is a must.
This simple graphic breaks down the whole process.

Before you pack it away, give it one last cleaning and let it dry completely—storing it damp is an invitation for mold and mildew. Once it’s dry, roll or fold it loosely. Never create sharp creases, as they can become permanent weak points.
Slide it back into its storage bag and find a safe, dry spot in a garage, basement, or shed. That way, it'll be in perfect condition and ready to go the moment the warm weather returns.
Common Mistakes to Avoid With Your Porch Screen

A portable porch screen can completely change how you enjoy your outdoor space. But I've seen a few common missteps turn that dream into a real headache. Learning from others' mistakes will save you time, money, and frustration, and it'll help your screen last season after season.
Believe it or not, the biggest blunders often happen before the screen is even unboxed. It's so tempting to just shop by price, but grabbing the cheapest option is usually a recipe for disappointment. A screen's material really needs to match your climate. That basic fiberglass mesh might be fine for a mild summer, but it can turn brittle and crack under the intense Arizona sun.
Overlooking Critical Installation and Care Steps
Another all-too-common mistake is rushing through the installation. If you skip the surface prep, you’re setting yourself up for failure. The adhesive on snap fasteners needs a perfectly clean, dry surface to get a good grip. Wiping down the frame with isopropyl alcohol isn't just a suggestion—it's a non-negotiable step to remove oils and dust for a bond that lasts.
Patience is also key during the setup itself. A rushed job almost always results in a saggy, unprofessional-looking screen. Here's what I've learned works best:
- Don't just eyeball it. Take the time to measure and mark where your snaps will go, keeping them spaced about 10-12 inches apart. Consistent spacing creates consistent tension.
- Start with the corners. Always secure the four corners first. This creates a solid, square foundation to work from before you start filling in the sides.
- Pull taut, don't yank. You want to pull the screen just tight enough to eliminate any ripples or sags. Over-stretching it puts way too much strain on the mesh and fasteners.
Let me be clear about one thing: these screens are not meant for severe weather. Leaving your portable screen up during high winds, driving rain, or heavy snow is a critical mistake. I’ve seen a single strong gust rip a screen, tear fasteners right off the frame, and cause damage that’s almost impossible to fix.
Ruining Your Screen With Improper Maintenance
Even the best screen can have its life cut short by poor maintenance habits. The mesh might seem tough, but it's surprisingly vulnerable to the wrong cleaning chemicals. Never use anything with bleach or ammonia. These harsh cleaners will break down the screen's protective coating, leading to discoloration and brittle fibers. Just stick with a soft brush and a simple solution of mild soap and water.
Finally, a lot of damage happens in storage. When it's time to take your screen down for the season, make sure it’s completely clean and dry first. Then, instead of folding it into sharp creases—which creates permanent weak spots—roll the screen loosely. Store it in a dry, protected place like a basement or garage to keep it safe from mildew, moisture, and pests.
DIY Installation vs. Calling a Professional
So, you've picked out your new portable porch screen. Now comes the big question: should you install it yourself or bring in a professional? It’s a decision I see homeowners wrestle with all the time.
Honestly, many of the newer systems, especially the magnetic and simple snap-on types, are built for the weekend warrior. If you're comfortable with a measuring tape and a drill, a self-install can be a really satisfying project that saves you a few bucks.
The choice really boils down to the complexity of your porch and your own confidence. Before you decide, it’s worth weighing the effort of a DIY project against the real-world investment of hiring a pro by understanding professional installation costs and what goes into their pricing. If you have a standard rectangular opening and a straightforward attachment system, you can probably tackle this yourself.
But there are definitely situations where calling in an expert is the smarter, safer bet.
When to Hire a Professional Installer
Not all installations are a walk in the park. Some jobs have quirks and complexities that really benefit from a seasoned pro who has the right tools and experience to guarantee a perfect, long-lasting fit.
You should seriously consider calling a professional if you're up against any of these challenges:
- Oversized or Unusually Shaped Openings: Spans over 10 feet or tricky arched and non-rectangular spaces are tough. A pro knows how to properly tension the screen to prevent sagging and ensure there are no gaps for pests to sneak through.
- Uneven or Difficult Surfaces: Trying to mount a screen track onto crumbly brick, textured stucco, or older, warped wood can be a nightmare. Professionals have specialized anchors and the right techniques to get a secure fit without damaging your home's exterior.
- Motorized or Retractable Systems: These are not your average screens. They involve electrical wiring and precise mechanical alignment. A DIY mistake here could damage the motor or void your warranty, making a professional’s expertise a very worthwhile investment.
The real value of a professional installation goes beyond just getting the job done. You're paying for a guaranteed, gap-free fit, access to commercial-grade materials you can't find in a big-box store, and the simple peace of mind that comes with a warranty on the workmanship.
We’re seeing huge growth in this area, too. The demand for retractable screens for patios is surging as more people want to expand their functional living space. Innovative companies are constantly pushing what's possible, which often means the installation process becomes more specialized.
Get a Flawless Installation in the Phoenix Area
For homeowners across the Phoenix metro area—from Scottsdale and Peoria to Sun City and Chandler—getting that perfect installation is easy.
If your porch has some unique challenges, or you simply want a flawless result without the weekend-long headache, our team at Sparkle Tech Screen Service is ready to help. We specialize in providing a guaranteed fit for any portable porch screen, handling everything from standard setups to the most complex custom jobs.
Contact us today for a quick quote. You'll see just how simple it is to get a perfect, professionally installed screen you can enjoy for years.
Frequently Asked Questions About Portable Screens
It’s natural to have a few questions before you commit to a new porch screen. After all, you’re making an investment in your home and your comfort. Let's tackle some of the most common ones I hear from homeowners, so you can feel confident in your decision.
How Do Portable Screens Hold Up in Strong Winds?
This is one of the biggest questions I get, especially for folks dealing with unpredictable weather like Arizona's monsoon season. The honest answer? It really depends on the system you choose.
Your basic magnetic screen is great for calm days, but a solid gust can pop it right open. For real wind resistance, you’ll want a snap-on screen. When the fasteners are installed properly—ideally every 10-12 inches—they create a surprisingly tough barrier. Systems with reinforced grommets and heavy-duty snaps are the way to go for better stability.
A bit of personal advice I always give: if the forecast calls for winds over 20 mph or a big storm is rolling in, just take the screen down. It takes just a few minutes, and it's the best insurance against a powerful gust ripping the mesh or pulling out the fasteners.
Will a Portable Screen Really Keep Out No-See-Ums?
Absolutely, but success comes down to two things: the right mesh and a perfect seal. Most standard screen mesh is woven tightly enough to stop tiny pests like no-see-ums and gnats. The real difference-maker is the installation.
A well-installed snap-on or zippered screen forms a continuous barrier around the entire opening. This leaves no gaps for bugs to sneak through. This is where cheaper magnetic screens often fail; they can sag or not fully connect along the bottom and sides, creating a tiny "open" sign for pests.
What's a Realistic Budget for a Portable Porch Screen?
The cost can swing quite a bit, so it helps to have a ballpark figure in mind. For 2026, prices are directly tied to the size of your porch, the materials you choose, and the type of system you want.
Here's a general guide to help you budget:
- Simple Magnetic Screens: These are your most affordable entry point, usually running between $30 and $80 for a standard single door.
- Snap-On Fastener Systems: A much more secure and custom-fit option. Expect to invest $150 to $400, depending on the size of the opening and material quality.
- Manual Roll-Up or Zippered Enclosures: These are the top-tier systems, often costing $400 to $800 and up, particularly for large or custom-sized porches.
Keep in mind that upgrades, like a UV-blocking solar mesh instead of standard fiberglass, will also affect the final price. If you have more general questions about screen functionality, you might find more answers in these Frequently Asked Questions about fly screens.
Ready to enjoy your outdoor space without the bugs? The experts at Sparkle Tech Screen Service can help you choose and install the perfect screen for your home. Visit https://sparkletechscreenservice.com or text/call us for a quick, hassle-free quote today.


