


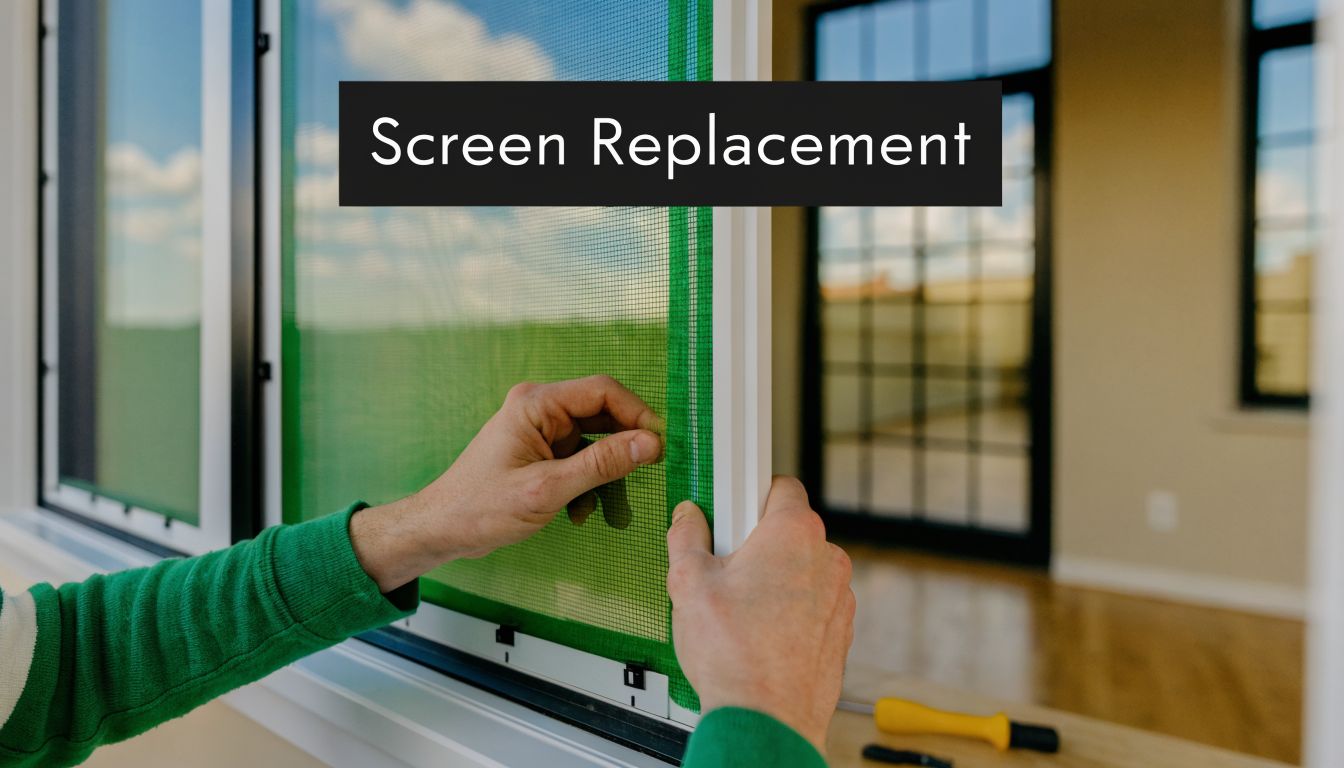

A torn window screen usually starts as a small annoyance. One fly gets in. Then dust starts collecting on the sill. Then you notice the mesh is faded, the corner is loose, and the frame doesn’t sit quite right anymore.
That’s when most homeowners start searching for home window screens replacement and run into the key question. Is this a simple rescreening job you can knock out on a Saturday, or is it one of those projects that looks easy until the frame bends, the mesh wrinkles, and you end up doing it twice?
Good screens do more than keep bugs out. They help your windows vent properly, keep debris from blowing in, and make the outside of the house look maintained instead of neglected. Homeowners are putting more value on that. The global window screen market was valued at $2.8 billion in 2024 and is projected to reach $4.6 billion by 2033, reflecting rising investment in high-performance screens for comfort, protection, and home value, according to Market Intelo’s window screen market report.
Your First Step in Replacing a Home Window Screen
Most first-time screen projects begin with a screen that “still kind of works.” The mesh has one tear. A pet pushed through one corner. The sun baked the material until it turned brittle. From the street, the window looks tired even if the glass is spotless.
That’s why the first step isn’t grabbing a spline roller. It’s deciding whether the screen you have is worth saving.
A lot of screens only need rescreening, which means the frame stays and the mesh gets replaced. That’s the sweet spot for DIY. If the frame is square, the corners are tight, and the screen still slides or seats properly, you can often get a solid result with patience and the right setup.
Other screens need more than fresh mesh. Bent frames, broken pull tabs, missing springs, and damaged corners turn a simple job into a frustrating one fast. If you’ve ever tried to force a warped frame back into a track, you know the problem isn’t the mesh anymore.
Practical rule: If the frame is sound, DIY makes sense. If the frame is failing, replacement or professional repair usually makes more sense than trying to patch around it.
The other factor is scope. One bathroom screen is very different from a whole-house project. A single rescreen is manageable for most homeowners. A stack of mismatched window screens, sliders, patio enclosures, or sun screens calls for a tighter plan because measurement errors and material mismatches get expensive fast.
A good result comes from being honest about three things:
- Damage level: Is this just torn mesh, or is the frame also compromised?
- Time available: Do you have time to learn the technique without rushing?
- Finish standard: Are you okay with “good enough,” or do you want a clean, tight, near-factory look?
If you answer those accurately, the rest of the project gets much easier.
How to Assess Your Screens and Plan the Project
Before you buy mesh or tools, pull each screen out and inspect it on a flat surface in good light. A screen can look fine in the window and still be twisted, loose, or worn out at the edges.

Check the frame before the mesh
Start with the frame, not the hole in the screen. Mesh is easy to replace. A bent aluminum frame is where jobs go sideways.
Lay the screen flat and look for these signs:
- Corner separation: One corner sits higher or looser than the others.
- Twist: The frame rocks on a flat table instead of sitting evenly.
- Bow or bend: Long sides arc inward or outward.
- Track fit problems: The screen sticks, falls out easily, or won’t seat flush.
If you see any of those, think carefully before rescreening. New mesh adds tension. On a weak frame, that tension can make the fit worse instead of better.
Look at the spline and hardware
The spline is the vinyl cord that holds the mesh in the groove. If it’s dry, cracked, flattened, or brittle, replace it while the screen is apart. Industry guidance suggests replacing screen spline every 10 to 15 years, though intense sun exposure in places like Phoenix can speed up degradation, as noted in Home Depot’s screen repair and replacement guide.
Check the small parts too:
- Pull tabs: Missing or torn tabs make future removal harder.
- Tension springs or plungers: If they’re weak or damaged, the screen may rattle or sit loose.
- Corner keys: If these are cracked, the frame may shift under mesh tension.
A fresh screen in a tired frame can still look bad. Homeowners often blame the mesh when the real issue is hidden in the corners or hardware.
Measure carefully once
Don’t measure the old mesh. Measure the frame itself. Width, height, and frame thickness all matter, especially if you’re ordering replacement parts or full screens.
If you want a clean method, use a dedicated window screen size measuring guide and write each measurement down by room, not just by number. “Kitchen left” is more useful than “28 x 55” when screens are spread across the garage floor.
A few planning habits save a lot of trouble:
- Label each screen with painter’s tape before removal.
- Group by type such as standard bug screens, slider screens, and sun screens.
- Note exposure on each side of the home. South- and west-facing screens often wear differently.
- Decide repair versus replace before shopping.
Think about climate, not just current damage
Arizona changes the equation. Constant sun, dust, and monsoon season wear screens differently than milder climates. In hot, bright conditions, homeowners should pay closer attention to fading mesh, brittle spline, and frames that have baked for years.
That doesn’t always mean replacing everything now. It means planning for lifespan and maintenance instead of waiting for a full failure in the middle of bug season.
If a screen has intact corners, a mostly straight frame, and only worn mesh or tired spline, that’s a good candidate for DIY rescreening. If it has frame damage, fit issues, or specialty use, mark it for a different path before you spend money on materials.
The DIY Rescreening Playbook for a Perfect Finish
A first rescreen usually goes wrong in one of two places. The frame shifts while you work, or the mesh gets pulled too tight because “tighter” feels safer. Neither gives you a better screen. Good results come from a stable setup, even pressure, and knowing when a frame is still worth saving.
The process itself is straightforward. Remove the old spline and mesh, clean the groove, lay in new screening with extra material at the edges, roll the spline into place, trim the excess, and test the fit before reinstalling.

Set up your workspace correctly
Use a flat table, a workbench, or plywood over sawhorses. That support matters more than homeowners expect. If the frame rocks while you roll spline, your pressure changes from side to side and the finished screen can come out wavy even with good mesh.
A driveway can work, but only if you sweep it well and protect the frame. Dirt under aluminum leaves scratches fast, and a bent corner can turn a simple rescreen into a full replacement.
Keep these tools within reach:
- Spline roller: The right wheel helps seat spline evenly without tearing mesh.
- Flathead screwdriver or pick: Use it to lift the old spline at a corner.
- Utility knife with a fresh blade: Dull blades snag strands and leave fuzzy cuts.
- Brush, vacuum, or compressed air: The groove needs to be clean before new spline goes in.
- Clamps or wood blocks: Helpful for light frames that slide around on the table.
If this is your first project, start with the easiest screen in the house. Pick one with a straight frame and standard insect mesh, not a large patio panel or a sun screen on the hottest side of the home.
Remove the old spline without damaging the frame
Start at a corner and lift the spline gently. Pull it out in a steady motion. Old spline often turns brittle in hot climates, and short, hard tugs can scar the channel.
Once the mesh is off, inspect the groove closely. Packed dust, old vinyl crumbs, and oxidation keep the new spline from seating fully. That leads to loose spots, ripples, and corners that pop up later.
This is also the moment to make a decision. If the frame is square and the corners are firm, keep going. If the frame is bowed, cracked, or loose at the joints, rescreening may cost less today but still leave you with a screen that never fits right. In Arizona, that problem shows up often on older south- and west-facing windows where heat has cooked the frame for years.
Cut the new mesh larger than the frame so you have enough to hold onto while rolling. A little extra makes the job easier. Too little overhang forces you to grip the edge, which usually creates uneven tension.
A short visual can help if this is your first one:
Roll the spline in with the right sequence
Beginners often go around the frame in a circle. That works sometimes, but it also traps wrinkles and builds tension unevenly. A better order is one long side first, then the opposite long side, then the two short sides.
That sequence gives you more control.
Use one hand to guide the mesh so it stays flat. Use the other to roll the spline in with steady pressure. The goal is a smooth, taut screen, not maximum tension. If you pull hard, the frame can bow inward and the screen may be difficult to reinstall.
Here’s the method that works well on standard window screens:
- Lay the mesh flat over the frame: Make sure the weave is straight, with no twist.
- Seat one long side first: Roll the spline in a few inches at a time.
- Move to the opposite long side: Pull only enough to remove slack, then seat that side.
- Finish the short sides: Use these to lock the screen in place, not to fix poor tension from earlier steps.
If you are unsure what mesh type you are working with or whether a stiffer product will fight you during installation, this comparison of common window screen material options helps you choose something manageable for a DIY rescreen.
A trade tip from the field. Stop halfway down each side and check the frame before finishing the run. If you already see bowing, pull that section back out and reset it then. Waiting until the end usually means redoing the whole screen.
Trim like a pro
Trim only after the spline is fully seated on all four sides. Keep the knife angled along the outside edge of the frame and use light, controlled cuts. One clean pass is better than hacking at the mesh.
Messy trimming is more than a cosmetic problem. Loose strands catch on the window track, fray over time, and make new work look old on day one.
Mistakes that ruin an otherwise good screen
Some errors are easy to spot on the table. Others show up only when you try to put the screen back in the window.
Watch for these:
- Over-tensioned mesh: The frame bows or the screen will not sit back into the opening.
- Loose mesh: The surface ripples or sags when tapped lightly.
- Wrong spline size: The mesh slips out, or the spline fights the groove and distorts the frame.
- Cutting before the spline is fully seated: The mesh shifts and leaves one side short.
- Ignoring frame wear: New mesh cannot fix weak corners, bent rails, or a screen that was already a poor fit.
For homeowners doing one or two standard screens, DIY rescreening often makes sense. For a house full of sun-damaged frames, large screens, or specialty mesh, labor savings disappear fast if you have to redo work or replace bad materials twice. That is the point where professional service can be the smarter long-term buy, not just the easier one.
Choosing Your Screen Materials and Budgeting the Job
Material choice changes everything. It affects how the screen looks from inside, how well it holds up, how easy it is to work with, and whether the project makes sense as DIY or professional replacement.
The big cost benchmark is straightforward. Homeowners typically pay an average of $317 to $321 per screen for professional replacement, with fiberglass at $60 to $350 installed and aluminum at $70 to $400. A DIY rescreening project can often be completed for under $50 in materials, according to Angi’s window screen cost guide.
What material works best for your situation
Fiberglass is the common starting point for a reason. It’s forgiving during installation, easy for first-timers to cut and handle, and works well for standard bug-screen use. Aluminum is stiffer and often feels more durable in use, but it can be less forgiving if your technique is rough.
Specialty meshes exist for pets, solar control, sliders, and outdoor enclosures, but the more specialized the application, the less useful generic DIY advice becomes.
For a deeper look at common options, this guide to the best window screen material is a helpful reference point when you’re comparing performance instead of just price.
Window Screen Material Comparison
| Material | Average Cost (DIY) | Durability | Visibility | Best For |
|---|---|---|---|---|
| Fiberglass | Under $50 in materials for a typical DIY rescreening project | Good for standard home use | Good everyday visibility | Most homeowners doing basic bug-screen replacement |
| Aluminum | Higher material cost than fiberglass | More durable feel than fiberglass | Good, with a slightly different visual profile | Homes that need a sturdier standard screen |
| Pet-resistant mesh | Higher than standard DIY materials | Better for clawing and pressure | Usually a bit heavier visually | Homes with pets that push or scratch screens |
| Solar screen mesh | Varies by project and setup | Built for sun-facing use | Reduced outward clarity compared with bug mesh | Hot climates, patios, and strong sun exposure |
| Specialty custom mesh | Varies widely | Depends on application | Depends on application | Sliders, porches, patio enclosures, and custom openings |
Budget by outcome, not just by unit price
A cheap material that fails early isn’t cheaper. The right way to budget is to ask what problem you’re solving.
If you want basic insect protection on a standard window, fiberglass is often the practical answer. If you’re replacing screens in a high-touch area, a sturdier mesh may save headaches. If you live in a place with intense sun, dust, and long hot seasons, sun-control options may deserve a closer look even if they cost more upfront.
Window screen replacement can also return 50% to 70% ROI, based on the cost and value data included in Angi’s screen replacement coverage. That makes it one of those home upgrades that’s small in scale but visible in daily use.
Budget reality: The cheapest screen is the one you only install once. Choose for the opening, the climate, and the way your household actually uses the window.
When to Skip DIY and Call a Professional Screen Service
DIY is a good choice when the job is simple, the frame is solid, and you have room to learn. It stops being a smart choice when the project adds height, quantity, specialty materials, or tricky frame systems.

Jobs that usually justify professional help
Some situations look manageable until you’re halfway in and realize the challenge isn’t the mesh. It’s access, fit, or fabrication.
Professional help makes sense when you have:
- Second-story screens: Safe access matters more than saving a little labor.
- Bent or warped frames: New mesh won’t correct a frame that no longer holds shape.
- Large batches of screens: Whole-home projects can eat up a full weekend and still leave you sorting labels.
- Custom shapes or sizes: Odd openings punish measurement mistakes.
- Slider screens or patio enclosures: These systems have their own fit and hardware issues.
- Sun-facing specialty applications: Material choice matters more in harsh climates.
This is also where the line between screen work and bigger window issues becomes important. If the screen problem is tied to damaged frames, failed tracks, or full-window deterioration, it helps to understand where screen repair ends and broader home window replacement begins.
Specialty screens are their own category
Standard DIY guides mostly deal with basic residential windows. They usually don’t cover the growing niche of solar screens for patios, custom sliding door screens, or even horse stable screens. Those applications have different material requirements and installation challenges, which is why professional expertise becomes more important, as noted by Metro Screenworks’ overview of complete screen applications.
That matters in Arizona. Patios, sliders, screened outdoor areas, and sun-exposed openings ask more from the product and the installer. A bug screen and a sun screen may both be “screens,” but they are not the same job in practice.
Why homeowners call instead of pushing through
The smartest reason to call a pro usually isn’t inability. It’s efficiency.
A service such as window screen repair services from Sparkle Tech Screen Service is relevant when you need repair or replacement for bug screens, sun screens, sliders, or patio rescreening and don’t want to sort out measurements, material selection, and installation details on your own.
If the project involves ladders, custom fabrication, or specialty screen systems, hiring out is usually the cleaner and safer decision.
There’s also the finish quality. On a single utility window, a small wrinkle may not bother you. On a front-facing slider or a large patio screen, uneven tension is hard to ignore every day. That’s where professional work often pays for itself in time saved and frustration avoided.
Common Questions About Window Screen Replacement
Can I patch a small hole instead of replacing the whole screen
Sometimes, yes. A patch can buy time on a minor hole in an older screen that isn’t otherwise failing.
But patches are usually a temporary answer. If the mesh is faded, brittle, loose, or pulling away at the edges, replacing the mesh is the cleaner fix. A patch on worn material often turns into a second repair later.
How often should window screens be replaced
There isn’t one universal schedule because climate matters. In general, regular inspection matters more than replacing on a rigid calendar.
The one component with clear guidance is spline. Industry guidance suggests replacing spline every 10 to 15 years, and sooner if heavy sun exposure has made it brittle. In hot, sunny areas, inspect more often and don’t ignore cracking, shrinkage, or loose mesh.
How should I clean new screens
Keep it gentle. Brush or vacuum loose dust first, then wash with mild soap and water using a soft brush or cloth. Rinse lightly and let the screen dry fully before reinstalling if you’ve removed it.
Avoid harsh scrubbing, pressure that can stretch the mesh, or aggressive tools that can scuff coated materials. In dusty climates, lighter and more frequent cleaning usually works better than waiting until buildup is heavy.
Are solar screens worth considering
For many homes in hot, sunny climates, yes. They’re especially worth considering on windows and outdoor areas that take strong direct sun.
The trade-off is visibility and application. Solar screens are not a drop-in answer for every opening. They make the most sense where heat, glare, and sun exposure are the primary problem. For standard insect control on shaded windows, a regular bug screen may be the better fit.
Is DIY always cheaper
Not always in the long run. DIY usually wins on a straightforward rescreen with a good frame. It loses value when you buy the wrong material, damage the frame, mismeasure a custom screen, or spend hours on specialty systems that a pro handles routinely.
A simple way to decide is this: if the project is standard, reachable, and limited in scope, DIY can be a smart use of time. If it’s custom, sun-exposed, awkward, or part of a larger exterior repair issue, professional service often becomes the better investment.
If your screens are torn, sun-damaged, loose in the frame, or part of a bigger patio or slider project, Sparkle Tech Screen Service handles bug screens, sun screens, rescreening, slider repair, and patio screen work for homeowners who want the job measured correctly and finished cleanly.


