


Building a screened-in porch isn't just a construction project; it's a way to create a functional, bug-free living space that truly extends your home. The whole process breaks down into five main stages: planning and design, foundation work, framing, roofing, and finally, installing the screens. Following this roadmap ensures your new porch not only looks great but also perfectly fits your family's needs from day one.
Your Blueprint for a Perfect Screened-In Porch
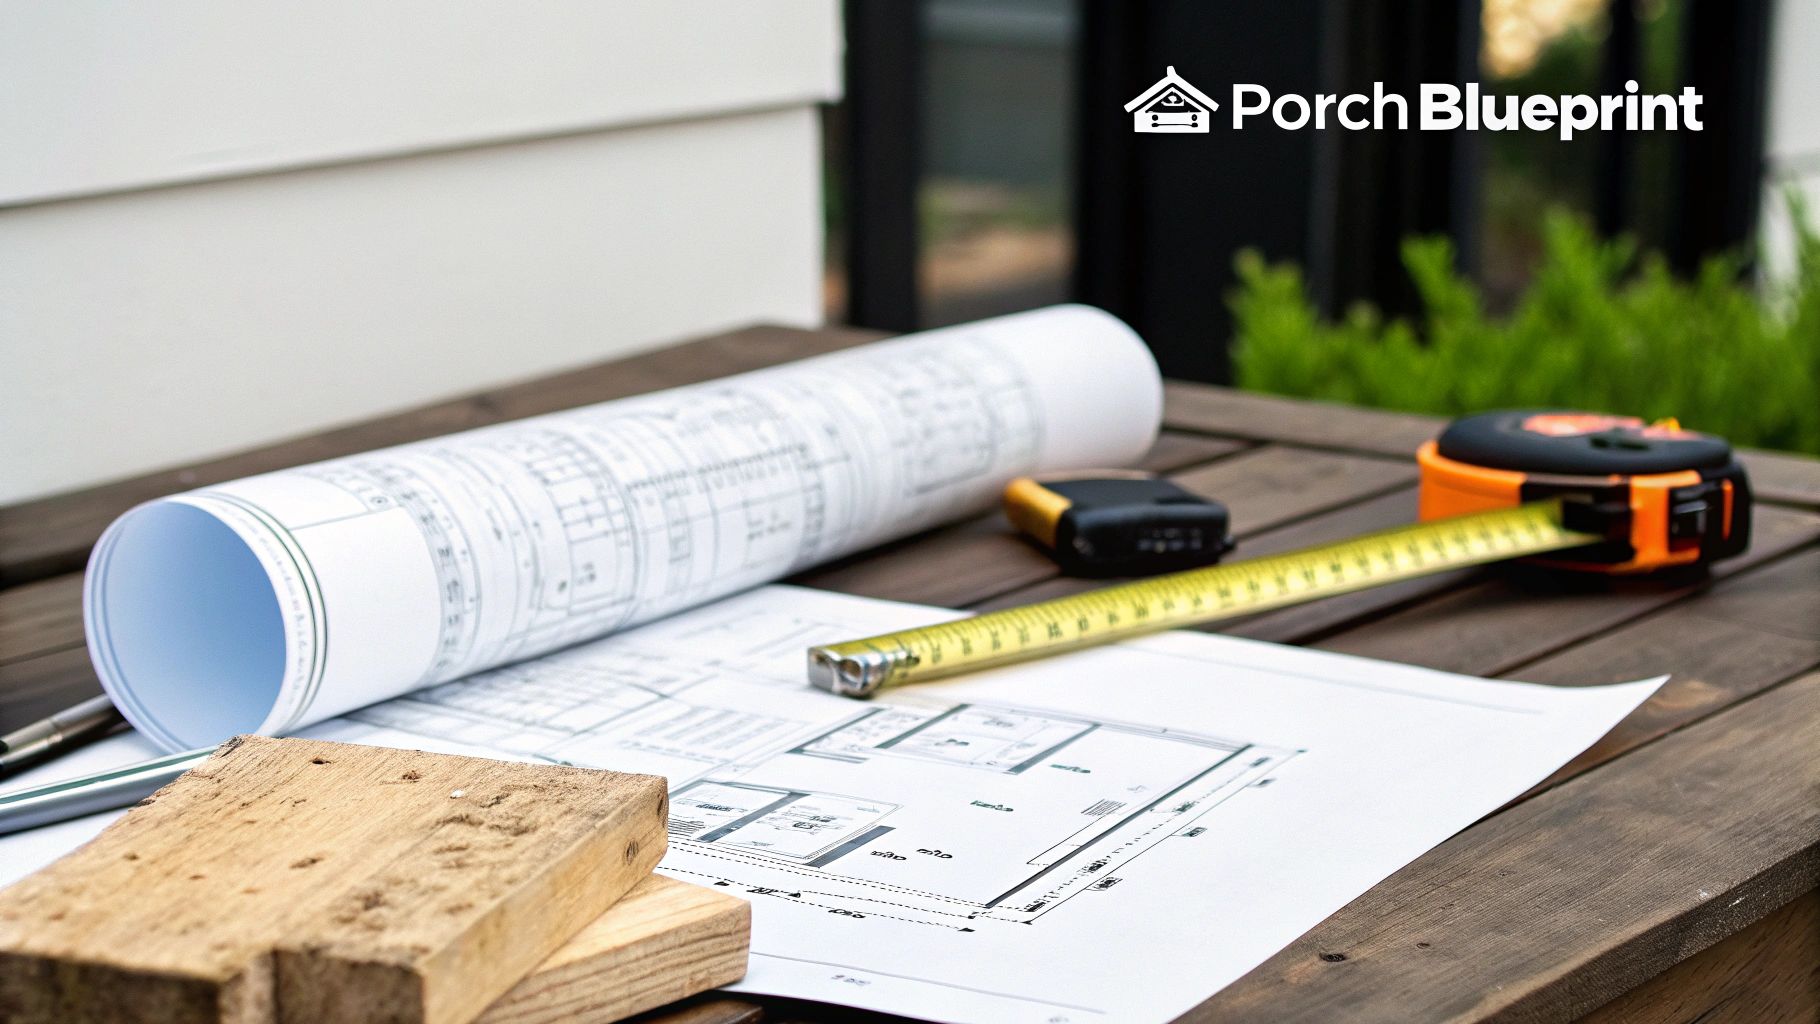
A great screened-in porch starts with a solid plan, long before you even think about digging the first post hole. The first, most important question to ask yourself is: what is this space for?
- A quiet morning retreat? You’ll want to plan for comfortable seating and maybe a small table for your coffee.
- An outdoor dining room? You'll need enough space for a full-sized table and chairs, plus good lighting for evening meals.
- A versatile entertainment hub? This might call for dedicated zones for seating, a TV, and maybe even an outdoor bar area.
Defining the purpose right from the start drives every other decision, from the porch's overall size and layout to the flooring you choose and where you place electrical outlets. When the "why" is clear, the "how" falls into place much more easily.
Matching Your Porch to Your Home and Budget
You want your new porch to look like it was always there, not like a tacked-on afterthought. Take a close look at your home's existing architecture. Match the roofline, echo the trim style, and choose colors that complement the exterior. This kind of attention to detail is what really elevates the project and boosts your home’s value.
Of course, a realistic budget is crucial. The market for decks and patios, which includes screened-in porches, has grown into a $1.3 billion industry—a clear sign of how much homeowners love these spaces. To make sure your budget is on track and to get an accurate list of materials, using a tool like construction takeoff software can be a huge help in preventing unexpected costs down the road.
The most successful projects are those where the homeowner has a clear vision and a solid plan before construction begins. Know your 'why,' and the 'how' becomes much simpler.
Mapping Out the Construction Phases
Whether you're hiring a pro or doing some of the work yourself, understanding the flow of the project helps set realistic expectations. Each step logically builds on the one before it, ensuring you end up with a sturdy, well-built structure.
To give you a clearer picture, here’s a quick breakdown of how a typical project unfolds.
Porch Construction Phases At a Glance
| Phase | Key Activity | Primary Goal |
|---|---|---|
| 1. Planning & Permits | Finalizing the design, selecting materials, and obtaining local permits. | To ensure the project is legal, safe, and meets all your needs. |
| 2. Foundation | Pouring a concrete slab or building a deck-style foundation. | To create a stable and level base for the entire structure. |
| 3. Framing & Roofing | Building the walls and roof structure. | To define the space and provide protection from the elements. |
| 4. Screening & Finishing | Installing screens, doors, trim, and any electrical fixtures. | To complete the enclosure and add the final functional touches. |
Each of these stages is critical. The final step, installing the screens, is what truly transforms the space. If you want to dive deeper into that specific part of the job, our guide on screen patio installation offers a ton of helpful details.
Laying the Groundwork: Permits and Foundations
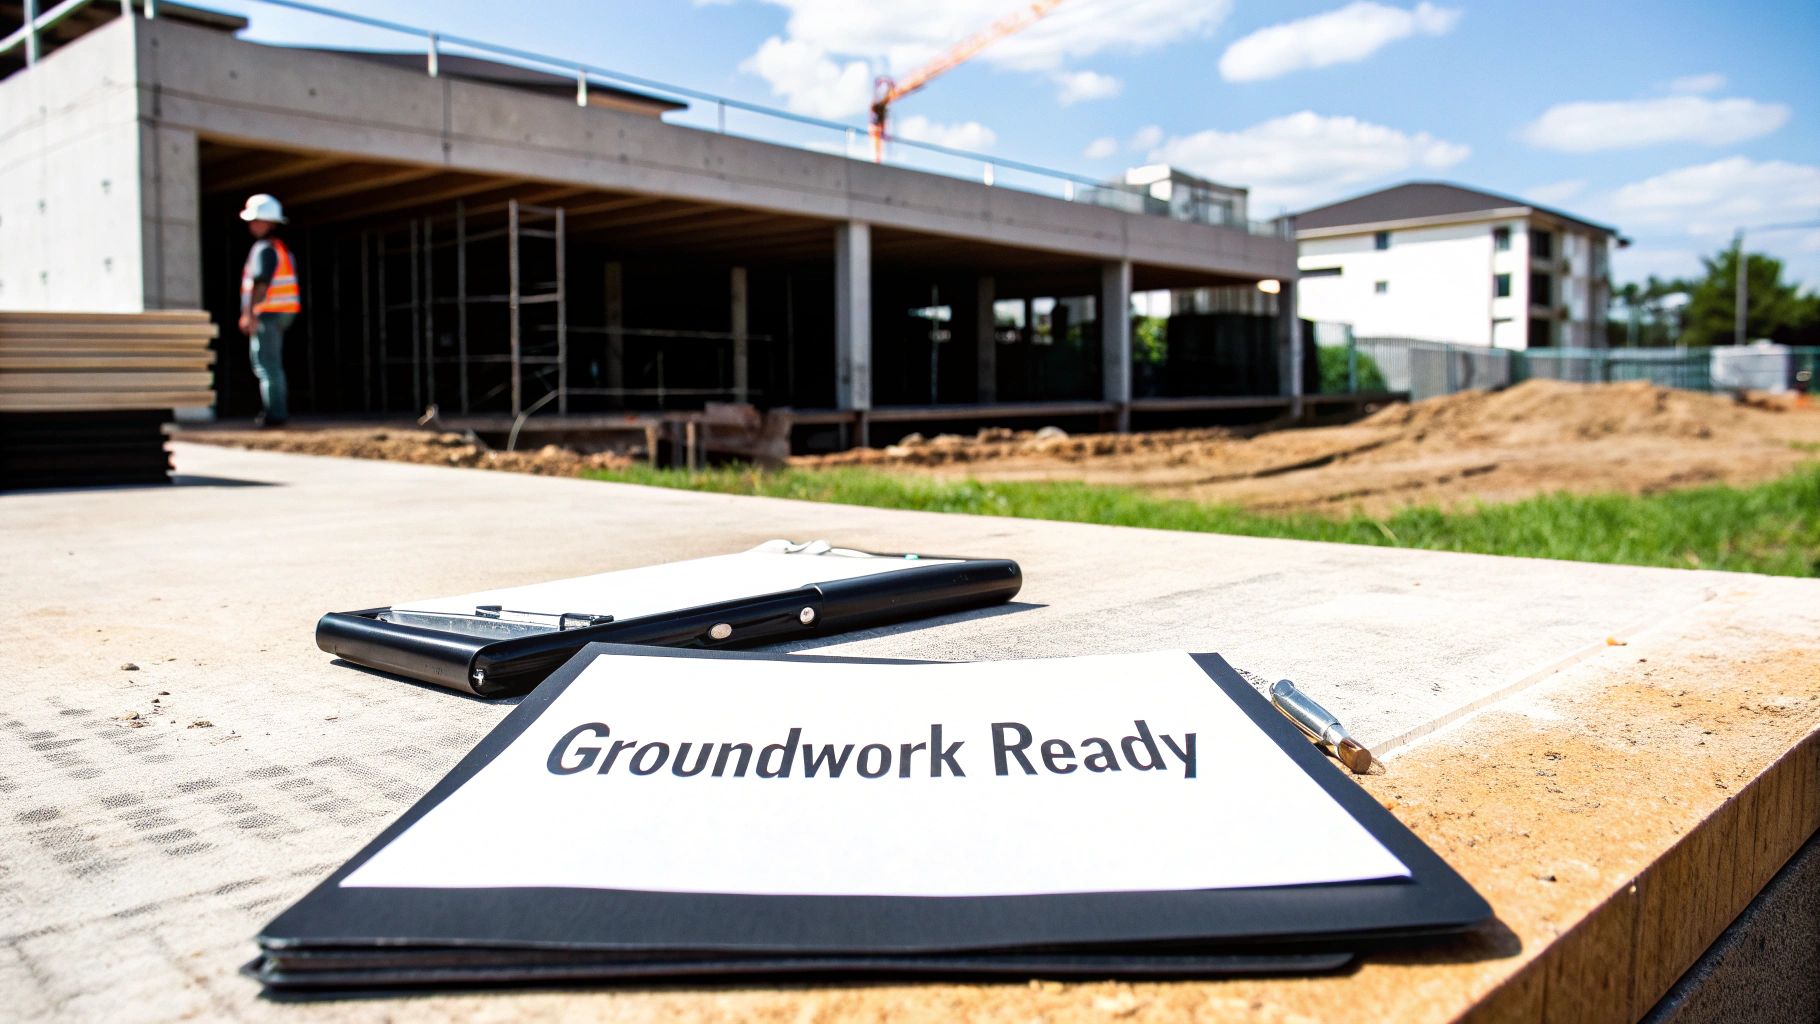
I know you're eager to start framing and hanging screens, but we've got to cover the essentials first. Getting these early steps right—the paperwork and the ground prep—is what separates a pro-level project from one that causes major headaches down the road. A successful screened in porch construction really boils down to two things at the start: the right permits and a rock-solid foundation.
Think of the permit process as your project's insurance policy. It's a non-negotiable step in Arizona communities like Scottsdale, Mesa, and Phoenix that confirms your plans meet local building codes. This isn't just about bureaucracy; it’s about ensuring the structure is safe, properly set back from property lines, and won't fail during a monsoon.
Plus, an unpermitted addition can become a huge deal-breaker when you eventually sell your home.
Navigating Local Building Codes
Your first stop should be the website for your city's planning and development department. Every municipality has its own quirks. The rules for an addition in a historic Scottsdale neighborhood might be totally different from a new build out in Queen Creek.
These codes will dictate critical details, like how deep your footings need to be or the specific fasteners required to keep your roof on during our high winds. Never assume the rules are the same from one town to the next.
Pro Tip: When you submit your plans, don't skimp on the details. I've found that clear, professional drawings showing dimensions, materials, and foundation specs can make the approval process go much faster.
Choosing Your Foundation: Concrete Slab or Deck Base
With the paperwork rolling, it's time to decide what you're building on. For most screened porches, this comes down to two options: a concrete slab or a traditional wood-framed deck foundation on piers. The best choice really depends on your property, budget, and the final look you're going for.
A concrete slab gives you an incredibly durable, permanent base. It’s a fantastic choice for level ground and provides a perfect surface for tile, pavers, or a stamped concrete finish. The trade-off is that it requires more significant site prep and is usually the more expensive option upfront.
On the other hand, a deck-based foundation offers more versatility, especially if your yard has any slope. This approach uses concrete footings (piers) to support a wooden frame, creating a raised floor. It's typically faster to build and can be more budget-friendly, particularly if you're connecting to an existing deck.
Foundation Face-Off
So, which one is right for you? Here’s a quick breakdown to help you compare.
| Feature | Concrete Slab Foundation | Deck-Based Foundation |
|---|---|---|
| Best For | Level ground and a permanent, seamless look. | Sloped lots, uneven ground, or building off an existing deck. |
| Durability | Extremely high; resistant to pests and moisture. | Very durable, but requires pressure-treated wood for longevity. |
| Cost | Generally higher due to excavation and concrete costs. | Often more budget-friendly and faster to install. |
| Versatility | Excellent for tile, stone, or finished concrete floors. | Perfect for traditional wood or composite decking finishes. |
It's no surprise that projects like these are booming. The market for outdoor living structures is expected to hit $3.35 billion by 2030, as more people look to create comfortable backyard escapes. Here in the Arizona heat, a well-built screened porch doesn't just add 5-10% to your home's value—it also provides shade that can genuinely lower your energy bills. You can dig deeper into these numbers in this global outdoor living structure report.
Bottom line: taking the time to handle the permits and choose the right foundation is what guarantees your new porch will be a source of enjoyment for many years to come.
Choosing Materials for Framing and Screening
Alright, you’ve sorted out the permits and the foundation. Now comes the part where your screened-in porch really starts to take shape: choosing the materials. This is where you decide the look, the feel, and just how long your new outdoor space will last.
The two biggest decisions you’ll make here are for the framing and the screening. Think of the frame as the skeleton of your porch—it has to be tough enough to handle Arizona's monsoon winds and blistering sun. The screen is the skin. It’s what defines the experience, keeping out bugs, blocking the sun, and letting the breeze through.
Let's dig into the best options for both.
Selecting Your Framing Material
The frame of your porch needs to be strong and built to last in our climate. You’ve basically got three solid choices, and each has its own pros and cons.
- Pressure-Treated Wood: This is the workhorse of the construction world for a reason. It's affordable, easy to find, and has been chemically treated to fend off rot and insects. You get that classic, sturdy look and can paint or stain it to match your home perfectly. To really understand why it's so durable, it helps to know what is pressure treated lumber and how it stands up to the elements.
- Cedar: If you’re after a more natural, high-end look, cedar is a beautiful choice. It contains natural oils that resist insects and rot without any chemical help. Cedar gives off a rich color and that distinct, pleasant smell, but it definitely sits at a higher price point.
- Aluminum: For a sleek, modern vibe that’s practically maintenance-free, you can't beat aluminum framing. It won’t rust, warp, or become a meal for termites. While the upfront cost might be a bit more than pressure-treated wood, you’ll save a ton of time and money on upkeep down the road.
Honestly, your choice usually comes down to budget, style, and how much maintenance you’re willing to sign up for. Wood needs a new coat of sealer or paint every few years, while aluminum just needs a good rinse now and then.
A well-built frame is everything. Seriously, don't cut corners here. Investing in quality framing material is what ensures your porch will be a safe, beautiful part of your home for decades to come.
The Heart of the Porch: The Screen Material
The screen itself is what turns a simple patio cover into a functional, comfortable room. And these days, it’s about so much more than just keeping bugs out. Modern screens can tackle heat, offer privacy, and stand up to serious wear and tear. Here in Arizona, picking the right screen is critical for both comfort and your energy bill.
The main choice you'll face is between a standard bug screen and a high-performance solar screen. Each one is designed to solve a different problem.
A standard fiberglass bug screen does exactly what its name implies: it keeps insects out. It gives you great visibility and lets the air flow freely, making it a solid, budget-friendly option if pests are your only enemy. The downside? It does next to nothing to block the sun's intense heat or damaging UV rays.
A solar screen, on the other hand, is an absolute game-changer for Arizona homes. These screens are made from a tough, vinyl-coated material woven to block a huge chunk of the sun's solar energy—usually somewhere between 80% and 95%. This makes a massive difference, keeping your porch noticeably cooler and more comfortable, even in the middle of a July afternoon.
Bug Screen vs Solar Screen A Practical Comparison
For homeowners in places like Phoenix and Scottsdale, the choice between bug and solar screens is a big one. This table breaks it down, head-to-head, to make the decision a little easier.
| Feature | Bug Screen | Solar Screen |
|---|---|---|
| Primary Function | Insect control | Heat & UV blocking, insect control |
| Heat Reduction | Minimal | Excellent (up to 95% block) |
| Visibility | Excellent | Good (can slightly darken the view) |
| Durability | Standard | Very high, tear and fade resistant |
| Cost | Budget-friendly | Higher initial investment |
| Energy Savings | None | Significant; lowers home cooling costs |
As you can see, if beating the heat is a priority, solar screens are the clear winner. They cost more upfront, but the comfort and energy savings often pay for themselves.
Beyond these two main types, you've got a few specialty options. If you have pets, a pet-resistant screen is a must. It’s made from a super-strong polyester that can handle claws and paws without shredding. Live on a golf course? There are even heavy-duty screens designed to stop a stray golf ball in its tracks. To see how all the different materials stack up, we've put together a guide on the best screen for a screened porch that can help you find the perfect match.
In the end, choosing the right materials is all about what you need your porch to do. Are you trying to maximize the view, create a cool oasis, or build a space that can survive your energetic dogs? Taking a moment to weigh these options ensures your new porch will be a perfect fit for your home and lifestyle.
A Guide to Flawless Screen Installation
With the heavy lifting of the foundation and framing behind you, it’s time to focus on the detail work—the part that truly turns your structure into a relaxing outdoor room. Installing the screens correctly is what creates that bug-free, comfortable oasis you've been dreaming of. Our goal here is a taut, seamless finish that looks like a pro did it and holds up for years to come.
The go-to method for nearly every screened in porch construction, from DIY projects to professional builds, is the spline system. It’s pretty straightforward: a flexible vinyl cord (the spline) wedges the screen mesh into a groove built right into the frame. It's a fantastic system, but getting that perfect, wrinkle-free tension takes a little know-how and patience.
This diagram breaks down the basic flow from a solid frame to a finished screen.
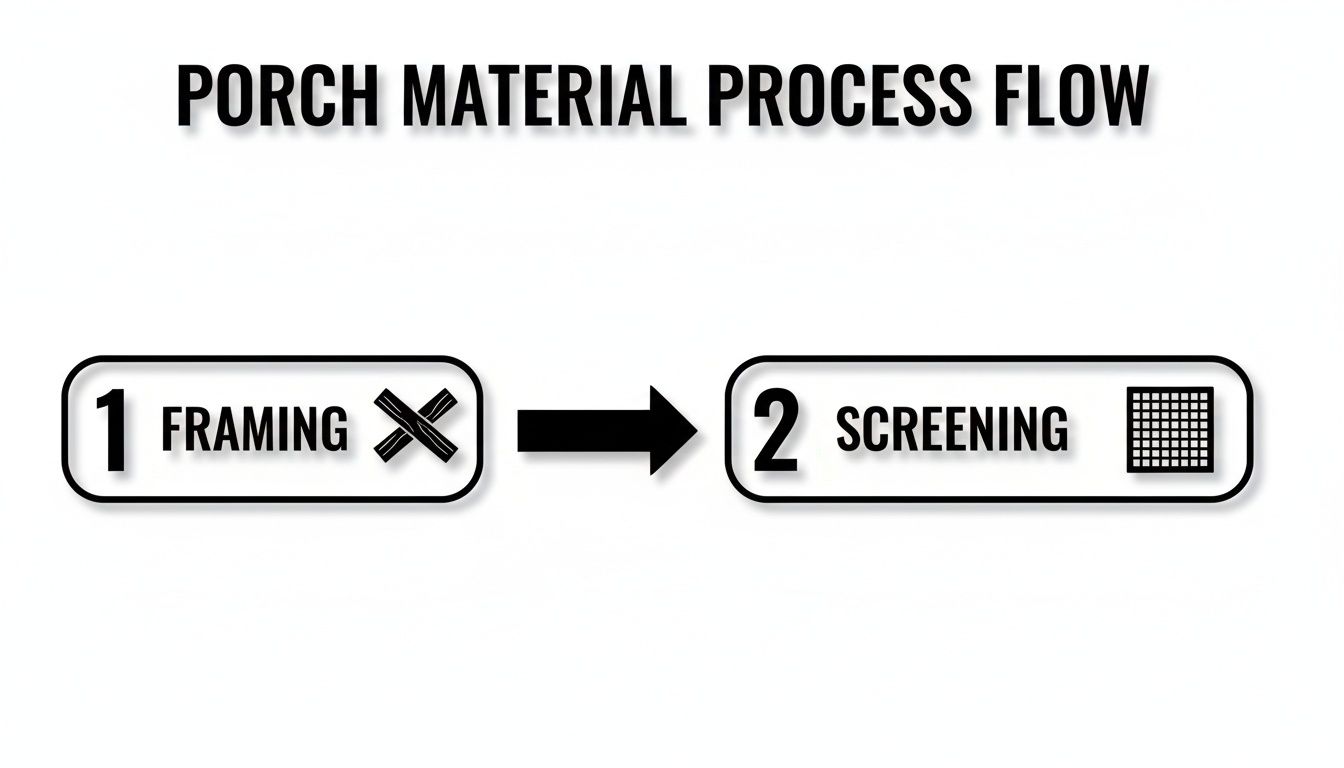
As you can see, once the structural work is buttoned up, the screening is the final step that encloses the space and makes it usable.
Mastering the Spline Technique
Here's a little secret from the field: getting a tight screen isn't about brute force. You don't need to pull the mesh until your knuckles are white. It’s all about working methodically and having the right tools on hand—a sharp utility knife, a spline roller, and of course, your screen mesh and spline.
Start by cutting your screen mesh so it overlaps the opening by at least two inches on every side. This extra material is your "handle," giving you something to hold onto as you work and making sure you don't end up a half-inch short.
Next, pick a top corner to begin. Using the convex (rounded) wheel of your spline roller, gently press the screen mesh into the groove for just a few inches. Then, tuck the end of your spline in and use the concave (grooved) wheel to roll it firmly into place right over the mesh, locking it in.
Pro Tip: Don’t try to install the spline all in one go. Work in short, manageable sections of about 12-18 inches. This gives you way more control over the screen's tension and helps prevent accidental rips and tears.
From that first corner, start working your way down one of the sides. Apply just a bit of gentle, even tension with your free hand as you roll the spline into its channel. The real key is keeping the weave of the screen perfectly straight and parallel with the frame. After that first side is done, move to the top, then the opposite side, and finish along the bottom. This sequence helps pull the screen taut naturally as you go.
Avoiding Common Installation Pitfalls
Even when you do everything right, a few common headaches can pop up. Knowing what to watch for can save you a ton of frustration (and screen material).
- Sagging or Wavy Screens: This is almost always caused by uneven tension. If you see a sag developing, don't sweat it. Just pull out that section of spline, gently re-stretch the mesh until it's straight, and roll it back in.
- Accidental Tears: It's easy to get overzealous with the spline roller, especially around the corners, and slice right through the mesh. Let the tool do the work—apply steady, even pressure, not force.
- Spline Popping Out: If your spline won't stay put, you're probably using the wrong size for your frame's channel. Splines come in many different diameters, and getting a snug fit is non-negotiable for a lasting installation.
Once all four sides are locked in, take your utility knife and run the blade along the outside edge of the spline groove. This will trim away the excess mesh, leaving you with a clean, drum-tight screen panel.
The Final Seal and Screen Door
A perfectly screened porch is pointless if mosquitoes can find a back door. Take the time to walk around the entire structure and caulk any and all seams where the new porch frame meets the house, foundation, or roofline. Pay extra close attention to where the floor and ceiling connect.
Installing a screen door is the final piece of the puzzle. We always recommend hanging it to swing outward—this simple choice maximizes your usable space inside the porch. Investing in a quality door with a reliable automatic closer is also a smart move. It ensures the door is never accidentally left ajar, keeping your new space a true bug-free zone.
For homeowners who want a truly flawless finish, calling a professional is often the best path. The global decks and porches market is booming, projected to hit $20.71 billion by 2030. Here in sunny Arizona, a professionally installed solar screen can slash cooling costs by 20-30%, meaning the investment quickly pays for itself. You can dig into the numbers in this Global Decks Market report.
At Sparkle Tech, we install screens every single day. We can guarantee a perfect fit and a professional finish, saving you the time, hassle, and potential headaches of a tricky DIY project.
Finishing Touches and Long-Term Porch Care
With the framing up and your screens pulled tight, you officially have a functional space. But let's be honest, the details are what make it feel like a true extension of your home. It’s these finishing touches that really bring the project to life and boost its value.
Something as simple as running electrical wiring can be a total game-changer. Here in Arizona, a ceiling fan is pretty much a must-have for stirring up a breeze on those still, hot evenings. Tossing in a few GFCI outlets means you can plug in a lamp for ambiance or charge your phone without dragging an extension cord through the house.
These aren't huge projects, but they're what elevate a basic screened structure into a genuine outdoor living room.
Elevating Your Space with Flooring and Finishes
The floor you choose really sets the tone for the whole porch. You can always leave a concrete slab as-is, but adding a proper finish just looks more polished and inviting. Tile is a fantastic, durable option that’s a breeze to clean. An outdoor area rug can also work wonders, defining a cozy seating area while adding a pop of color.
If you have a wood-framed porch, you’ll need to protect that investment. You've got two main routes to go:
- Paint: This gives you the most color options, hands down. You can match your home’s existing trim perfectly or go for a bold, contrasting look. Good-quality exterior paint creates a hard, protective shell against our intense sun and monsoon moisture.
- Stain: If you love the look of natural wood, stain is the way to go. It soaks into the wood fibers to protect from the inside out, and semi-transparent options add a touch of color while letting the grain shine through.
The choice really comes down to the look you want and how much maintenance you’re up for. Paint can last 5-7 years before it needs scraping and redoing, while a stain typically needs a fresh coat every 2-3 years to keep it looking good and doing its job.
Think of your porch as a long-term asset. The time you spend on proper maintenance is a small investment that pays off with years of worry-free enjoyment and preserved home value.
A Simple Porch Maintenance Checklist
Your new porch is built tough, but a little routine care will go a long way in keeping it looking great for years to come. A simple seasonal checklist is really all you need to stay ahead of problems, especially after one of our wild Arizona monsoon storms rolls through.
Here’s a quick to-do list to keep things in top shape:
- Screen Cleaning: At least twice a year, give your screens a gentle wash with a soft brush, mild soap, and water. This gets rid of that layer of dust that dulls your view. Just be sure to avoid pressure washers—they can easily damage the screen mesh.
- Frame Inspection: Take a quick walk around the perimeter. Check for peeling paint, cracked wood, or any loose connections. On wood frames, be on the lookout for soft spots, which are a red flag for moisture damage.
- Sweep and Clear: Don't let leaves and debris pile up on the floor or in the tracks. Trapped moisture can lead to stains or rot.
After a big storm, it’s smart to do a quick visual check. Look for small punctures in the screens from flying debris and make sure everything is still fastened securely. Fixing a tiny hole now is a lot easier than dealing with a giant, sagging tear later. For more seasonal tips, check out our guide on how to winterize a screened porch.
Knowing When to Call for Repairs
A lot of minor upkeep is perfect for a DIY weekend. You can pick up a small screen patch kit to fix a tiny hole in minutes, and touching up a few scuffs in the paint is no big deal.
But some jobs really are better left to the pros. It’s time to make a call if you’re seeing:
- Large Rips or Multiple Tears: If a screen panel has a big gash or looks like swiss cheese, a patch just isn’t going to cut it. You'll need a professional rescreen to get it looking right again.
- Loose or Sagging Screens: When a whole panel starts drooping or pulling away from the frame, the spline that holds it in has likely failed. A pro has the right tools to re-stretch the screen and install a new spline for that perfect, drum-tight finish.
- Damaged Framing: This one's non-negotiable. Any sign of rot, warping, or other structural damage to the porch frame needs immediate attention from an experienced contractor.
Trying to tackle complex repairs without the right experience can often make things worse. Here at Sparkle Tech, we handle everything from single-panel repairs to complete porch rescreening. We’ll get the job done right and restore your porch to its perfect, bug-free glory.
Answering Your Top Questions About Screened-In Porches
Even the most thorough plan can leave you with a few nagging questions. When you're thinking about a project like this, it's completely normal to wonder about the bottom line, how long your investment will last, and what’s possible with your existing space. Let's dig into the questions we hear most often from homeowners right here in Arizona.
How Much Does a Screened-In Porch Cost in Arizona?
This is always question number one, and the honest answer is, "it depends." The final price tag can swing pretty dramatically based on your vision and what you're starting with.
If you have a covered patio ready to go, you might just be looking at a few thousand dollars to screen it in. But if you’re dreaming of a brand-new, from-the-ground-up addition, the cost can easily climb past $25,000.
What drives that number? A few key things:
- Size: Square footage is the biggest factor, plain and simple.
- Materials: There's a price difference between low-maintenance aluminum framing and classic pressure-treated wood.
- Screen Choice: High-performance solar screens will cost more upfront than standard bug screens, but they pay you back in energy savings.
Because every home is different, the only way to get a real number is to have a professional take a look. We can give you a clear, accurate estimate that helps you budget with confidence.
For a ballpark idea, screening an existing porch in Arizona typically runs between $3,200 and $5,800. This range really shows how much the size and materials can influence the final cost.
This gives you a solid starting point for your budget. It also highlights why getting a detailed quote is so crucial—it lets you see exactly where your money is going and helps avoid any surprises down the road.
How Long Can I Expect My Porch Screens to Last?
The lifespan of your screens really comes down to two things: the material you pick and how much of that intense Arizona sun it gets.
Your standard fiberglass bug mesh, for example, will usually give you a good 5-8 years before the sun starts to make it brittle and faded. On the other hand, high-quality solar screens are built tough specifically for our climate and can easily last 10-15 years, sometimes even longer if you take care of them.
The sun is the biggest enemy of any screen material out here. You can extend the life of your screens with a gentle cleaning now and then and by patching any small tears right when you see them. If you notice multiple rips or the mesh feels stiff and crunchy, that's a sure sign it's time for a rescreen.
Can I Just Screen in the Patio or Deck I Already Have?
Absolutely! In fact, this is one of the smartest and most popular ways to get the screened-in room you want without breaking the bank. If you’ve got a solid patio slab or a sturdy deck, you’re already halfway there.
The most important step is getting a professional to check out the existing structure. We need to make sure the foundation and framing can handle the weight of the new walls and roof. Most of the time, a well-built patio or deck is the perfect candidate, saving you a huge chunk of money and time.
What’s the Difference Between a Rescreen and a New Installation?
It's easy to mix these two up, but they're very different jobs.
A rescreen is exactly what it sounds like. We come in, pull out the old, faded, or torn screen mesh from your existing frames, and replace it with brand-new mesh. This is the perfect fix when your aluminum or wood frames are still in great shape.
A new screen installation, however, is the whole package. We build and install completely new screen frames and mesh. You'd need this for a brand-new porch, or if your old frames are bent, broken, or just looking tired and outdated.
Whether you just need a quick rescreen to freshen up your space or you're ready for a complete new installation, Sparkle Tech Screen Service can help. We believe in clear, upfront quotes and professional work that gets the job done right. Contact us today to start planning your perfect outdoor oasis.


