


Replacing a torn or faded screen is a classic homeowner DIY project, and for good reason. For most standard screen doors, you can get the job done for just $20 to $50 in materials. If it's your first time, block out a solid one to three hours to get it done right without rushing.
It’s a fantastic way to breathe new life into your door without the cost of a full replacement.
Deciding if DIY Screen Replacement Is Right for You
Before you start pulling out tools, let's be real for a moment. Is this really a project you want to tackle yourself? A successful DIY job is one that ends with a great-looking screen, not a headache and a trip to the hardware store for more supplies.
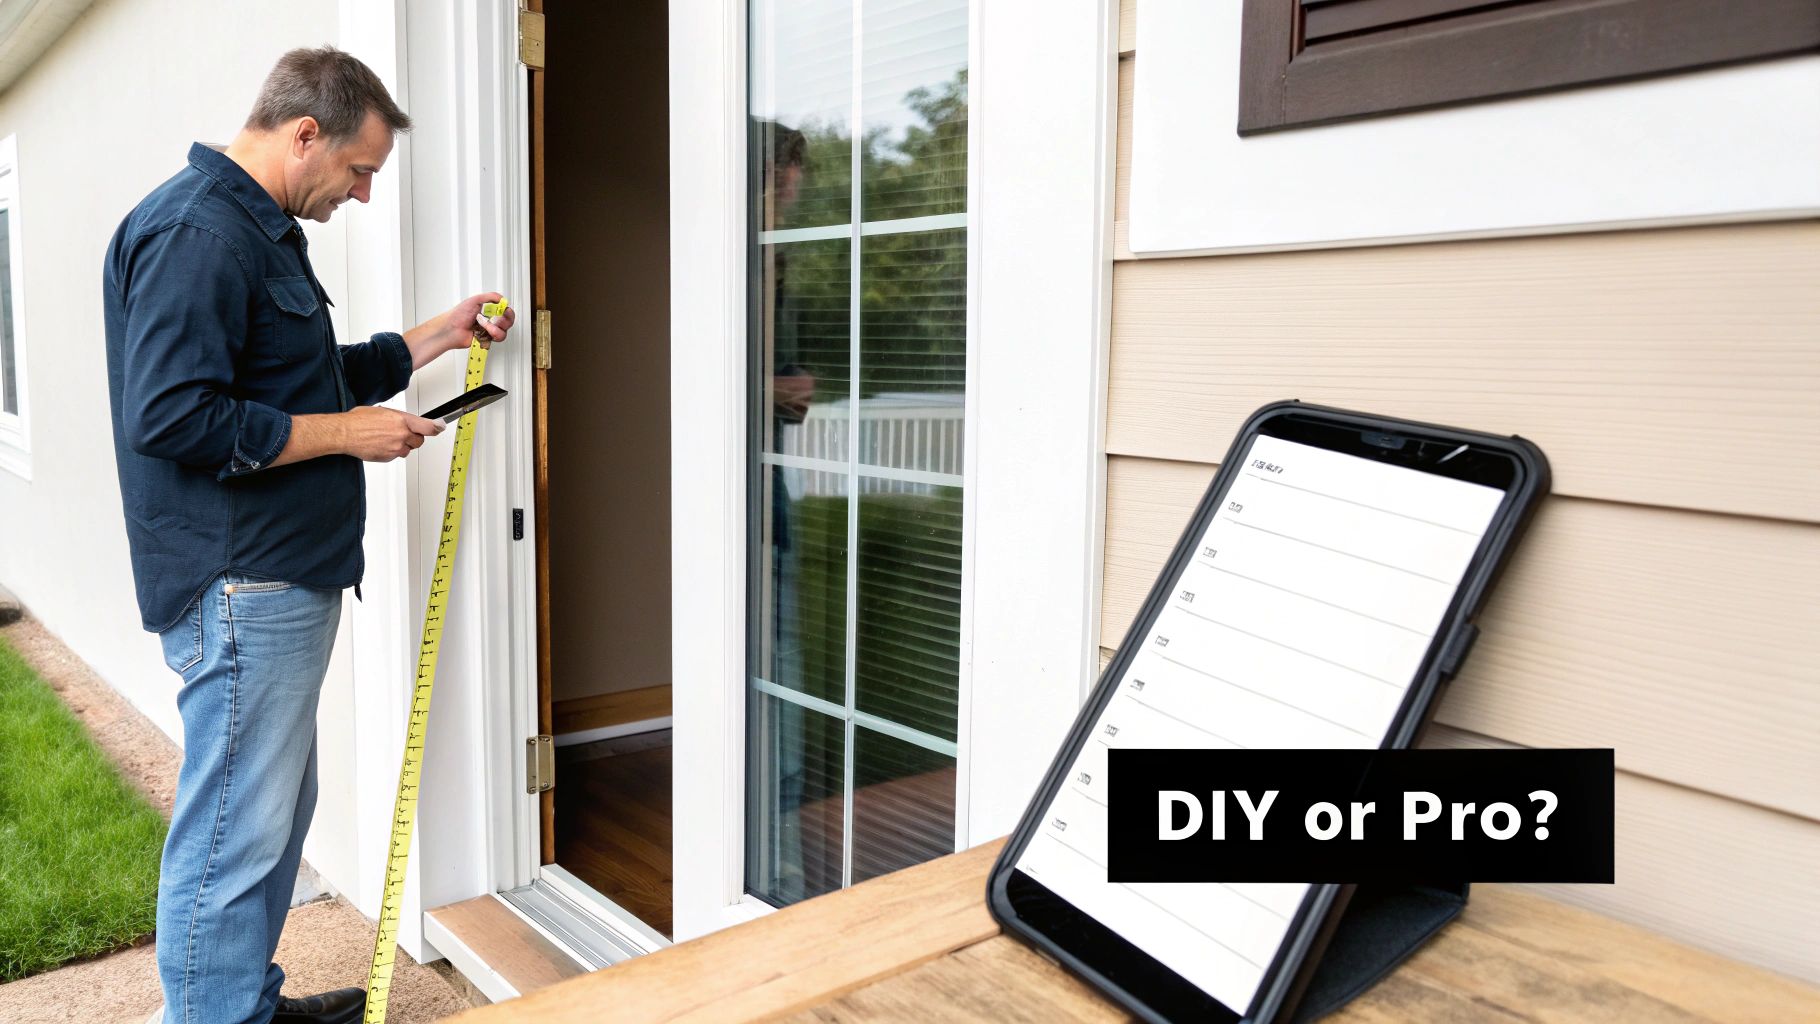
First things first, look at your door. If you have a basic hinged or sliding screen door, you're in a good spot for a DIY repair. But if you're dealing with a retractable screen door, think twice. Those have tricky spring-loaded systems that can be a real pain to put back together if you don't know what you're doing.
Evaluating Your Time and Skill
The biggest resource you'll spend here is your time. Sure, a pro can knock this out in under an hour, but for a first-timer, plan on one to three hours. That extra time gives you a cushion for taking the door off, carefully getting the new screen in place, and fixing any little hiccups along the way.
As for skills, this job is less about raw talent and more about patience. You'll need:
- A steady hand to trim the extra screen material for a clean edge.
- The patience to gently push the spline into its groove without forcing it.
- The knack for applying even pressure to get that tight, drum-like finish.
Comparing Costs: DIY vs. Professional
Doing it yourself is absolutely the cheapest route. A roll of screen mesh and a new spline will usually run you between $20 and $50. If you call in a pro like Sparkle Tech, you're likely looking at a cost between $100 to $250, depending on your door's size and the screen material you choose.
The real win with a DIY repair isn't just the initial savings. Repairing an existing screen door can cost 70-80% less than buying a whole new one. That's an average savings of $150-$300 and adds years to your door's lifespan.
This is a huge reason why the screen door repair market is so active. People are catching on that smart maintenance beats expensive replacement every time. For a deeper look at industry numbers, you can check out data on the screen door repair services market.
Ultimately, the choice is yours. Do you want to save money and get the satisfaction of doing it yourself, or is your time more valuable and a guaranteed professional result more appealing?
To help you decide, here’s a quick breakdown.
DIY vs Professional Screen Replacement at a Glance
| Factor | DIY Replacement | Professional Service (Sparkle Tech) |
|---|---|---|
| Total Cost | $20 – $50 (for materials) | $100 – $250 (includes labor & materials) |
| Time Investment | 1-3 hours of your time | 15-30 minutes for a service call |
| Skill Required | Basic handiness, patience, attention to detail | None—the experts handle it |
| Result | Good, but may have minor imperfections | Flawless, tight, and professional finish |
| Convenience | Requires a trip to the store and dedicated work time | We come to you, often with same-day pickup |
| Tools Needed | You'll need to buy or have a spline roller & utility knife | All necessary professional tools are provided |
Whether you go the DIY route or decide to call in the cavalry, getting that screen fixed is a smart move for your home.
Getting Your Tools and Materials Together
Nothing stalls a DIY project faster than having to run to the hardware store mid-job. For a screen door replacement, getting everything you need laid out beforehand is the secret to a smooth, professional-looking finish. It’s the difference between a frustrating afternoon and a job you can be proud of.
The great news is you don’t need a whole workshop full of tools. The list is short, but every item has a specific and important job to do. You’ll definitely want a sharp utility knife—and I mean a fresh blade—for trimming the screen, and a simple flat-head screwdriver is perfect for digging out that old, cracked spline.
The Essential Toolkit
The one non-negotiable, must-have tool for this job is a spline roller. It’s a cheap little gadget, but it's purpose-built for this task. One end has a rounded (convex) wheel and the other has a grooved (concave) wheel. This design lets you push the spline perfectly into the frame’s channel without ripping your brand-new screen.
Here’s the breakdown of what you'll need:
- Utility Knife: For getting that clean, factory-perfect edge when you trim the excess screen.
- Spline Roller: This is the key to getting the screen tight and the spline seated properly.
- Flat-Head Screwdriver: Use this to carefully pry out the old, stubborn spline without gouging the frame.
- Clamps (Optional): A few small spring clamps are a huge help for keeping the screen stretched taut while you work.
You can get a closer look at these tools and why they're so important in our guide to window screen repair tools.
Picking the Right Screen and Spline
Now for the materials. This is where you can really tailor the door to your home’s needs. The most common choice is standard fiberglass mesh. It's flexible, affordable, and very forgiving for first-timers because it doesn’t hold a crease if you make a mistake.
But maybe you've got a furry friend who likes to greet visitors with their claws. If so, do yourself a favor and get the pet-resistant screen. It's much tougher. Or, if your door bakes in the afternoon sun, a solar screen is a fantastic upgrade that can really help block heat and UV rays. Homeowners are definitely looking for these kinds of custom solutions; the market for retractable screen doors alone was recently valued at USD 371.5 million and is expected to keep growing.
Here's a tip I can't stress enough: pay attention to the spline. It’s that little rubber cord that locks the screen into the frame. The single biggest mistake people make is buying the wrong size. Snip off a small piece of your old spline and take it with you to the store. Match the diameter exactly. If it’s too thin, your screen will pop right out. Too thick, and you'll fight for an hour and never get it in.
Installing Your New Screen Like a Pro
Alright, you've got your tools and materials laid out—now for the main event. This is where a little patience and a methodical approach really pay off. Rushing this job is the quickest way to end up with a saggy, wrinkled screen. We're aiming for a tight, clean finish that looks like you paid a professional to do it.
First things first, get that door off its hinges and find a good workspace. Trying to do this while the door is still hanging is a recipe for a headache. Lay it down on a large, flat surface. A couple of sawhorses are ideal, but a big workbench or even a clean spot on the garage floor will do the trick.
Tearing Out the Old Screen and Spline
Time to get your hands dirty. Your first job is to yank out that old, torn screen. Look for the end of the old spline—that's the rubbery cord tucked into the channel around the frame. Use a flat-head screwdriver or a pick to gently pry up one end.
Once you get it started, you can usually just pull the rest out in one long strip. Don't worry if it's brittle and snaps into pieces; that’s pretty common after years of sun and weather. With the spline gone, the old screen material will lift right out.
Laying Down the New Screen
Here's where it starts coming together. Unroll your new screen mesh and drape it over the entire door frame. Make sure you have at least a couple of inches of extra material hanging over all four sides. This overhang is your safety margin, so don't skimp on it. You'll trim it off perfectly at the end.
If you have a few spring clamps, now is the time to use them. Clamping the screen to one side of the frame keeps it from shifting while you work. It’s a simple trick, but it makes a world of difference in getting that smooth, wrinkle-free finish.
A Quick Word of Advice: Resist the urge to pull the screen super tight right now. The real tension comes from pressing the spline into its groove. Your only job at this stage is to keep the mesh flat and even. Let the spline tool do the heavy lifting.
This simple diagram shows the key players in this process.
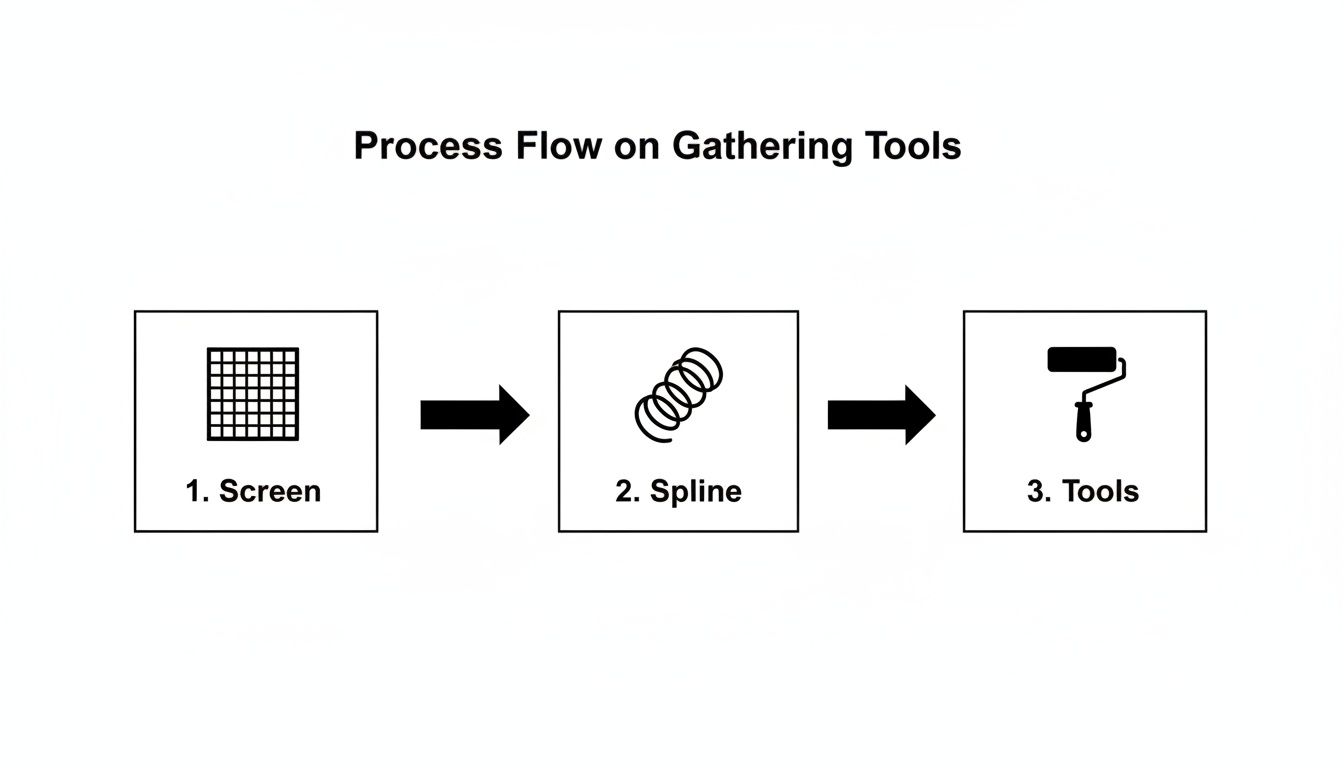
As you can see, it's all about how these three elements—the screen, the spline, and your tools—work together.
Getting the Spline Just Right
Grab your new spline and the spline roller tool. Pick a corner to start—any corner will do.
First, use the convex wheel (the rounded edge) of your roller to gently press the screen mesh into the channel. This creates a neat little trough for the spline to sit in.
Next, place the end of the new spline into the channel right over the mesh you just pressed in. Now, flip your tool over to the concave wheel (the one with the groove). Apply firm, steady pressure and roll the spline into the channel, working your way down one full side of the door.
Keep this up on all four sides. When you get to the corners, you might need to use your flat-head screwdriver to help nudge the spline in for a snug fit. The secret is consistent pressure to keep the screen from bunching or wrinkling.
Once the spline is seated all the way around, you’re on the home stretch. Grab a sharp utility knife and carefully trim away the excess screen. For a clean cut, angle the blade slightly away from the new spline so you don't accidentally nick it. Slow and steady wins the race here.
And that's it! Stand the door up and take a look. You should have a perfectly taut, brand-new screen ready to keep the bugs out while letting the fresh air in.
Troubleshooting Common Replacement Headaches
So, you've followed all the steps, but something just doesn't look right. Don't worry, it happens to everyone. Even a seemingly straightforward DIY screen replacement can throw you a curveball. It’s frustrating, but most issues are fixable without tearing everything out and starting over.
The trick is knowing what to look for and how to nudge things back on track.
From a wrinkled finish to a stubborn spline that refuses to cooperate, let’s go over the most common headaches I've seen and how you can solve them. Think of these as minor adjustments, not project-ending disasters.
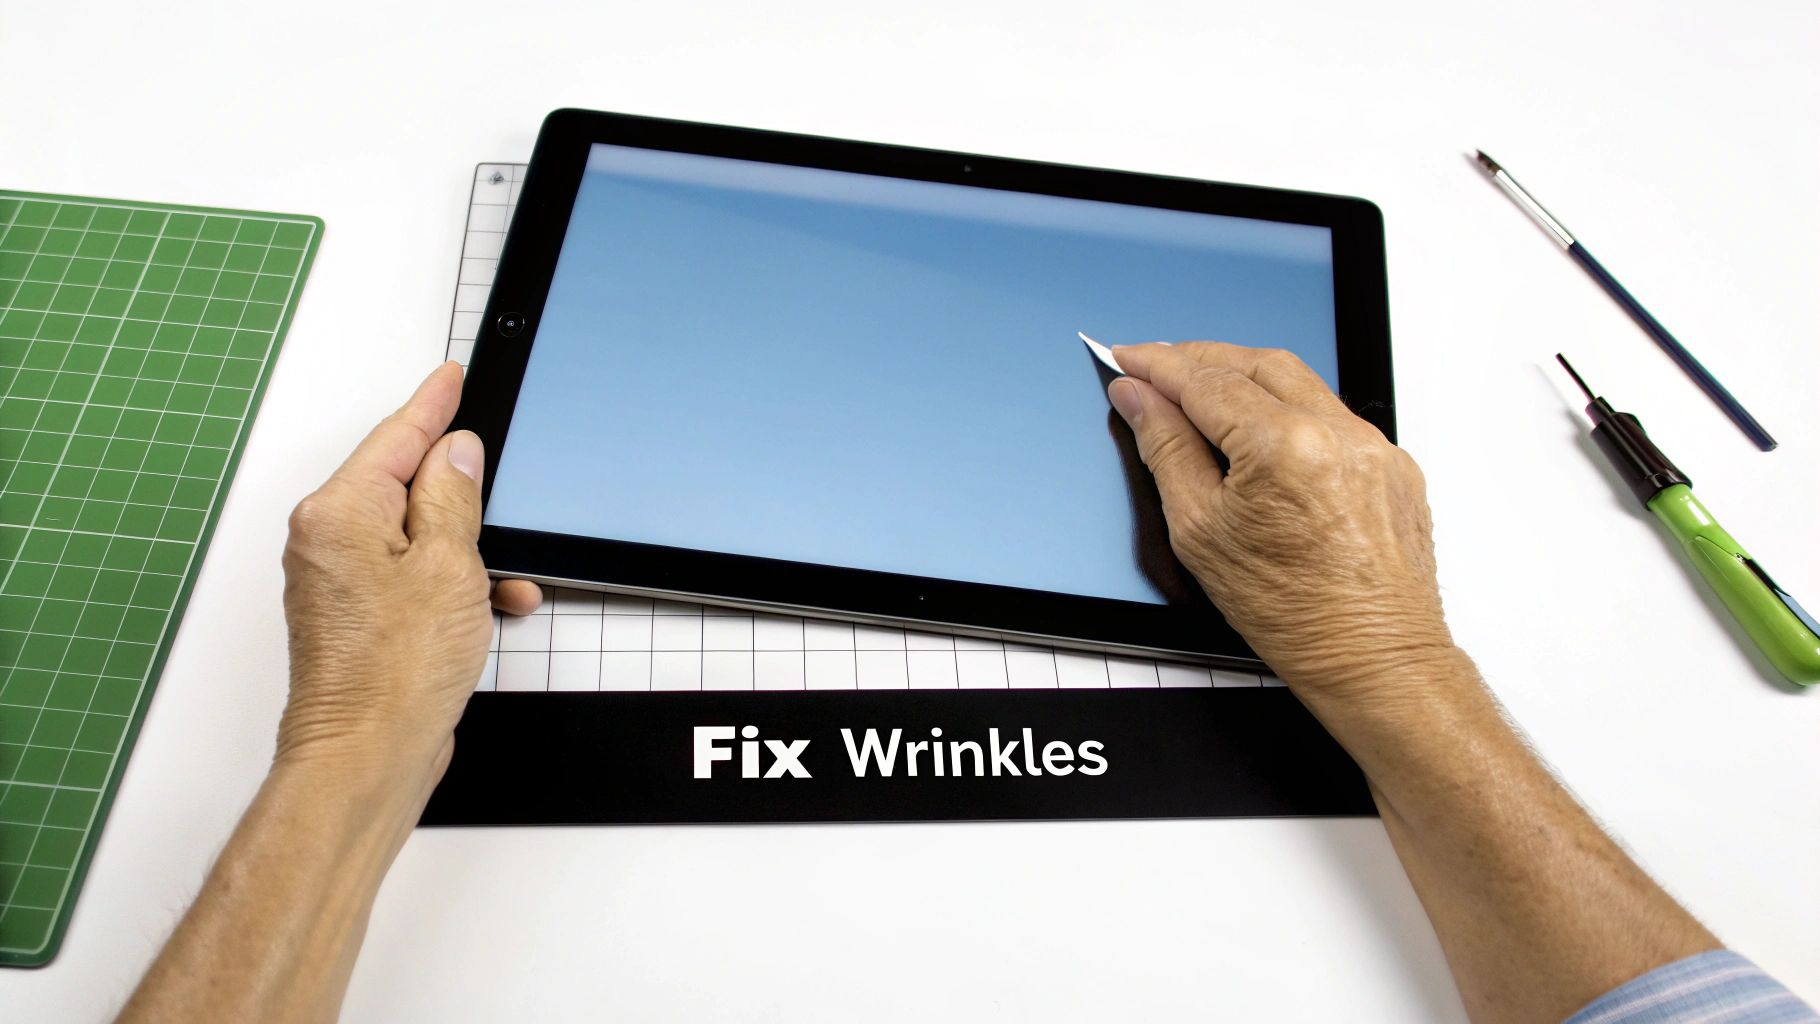
Fixing Wrinkles and Sags
This is by far the most common problem. You finish the job, stand back to admire your work, and see wavy, loose sections. This almost always means the screen wasn't held with even, gentle tension while you were rolling in the spline.
Don't panic! You don’t have to pull the whole thing out.
Just identify the sagging side. Carefully pull out the spline from that side and the side directly opposite it. Redo the first side, making sure it’s snug. Then, gently pull the screen taut—not stretched tight like a drum, just smooth—before reinstalling the spline on the second side. That little bit of extra tension should clear it right up.
This fix is especially useful for larger doors. If you're running into this problem on a patio door, our guide on sliding door screen repair has some more specific tips for those bigger frames.
Dealing With Spline Problems
Getting the spline right is everything. It’s the one thing holding your entire project together, so it’s no surprise that it’s a major stumbling block for first-timers.
You'll usually run into one of two issues:
- The spline is too thick. Are you fighting to push the spline into the groove? Does it keep popping back out? It's too big for the channel. Stop right there and head back to the hardware store with a small piece of your old spline to get a perfect match.
- The spline is too thin. If the spline goes in way too easily and doesn't feel like it's gripping the screen, it’s too small. The screen might look fine now, but it will pull loose over time. It’s better to get the right size now than to do this whole job again in a few months.
Even the best doors give in to wear and tear. Constant weather exposure is a big one—it’s why an estimated 20-25% of security screen doors need to be re-meshed every three to five years. This just goes to show how much material integrity matters for a lasting repair. You can learn more by checking out the latest research on security screen door maintenance.
Handling Frame and Material Mishaps
Sometimes, the issue isn't your technique; it's the materials you're working with. A slightly bent frame or a screen you’ve accidentally mis-cut can feel like game over, but there are often simple workarounds.
If your door frame has a slight bow or bend, you can still get a tight fit. The key is to install the spline on the straight sides first. When you get to the bent section, use your spline tool to carefully and patiently work the screen into the channel, letting the mesh stretch and conform to the frame’s unique shape.
And what about the dreaded moment you realize you've cut the screen a little too short on one side? As long as the mesh can still reach the spline channel, you might be able to save it. Use a couple of spring clamps to gently pull the material over the groove and hold it in place while you roll in the spline. It will create more tension on that side, but it can absolutely save you from having to buy a whole new roll of screen.
Knowing When to Call in the Experts
Every great DIYer knows their limits. It's one thing to tackle a standard screen replacement for screen door, but it’s another thing entirely to know when to put the tools down and pick up the phone. Recognizing when a project is out of your league can save you a ton of time, a surprising amount of money, and a whole lot of frustration.
Sometimes the issue is deeper than just a simple tear in the mesh. If you notice your door frame is seriously bent, warped, or cracked, a new screen won't fix the root problem. A pro can tell you if the frame can be salvaged or if you're better off with a full replacement for a long-term fix.
When a Professional Is Your Best Bet
Some jobs just aren't cut out for a weekend warrior. Certain door types and bigger projects demand specialized equipment and experience that most of us just don't have lying around in the garage. Trying to force a DIY solution in these situations usually ends with a sloppy result or, even worse, a damaged door.
It's probably time to call for backup if you're dealing with any of these:
- Severely Bent or Damaged Frames: A professional has the right tools to straighten out aluminum frames. They’ll also give you an honest assessment if the frame is a lost cause.
- Complex Retractable Screen Doors: These doors have a bunch of springs and hidden parts. Taking them apart is easy, but getting them back together correctly is a real puzzle without experience.
- Large Screened-In Patios: Stretching screen tightly and evenly across a huge opening is an art form. It requires specific tools to get that perfect, drum-tight finish.
- Security Screen Doors: These aren't your average screens. They're built with heavy-duty materials and mounting hardware that needs to be installed perfectly to work as intended.
At the end of the day, it comes down to what your time is worth. Investing in a guaranteed, professional result can be a smart move, especially when the job gets complicated.
If you do decide to hire out, it helps to understand the scope of various home service industries so you can find the right specialist. For those of us in the Phoenix area, a local expert can make all the difference.
The Sparkle Tech Screen Service Advantage
When the job is just too big or you'd rather not spend your Saturday wrestling with spline, that's where a team like Sparkle Tech Screen Service comes in. We see these tricky situations every single day, and we offer same-week service to get your home sealed up and looking great again in no time.
You get the peace of mind that comes with our experience, top-notch materials, and a perfect finish—all without you having to do a thing.
Getting a quick quote is simple, and for many standard door sizes, we can even provide same-day pickup. So, instead of dedicating your weekend to a project, you can make one call and know it's done right. If you’re looking for a trusted expert for your screen replacement, learn more about our local screen replacement near me services and see how we can help.
Answering Your Top Screen Replacement Questions
Even with a step-by-step guide, you're bound to have a few questions pop up. It happens on every project. Getting these little details right is what makes the difference between a job that looks "okay" and one that looks truly professional.
We've pulled together the most common questions we hear from homeowners tackling a screen replacement for screen door for the first time. Let's clear up those final uncertainties so you can get this project wrapped up.
What's the Easiest Screen Material for a Beginner to Install?
If this is your first time wrangling a new screen, do yourself a favor and stick with standard fiberglass mesh. It's the most forgiving material by a long shot.
Aluminum screen, for instance, is a real pain if you're not used to it. One wrong move and you've got a permanent crease you'll be staring at forever. Fiberglass, on the other hand, is flexible and won't hold a grudge if you accidentally fold it. This makes it so much easier to get the screen pulled tight and worked into the frame's groove.
It also happens to be the most budget-friendly option, so a learning mistake won't set you back much. It’s the perfect mix of durability, ease of installation, and price for a first-timer.
How Do I Get My New Screen Perfectly Tight?
The hallmark of a great screen installation is that perfectly taut, drum-tight finish. The secret isn't yanking on it with all your might; it's about applying steady, even tension.
As you use the spline roller to press the spline into the channel on one side, use your other hand to pull the mesh gently taut from the opposite side. Think of it like making a bed—you're just trying to smooth out the wrinkles, not stretch the fabric.
Here’s a tip from the pros: Always start with one of the long sides. Install the spline all the way down. Then, move to the opposite long side, gently pulling the screen taut as you roll the spline in. Finish up with the two shorter sides. This sequence is key to preventing sagging and waves.
Your spline roller is your best friend here. It’s designed to apply just the right amount of pressure, so let the tool do the heavy lifting while you focus on keeping the screen material straight and smooth.
Can I Just Reuse the Old Spline?
I know it’s tempting. It seems wasteful to throw out the old spline, but trust me on this one: it’s a terrible idea. After years of baking in the sun and enduring temperature swings, that old vinyl or rubber spline gets hard, brittle, and shrunken.
It’s lost all the flexibility needed to grip the new screen mesh properly. If you try to force that stiff, old spline back into the channel, you're more likely to tear your brand-new screen than to get a secure fit.
A new roll of spline costs just a few dollars. It's a tiny investment that guarantees your new screen stays put for years to come. Just make sure you buy new spline that's the same diameter as the old stuff.
Feeling like this is more than you bargained for? If you want a perfect result without the hassle, the team at Sparkle Tech Screen Service has you covered. We offer same-week service and can get you a quick quote to make your doors and windows look brand new again.
Visit us at https://sparkletechscreenservice.com to get started.


