


A successful retractable screen door installation doesn't start the moment you pick up a drill. It actually begins much earlier, with understanding why these doors are such a great addition to any home and then choosing the right one. Getting this first part right sets you up for a smooth, headache-free project.
Getting Ready for a Perfect Installation
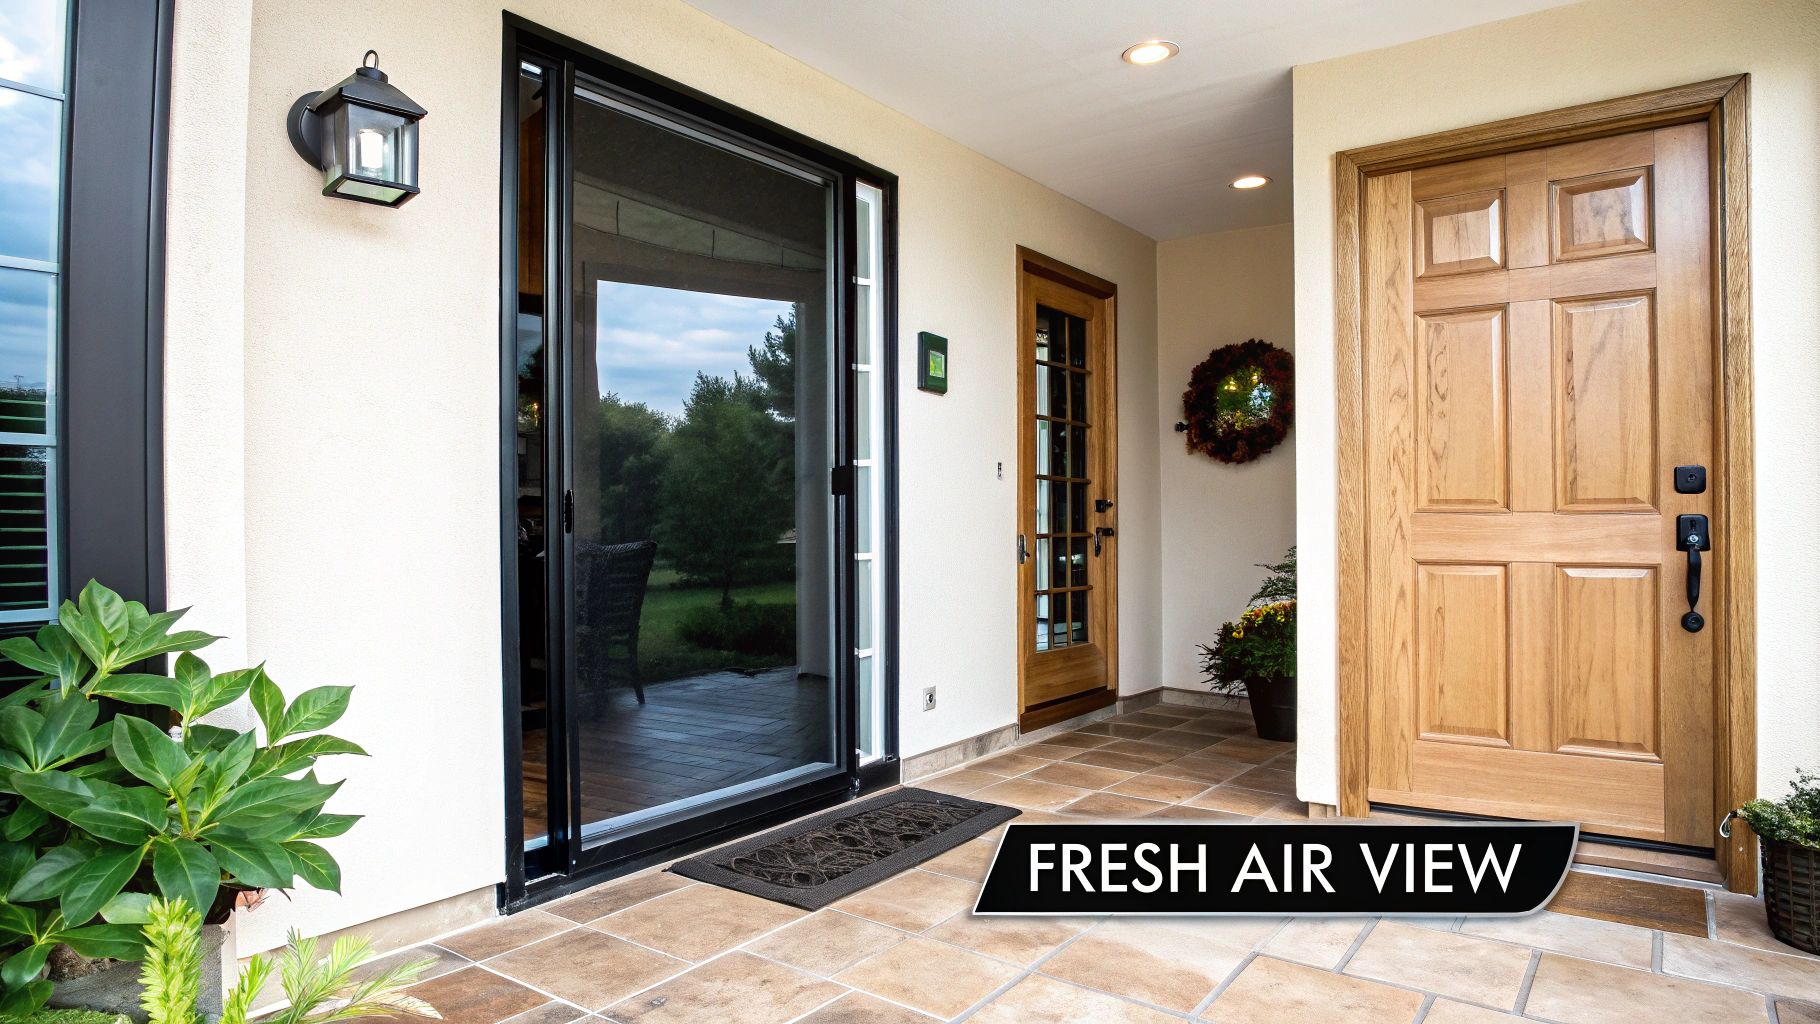
Before we get into the nitty-gritty of the installation itself, let's talk about why so many homeowners are making the switch. Traditional hinged screen doors are always there—a permanent fixture that can clutter up your entryway. Retractable screens, on the other hand, vanish into a sleek housing when you don't need them. This preserves your home's curb appeal and keeps your view unobstructed. It’s a modern, elegant way to let the breeze in and keep the bugs out.
This isn't just a niche trend. The global market for retractable screens was recently valued at USD 371.5 million and is projected to hit nearly USD 596.54 million by 2031. Homeowners are clearly catching on, seeking out smart, space-saving solutions that make their homes more comfortable and energy-efficient.
Picking the Right Door and Mount for Your Home
Your first big decision is choosing the right screen for your specific doorway. Thankfully, they come in a few common configurations to fit most openings.
- Single-Panel Doors: The go-to choice for a standard front or back door.
- French Door Systems: These use two screens that meet in the middle, perfectly suited for wide double-door entryways.
- Sliding Door Models: Designed to work in tandem with your existing sliders, creating a seamless screen for your patio or deck entrance.
Once you know the type of door you need, the next step is figuring out how it will mount to your frame. This is crucial and depends entirely on the design of your door jamb.
I can't stress this enough: correctly identifying your installation type is the most critical part of the prep work. Choosing the wrong mount means you might buy a door that simply won't work with your frame, leading to a lot of frustration and wasted time.
There are two primary ways these doors are installed:
- Surface-Mount (also called Recess-Mount): This is the most common method. The screen's housing and tracks are mounted directly onto the flat surface of your exterior door frame or the surrounding trim. It’s straightforward and works for the vast majority of homes.
- Inside-Mount (or Jamb-Mount): Here, the components are installed inside the door jamb. This gives you a more built-in, flush appearance but requires your door frame to have enough flat, clear depth to hold the housing.
Taking the time to understand these differences is key. If you're tackling other screen projects around the house, our broader guide on how to install screens can offer more insights. Grasping these initial concepts ensures you buy the right product and are fully prepared for a perfect fit.
Getting Your Measurements and Tools in Order
Alright, let's get down to the most critical part of any retractable screen door project: nailing the measurements and getting your tools lined up. From my experience, this is where most DIY installations either succeed or fail. Get this part right, and the rest of the job feels like it just clicks into place.
Before you even think about unboxing your new screen door, let's make sure you have everything you need within arm's reach. There's nothing worse than being halfway through a step and having to hunt for a tool. A little prep work now saves a ton of frustration later.
Your Essential Tool Checklist
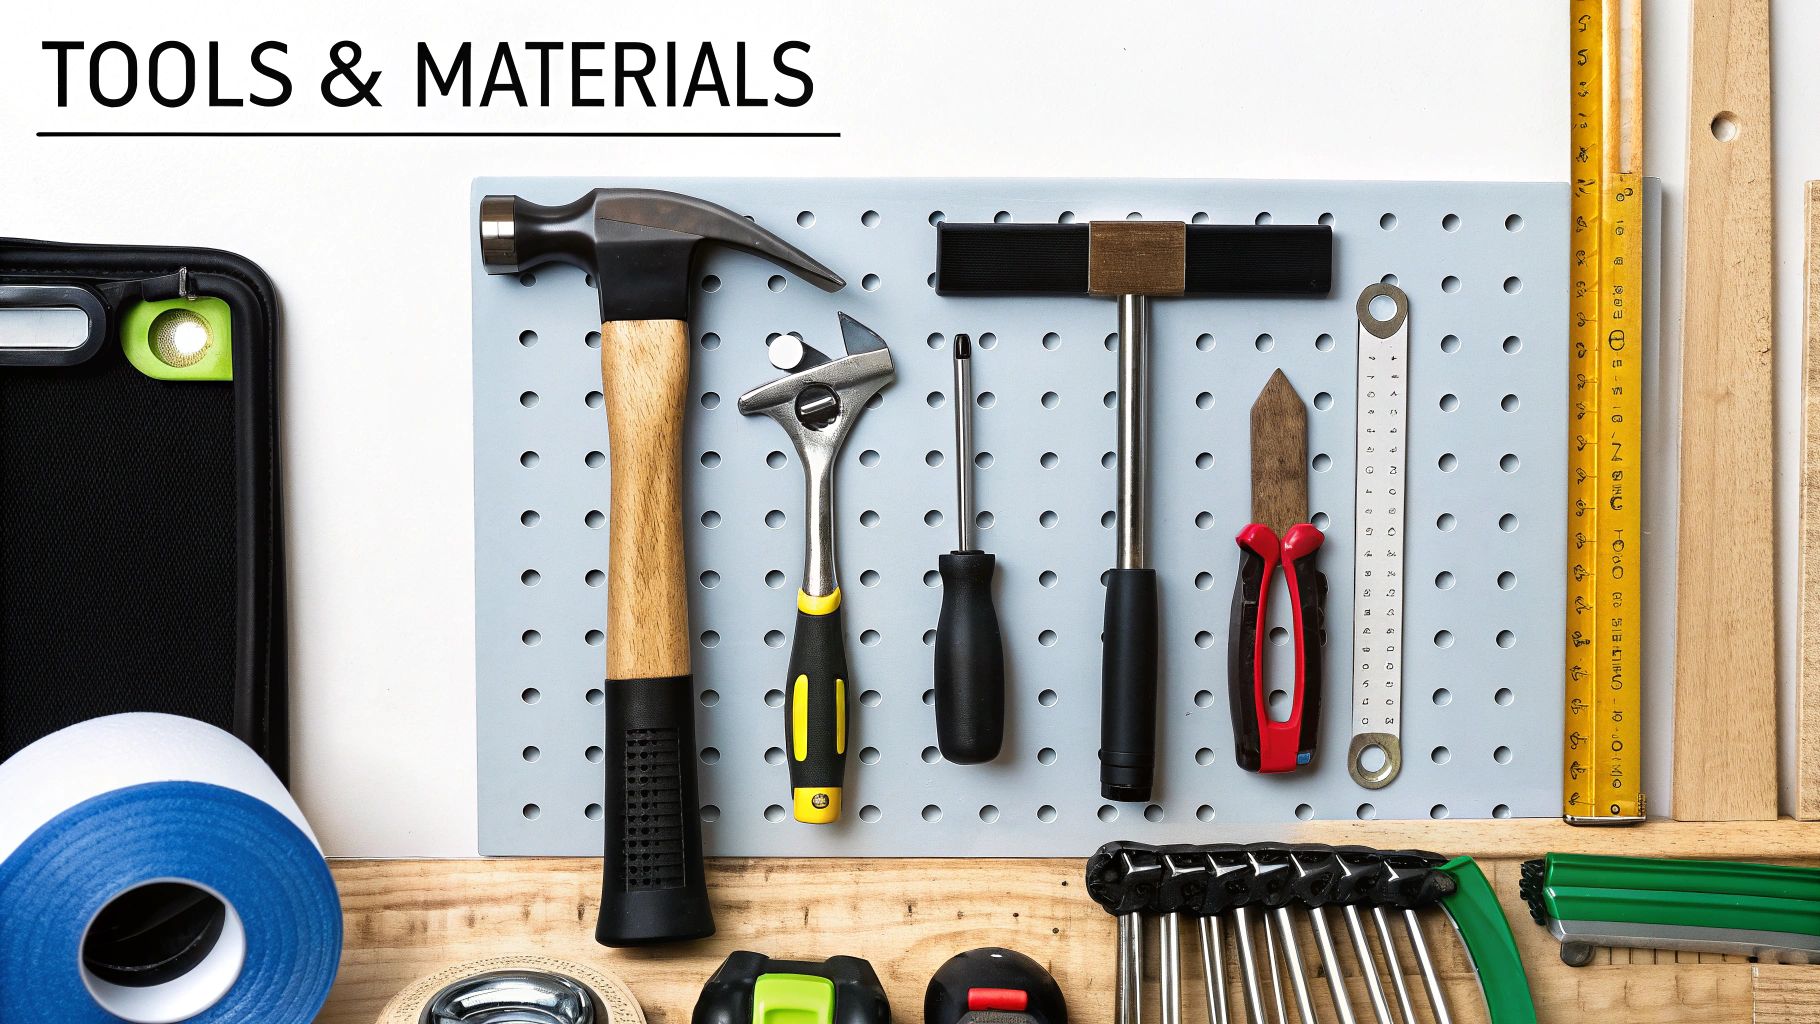
To make sure your project goes off without a hitch, it's worth gathering the right tools from the start. Trust me, trying to make do with the wrong equipment is a fast track to stripped screws and crooked cuts. Below is a handy checklist of what I recommend having on hand.
Essential Tools for Your Installation Project
Here is a checklist of necessary tools, their primary purpose, and a pro-tip for their use during your retractable screen door installation.
| Tool | Primary Use | Pro-Tip |
|---|---|---|
| Tape Measure | Getting precise height and width measurements of the door frame. | Always use a metal tape measure. A soft or vinyl one can stretch, leading to inaccurate readings. |
| Power Drill | Driving screws to secure the housing and tracks to the door frame. | Use a drill bit slightly smaller than your screw shank to create pilot holes. This prevents wood from splitting. |
| Hacksaw or Miter Saw | Cutting the aluminum housing and tracks to the perfect length. | A miter saw with a fine-toothed blade for non-ferrous metals gives the cleanest cut. A hacksaw works, but requires more patience. |
| Level | Ensuring the top and bottom tracks are perfectly horizontal. | A 4-foot level is ideal for standard doors as it gives a more accurate reading than a small torpedo level. |
| Metal File | Smoothing any sharp burrs or edges after cutting the tracks. | Deburring is crucial. Sharp edges can snag the screen mesh and prevent the end caps from fitting correctly. |
| Pencil or Marker | Marking your measurements and screw hole locations. | Use a fine-point pencil for light-colored frames and a silver marker for dark ones to ensure visibility. |
Having these tools ready will make you feel like a pro and ensure the job is done right the first time.
How to Measure Your Door Frame Like an Expert
This is where the real work begins. I can't stress this enough: inaccurate measurements are the number one cause of DIY project headaches. You might look at your door frame and think it's perfectly square, but I can almost guarantee it's not. Houses settle, and frames shift.
Here's the golden rule I live by, and you should too: measure three times, cut once. For the width, measure across the top, the middle, and the bottom of your door opening. For the height, do the same on the left, middle, and right. Always, and I mean always, use the smallest of the three measurements for your cut.
This simple rule is your best defense against a screen that either binds up or leaves an ugly gap. Let's say your door frame width is 35 7/8 inches at the top but tightens to 35 3/4 inches at the bottom. If you cut your track to the wider measurement, it's going to jam. You have to use 35 3/4 inches to ensure a smooth fit.
For a deeper look into all the little details that make a difference, our complete guide on DIY screen door installation is a great resource. Getting a handle on this now will save you a lot of guesswork later.
Your exact measuring points will change slightly based on where you're mounting the door:
- For Surface-Mounts: This is the most common install. You'll measure the flat surface of the trim or brick mold where the screen's tracks will sit. For the height, measure from the top of the threshold up to the bottom edge of the top trim.
- For Inside-Mounts: Here, you're fitting the screen inside the door jamb itself. You'll need to measure the interior width and height of the opening. Be extra precise with these, as there's much less wiggle room.
Take your time with these initial steps. Careful, repeated measurements and a well-organized toolkit are the foundation of a successful, professional-looking installation.
Mounting Your New Retractable Screen Door
Alright, you’ve got your tools laid out and your measurements double-checked. Now comes the rewarding part: the actual retractable screen door installation. This is where all that careful prep work really starts to pay off. We’ll walk through this together, step by step, turning that box of parts into a sleek, functional addition to your home.
The secret to a stress-free installation is to focus on one component at a time. Don't let the whole kit intimidate you. We'll start by cutting the tracks to the perfect length—a step that sounds scary but is totally manageable. After that, we'll get the tracks and the main screen housing mounted securely.
Preparing and Cutting the Tracks
First things first, unpack the top and bottom tracks from the box. Grab that smallest width measurement you took earlier and carefully mark it on both tracks. A fine-point pencil or a sharpie works great for this. You know the old saying: measure twice, cut once. It’s never been more true than right now. Cutting a track too short is a real headache to fix.
When you're ready to cut, a miter saw fitted with a non-ferrous metal blade will give you a beautiful, clean edge. If you're going with a hacksaw, make sure to clamp the track down tight in a vise. Use slow, steady strokes to keep your cut straight. Once it’s cut, grab a metal file and gently knock down any sharp burrs on the fresh edge. This is a crucial little step that keeps the screen mesh from snagging later and helps the plastic end caps pop on perfectly.
This quick visual breaks down the initial frame prep, which is really the foundation for the whole project.
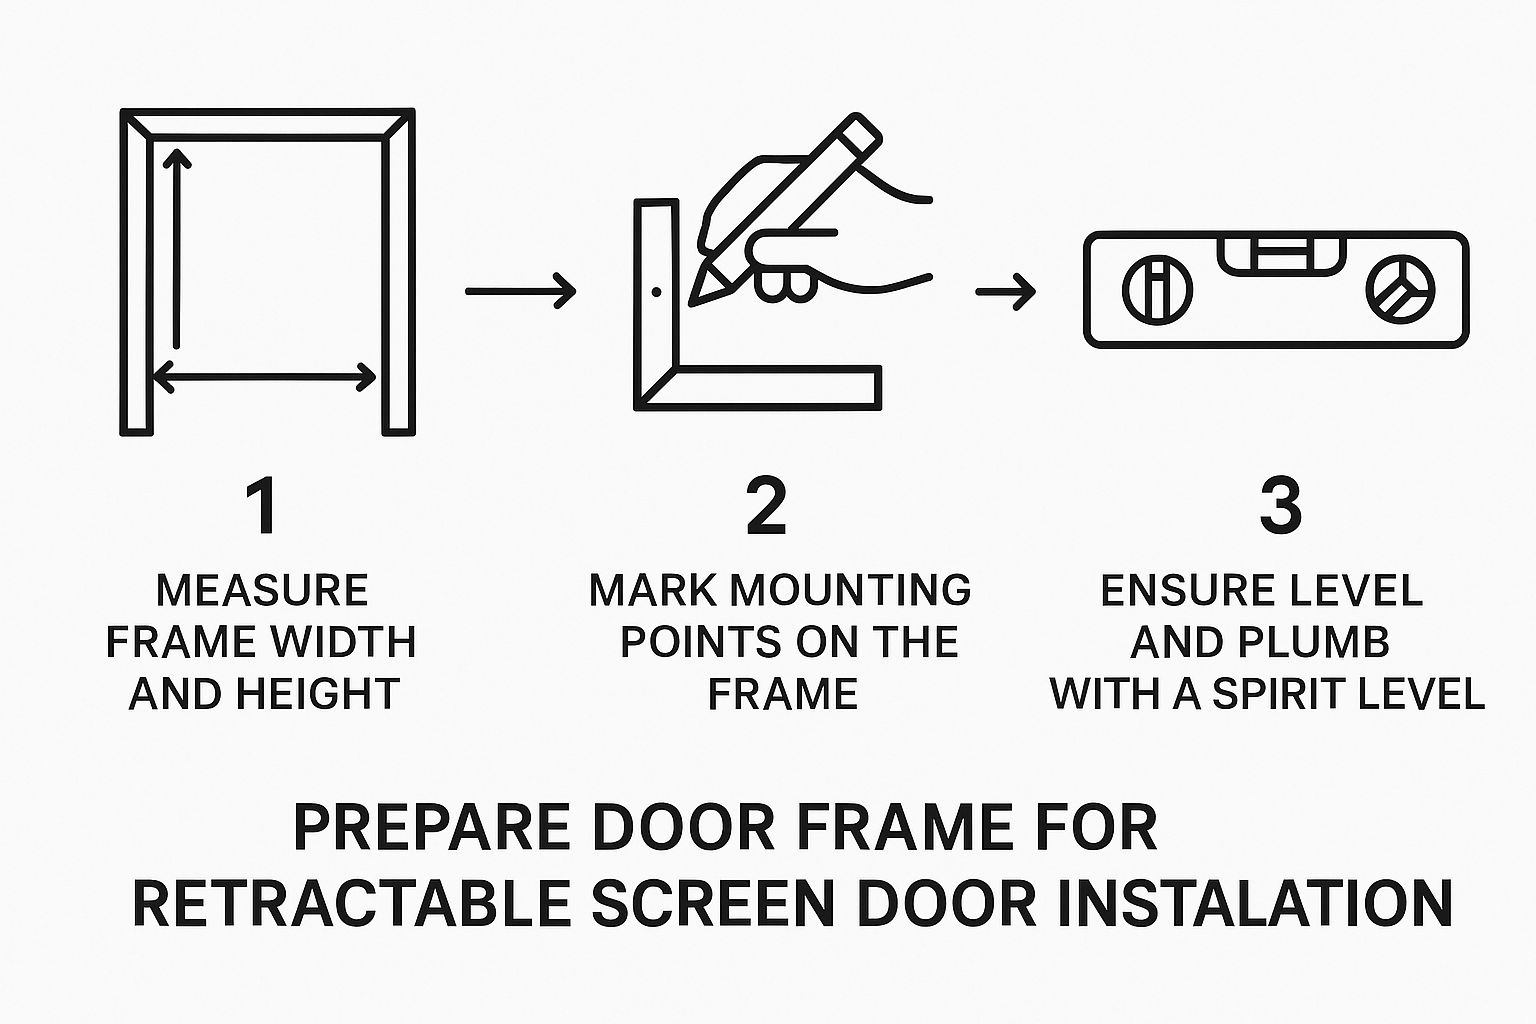
Seeing it laid out like this shows how a great result comes from getting the basics right: precise measuring, marking, and leveling before a single screw goes in.
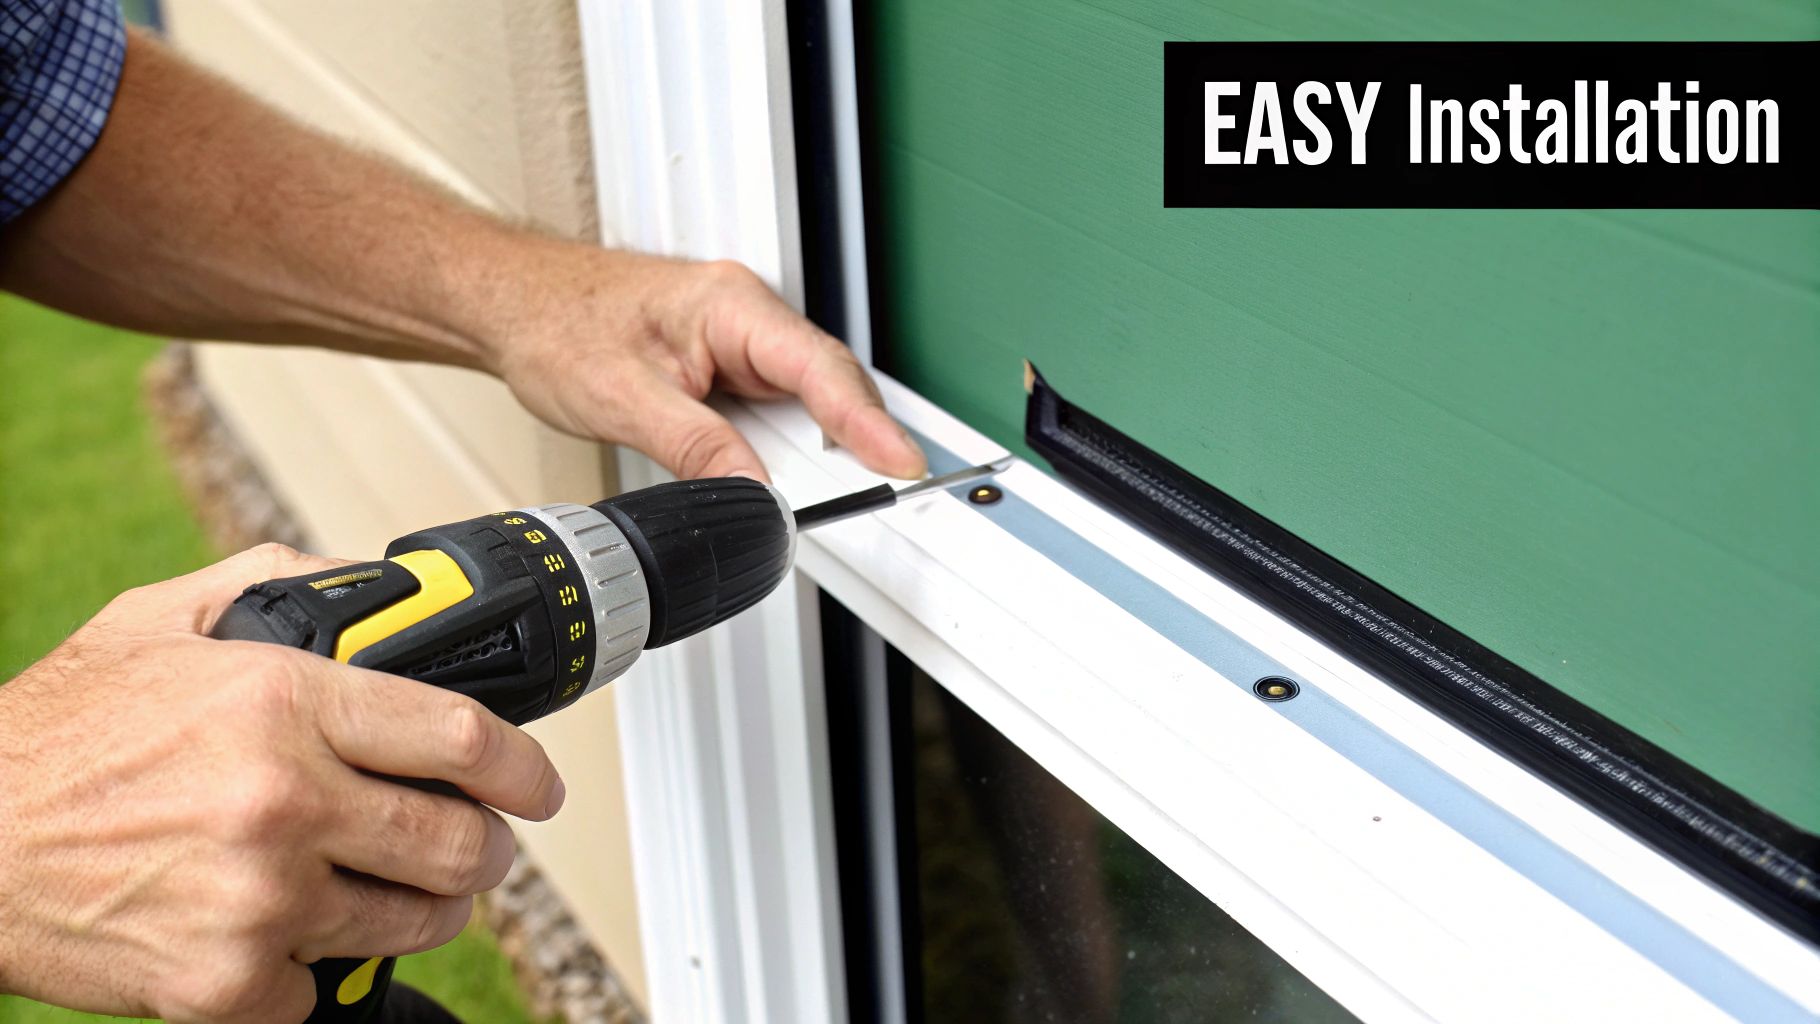
Installing the Top and Bottom Tracks
Time to place the bottom track onto your door threshold. Before you even think about drilling, set your level on it. It’s common for thresholds to be slightly off-kilter, and that’s what the included shims are for. Just slide a shim or two under any low spots until that bubble is dead center. This is what stops the screen from getting jammed up as it opens and closes. Once you're happy it's level, go ahead and drill your pilot holes and secure the track with the screws provided.
Do the exact same thing for the top track. Making sure it’s perfectly level is just as important. I’ve seen plenty of screens that retract unevenly or feel sticky simply because the top track was installed on a slight angle.
Pro Tip: When you first drive the screws, just get them snug. Don't crank them down all the way. Leaving just a tiny bit of wiggle room makes it easier to do minor adjustments later. You can give them a final tightening once you’ve tested everything and know it’s perfectly aligned.
Attaching the Cassette and Screen
With both tracks securely in place, the next job is mounting the main cassette housing. That’s the vertical unit that holds the rolled-up screen. Set it against the door jamb on the side you want the handle to be. Pull out your level again and make sure the housing is perfectly plumb—meaning, vertically straight. This is every bit as important as the tracks being level.
Mark where your screws will go, drill your pilot holes, and mount the cassette to the door frame. Now for the satisfying part: gently pull the handle out from the cassette and guide the screen into the top and bottom tracks. It should glide smoothly all the way across.
This type of home improvement is popular all over the world. While North America and Europe have been the biggest markets for a while, the Asia-Pacific region is catching up fast, thanks to new construction and a growing focus on home design. You can dive deeper into these trends in a detailed report on the retractable screen door industry.
The last major step is attaching the receiving rail—the piece with the magnet or latch—on the opposite door jamb. Position it so the pull bar clicks into it nice and snug, creating a tight seal when the screen is closed. Double-check the alignment, then screw it into place. Your retractable screen door is now mechanically installed and just about ready to go
Final Adjustments and Troubleshooting Common Issues
Alright, getting your door mounted is a huge step, but the job isn't quite done. This is where we fine-tune everything to get that perfect, professional-level operation. Honestly, these last few tweaks are what separate a good install from a great one, ensuring your screen door works smoothly for years to come.
The first thing to dial in is the screen tension. Right out of the box, the spring is often wound pretty tight. If you let go and the screen slams back into its housing with a loud thwack, you’ll want to ease off the tension a bit. On the other hand, if it feels lazy or doesn’t retract all the way, it needs to be tightened.
You'll usually find an adjustment screw at one end of the cassette housing. A few turns are often all it takes to go from a jarring snap to a nice, controlled glide.
Dialing in the Perfect Operation
With the tension set, let's look at the magnetic latch. A solid seal here is everything—it’s what actually keeps the bugs out.
Go ahead and close the screen. Watch how the pull bar lines up with the magnet on the other side. Do you see a gap? Does it only catch at the very top or bottom? This is a classic sign of a slight misalignment. Thankfully, the screw holes on the receiving rail are usually oversized just enough to allow for some wiggle room.
Just loosen the screws until you can nudge the rail up, down, or side-to-side. You're looking for that sweet spot where the magnet grabs firmly along its entire length. Once you've got it, lock it down by tightening the screws.
I’ve seen this mistake a hundred times: people crank down on the cassette and track screws way too early. Keep them just snug until this final stage. It gives you the flexibility for these tiny adjustments without having to take everything apart again. Trust me, it’s a massive time-saver.
Last but not least, give the locking mechanism a good workout. Lock and unlock it a few times to make sure it's not sticking or catching.
Solving Common Installation Hiccups
Even the most careful installer can hit a snag. Don't sweat it—most issues are surprisingly simple fixes. A common one I see is the screen retracting unevenly, where it bunches up at the top or bottom. This almost always means the tracks aren't perfectly level or the main housing isn't plumb.
Grab your level and double-check your work. If you find a slight dip, a few shims placed underneath the low spot will usually solve the problem.
Here’s a quick rundown of what to look for:
| Problem | Likely Cause | Solution |
|---|---|---|
| Screen Binds or Sticks | Tracks are squeezed too tight or aren't parallel. | Double-check that you used your smallest width measurement. Make sure tracks are plumb and level. |
| Uneven Retraction | Tracks aren't level or the cassette isn't plumb. | Use your level to find the issue. Add shims under the low spots to even things out. |
| Gap Along the Side | The magnetic receiving rail is out of alignment. | Loosen the screws and shift the rail until the magnet makes full, even contact. |
| Screen Feels "Gritty" | There’s debris or dust in the tracks. | Give the top and bottom tracks a thorough cleaning with a brush and vacuum. |
If you run into more persistent issues, especially with sliding systems, it might go beyond simple adjustments. We have some great, in-depth advice in our guide on how to fix a sliding screen door that can help you tackle tougher problems. A little extra time spent troubleshooting now is well worth it for a door that works perfectly.
Long-Term Care and Maintenance for Your Screen Door
Alright, you've successfully installed your retractable screen door. Great job! Now, let's talk about keeping it working like new for years to come. Just like any other part of your home with moving components, a little bit of regular upkeep makes a world of difference.
Think of it as simple, seasonal TLC that protects your investment and prevents those annoying little hitches before they start.
Keeping the Tracks Clear and Smooth
The single most important maintenance task is cleaning the tracks. It's just a fact of life that the top and bottom channels will gather dust, dirt, pet hair, and all sorts of other debris. If you let that build up, you'll start to feel the screen snag or grind as it moves.
Cleaning them is easy. Grab a stiff-bristled brush to break up any packed-in grime, then go over it with a vacuum using a skinny nozzle attachment. For a final touch, a quick wipe with a damp rag gets rid of any leftover dust. Doing this a few times a year is your best bet for avoiding unnecessary wear.
After a good cleaning, it's time to lubricate. Here's a pro tip: stay away from oily lubricants like WD-40. They're actually counterproductive because they attract and hold onto even more dirt, creating a sticky mess.
The industry standard, and what we always recommend, is a good dry silicone spray. It leaves behind a slick, dry film that helps the screen glide effortlessly without turning into a magnet for gunk.
A Simple Seasonal Checklist
You don't need to spend hours on this. Just work these quick tasks into your regular home maintenance routine.
- Twice-a-Year Track Cleaning: Give the tracks a thorough cleaning and vacuuming in the spring as the weather warms up, and again in the fall before winter sets in.
- Lubricate After Cleaning: Immediately after you clean the tracks, apply a light coat of the dry silicone spray to the inside of both the top and bottom channels.
- Wipe Down the Mesh: Gently clean the screen mesh itself with a soft cloth, using a simple mix of mild soap and water to clear off dust and pollen. Always avoid harsh chemical cleaners.
This kind of durability and versatility is why retractable screens are becoming so popular. In fact, a related market for retractable storm doors—which combine screening with weather protection—was recently valued at USD 0.37 billion. It’s a growing segment, with experts forecasting a 6.80% growth rate. You can dive deeper into these trends by checking out the latest retractable storm door market analysis.
By following these simple, real-world maintenance tips, you can make sure your new screen door operates just as smoothly years from now as it did on day one.
Answering Your Top Installation Questions
Even with the best instructions, you're bound to run into a few head-scratchers specific to your home. That's completely normal. A great retractable screen door installation is all about handling those small, unique challenges as they come up.
Let's walk through some of the most common questions I hear from homeowners right in the middle of their projects. Getting these details right will give you the confidence to finish the job perfectly.
Will a Retractable Screen Fit My Door Frame?
Most likely, yes. The beauty of these screens is their versatility. They're designed for almost every type of door out there—in-swing, out-swing, single doors, French doors, and even sliding glass doors.
The key isn't the door type, but the frame itself. You need a flat, continuous surface to mount the housing and tracks. For a surface-mount, this is usually your exterior trim or brick mold. If you're doing an inside-mount, you just need to make sure your door jamb is deep enough to hold the screen's cassette.
What if you have a tricky archway or decorative molding? You're not out of luck. The standard workaround is to build a simple, flat sub-frame with some basic lumber. This gives the screen the even surface it needs. Just be sure to double-check the manufacturer's specific mounting requirements before you start.
What's the Biggest DIY Mistake to Avoid?
I see it all the time: inaccurate measurements. It’s easily the most common and frustrating mistake you can make. Being off by just a quarter of an inch can throw off the entire installation. The screen will either bind up in its tracks or you'll be left with gaps that defeat the whole purpose of having a screen.
Here’s how to get it right:
- Measure the width at the top, middle, and bottom.
- Measure the height on the left, in the middle, and on the right.
- Always use the smallest of your measurements for your cuts.
Another pitfall is not making sure everything is perfectly level and plumb. If the cassette isn't straight up and down, the screen will roll up crooked and eventually get damaged.
How Tough Is It to Cut the Metal Tracks?
Cutting the aluminum tracks is much easier than it sounds, provided you have the right tool for the job. Your best bet, by far, is a miter saw with a fine-toothed blade meant for non-ferrous metals. It delivers a perfectly clean and precise cut every time.
Don't have a miter saw? A hacksaw with a fresh, fine-toothed blade will work in a pinch. It just takes more patience and a steady hand to keep the cut straight. No matter which tool you use, take a moment to file down any sharp edges or burrs after you cut. This tiny step is crucial—it ensures the end caps fit snugly and keeps the screen mesh from snagging down the road.
Ready to upgrade your home with a beautiful and functional screen door, but want a professional to handle the job? The experts at Sparkle Tech Screen Service offer new installations, rescreening, and repairs with fast, reliable service. Visit us online or call 800-370-3998 for a quick quote today.


