


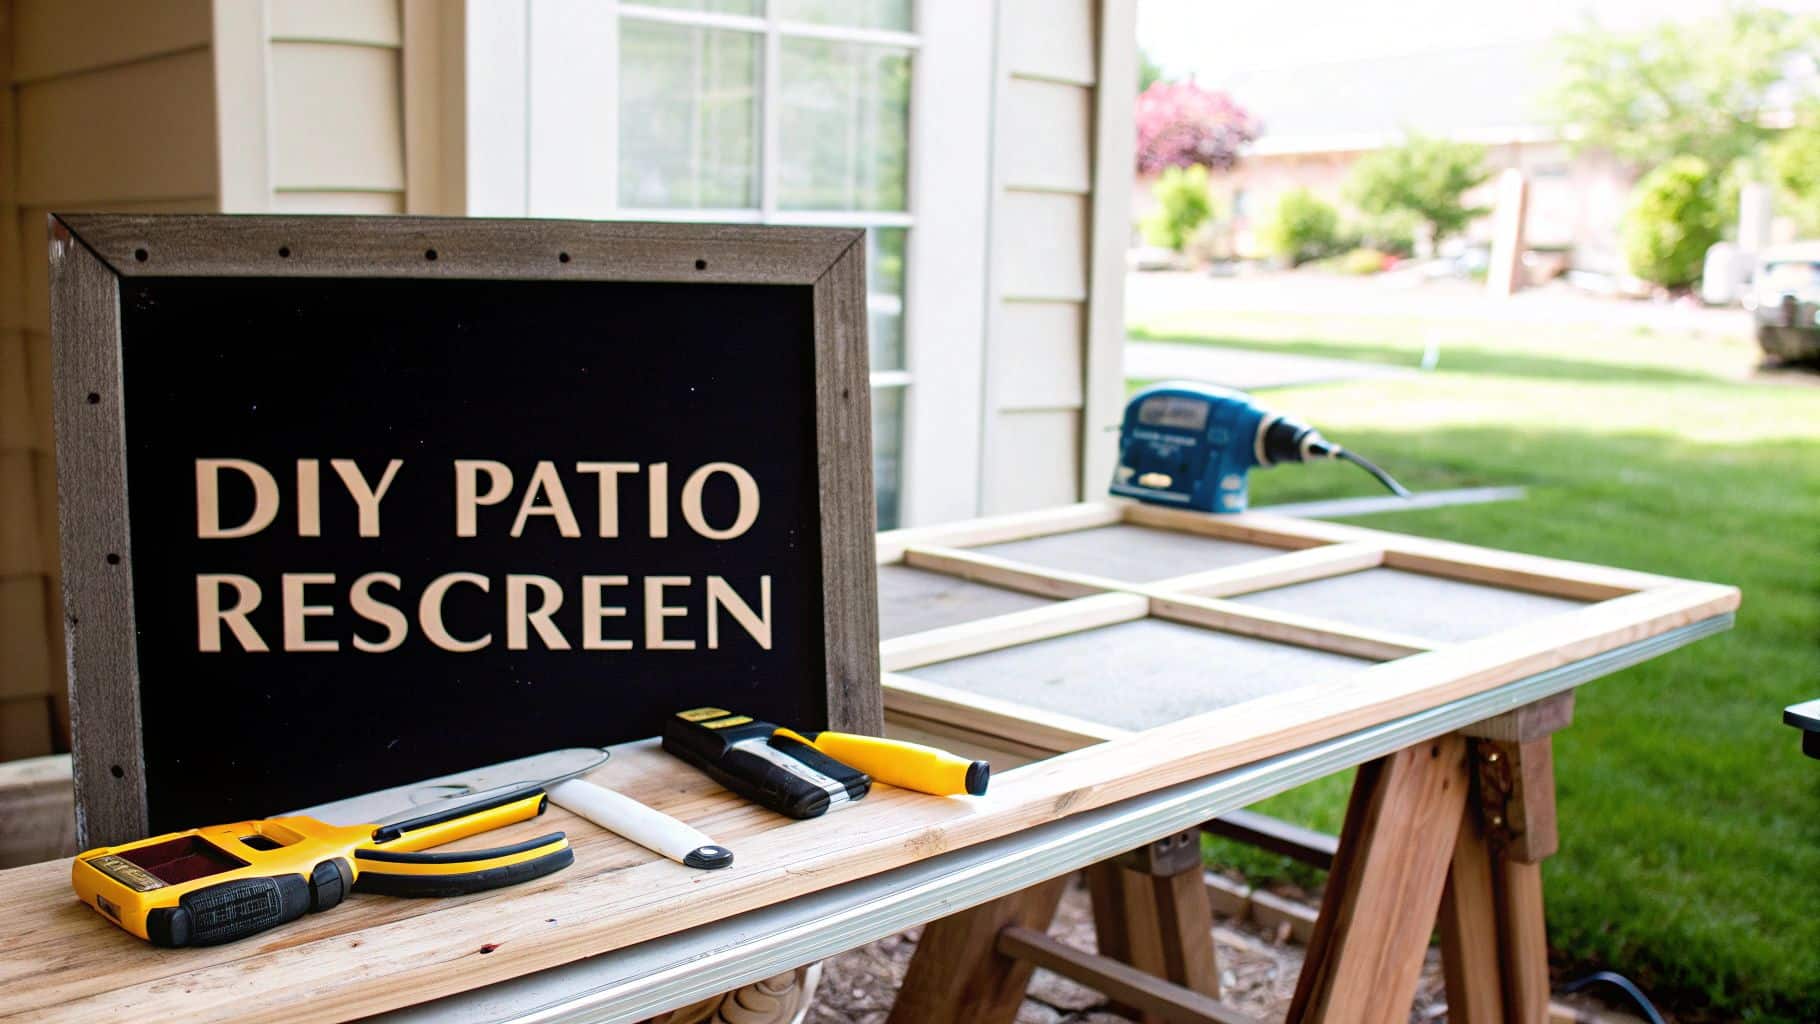

So, your patio door screen has seen better days. Don't worry, swapping out that torn or faded mesh is one of the more satisfying and straightforward DIY projects you can tackle. All it takes is a handful of specific tools, the right materials, and a little bit of patience. Getting it right means restoring your door's function, keeping those pesky bugs outside where they belong, and giving your home's curb appeal a nice little boost—all without the hefty price tag of a brand-new door.
Gathering Your Rescreening Toolkit
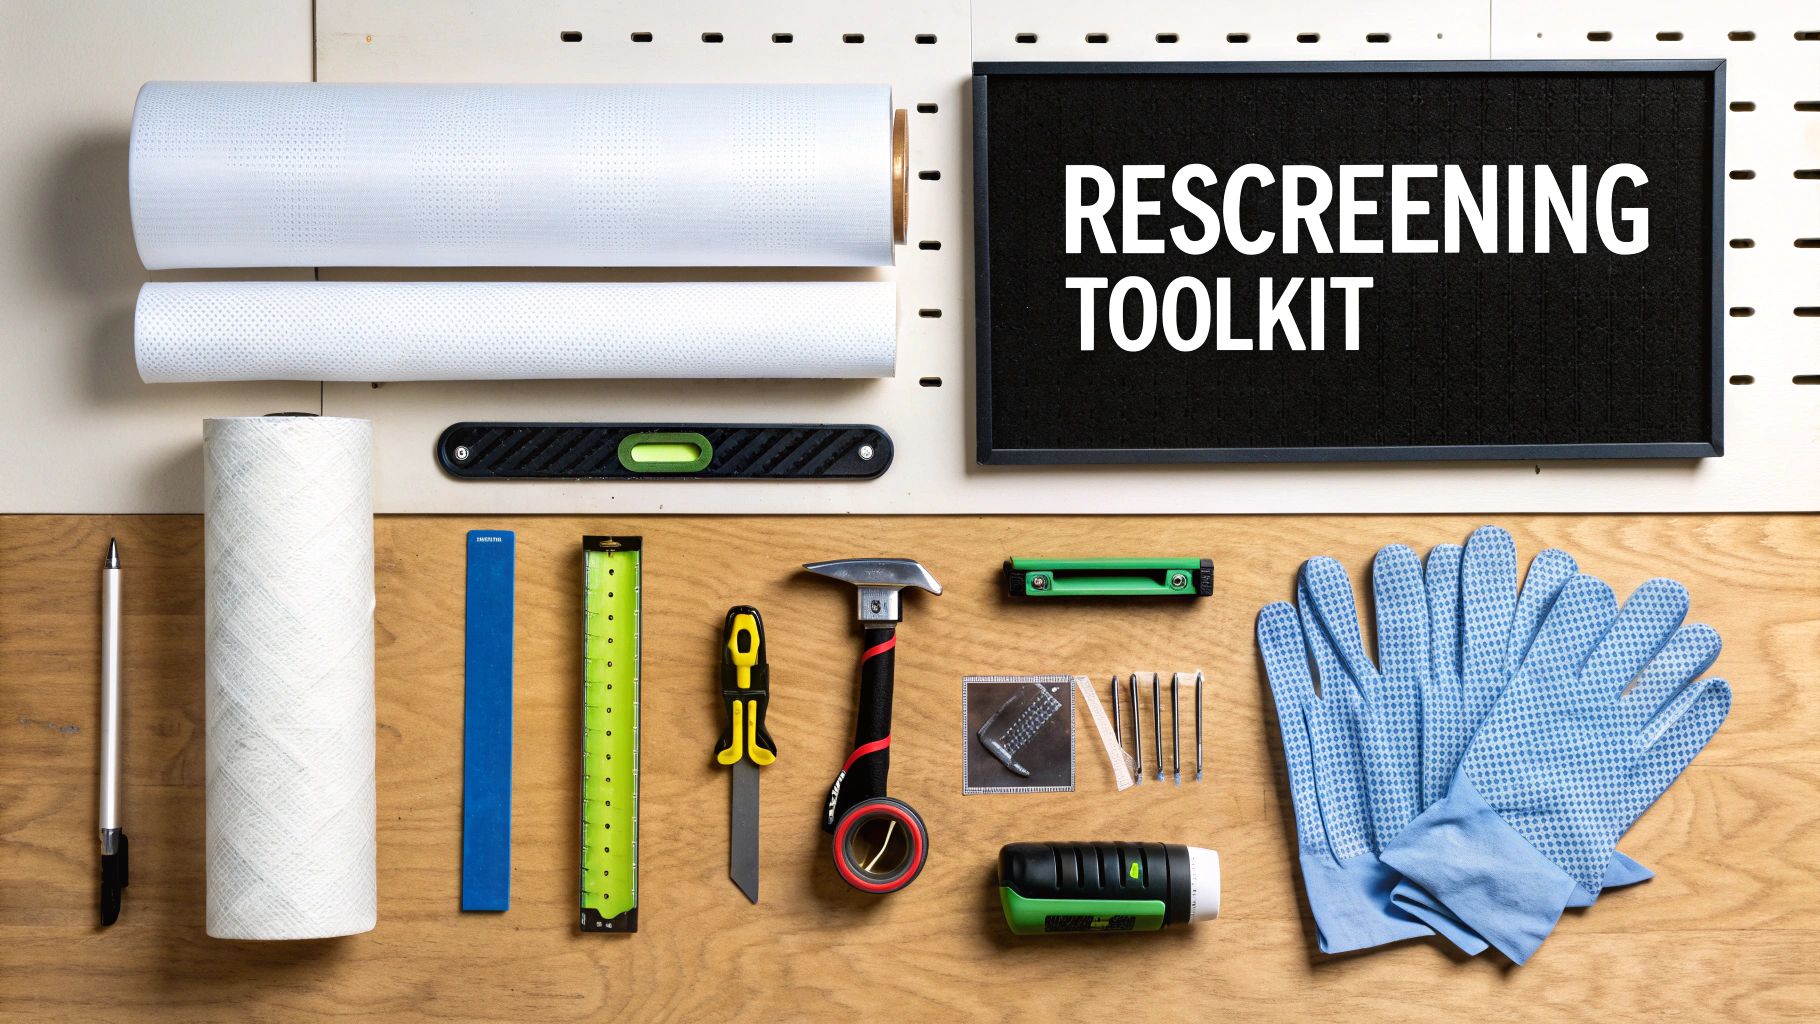
Before you even think about pulling out that old screen, the most important thing you can do is get all your tools and materials in one place. Trust me, nothing kills the momentum of a weekend project faster than having to make a second or third trip to the hardware store. Having everything you need laid out and ready to go makes the entire process feel less like a chore and more like an accomplishment.
Choosing The Right Materials
This isn't just about grabbing the first roll of screen you see. The materials you pick will directly affect how your new screen looks and how long it lasts. Standard fiberglass mesh is a great all-around choice—it’s flexible and easy to work with. If you need something tougher, aluminum mesh offers more durability. And if you’ve got a four-legged friend who loves to claw at the door, investing in a pet-resistant screen now will save you from having to do this job all over again next year.
The real secret to a professional-looking finish, though, is the spline. This is the rubber cord that locks the screen mesh into the frame's channel, and getting the size right is crucial. If it's too thin, your screen will sag. If it's too thick, you'll fight to get it in and might even damage the frame. The easiest way to get a perfect match is to snip a small piece of the old spline and take it with you to the store.
To make sure you've got it all, here's a quick checklist of everything you'll need.
Essential Tools And Materials Checklist
This table breaks down the non-negotiables and a few helpful extras for your project.
| Item | Purpose | Pro Tip |
|---|---|---|
| New Screen Mesh | The replacement screen material. | Unroll it a few hours before you start to let it flatten out and become easier to work with. |
| New Spline | The rubber cord that holds the screen in place. | Always buy a slightly larger diameter if you're unsure; you can often compress it to fit. |
| Spline Roller | A dual-wheeled tool for pushing the spline into the frame's channel. | This is a non-negotiable tool. Don't try to use a screwdriver—you'll just tear the screen. |
| Utility Knife | For trimming the excess screen mesh. | A fresh, sharp blade is key to getting a clean, straight cut without any snagging. |
| Flathead Screwdriver | Used to pry out the old, stubborn spline. | A small awl or even a sturdy pick can also work wonders for this step. |
| Spring Clamps | Optional but highly recommended. Holds the screen taut while you work. | These are your extra set of hands and the secret to preventing wrinkles. |
Having these items on hand will set you up for success. For an even deeper dive, you can check out our complete guide to essential window screen repair tools.
The Cost-Benefit Of a DIY Rescreen
Let's talk numbers. Handling this project yourself is a huge money-saver. On average, a professional rescreening for a standard patio door runs between $60 and $200, which covers both the materials and the labor. Compare that to a full door replacement, which can start around $800 and quickly go up from there. By spending a little on materials and about an hour of your time, you're getting a massive return on your investment.
Pro Tip: When you're ready to start, grab a couple of spring clamps. These cheap little tools are a game-changer. Clamping the new screen mesh to the frame keeps it perfectly taut while you install the spline, which is the absolute best way to get that tight, drum-like finish without any frustrating wrinkles.
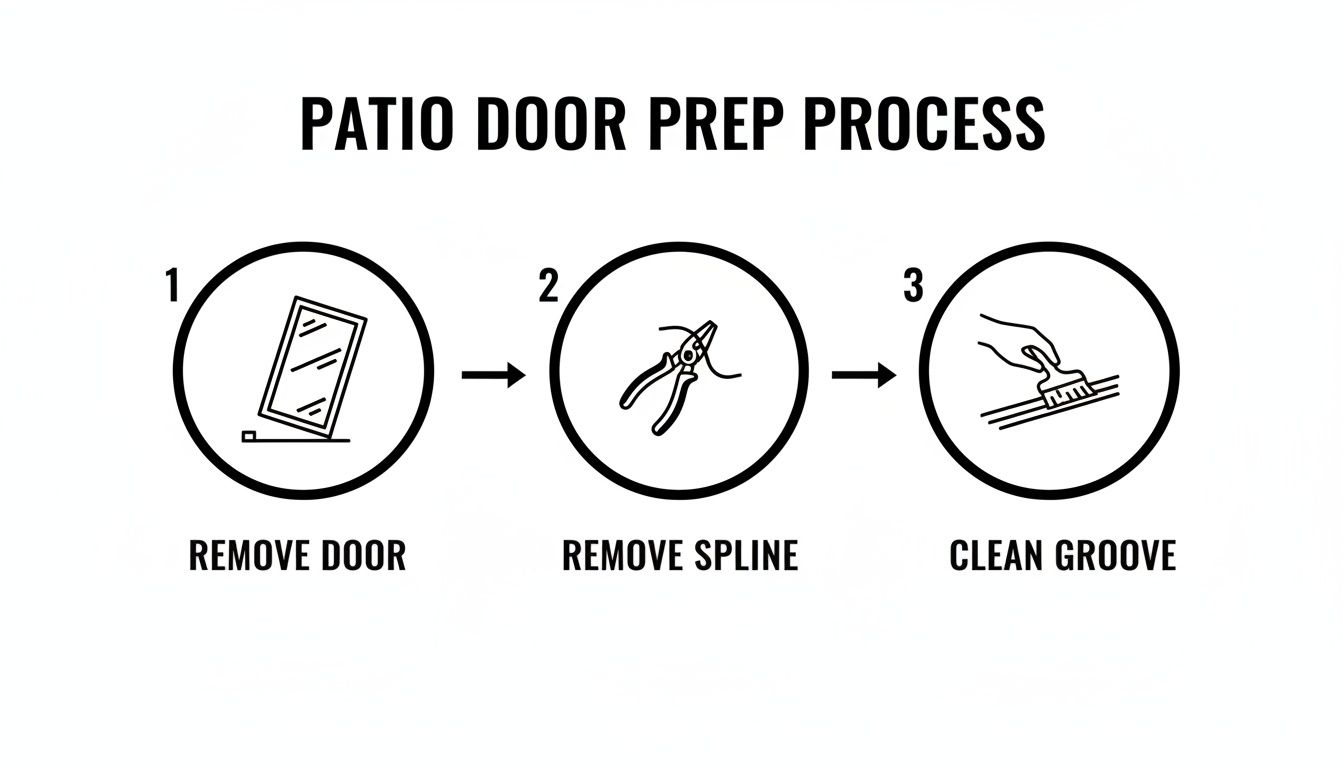
Getting the Door Ready and Taking Out the Old Screen
Alright, you've got your tools ready. Now for the real work. How you handle this first part of the job pretty much decides whether the rest of the project will be a breeze or a massive headache. It all starts with getting that door off its track and onto a good work surface.
Most sliding screen doors ride on little adjustable wheels at the top and bottom. Look for small holes on the edge of the door frame—that's your access point. Grab a screwdriver (usually a Phillips, sometimes a flathead) and turn the screws to pull the wheels back into the frame. This drops the door down just enough so you can lift it up and pop it out of the bottom track. Don't force it. If it's not coming out, the wheels probably need to be retracted more.
Making Way for the New Screen
With the door free, lay it down flat on something stable. A pair of sawhorses is perfect, but a solid workbench works great too. This will save you from spending the next hour hunched over on the ground.
Now, your mission is to get that old, cracked spline out. Find a corner and use the tip of a small flathead screwdriver or an awl to carefully dig under the spline and lift up an end. Once you've got a little piece to grip, you can usually just pull, and the whole thing will come out in one or two long strips. The old screen mesh will then just lift right off.
Here's a pro tip that people skip all the time: clean out the spline groove. Seriously. That little channel is a magnet for years of dirt, gunk, and tiny bits of old spline. If you don't clean it, the new spline won't sit properly, and you'll be fighting it the whole way.
Grab a stiff brush and a damp rag and give that channel a thorough cleaning. A clean groove is the foundation for a tight, professional-looking screen. This step is crucial for any rescreening patio door job. While the concept is the same for windows, you can find some extra tips in our guide on how to remove a window screen. Think of it like this: you wouldn't paint a dirty wall, so don't put a new screen in a dirty frame.
Installing The New Screen And Spline
Alright, with your door frame clean and ready, we're at the most satisfying part of the job. This is where that roll of screen mesh transforms from a wrinkled sheet into a perfectly taut, professional-looking screen. The whole game here is about patience and using your tools the right way.
First things first, lay your new screen mesh over the frame. Make sure you have at least two inches of overlap hanging over the spline groove on all four sides. Don't yank it tight yet; just let it lie flat. If you have some spring clamps, they’re a huge help. Clip one to the middle of each side to gently hold the mesh in place. This gives you a tiny bit of tension to start with.
Getting The Spline Roller Technique Down
Your spline roller is your best friend for this part. Notice it has two different wheels? Each one has a specific job.
You’re going to start with the convex wheel—that’s the rounded, outward-curving one. Pick a top corner to begin and gently run the wheel along the top edge of the frame, pressing the screen mesh lightly into the groove. This creates a perfect little channel for the spline.
Now, grab your new spline. Starting in the same corner, switch to the concave wheel (the one with the groove in it). Use this wheel to press the spline firmly into the channel right on top of the screen. The key is to apply steady, even pressure as you roll.
My Two Cents: I always tell people to think of it like putting a tire on a rim. You work your way around methodically. If you try to stretch the screen super tight from the get-go, you'll end up with wrinkles or, even worse, a bowed frame. Let the process of rolling the spline in do the tightening for you.
If you find yourself really fighting to get the spline in, it's probably too thick for the groove. If it’s too loose, it’s not going to hold the screen securely.
Working Your Way Around The Frame
Once you have the spline installed along the top and one adjacent side (making an "L" shape), it’s time to add a bit of tension. Move your clamps over to the two remaining un-splined sides. Gently pull the screen mesh taut—not so tight that you're bending the aluminum, but just enough to pull out any sag—and clamp it down.
Continue rolling the spline down the third side with the concave wheel, pressing it firmly into place. You’ll see the screen start to look beautifully smooth and tight. Repeat the process on the final side, keeping an eye out for any last-minute wrinkles. This step-by-step approach is what separates a DIY job from a pro-looking finish.
Nailing The Corners And Finishing Up
Corners can be a real pain. If you try to force the spline roller around that tight 90-degree turn, you risk slipping and tearing the new mesh you just installed. A much safer bet is to use a flathead screwdriver to carefully tuck the spline into each corner.
After the spline is seated all the way around, the hard part is officially over. The fundamental technique is very similar to what we cover in our guide on how to replace window screen mesh, which has some great additional tips. All that’s left is trimming off the excess and admiring your work.
Achieving A Flawless Finish
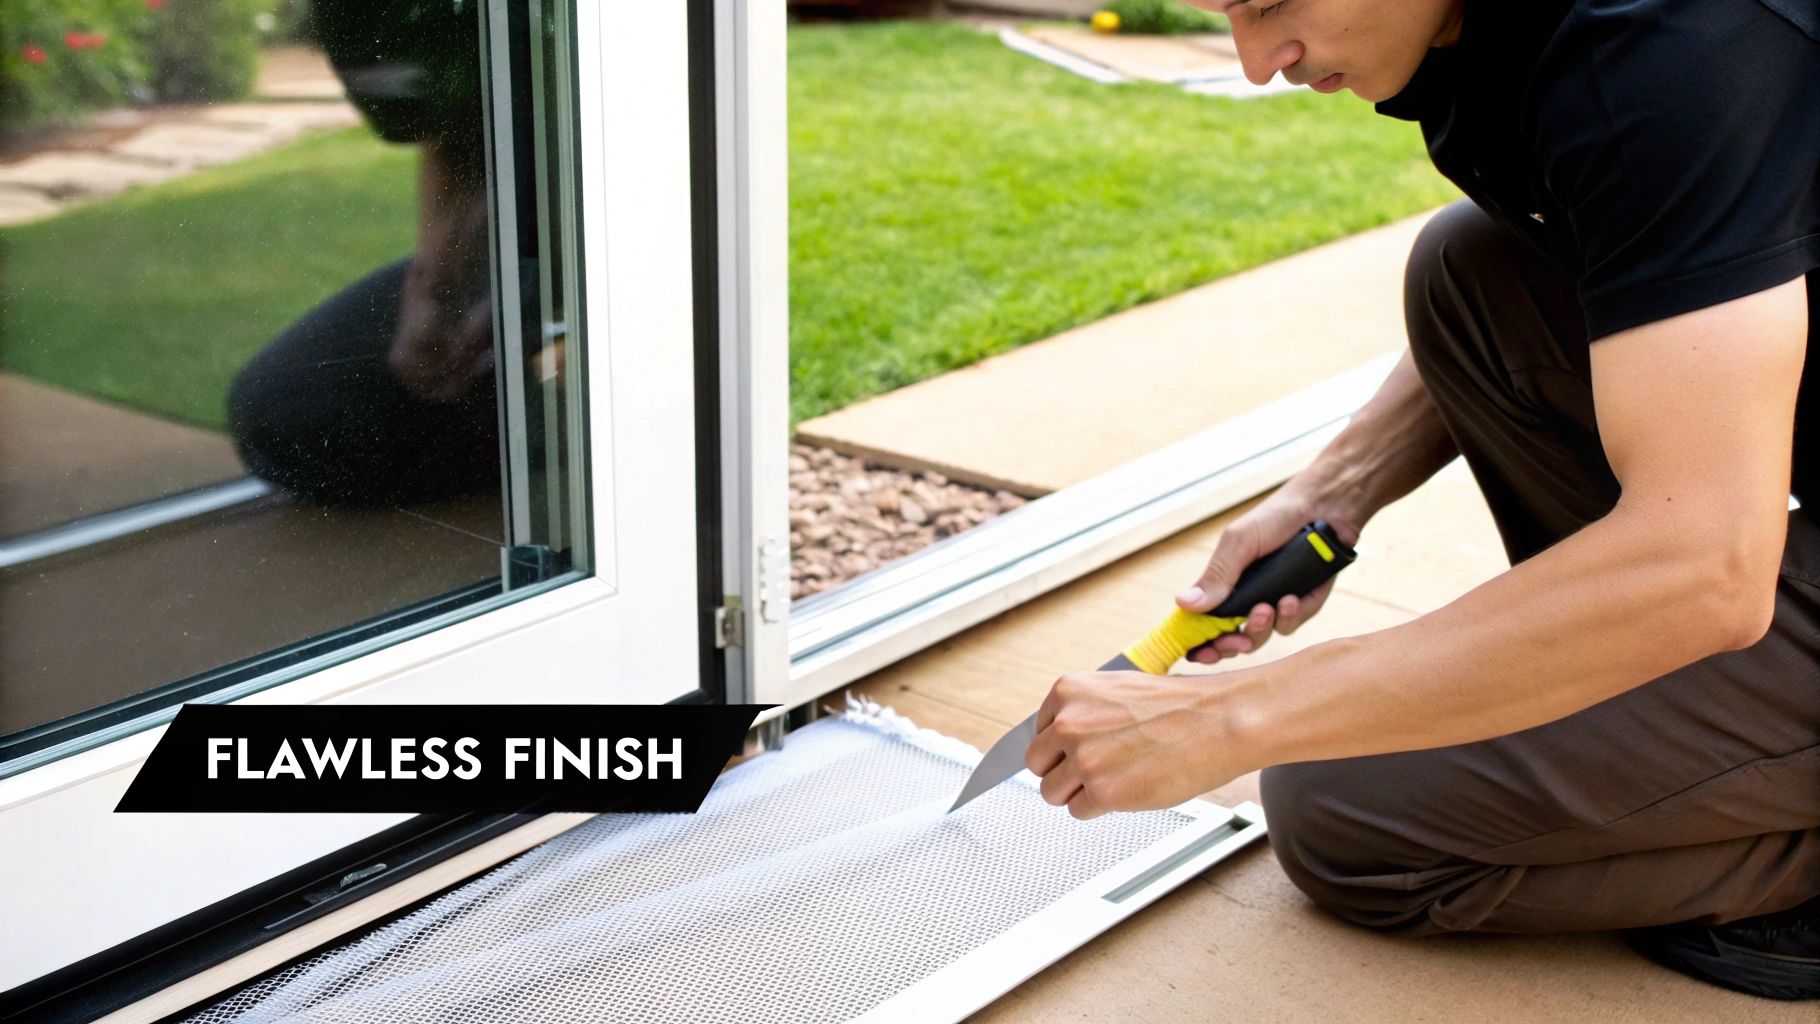
With the spline set and the screen taut, you're in the home stretch. The next few minutes are all about the details that separate a decent DIY job from a truly professional one. First up is trimming the excess screen mesh.
Grab your utility knife and—this is important—make sure it has a fresh, sharp blade. A dull blade will only snag and tear the mesh, leaving you with a fuzzy, unprofessional edge. Angle the knife at about 45 degrees, pointing away from the spline, and use the outer edge of the spline groove as a guide. This technique gives you a clean, straight line every time.
Reinstalling And Adjusting The Door
With the screen trimmed, it’s time to hang the door back on its track. It's often easiest to insert the top rollers into the upper track first. Then, lift the door just enough to guide the bottom rollers onto their track until it sits securely.
Now, remember those adjustment screws we loosened earlier? It’s time to dial them in. Use your screwdriver to tweak the screws for each roller until the door glides smoothly. You’re looking for that sweet spot where it moves effortlessly without scraping the bottom track or wobbling.
A perfectly rescreened patio door does more than just keep bugs out; it elevates your entire outdoor living space. If you're looking for more ways to spruce things up, check out these dream backyard patio design ideas.
Troubleshooting Common Rescreening Problems
Even if you've done everything right, a few small issues can pop up. Don't panic! These are common hiccups and are usually easy to fix. Knowing what to look for is half the battle when you’re learning to rescreen a patio door.
- Loose or Sagging Screen: This almost always means the screen wasn't pulled taut enough as the spline went in. The fix is simple: pull out the spline on the sagging side, apply a bit more tension by hand, and roll the spline back in.
- Wrinkled or Wavy Corners: This is a classic sign of pulling too tight in one direction before the other sides are secure. You'll need to remove the spline from the wrinkled corner and its two adjacent sides. Smooth the mesh out and reinstall the spline, focusing on even, gentle tension.
- Spline Keeps Popping Out: If your spline won’t stay put, it’s a dead giveaway that you're using the wrong size. It's too thin for the channel and isn't creating enough pressure to hold. You'll have to get the next size up.
- Bowed or Warped Frame: This is a more serious one, caused by pulling the screen way too tight. The tension is literally bending the aluminum frame. You have to remove the screen and spline completely, let the frame relax back into its original shape, and start over with much less tension.
Knowing When To Call A Professional
Taking on a rescreening patio door project yourself can be really satisfying. There's a definite pride in getting that screen perfectly taut. But let's be honest, some situations can quickly turn a simple weekend task into a major frustration. Knowing when to put the tools down and call an expert is just as important as knowing how to use a spline roller.
Think about it: a standard, perfectly square door frame is an ideal DIY candidate. But what happens when you pull the old screen out and notice the frame is slightly bent or warped? Forcing a new screen into a damaged frame is a recipe for disaster. You'll likely end up with a door that binds, sags, or just won't close right. A professional has the experience to spot these issues immediately and can often correct minor frame problems on the spot.
Situations That Warrant An Expert
Some jobs are just built for a professional touch. If you're dealing with an oversized patio door—much larger than the standard—getting the tension right across that huge surface is incredibly tricky without specialized equipment. The risk of ending up with a wavy, sagging screen is just too high.
It's probably time to call in a pro if you run into any of these scenarios:
- A Damaged or Bent Frame: A new screen can't fix a warped frame. In fact, it will probably just highlight the problem and make the door operate even worse.
- Oversized or Custom Doors: Those extra-large doors look fantastic, but they need specific techniques and tools to achieve that tight, professional finish.
- Specialty Screen Products: If you're looking to upgrade to something like a retractable screen or a specific solar mesh, a professional installation ensures it works as intended and doesn't void the warranty.
- You're Short on Time: Let's face it, your weekend is valuable. A service like Sparkle Tech Screen Service can have the job done perfectly in a fraction of the time it would take most homeowners.
The Professional Advantage
Hiring a professional isn't just about saving time; it's about the quality of the finished product. Experts have access to commercial-grade materials that typically outlast what you can find at the local big-box store. Plus, they stand behind their work, giving you peace of mind that your investment is protected.
This isn't just a hunch; more homeowners are turning to experts for these kinds of jobs. The global market for door and window repair was valued at around $0.6 billion in 2023 and is only expected to grow. You can read more about this market trend and see for yourself how the demand for expert services is on the rise.
For our neighbors in the Phoenix area, Sparkle Tech Screen Service is the local expert you can trust. We handle everything from a simple rescreen to complex custom installations. If your project is starting to feel like more than you bargained for, just give us a call at 800-370-3998 for a free, no-obligation quote. We'll make sure you get a flawless finish, guaranteed.
A Few Common Questions You Might Be Asking
Even a project that seems simple on the surface can have its "gotchas." When you're rescreening a patio door, a little inside knowledge goes a long way toward getting the job done right and avoiding some all-too-common frustrations. Let's walk through the questions I hear most often from homeowners.
How Do I Know What Size Spline To Buy?
This is easily the number one question, and for good reason—getting it right is everything.
The most foolproof method is to simply cut a small piece of the old spline and take it with you to the hardware store. You can match it up perfectly right there in the aisle. If the old stuff has turned to dust or is missing, you'll have to do a little test. Buy a couple of the most common sizes and see which one fits best in the empty channel.
A new spline should feel snug when you push it in, but you shouldn't have to fight it. Two of the most common sizes you'll see are .125" and .140", but don't just grab one and hope for the best. An exact match is what keeps the screen secure for years to come.
My Pro Tip: Don't ever guess the spline size. Seriously. Taking five extra minutes to match the old spline or test-fit a new piece in the channel will save you a world of hurt. The wrong size is the single biggest reason screens end up sagging or popping right back out.
What’s The Best Screen Material If I Have Pets Or Kids?
If you've got pets that love to claw or kids who treat the door like a backstop, standard fiberglass screen just won't cut it. You'll be doing this job again next season.
What you want is a pet-resistant screen. This stuff is a game-changer. It's made from a tough, vinyl-coated polyester that’s about seven times stronger than the standard mesh. It's specifically designed to stand up to claws, paws, and general roughhousing without tearing. It does cost a little more and visibility is slightly reduced, but its incredible durability means you can finally stop worrying about it.
Can I Just Rescreen The Door Without Taking It Off?
I get why people ask this—it seems like a great way to save a step. But trust me on this one: rescreening a door while it’s still hanging is a recipe for disaster.
It's practically impossible to get the even tension you need for a tight, wrinkle-free finish. You'll end up with a saggy, wavy mess. The only way to get professional-looking results is to take the door off its track and lay it down flat on a workbench or the floor. This gives you total control, prevents sagging, and ensures you don't accidentally bend the frame by pulling unevenly.
As more people started tackling home improvement projects, the demand for screen doors and repair materials shot up. Market reports from sources like CognitiveMarketResearch.com showed a big spike in spending, which also led many to choose local rescreening over a full replacement due to supply issues.
While you're focused on the screen, don't forget about the glass. You might also want to think about other practical or decorative coverings. You can explore some great ideas for window treatments for door windows that complement your newly repaired door.
If you've started the project and it feels like it's gotten away from you, or if you noticed the frame itself is bent or damaged, don't hesitate to call in the pros. The team at Sparkle Tech Screen Service is ready to help. Contact us for a fast, no-fuss quote and a perfect screen every time. Visit us at https://sparkletechscreenservice.com or just text or call us today.


