



When your sliding screen door has seen better days, you're faced with a choice: do you just replace the torn screen mesh, or is it time to swap out the whole panel? It really comes down to the condition of the frame. If you're just dealing with a few rips and tears in the mesh but the frame itself is solid, a simple rescreening job is your best bet. But if the frame is bent or the rollers are shot, a full replacement is the only way to go.
Let's walk through how to figure out the right approach for your Phoenix home.
Deciding Between DIY Rescreening and Full Replacement
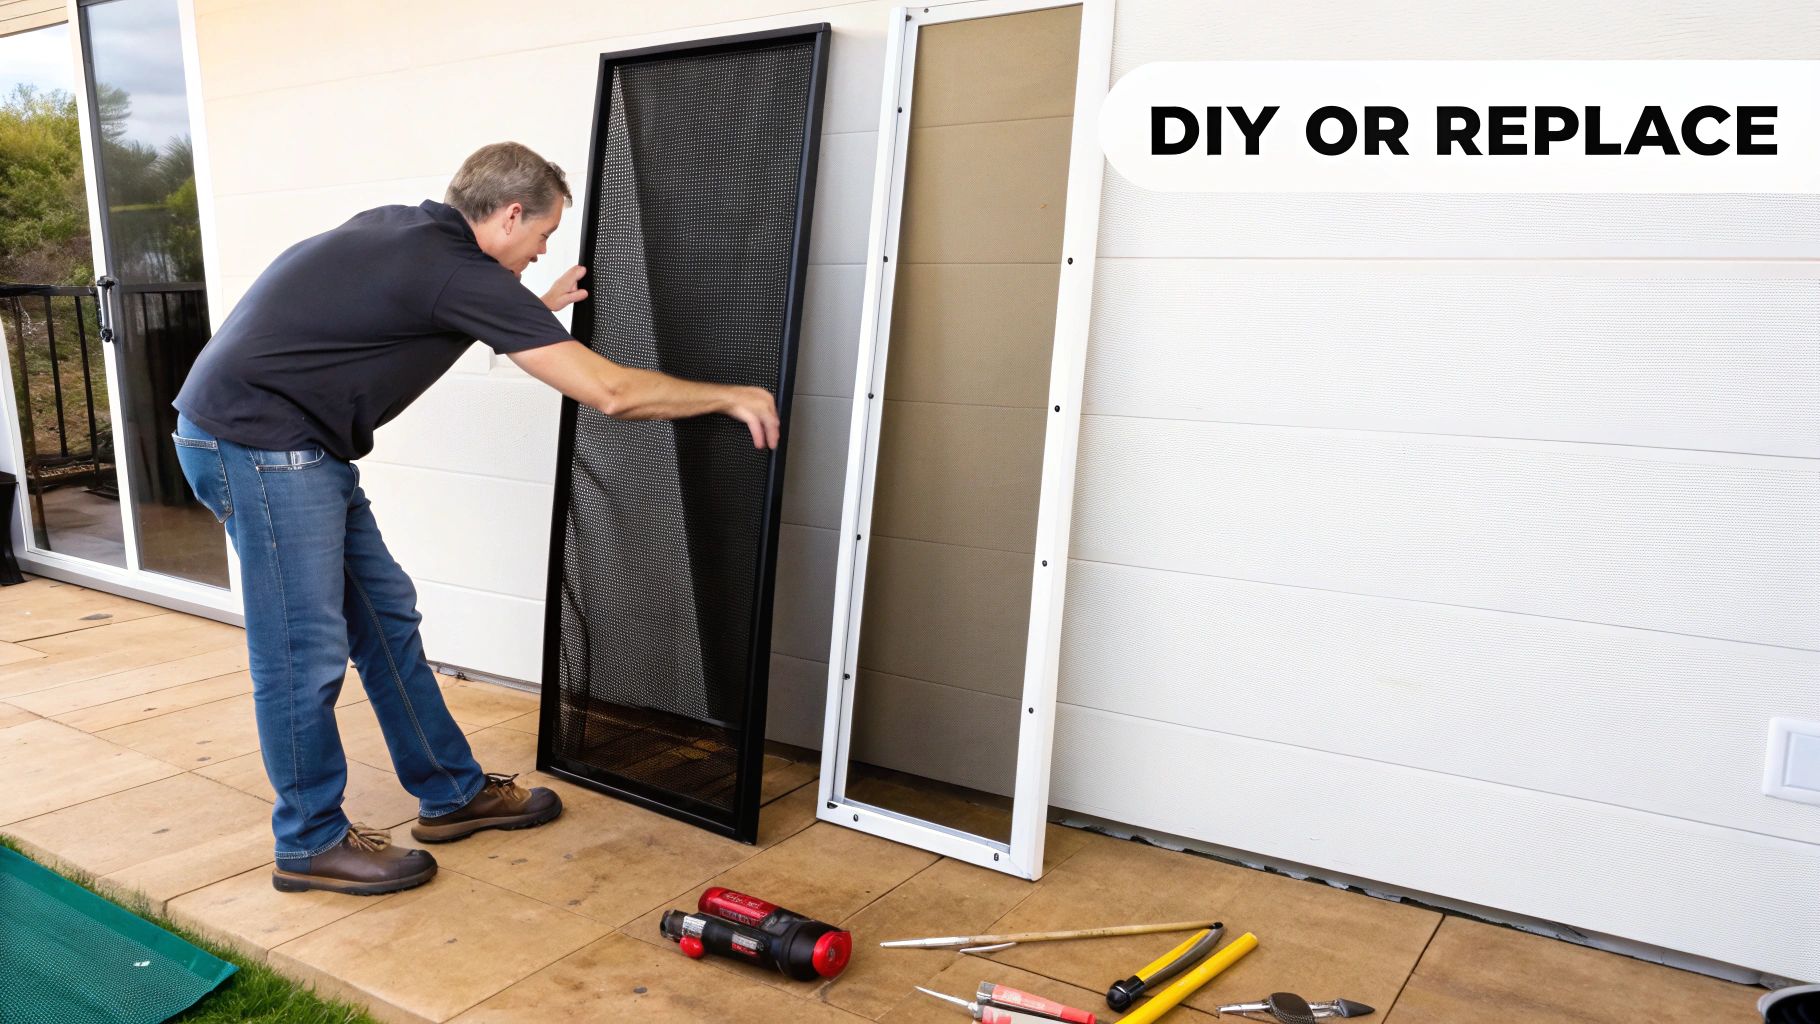
A busted sliding screen door is more than just an eyesore—it’s a welcome mat for every bug in the neighborhood and keeps you from enjoying that perfect Arizona breeze. Before you grab any tools, the first thing to do is give the door a good, honest look-over. What you find will tell you whether you're in for a quick weekend fix or a more involved replacement.
The decision almost always hinges on the frame and hardware. If the metal frame is straight and the corners are still holding strong, you're probably looking at a straightforward rescreening project. This is the cheapest and easiest fix for common problems like small pet claw holes or mesh that's gotten brittle from the sun.
When To Consider a Full Panel Replacement
On the other hand, if you spot any of these problems, replacing the entire panel is the smarter move for a lasting solution:
- Bent or Warped Frame: A frame that's not perfectly square will never glide smoothly in its track. This leads to frustrating jamming and leaves gaps for pests to sneak through.
- Broken Corners or Hardware: The plastic or metal corner pieces are what hold the frame together. If they're cracked, the whole door loses its structural integrity.
- Damaged Rollers: Are the wheels at the bottom seized up or broken? If so, the door will be a real pain to open and close.
- Significant Corrosion: For older doors, especially here in Phoenix, rust can eat away at the frame, making it too weak to be worth saving.
Taking a moment to choose the right approach saves you a ton of hassle. Putting new mesh on a bent frame is a waste of time, but tossing a perfectly good frame is just throwing money away.
Comparing DIY Rescreening vs Professional Replacement
Use this quick comparison to determine the best approach for your sliding door screen project.
| Factor | DIY Rescreening | Professional Replacement |
|---|---|---|
| Best For | Minor tears, holes in the mesh, sturdy frame. | Bent frames, broken rollers, significant damage. |
| Typical Cost | $25 – $75 (for mesh and tools) | $150 – $400+ (includes panel and labor) |
| Time Required | 1 – 2 hours (for first-timers) | 30 – 60 minutes (for the professional install) |
| Skill Level | Beginner to Intermediate | None required |
| Key Benefit | Low cost and satisfaction of doing it yourself. | Guaranteed perfect fit and smooth function. |
Ultimately, whether you decide to tackle this yourself or call in a pro depends on the door's condition and how comfortable you are with this kind of project.
It’s clear homeowners value these kinds of upgrades. The global window coverings market was recently valued at USD 16.5 billion, and the U.S. market makes up about 71.2% of North America's share. This just shows how many of us are investing in things like sliding door screens to make our homes better.
If you're dealing with a bent frame or just want a flawless result without the frustration, calling a professional is always a solid choice. For other screen-related fixes, you might also find our guide on https://sparkletechscreenservice.com/phoenix-window-screen-service/ helpful.
Gathering Your Tools and Choosing the Right Materials
Before you even think about pulling that old screen out, let’s talk about getting set up for success. Trust me, jumping into a project like this without the right gear is a recipe for a frustrating afternoon. A single, well-planned trip to the hardware store is all it should take to get everything you need for a smooth, professional-looking job.
The good news is, you probably have most of the tools you need already tucked away in your garage. There is, however, one little gadget that is an absolute game-changer for this project.
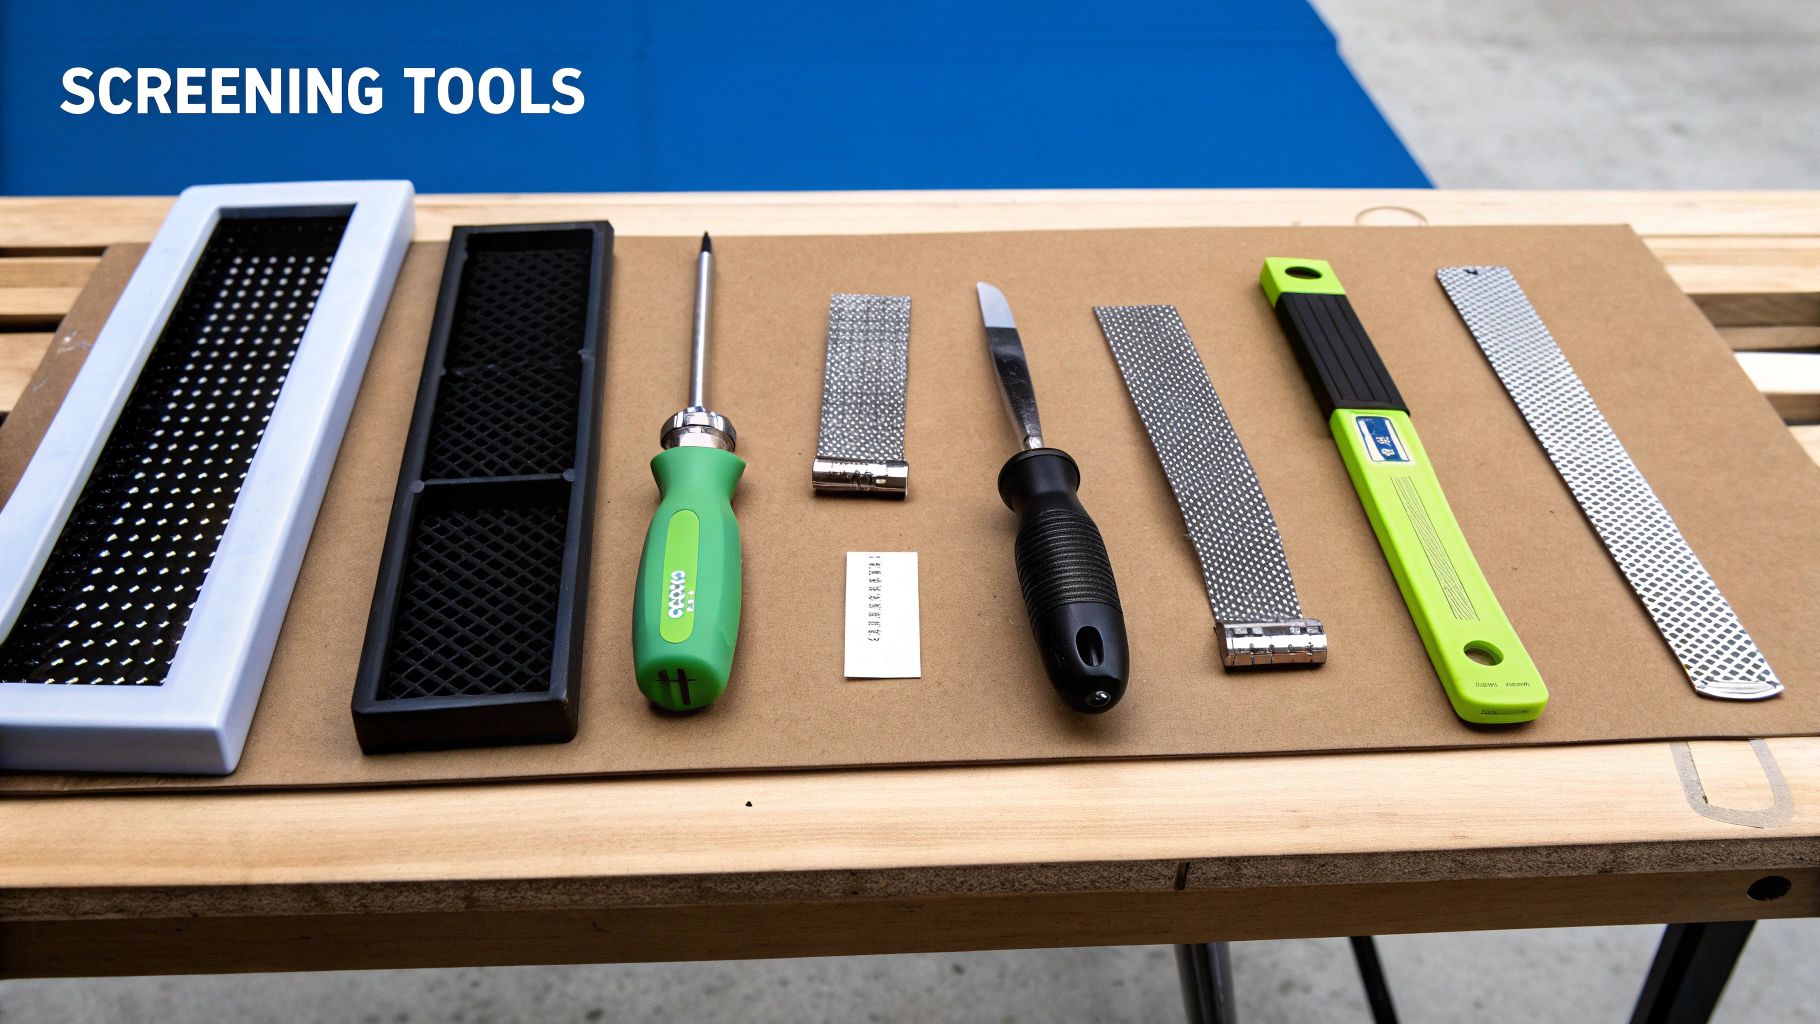
Essential Tools for the Job
Think of this list as your project's foundation. Having these items ready to go will make the whole process a lot less painful and prevent those annoying mid-project runs back to the store.
- Spline Roller: This is the MVP of your toolkit, no question. It's a small handle with a wheel on each end (one curved, one grooved) made specifically for pressing the spline neatly into the frame’s channel. Don't even try using a screwdriver for this—you'll almost certainly tear the new screen.
- Utility Knife: A fresh, sharp blade is your best friend for trimming the excess screen mesh. A dull blade will snag and pull the fibers, leaving you with a frayed, jagged edge that just screams "DIY disaster."
- Flat-Head Screwdriver: You’ll need this to dig out the old, brittle spline. After years of baking in the sun, it can be pretty stubborn. It's also handy for tucking the new spline into the tight corners of the frame.
- Tape Measure: Accuracy is everything here. You'll need it to measure the frame and make sure you buy a roll of screen mesh that’s big enough to give you some working room.
- Clamps (Optional but Recommended): A few cheap spring clamps can be a huge help. They hold the new screen mesh taut across the frame while you work, which is the key to preventing wrinkles and sags.
Pro Tip: When you pull out the old spline, snip off a small piece and stick it in your pocket. Taking this sample to the hardware store is the single best way to guarantee you buy the right replacement diameter. A spline that's too thin won't hold, and one that's too thick will be a nightmare to install.
Selecting the Perfect Screen Mesh
The material you pick for your new screen makes a huge difference in durability, how well you can see through it, and even your home's energy costs. Here in Phoenix, we're dealing with intense sun and the occasional dust storm, so choosing wisely is key.
Fiberglass Screen: This is the standard, most common choice for a reason. It's affordable, gives you great airflow and visibility, and doesn't dent or crease easily. For first-timers, it's a very forgiving material to work with.
Pet-Resistant Screen: If you have dogs or cats who treat your screen door like a scratching post, this stuff is a lifesaver. It’s a much thicker, vinyl-coated polyester that’s seven times stronger than the standard fiberglass, built to resist tears and punctures from claws.
Solar Screen (Sun-Blocking Screen): This is an incredibly popular option in Arizona. Solar screens are designed to block a large chunk of the sun's UV rays and heat before they hit your glass. While they do make your view a little darker, the trade-off is lower cooling bills and protection for your floors and furniture from sun fading. For a deeper dive, check out our guide on the best window screen material.
The market for these tougher, specialized materials is definitely on the rise. In fact, the plastics coating window screen market was recently valued at USD 1.88 billion and is expected to keep growing.
Choosing the Right Spline
Last but not least, the spline. This is the simple rubber cord that locks the screen mesh into the frame. Getting the size right is absolutely critical for a tight, secure fit. As I mentioned, bringing a sample of your old spline is the foolproof method. If you can’t, your next best bet is to use calipers to measure the channel width and then go one size down—or just buy a couple of the most common sizes and return the one you don't use.
Getting Your Old Screen Door Off and Measured Up
Alright, with your tools gathered, it's time for the first real step: removing the old screen door. This part can seem a bit tricky, but it’s usually straightforward once you see how the rollers work. The whole secret is to go slow and steady to avoid bending the door frame or damaging the track.
Most sliding screen doors hang on by a set of spring-loaded rollers—typically two on top and two on the bottom. These little wheels are what let the door glide so nicely, but they also create the tension that holds it in place. Our job is to release that tension just enough to lift the door right out.
Finding and Adjusting the Rollers
Start by sliding the door to about the middle of its track. Now, get down and look closely at the corners of the frame, both top and bottom. You're looking for small adjustment screws, which are often tucked away inside little holes. These screws are what move the rollers up and down.
Grab your flat-head screwdriver and start turning these screws counter-clockwise. This retracts the wheels back into the frame, effectively lowering the door. You’ll probably need to give each screw a few full turns. As you do, you'll feel the door start to loosen up in its track.
- Start at the Bottom: I always start with the bottom rollers. Turning those screws counter-clockwise should pull the wheels up into the frame, giving you a bit of a gap between the wheel and the track.
- Move to the Top: The top ones are usually spring-loaded. Loosening the bottom might be enough, but many doors also have top adjustment screws. Loosening these will help lower the entire door.
After you've backed off all four screws, give the door a gentle lift. Still stuck? Give the screws another half-turn or so. The key is not to force it. With enough slack, you should be able to lift the door up and then pull the bottom out towards you, freeing it from the track.
Seriously, take your time here. Rushing and yanking on the door is the #1 way people bend the frame or break the rollers. A little patience now can save you the cost of a whole new door.
Nailing the Measurements for Your Project
Once the door is out, lay it down on a flat surface—your driveway, a couple of sawhorses, or even a clean patch of grass will do. Now we can get the dead-on accurate measurements you'll need. What you measure depends on whether you're just replacing the screen mesh or swapping out the entire door.
If you’re replacing the whole door, you need the exact outside dimensions of the frame. Measure the height on the left and right sides, and the width at the top and bottom. If the numbers aren't identical (which is common), use the smaller of the two measurements for both your final height and width. This ensures the new door will fit without jamming.
Measuring for a DIY Rescreening
If you're just putting in new mesh, the measurements are all about buying the right amount of material. This is where a lot of people make a classic mistake: they buy a roll of screen that's the exact size of the frame. Don't do it!
Here's the rule of thumb I always follow: add at least two inches to every side. This extra material gives you something to grip and pull tight as you're pressing the new spline into its channel.
- Measure the Opening: Get the height and width of the inside of the frame, from one spline groove to the other.
- Add a Buffer: Add four inches to both your height and width measurements. For example, if the screen area of your frame is 34 inches wide by 78 inches tall, you need to buy mesh that's at least 38 inches wide and 82 inches long.
- Don't Forget the Spline: Use your tape measure to find the total perimeter of the spline channel, then add about six extra inches to that number. This just makes sure you don’t come up short right at the very end.
Taking careful measurements is the most important step to replace sliding door screen parts without a hassle. For an even more detailed walkthrough, you can learn more about how to measure window screen size in our comprehensive guide. Getting this right now saves you from that frustrating second trip to the hardware store.
Getting Your New Screen Installed Just Right
Alright, you've done the hard part—the old screen is gone, and your new materials are laid out. Now comes the satisfying part: putting it all together. How you proceed really depends on whether you're rescreening the old frame yourself or popping in a brand-new, pre-made door. Both require a careful hand, but the skills involved are totally different.
If you bought a whole new door panel, your job is mostly about fine-tuning and adjustments. But if you're tackling the rescreening yourself, get ready for a hands-on process of stretching, securing, and trimming to get that perfect, tight finish. Let's walk through both methods.
The Art of DIY Rescreening
This is where a little patience goes a long way. The goal is simple: get the new screen mesh as taut as a drum, with zero wrinkles or sags.
First things first, get that door frame onto a flat work surface. Unroll your new screen mesh completely over the frame, leaving at least a two-inch overhang on all sides. You'll be glad you have this extra material to grip and pull later on. A couple of clamps on one of the short ends can be a real help to keep it from shifting around.
Now, grab your spline roller. Start at a corner and use the rounded (convex) wheel to gently push the mesh into the frame's channel. Next, switch to the grooved (concave) wheel to press the rubber spline in right on top of it. Work your way down one of the long sides, applying steady, firm pressure.
Here's the trick to a professional-looking job: creating tension as you go. As you install the spline on the first long side, pull the mesh slightly outward. When you move to the opposite side, you'll need to pull the mesh taut across the frame before rolling the spline in. This push-and-pull is what gets rid of all the slack.
A few pro tips to keep in mind:
- Don't Overdo It: If you pull the mesh too hard, you can actually bow the frame, causing the sides to curve inward. You want it just tight enough to kill the wrinkles, not warp the metal.
- Tackle the Corners: Before starting a new side, use a flat-head screwdriver to carefully poke the spline deep into the corners. It makes a huge difference.
- Trim at the Very End: Only after the spline is fully seated should you grab your utility knife. Cut the excess mesh away by angling the blade away from the new spline—the last thing you want is to slice the spline you just installed.
The diagram below gives a great visual of the removal process, which is the necessary first step before you can even get to this stage.
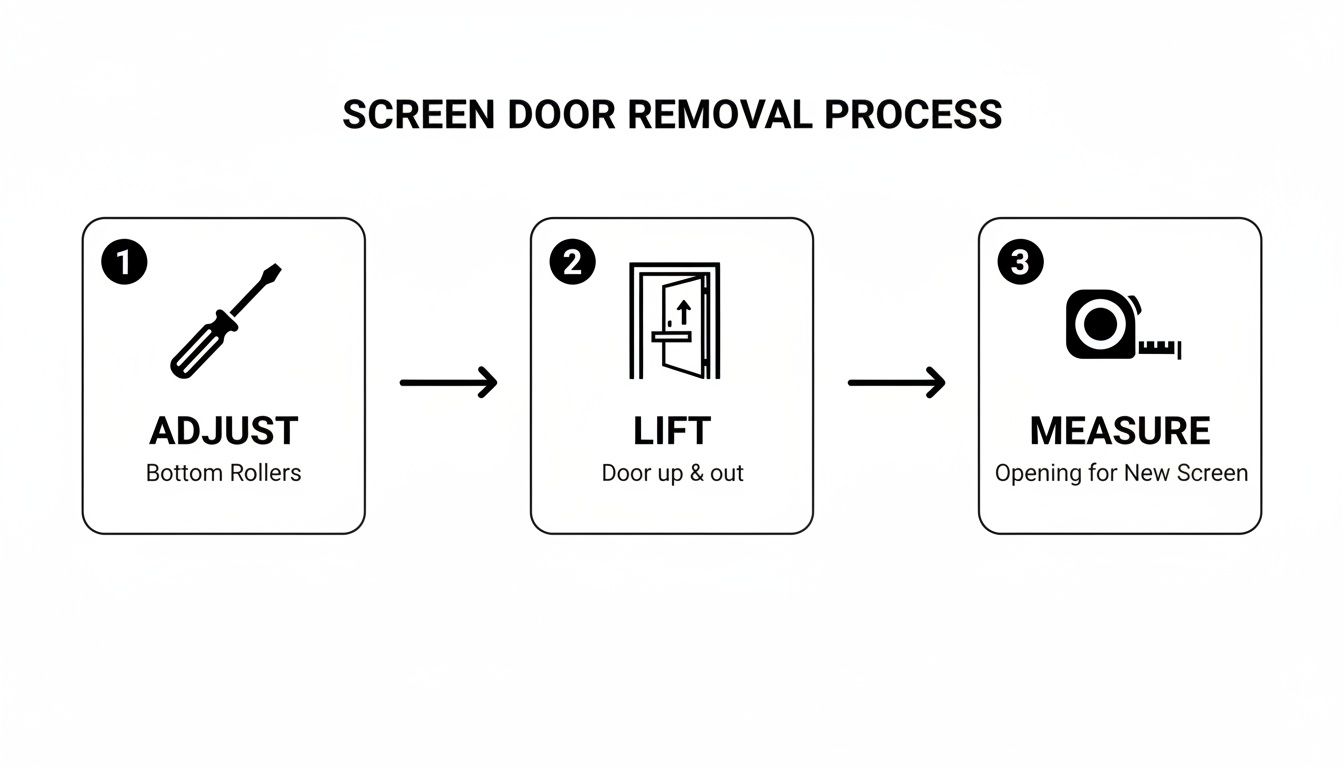
As you can see, adjusting those rollers is what makes it possible to lift the door out for measuring and repair work.
Fitting a New Door Panel Like a Pro
If you opted for a whole new door, your job is less about assembly and more about adjustment. The main goal is to get those rollers dialed in so the door glides like it's on ice, without sticking or rattling.
Start by setting the bottom wheels of the new door into the bottom track. Then, tilt the door up and guide the top rollers into the upper track. You’ll probably have to push the spring-loaded top rollers up with your thumbs to get them to pop into place. Once it's hanging in the track, let it settle.
Next, find the adjustment screws on the bottom rollers. This time, you'll turn them clockwise to lower the wheels, which actually raises the door itself. You want to lift it just high enough to clear the track smoothly without dragging.
The "One-Finger" Test: A perfectly adjusted door should slide open and closed with the push of a single finger. It should be high enough to glide easily but low enough that it can't be lifted out of the track without retracting the rollers again.
Once the height feels right, check the latch. Slide the door almost shut and see how the latch lines up with the strike plate on the door jamb. If they don't meet perfectly, you might need to adjust the strike plate's position or make tiny tweaks to the roller height until everything clicks into place smoothly.
The huge demand for these parts really shows how important proper installation is. The U.S. window and door components market is valued at a massive USD 23.6 billion and is still growing. This isn't just a niche market; functional screens are a core part of modern homes, which is why getting the installation right matters so much. If you're curious about what's driving this, you can learn more about window and door component trends.
Whether you replace sliding door screen mesh yourself or hang a new panel, taking your time on these final steps is what makes for a job well done.
Troubleshooting Common Problems After Installation
So you've finished the job, you step back to admire your work, give the door a test slide, and… it grinds to a halt. Or maybe a stubborn wrinkle in the mesh is staring back at you. Don't sweat it. These are common hiccups, and thankfully, most have pretty simple fixes.
Think of this as the final tune-up. A few small tweaks are often all it takes to get your screen door gliding perfectly. Most problems that pop up right after you replace sliding door screen parts boil down to alignment, tension, or a bit of leftover debris. Let’s walk through the usual suspects and how to sort them out.
Fixing a Door That Sticks or Bumps
A screen door that doesn't slide smoothly is probably the number one complaint I hear. Instead of a silent glide, you get a bumpy, jerky ride that feels like you're fighting it. More often than not, the culprit is hiding in plain sight.
First things first, check the track. It's amazing how a tiny pebble, some packed-in dirt, or a stray leaf can completely jam up the rollers. Before you touch a single screw, grab a stiff brush and a vacuum with its skinny crevice tool.
- Clean the Track Thoroughly: Use the brush to really dig into the corners of the top and bottom tracks and dislodge any gunk. Then, vacuum up all the loose debris.
- Wipe It Down: Once the heavy lifting is done, a damp cloth with some mild household cleaner will get the track looking pristine. A clean track is the foundation of a smooth slide.
If a good cleaning doesn't solve it, the problem is almost certainly the roller alignment. This is where those little adjustment screws become your best friend. If the door feels wobbly or scrapes against the frame, it just needs to be leveled out.
I always tell people to turn the roller adjustment screws in tiny, quarter-turn increments. A slight clockwise turn on one screw might lift that corner just enough, while turning it counter-clockwise will lower it. You're aiming to get the door perfectly level so it rolls true without dragging.
Dealing With Wrinkles or Sagging Mesh
You've just finished rescreening, and there it is—a frustrating wave or sag in the brand-new mesh. This is a classic tension issue that happened when you were putting in the spline. It’s annoying, but you definitely don't have to start over from scratch.
The fix is to carefully pull out the spline from the wrinkled area and, usually, the two adjacent sides as well. You don’t need to rip the whole thing out.
With the spline removed from that section, gently pull the screen mesh taut until the wrinkle disappears. Use one hand to hold that tension and the other to press the spline back into its groove with your roller tool. This little re-tensioning trick is usually all it takes to get a perfectly flat finish.
A common mistake is yanking the screen way too tight. If you do that, you can actually warp the frame, pulling the sides inward like a bow. You're looking for a taut, flat surface, not a high-tension drum that bends the metal.
When the Latch Won't Catch
Another frequent post-installation headache is a latch that just misses its mark. You slide the door shut, but the lock doesn't click into the strike plate on the door jamb. This is a pure alignment problem.
First, make sure the door itself is hanging perfectly vertically. Grab a level and check. If it's leaning even a little, you'll need to go back to adjusting the rollers until it's perfectly plumb.
If the door is level, the issue is with the strike plate on the jamb. Most are just held on by two screws. Loosen them just enough so you can slide the plate up or down. Nudge it into the perfect position where the latch engages smoothly, then tighten those screws back down.
Knowing When to Call a Professional
Sometimes, the problem isn't your handiwork—it's the door itself. If you’ve run through all these fixes and your door is still putting up a fight, it might be time to tag in an expert.
Here are a few scenarios where calling a pro is the smart move:
- A Bent or Damaged Frame: No amount of adjusting will fix a frame that isn't square.
- Non-Standard Door Sizes: Custom doors often have quirks that require specialized knowledge.
- Persistent Issues: If you've spent hours troubleshooting and are getting nowhere, an expert can often spot the real problem in minutes.
For homeowners in the Phoenix area dealing with a stubborn door, a quick call to a specialist like Sparkle Tech Screen Service can save you a world of frustration and get the job done right.
Your Top Screen Replacement Questions, Answered
Even with a good guide, a few questions always pop up when you're in the middle of a project like this. When you decide to replace sliding door screen parts, the little details can make all the difference. We've put together answers to the most common questions we get from homeowners around Phoenix, drawing on years of real-world experience.
Think of this as your go-to cheat sheet for those "what if" moments. We’ll cover everything from choosing the right materials to stand up to our intense sun to figuring out just how long a new screen should really last.
How Long Should a New Screen Last in Phoenix?
That's a fantastic question. The Arizona sun is brutal on just about everything left outside, and screen mesh is no exception. The lifespan of your screen really boils down to the material you choose and how much direct sun it gets every day.
A standard fiberglass screen is the most budget-friendly option, but you can expect it to last about 3-5 years before the sun cooks it into a brittle, easily torn mess. Stepping up to a more robust material can make a huge difference.
- Pet-Resistant Screens: Made from tough, vinyl-coated polyester, these screens can easily go 7-10 years, sometimes longer. They're built to handle both harsh UV rays and the occasional claw.
- Solar Screens: These are the heavyweights. Designed specifically to block the sun, their durability is part of the package. It's not uncommon for them to last well over 10 years before they even start to show their age.
Is a More Expensive Screen Really Worth the Investment?
In a climate like ours? Absolutely, yes. That low upfront cost of a basic fiberglass screen is tempting, but you'll be doing this whole project again in just a few years. Investing a bit more in a quality solar or pet-resistant screen pays for itself over time.
Think of it this way: a solar screen might cost twice as much as a standard one, but it can easily last three times as long. Plus, it comes with the huge bonus of blocking solar heat, which can actually lower your cooling costs and save you real money every summer.
Can I Put a Pet Door in My Sliding Screen Door?
You certainly can! Adding a pet door is a really common and practical upgrade for Phoenix homeowners. You can find kits designed specifically for screen doors at any major home improvement store. They usually come with two frame pieces that snap together right through a cutout you make in the mesh.
The trick is to do it after you’ve finished rescreening the door and the mesh is perfectly tight. This keeps the surrounding screen from getting saggy or loose once you've made the cutout.
What Is the Most Common Mistake People Make?
The single most common—and frustrating—mistake we see is buying the wrong size spline. It’s such a small detail, but it’s literally the one thing holding your entire screen in place. If the spline is too thin, it’ll just pop right out of the channel. If it’s too thick, you’ll fight it the whole way and probably tear your brand-new screen in the process.
Do yourself a huge favor: take a small piece of the old spline with you to the store. It’s a tiny step that saves you from a world of aggravation.
While you're improving your screen, it's also a good time to think about security, since sliding doors can be vulnerable spots. To get a better handle on protecting this area of your home, you can learn how to secure sliding glass doors and keep your home safe.
For a professional, hassle-free screen replacement or repair, you can always trust the experts at Sparkle Tech Screen Service. We provide quick quotes and same-week service to get your home comfortable and bug-free again in no time. Contact us today at https://sparkletechscreenservice.com or give us a call at 623-233-0404.


