


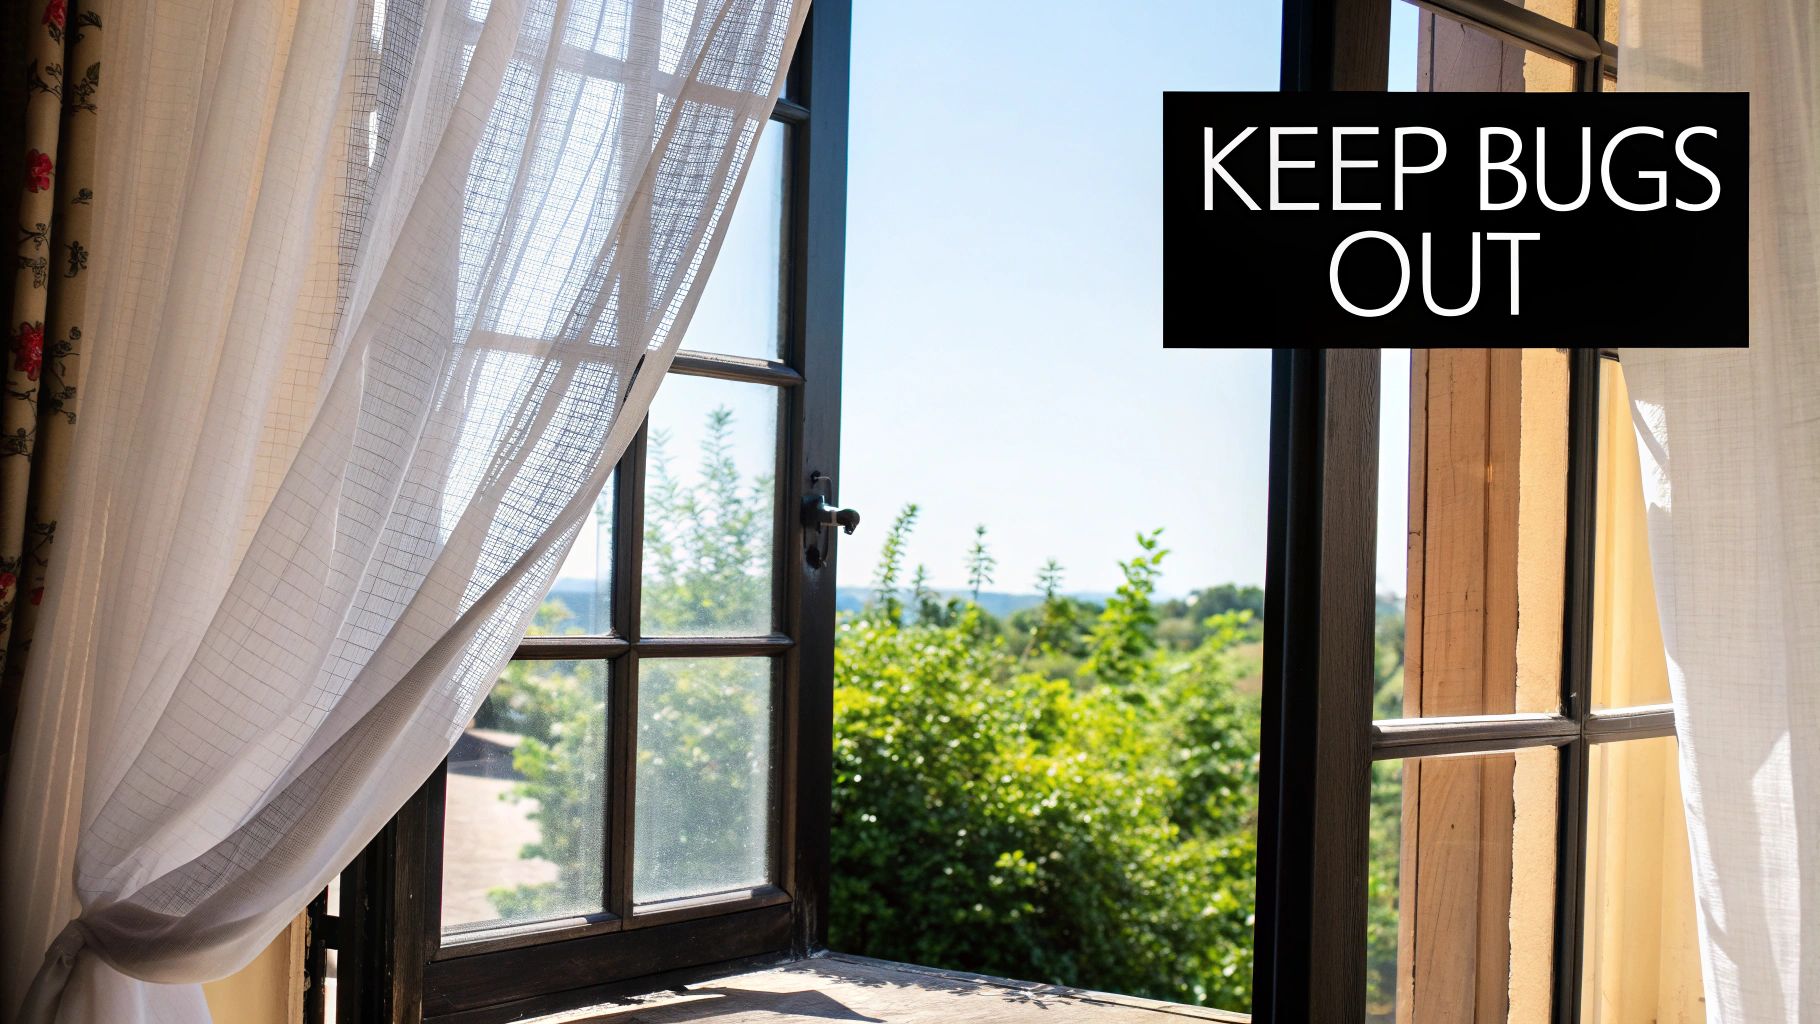
Installing a bug screen might seem like a small home repair, but getting it right is a serious investment in your comfort and health. It’s all about creating a solid barrier that lets the fresh air in while keeping insects and debris out. When you master this task, you're not just putting up a screen; you're ensuring it works effectively for years to come.
Why a Perfect Screen Installation Matters
Before you even think about grabbing your tools, let’s talk about why a well-executed installation is so important. A properly fitted bug screen is really an unsung hero of home improvement. The benefits go way beyond just keeping flies out of your kitchen. It’s about creating a living space that’s healthier and more comfortable for everyone inside.
The most obvious win is pest control. A secure, gap-free screen is your home's first line of defense against mosquitoes, flies, and all sorts of other unwelcome critters. This simple physical barrier does a surprisingly great job of reducing the risk of bites and annoyances, all without needing to break out the chemical sprays.
Boosting Home Comfort and Value
Beyond keeping bugs at bay, a quality installation dramatically improves your indoor air quality. It’s the key to getting great natural ventilation, letting you flush out stuffy indoor air and welcome in a fresh breeze. This kind of cross-ventilation helps keep the temperature and humidity just right, making your whole home feel more pleasant.
Plus, a clean, professional-looking screen just looks good. It adds to your home's curb appeal and can even bump up its overall value.
This focus on creating healthier living spaces is a big reason why screens are so popular. The global insect screen market was valued at USD 3.45 billion and is expected to climb to USD 5.92 billion by 2033. This surge shows just how much homeowners are looking for smart solutions to improve their indoor environment. You can dig into more market trend data to see how this is playing out.
A taut, perfectly installed screen is more than just functional—it’s a sign of a well-maintained home. It shows an attention to detail that really elevates your property's overall appeal.
When all is said and done, a flawless bug screen installation gives you peace of mind. It turns your windows and doors into gateways for fresh air, not an open invitation for pests.
Choosing the Right Materials and Tools
The success of your bug screen project really comes down to the quality of materials you pick up at the hardware store. If you rush this part, you'll likely end up with a saggy screen that you'll have to replace way too soon. The first big decision is the screen mesh itself—what you choose will define the screen's durability and how clear your view will be.
It's a huge market, with the global insect screen industry valued at around USD 2.3 billion. A massive chunk of that, about 50%, comes from one material: fiberglass. It's the go-to for a reason, offering a great mix of strength, low maintenance, and a price that's hard to beat.
For most homes, standard fiberglass mesh is the perfect all-rounder. It’s forgiving, doesn't crease easily, and the visibility is fantastic. But, if you've got a dog or cat that likes to scratch at the door, do yourself a favor and upgrade to a pet-resistant screen. Made from a tough, vinyl-coated polyester, it’s designed to stand up to claws and paws without tearing.
Screen Mesh Material Comparison
Choosing the right mesh can feel like a chore, but it's much simpler when you see the options laid out. Here’s a quick breakdown of the most common materials to help you decide what's best for your home and budget.
| Material Type | Best For | Pros | Cons |
|---|---|---|---|
| Fiberglass | General use, budget-friendly projects | Affordable, flexible, good visibility, won't rust or corrode. | Can tear more easily than metal options. |
| Aluminum | High-traffic areas, coastal regions | Strong and durable, won't sag over time, crisp view. | Can dent or crease, not ideal for coastal salt air. |
| Pet Screen | Homes with pets (dogs, cats) | Extremely durable, tear and puncture-resistant. | Thicker mesh reduces visibility and airflow slightly. |
| Solar Screen | Sunny, hot climates | Blocks 65-90% of solar heat and glare, reduces energy costs. | Significantly darker, limiting natural light and visibility. |
Ultimately, the goal is to match the material to your specific needs. By understanding the trade-offs, you can confidently pick a mesh that will last for years.
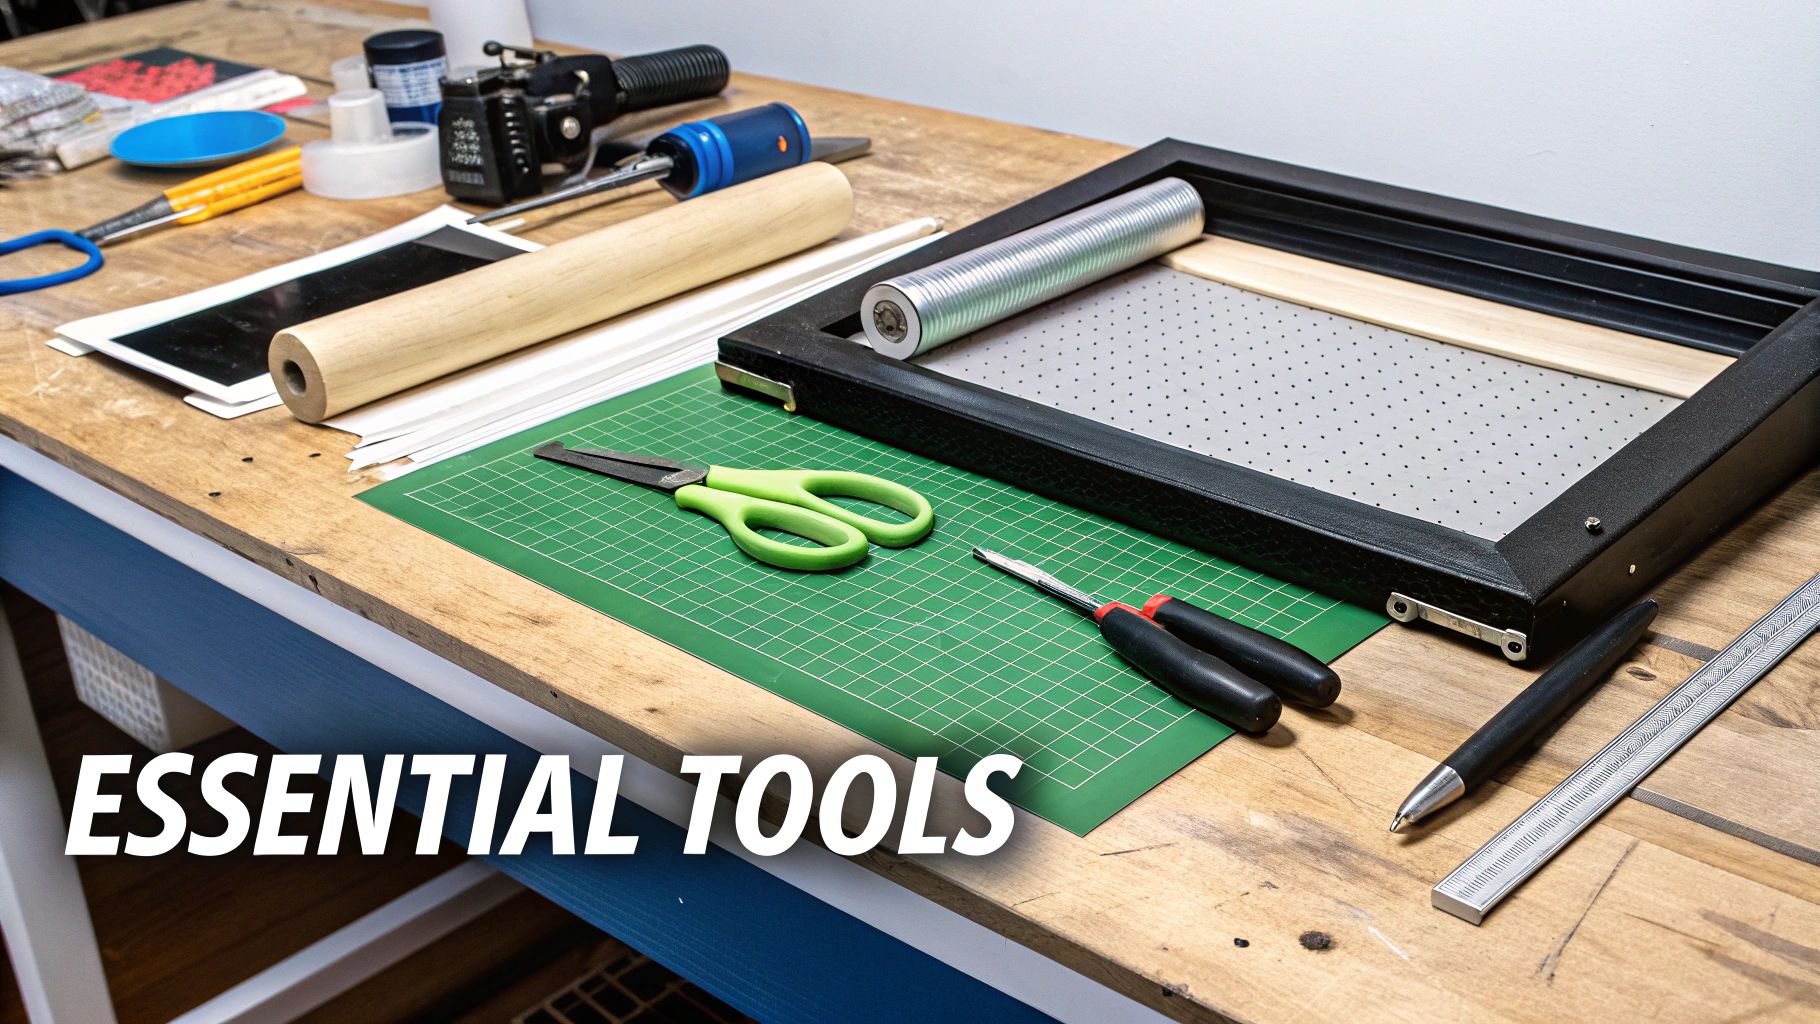
Gathering Your Frames and Essential Tools
Once you've settled on a mesh, take a look at the screen frame. Most modern frames are made of lightweight, rust-proof aluminum. If you're working on an older house, you might be dealing with wood or even vinyl frames, so it’s important to know what you have before you buy supplies.
Let's be clear: you can't do this job right without the proper gear. I've seen people try to use a screwdriver instead of a spline roller, and it always ends in frustration and a screen that looks awful.
My Go-To Tip: When you're measuring your new screen mesh, always add at least two extra inches on all four sides. That little bit of slack gives you something to grip while pulling the screen taut and makes the whole process so much more forgiving.
Before you start, make sure you have these items on hand. It'll save you a trip back to the store later.
- Spline Roller: This is your most important tool, period. It has two wheels—one to push the mesh into the frame's channel and another to seat the spline securely on top.
- Utility Knife: A fresh, sharp blade is a must for trimming the extra screen and spline. It's the key to getting those clean, professional-looking edges.
- Tape Measure: Measure twice, cut once. It's an old saying for a reason. Accuracy here prevents you from wasting your brand-new screen mesh.
- New Spline: This rubbery cord holds everything in place. You have to match its diameter to your frame’s channel. If it's too thin, the screen will pop right out. Too thick, and you'll never get it in.
Figuring out the https://sparkletechscreenservice.com/best-window-screen-material/ for your project can feel like the hardest part, but it doesn't have to be. Once you pair the right mesh with the right tools, you're all set for a flawless installation.
Installing Your Screen Like a Pro
Alright, you've gathered your tools and materials, so now for the fun part: the actual installation. I've seen a lot of DIY screen jobs, and the secret to getting that tight, professional finish isn't about muscle—it’s all about being methodical and patient. Taking your time here will save you the headache of dealing with sags and wrinkles later on.
First things first, find a good flat surface to work on, like a workbench or even a clean garage floor. Lay the screen frame down and take a look at the channel where the spline goes. You'll want to make sure it's totally clean of any old spline bits or gunk. A quick once-over with a stiff brush or a shot of compressed air usually does the trick.
Next, roll out your new screen mesh over the frame. Don't be shy with the material—leave a good two inches of extra screen hanging over every edge. This overlap is crucial; it gives you something to hold onto when you start pulling the screen taut.
This image lays out the basic steps you'll be following.
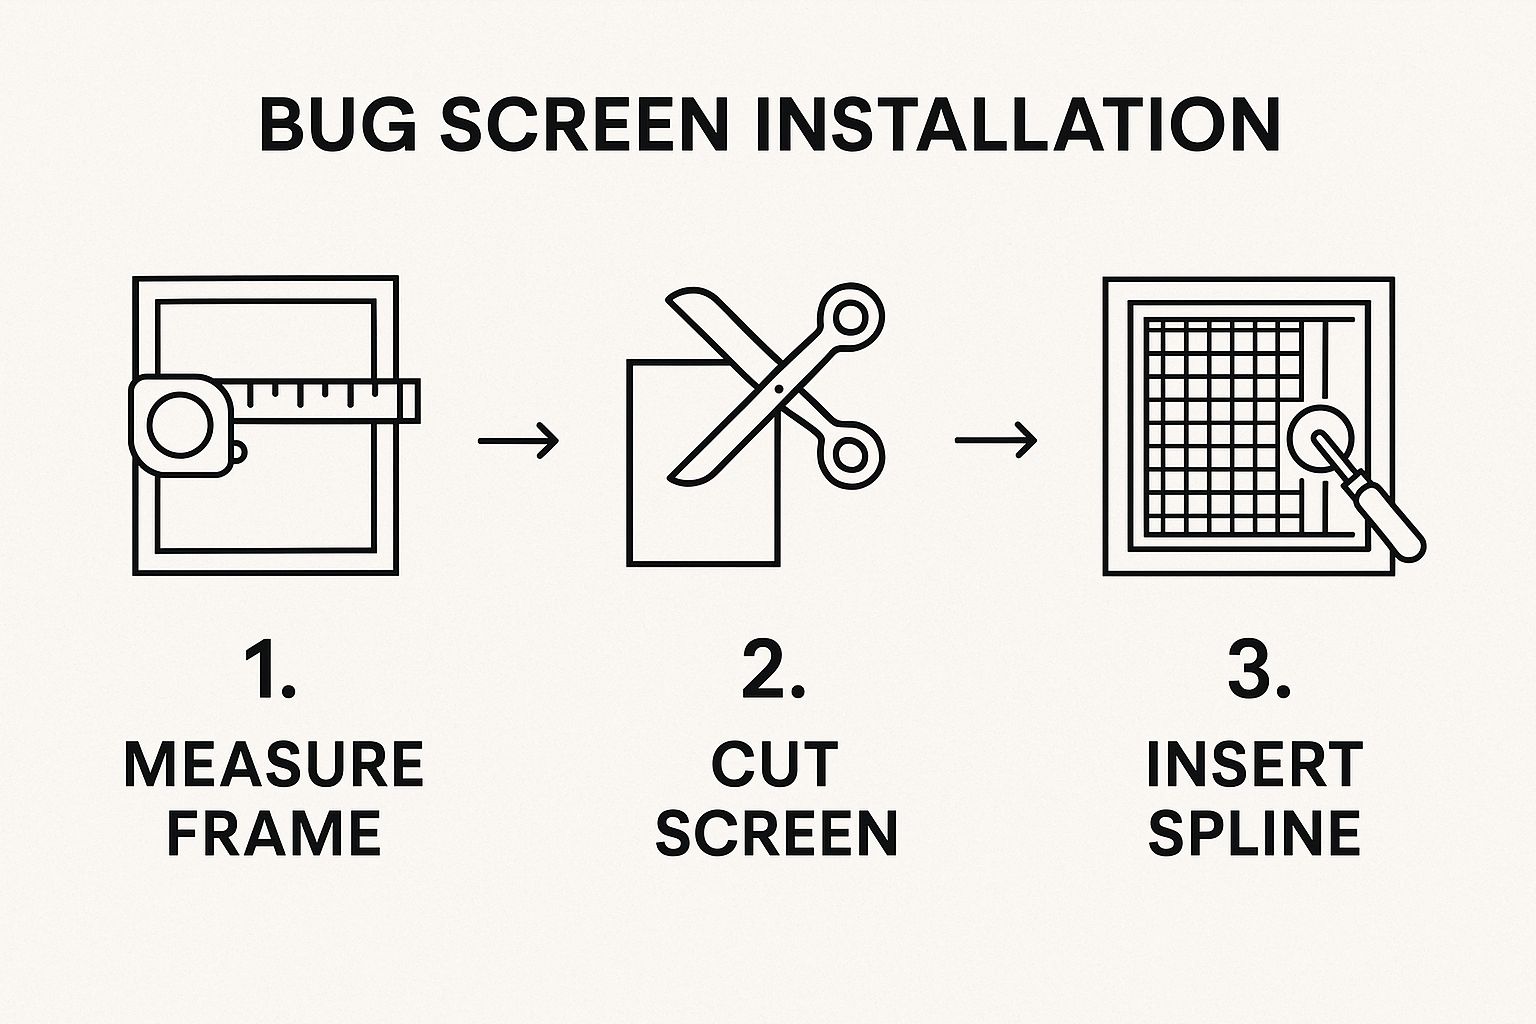
Think of it as a roadmap. Following this sequence helps prevent mistakes and ensures you don't end up wasting that brand-new roll of screen.
Getting the Hang of the Spline Roller
Your spline roller is your most important tool for this job. It might look simple, but how you use it makes all the difference between an amateur job and a professional one.
Start by using the convex (rounded) wheel of the roller to press the end of your new spline into a corner of the frame’s channel. Just a light press is all you need to get it started.
Now, switch to the concave (grooved) wheel. Work your way down one of the shorter sides of the frame, pressing the spline firmly into the channel. This will lock the mesh in place as you go. You want steady, even pressure here, but don't pull the screen super tight on this first side. The goal is just to anchor it. If you'd like a more in-depth look, our guide on how to install screens has some great extra tips.
Here's a pro tip: Don't try to roll the spline in one continuous go around the frame. Work on one side at a time. This gives you way more control over the tension and dramatically cuts down the risk of wrinkles or, even worse, a bowed frame.
Nailing the Tension
With one short side splined in, move directly to the opposite short side. This is where the magic happens and you create that perfect tension.
As you roll the spline into the channel, use your other hand to gently pull the screen mesh taut. You're just looking to remove the slack. A really common mistake is to pull way too hard, which can actually bend the frame inward.
Once the two short sides are secure, do the exact same thing for the two long sides. Always working on opposite sides like this helps distribute the tension evenly, leaving you with a screen that’s tight as a drum.
To finish, grab your utility knife and trim off the excess screen. Angle the blade slightly away from the spline so you don’t nick your work. For a really clean cut, run the knife right along the outside edge of the spline channel.
It might feel a little awkward at first, but after one or two screens, you’ll get the hang of it. The result is a perfectly fitted screen that looks fantastic and does its job keeping the bugs out.
Solving Common Installation Problems
Even with the most careful work, a bug screen installation can go sideways. You step back to admire your work, only to spot a dreaded sag in the middle or a tiny wrinkle in the corner. Don't worry—most of these issues are fixable without having to start from scratch.
The most common culprit is a loose or sagging screen. This usually happens when you don't apply enough tension or apply it unevenly as you roll in the spline. It’s frustrating, but the fix can be surprisingly easy, especially if you're working with fiberglass mesh.
Believe it or not, a low-setting heat gun or even a powerful hairdryer can be your best friend here. Hold it several inches from the screen and gently wave it back and forth over the loose area. The heat makes the fiberglass shrink just enough to pull itself taut, smoothing out the sag for that perfect, crisp finish.
Important Takeaway: Always start on the lowest heat setting and keep the tool moving. If you hold it in one spot for too long, you risk melting the mesh, which turns a simple fix into a full replacement job.
Dealing with a Stubborn Spline
Another headache I see all the time is a spline that just won't stay put, especially around the corners. If you find the spline popping out of its channel as you work, it’s almost always because it’s too thin for the groove. This is really common with older frames, where the channel can widen a bit over the years.
Instead of fighting it, just grab a spline that’s one size larger in diameter. For instance, if you were using a .140-inch spline, try swapping it for a .155-inch one. That little bit of extra thickness provides the pressure needed to lock it securely into place.
Finally, let's talk about small wrinkles or puckers. These are usually a sign of uneven tension during the installation.
- Check your corners first. Make sure the screen is seated smoothly before you even start splining the first side.
- Work on opposite sides. I always spline the top, then the bottom, then the two sides. This helps distribute the tension evenly across the frame.
- Don't over-pull the screen. You're looking for gentle, consistent tension. Yanking it too tight can actually bow the frame and create more problems.
With these quick tips, you can correct those minor mistakes and get a professional-quality result you can be proud of.
When to Hire a Professional Installer
Tackling a bug screen installation yourself can be a really rewarding weekend project, but let's be honest—some jobs are best left to the pros. Knowing when to pick up the phone and call an expert isn't just about getting a better result; it’s about safety and saving yourself a major headache down the road.
Think about those tricky situations. Are you dealing with a massive retractable screen for your patio? Those require specialized tools and a knack for getting the tension just right. Or what about custom-shaped windows, like arches or circles? Getting a perfect cut and a tight fit on those is an art form that really comes with experience. And if you're looking at installing screens on second-story windows, the safety risks alone are a good reason to hire someone who does it every day.
The Value of Professional Service
When you bring in a professional, you're getting more than just an extra set of hands. They have access to commercial-grade materials that you simply won't find at a big-box store—stuff that's built to last.
A pro guarantees a perfect, gap-free fit, which is the whole point of a bug screen, right? Plus, their work almost always comes with a warranty. That peace of mind is invaluable, especially for larger projects like a full screen door installation, where a flawless seal is non-negotiable.
The global insect screen market is on track to hit USD 2.42 billion by 2034. Even so, 42% of people hold back because of installation costs. But a pro gets it right the first time, saving you from the frustration—and expense—of having to redo a botched job. For a deeper dive, you can check out these market dynamics and projections.
Before you hire anyone, do your homework. Get at least a few different quotes and don't be shy about asking to see photos of their previous work. A reputable installer will always give you a detailed estimate that clearly separates the cost of materials from labor. That transparency is key to making sure you're getting a fair deal for your home.
Got Questions About Screen Installation? We've Got Answers.
Even the most straightforward DIY project can throw you a curveball. When it comes to installing bug screens, a few common questions always seem to pop up. Let’s walk through some of the things homeowners ask me most often.
What's the Best Screen for Homes with Pets?
This is easily the number one question I get. If you have a dog that paws at the door or a cat who loves to climb, a standard fiberglass screen just won't survive. You'll be patching it up constantly.
The solution is a pet-resistant screen. This stuff is made from a super-tough, vinyl-coated polyester that’s built to handle claws and roughhousing. It’s noticeably thicker than standard mesh, so while it does cost a bit more and slightly reduces your view, the peace of mind is worth every penny.
Can I Just Put New Mesh in My Old Frames?
Absolutely, and it's a great way to save some money! As long as your existing aluminum frame isn't bent, badly rusted, or cracked at the corners, you can definitely give it a new life with fresh screen mesh.
It’s a pretty simple process:
- First, you'll need to pry out the old, brittle spline (the rubber cord holding the screen in). A small flathead screwdriver or needle-nose pliers usually does the trick.
- Once the old spline is out, take a moment to clean out the channel in the frame. Get rid of any old screen bits or dirt.
- From there, you just follow the standard installation steps using your new screen material and spline.
Here's a pro tip for reusing old frames: you might need a slightly thicker spline than what you took out. Over years of sun and weather, the frame's channel can expand just a tiny bit. A new spline with a slightly larger diameter will ensure the mesh is drum-tight and won't pop out.
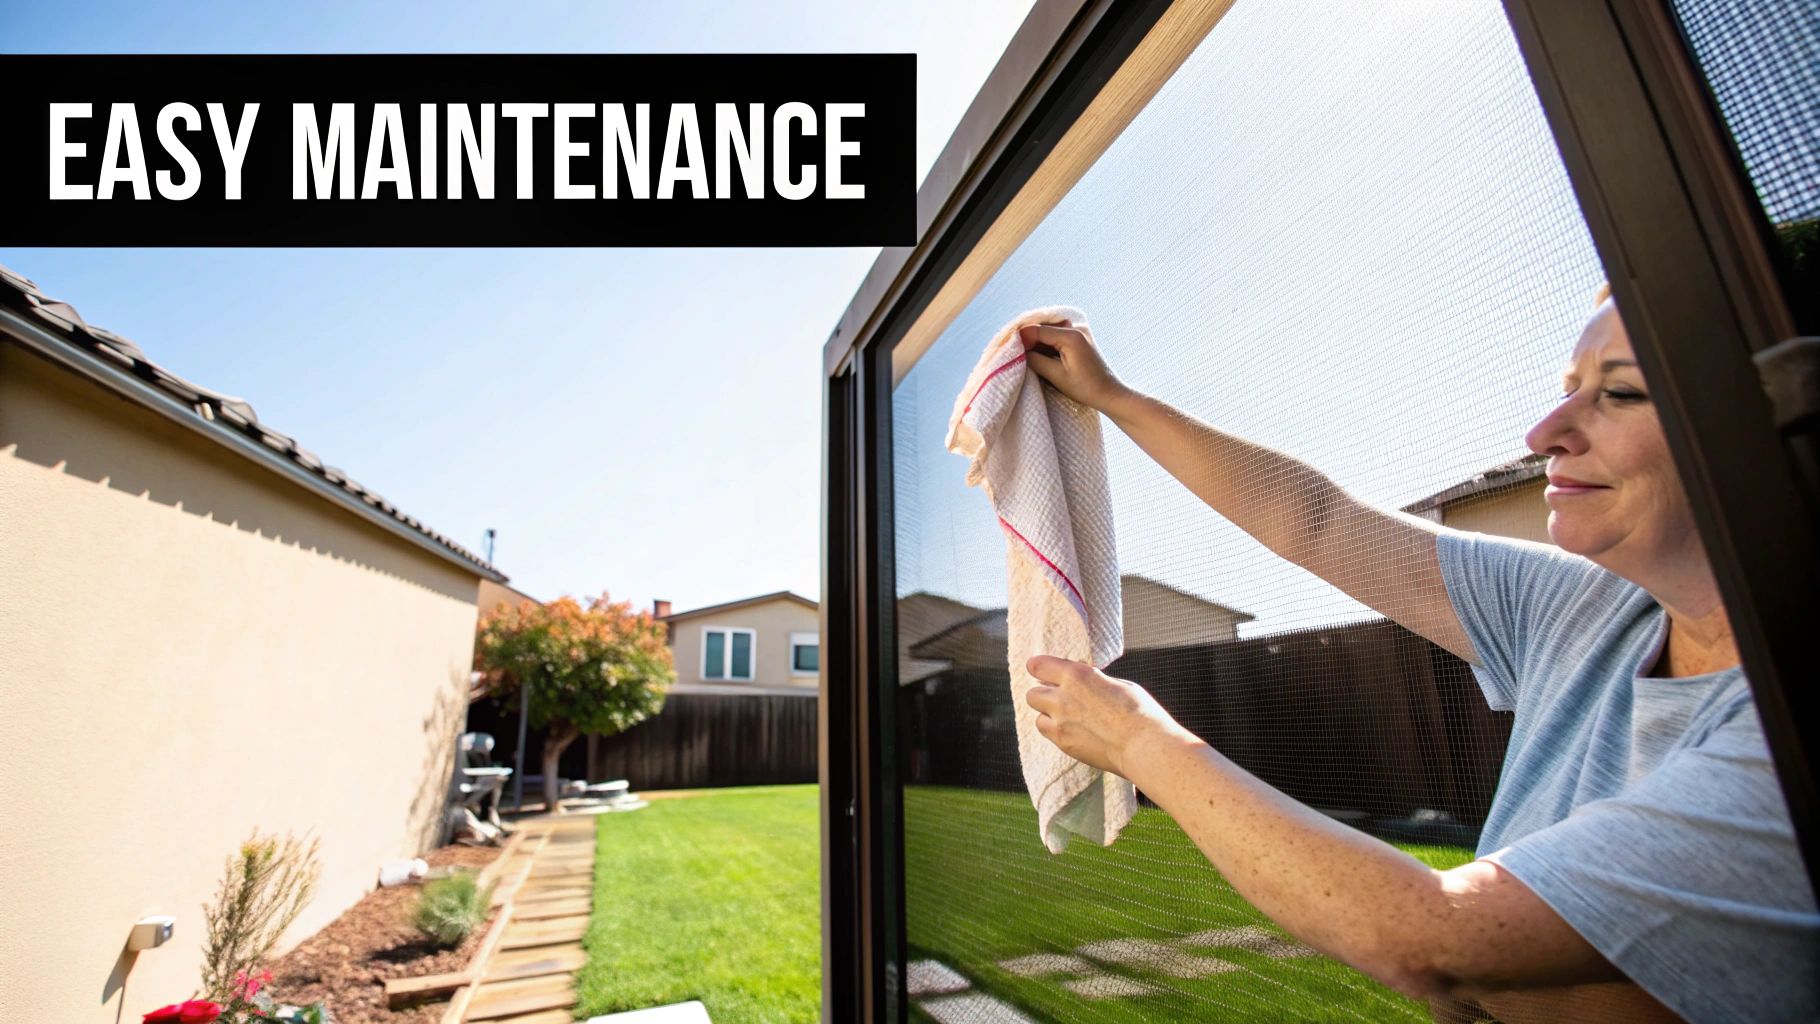
How Long Should My New Screens Last?
A screen’s lifespan really comes down to the material and the environment it’s in. In most climates, you can expect a standard fiberglass screen to hold up for 5-8 years before it starts getting brittle and tearing easily.
If you upgrade to something more durable, like an aluminum screen or the pet-resistant mesh we talked about, you could easily get 10-15 years or more out of them. A quick inspection each spring for holes or brittleness is always a good idea.
For a guaranteed perfect fit every time, trust the experts at Sparkle Tech Screen Service. Whether you need new screens, repairs, or a full rescreening, we offer quick quotes and same-week service. Learn more about our screen installation services.


