


Getting your tools together before you start a sun screen installation is one of those steps people often rush—and later regret. Having the right equipment on hand is the difference between a clean, professional finish and a frustrating afternoon of mistakes that can damage your window frames.
Gathering Your Essential Installation Tools
A proper sun screen installation is all about precision, not brute force. I’ve seen countless DIY projects go wrong because someone tried to make do with the wrong tools. The result? Torn screens, scratched frames, and a loose, saggy fit that just looks bad. Let's make sure that doesn't happen to you.
The one tool you absolutely cannot skip is a spline roller. It’s a simple little gadget with a wheel on a handle, but it’s designed specifically to press the spline neatly into the frame’s channel. A common shortcut is to try using a screwdriver, but that's the fastest way to rip the brand-new screen material you just paid for. Trust me on this one.
Core Toolkit for a Flawless Finish
Here’s what you should have laid out on your workspace before you even think about starting:
- Tape Measure: This is non-negotiable. Accuracy is everything. Measure your frames at least twice to make sure you're cutting the screen fabric to the right size from the get-go.
- Utility Knife or Scissors: You’ll need a really sharp blade to get clean, straight cuts when trimming the excess screen and spline. A dull blade will just snag and stretch the material.
- Rubber Mallet: Perfect for gently tapping screen frames together or into place without denting the finish, especially if you're working with aluminum or vinyl.
- Power Drill with Appropriate Bits: If you're drilling any pilot holes for mounting clips or hardware, using the right bit size is key to preventing the wood from splitting or the metal from getting warped.
Pro Tip: Don't forget your safety gear. It's easy to overlook, but a good pair of safety glasses will protect your eyes from flying debris, and work gloves are a must for handling sharp frame edges.
Understanding Your Materials
The specific tools you'll rely on most are tied to the materials you've chosen. While the basics are always the same, different screen fabrics might require a slightly different touch. To get a better handle on what you'll be working with, take a look at our guide on choosing the best window screen material for your home.
Lining up your tools and materials properly really sets the tone for the entire project. This kind of thoughtful preparation is all about improving your home's energy efficiency—a goal that’s part of a much bigger picture. On a global scale, the solar photovoltaic market is booming, with projections showing cumulative installed capacity will blow past 2.2 terawatts (TW) by the end of 2024. Discover more insights about this energy trend. Taking a few extra minutes to get organized for your project is a small reflection of that same commitment to a quality, effective outcome.
How to Measure and Prep Your Windows
A flawless sun screen installation comes down to one thing: precision. This is the stage where "close enough" just won't cut it. One wrong measurement can lead to frustrating gaps, a crooked screen, or a frame that simply won’t fit.
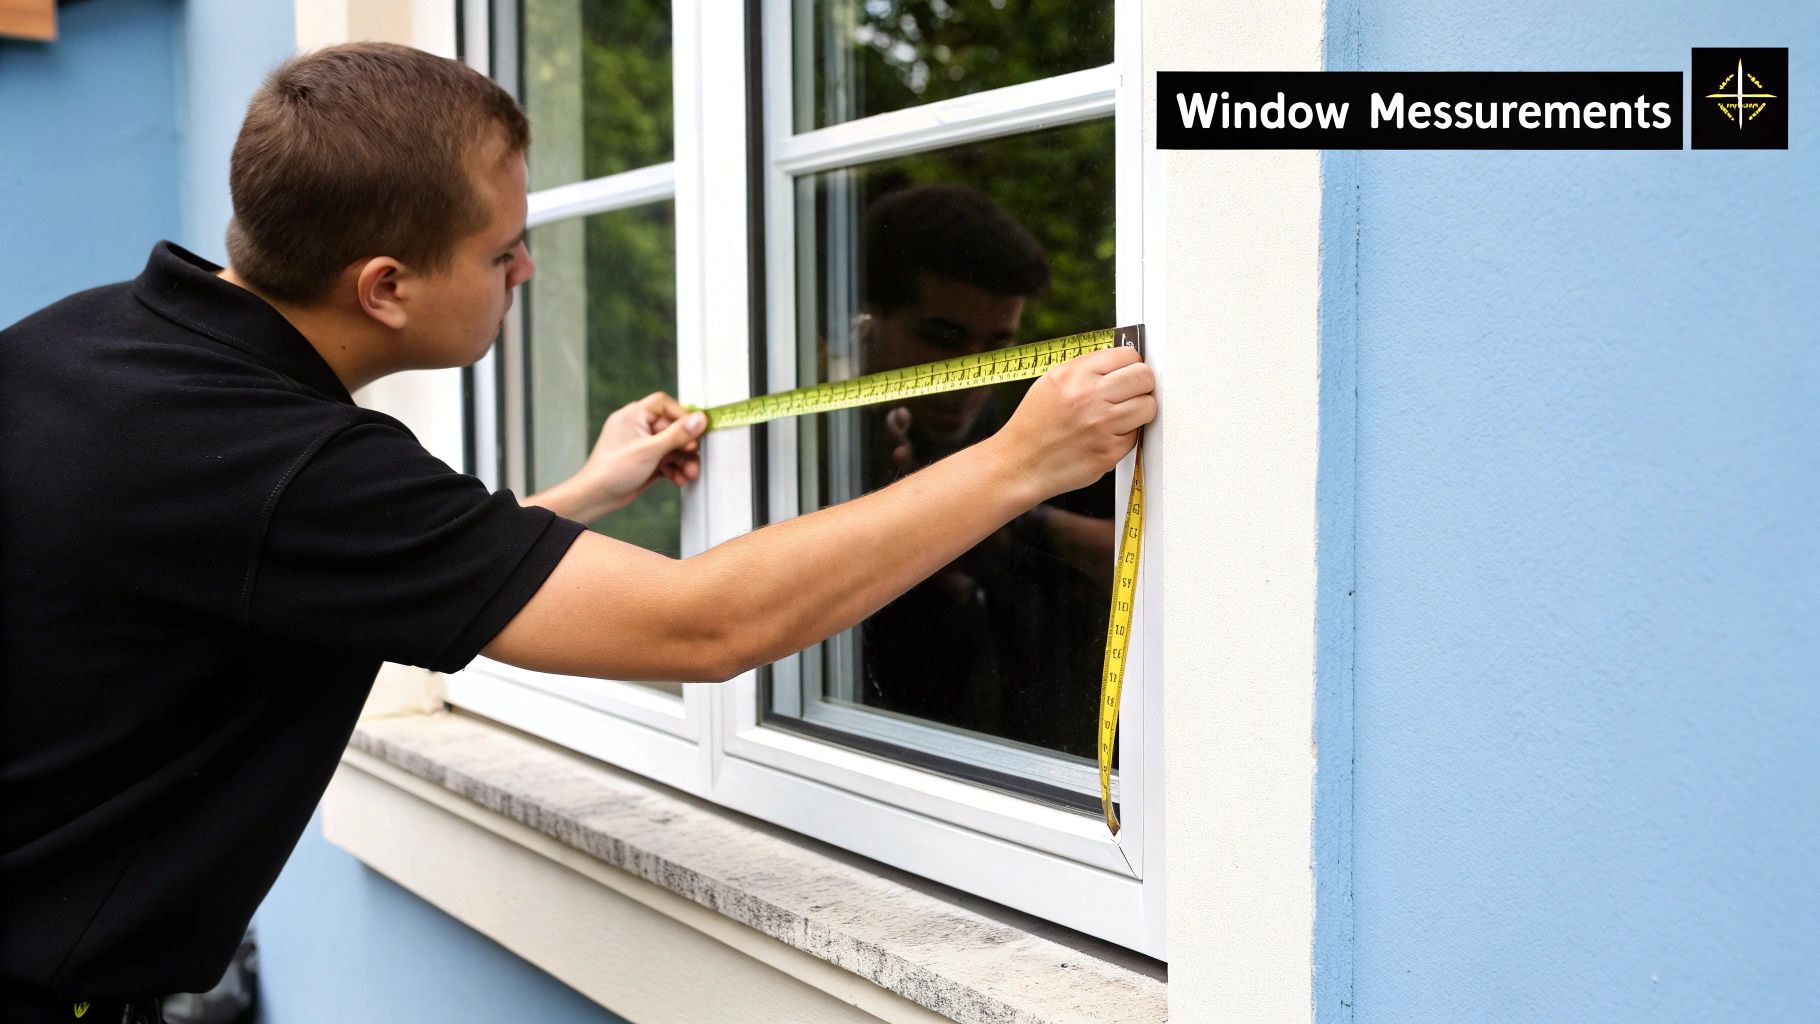
The pro trick is to measure every single window in three different places for both width and height. Measure the width across the top, middle, and bottom, then do the same for the height at the left, middle, and right. You'd be surprised how often window frames aren't perfectly square.
Taking Accurate Measurements
Here’s the golden rule: always use the smallest of your three measurements for both width and height. This guarantees your screen will slide perfectly into the narrowest part of the frame, preventing a fit that’s too tight.
For instance, if your width measurements are 35 inches, 34 7/8 inches, and 35 1/8 inches, your final number is 34 7/8 inches. That’s the measurement you’ll use for your order.
This kind of careful planning is key to any successful DIY project. It's a small part of a much bigger picture, too. The global demand for solar solutions has fueled massive growth, with worldwide solar module manufacturing capacity expected to reach an incredible 1.8 TW annually by 2025. You can read more about the industry's rapid expansion to see just how fast things are moving.
Prepping for a Smooth Installation
Once you have your numbers, it's time to prep the area. A clean surface is non-negotiable for a professional look and a secure, lasting fit.
- Clean the Frames: Grab some mild soap and water and scrub away any dirt, dust, or old grime from the window frames. You want the surface where the screen will sit to be spotless.
- Clear Your Workspace: Find a large, flat area to assemble your screens. Trying to build a frame on a bumpy or uneven surface is a recipe for a warped final product.
Key Takeaway: Solid prep work is your best insurance against installation headaches. Taking the time to clean the frames and double-check your measurements will make the actual mounting process go so much faster and smoother.
Time to Mount Your Sun Screens
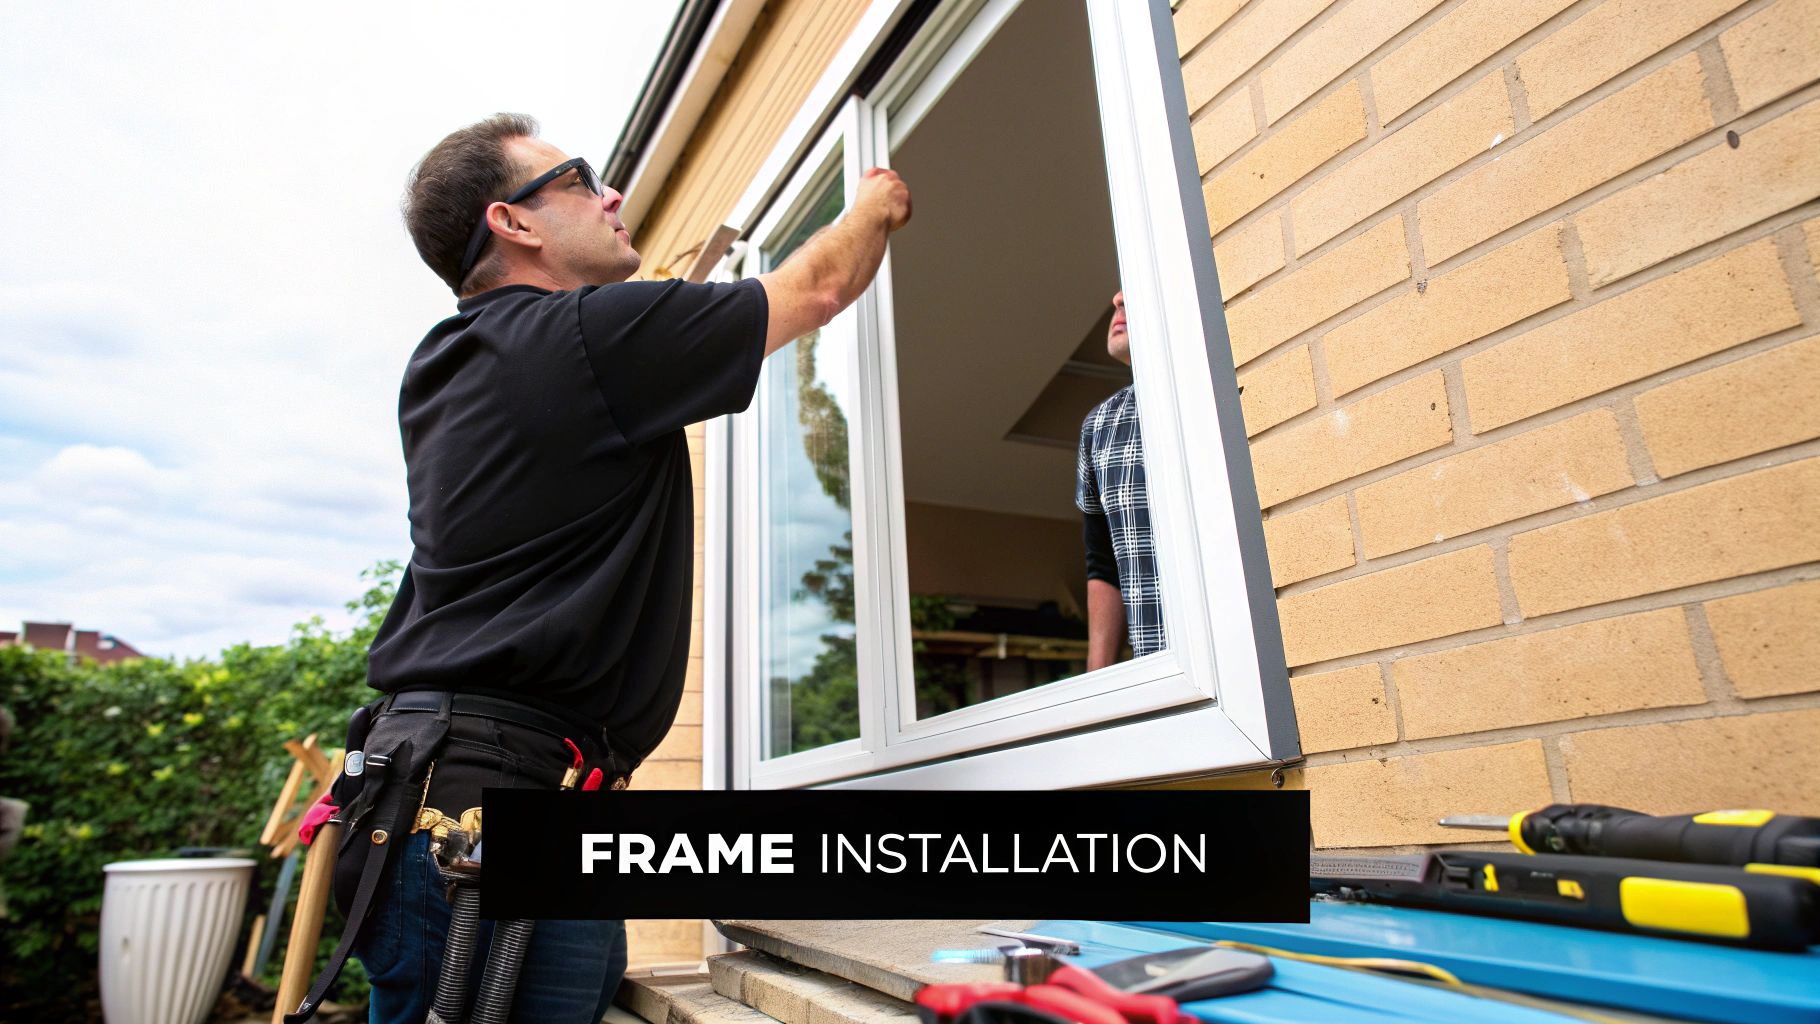
Alright, your windows are clean and prepped, which means it’s time for the main event: getting those sun screens mounted. This is where all that careful measuring pays off, leading to a secure, professional-looking install that will seriously upgrade your home’s look and efficiency.
First things first, let's talk about placing your mounting hardware. Whether you're working with casement clips, brick clips, or simple tension springs, where you put them is everything. I’ve seen it a hundred times—someone eyeballs the placement and ends up with a crooked screen that rattles every time the wind blows. Don’t be that person. Grab your tape measure and make sure everything is perfectly symmetrical.
Drilling and Setting Your Hardware
When you start drilling pilot holes, you need the right drill bit for the job. It has to match both the screw you're using and the material of your window frame. If you’re drilling into wood, go with a slightly smaller bit; this keeps the wood from splitting when the screw goes in. For aluminum or vinyl frames, an exact-size bit is key to avoid warping the material.
This image gives you a great visual of the entire process, from start to finish.
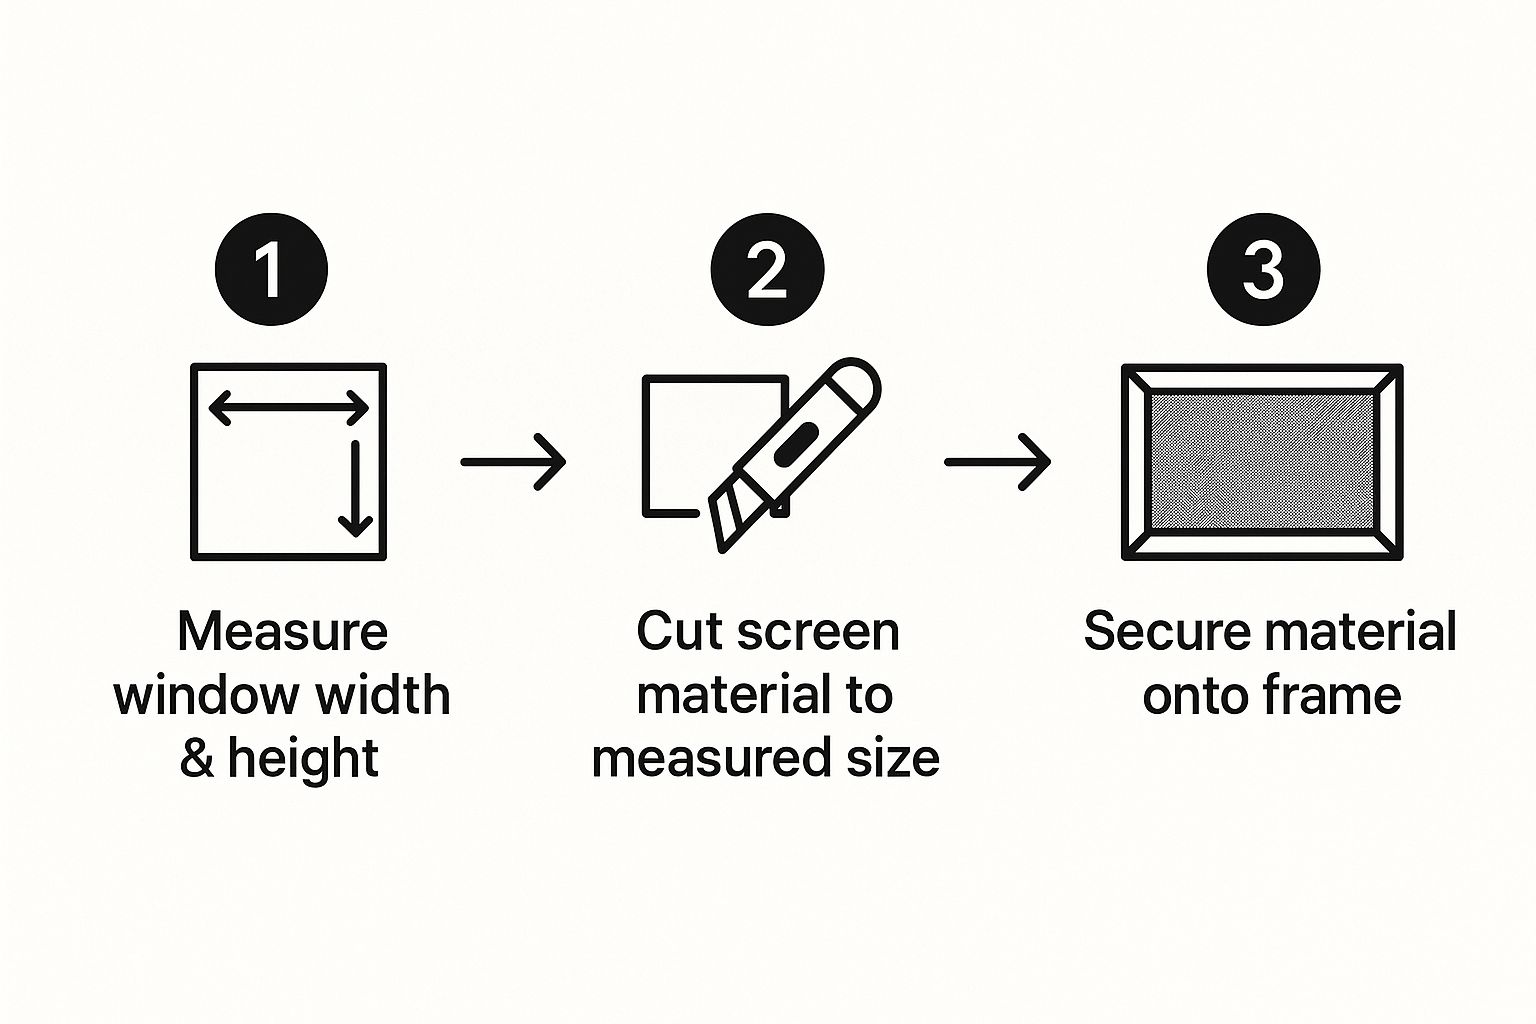
The sequence is always the same: measure, cut, and secure. Following that simple workflow is the secret to getting it right every single time.
With your hardware securely in place, you can finally fit the screen. Be gentle with the frame—it's surprisingly easy to bend or twist it, and that kind of damage is often permanent. Start by carefully setting the bottom of the screen frame onto its clips or into the window channel.
Here’s a piece of advice I always give: if you have to use force, something is wrong. A properly measured sun screen should pop into place with just a bit of firm, steady pressure. No hammering or shoving required.
If you feel any resistance, just stop. Take a breath and reassess. It's usually a simple fix—the screen might be slightly misaligned, or a clip isn't quite right. Forcing it is a surefire way to break something. Just pull the screen out, double-check your alignment, and try again.
Securing the Screen for That Perfect, Snug Fit
Once the bottom is seated properly, you can gently push the top of the frame into place. You’re listening for a satisfying click or snap as the tension springs or clips engage and lock the screen in. The mechanism can vary depending on what you’re using:
- Casement Clips: These are pretty common and usually just need a quick turn to lock the frame down.
- Leaf Springs: These are designed to create outward pressure. You'll compress them as you push the frame in, and they’ll expand to hold it tight.
- Brick Clips: If you’re mounting directly onto brick or masonry, these provide a super-sturdy anchor point for the screen to attach to.
After the screen is in, give it a gentle push from the inside. Does it feel solid? No wobbling? That snug fit means your installation was a success. For a deeper dive into different mounting methods, check out our guide on how to install screens for more expert tips.
Working Through Common Installation Hiccups
Even with perfect planning, sometimes things don't go exactly as they should during a sun screen installation. Don't worry—a small mistake won't ruin the project. Most common issues have simple fixes that will get you back on track and still give you that clean, professional finish.
A classic problem is a screen that seems just a hair too tight for the window frame. If your measurements were spot on but the screen won't pop in, whatever you do, don't try to force it. This usually happens because the frame bowed a tiny bit when you put it together. Just lay the screen on a flat surface and gently press the corners to get it perfectly square. It should slide right in after that.
What if the screen looks crooked after you've mounted it? Take a few steps back and eyeball it. If it’s not level, the mounting hardware is probably a little off. This is an easy fix. Just loosen the screws on one side, get your level out to find the right position, and then tighten everything back up.
Quick Fixes for Those "Oops" Moments
It happens to everyone. The good news is that most small mistakes are easy to correct, so you can keep the frustration low and the project moving.
- Drilled in the Wrong Spot? We’ve all been there. If you're working with a wood frame, a dab of wood filler makes the hole vanish. For vinyl or aluminum frames, you can use a small amount of exterior silicone caulk that matches the color to seal it up.
- A Small Tear in the Screen: If you accidentally snag the mesh, a coat of clear nail polish will keep a tiny tear from getting bigger. For anything more noticeable, a screen repair patch works wonders and is simple to apply.
- A Wobbly Mounting Clip: A loose clip is a weak clip. First, try using a screw that's just a little bit bigger to get a better bite. If the hole is completely stripped out, here’s a great old-timer’s trick: stick a wooden toothpick into the hole, break it off flush, and then drive the original screw back in. It creates new material for the screw to grip.
My Two Cents: Most installation problems are about small adjustments, not total failures. Patience really is your best tool here. Taking a beat to figure out what’s actually wrong will save you a ton of time and give you a much better, more secure result in the end.
Taking on home improvement projects like this is a great way to improve your home's comfort and value. It’s part of a much bigger picture, too. In early 2025 alone, the U.S. solar market saw a massive 10.8 GWdc of solar capacity installed. While residential projects had a slight dip, the overall trend shows a massive appetite for energy-saving solutions. You can dive deeper into these industry trends by checking out the Solar Market Insight Report for Q2 2025.
Keeping Your Sun Screens Looking and Working Like New
Now that your sun screens are installed, a little bit of upkeep will go a long way in protecting your investment. With just a small amount of routine care, your screens will continue to keep your home cool and shield your interior from harsh UV rays for years to come.
The best part? Cleaning them is incredibly simple. All you really need is a soft-bristled brush or cloth and a bucket of mild, soapy water. This gentle method is all it takes to clear away the dust and grime that naturally builds up over time.
A Quick and Easy Maintenance Routine
One thing you absolutely want to avoid is using harsh chemical cleaners or a power washer. While it might seem like a quick fix, high-pressure water and strong chemicals can actually strip the protective UV coating right off the screen fabric. This can make the material brittle and cause it to deteriorate prematurely. A simple wipe-down once or twice a year is usually perfect.
While you're cleaning, it's the perfect time to give your screens a quick once-over. It only takes a minute.
- Check the Hardware: Jiggle the mounting clips and check the screws to make sure everything is still tight and secure.
- Look for Small Tears: Life happens. If you spot a small snag or tear, it's best to address it early before it has a chance to get worse.
- Inspect the Frame: Make sure the screen frame is still sitting flush and square within the window opening.
A few minutes of your time each season is the single best thing you can do to catch minor issues before they turn into bigger headaches. It’s the secret to getting the maximum lifespan out of your screens.
This proactive mindset is key to getting the most out of all types of exterior window sun screens. It not only keeps them performing at their best but also preserves your home's curb appeal and those fantastic energy savings.
Got Questions About Your Sun Screen Installation? We've Got Answers

Even with a step-by-step guide, it's natural to have a few questions pop up when you're in the middle of a project. I've been doing this for years, and a few common queries always seem to surface. Let's clear those up so you can finish the job with total confidence.
A big one I hear all the time is about installing new sun screens over old bug screens. Technically, yes, you can, but I almost always advise against it. When you layer them, you create a perfect trap for dirt, pollen, and moisture. It’s a real pain to clean and can even lead to gunk building up on your window sill.
Then there's the visibility concern. People worry their home will feel like a cave. It's a valid thought, but you'll likely be surprised by how much you can still see. While they do cut down on glare and some light to block that intense heat, modern high-quality screens are engineered to keep your view surprisingly crisp.
Nailing the Fit and Finish
Let's talk about the small details that make a big difference.
Do you really need to put a screw in every single hole on the mounting clips? My professional opinion: absolutely. It might seem like overkill, but using every screw ensures a rock-solid fit. This prevents any rattling on windy days and keeps the screen securely in place for the long haul.
But what happens if you install the screen and notice a small gap? It’s a frustrating moment, but don't panic.
If you’re looking at a tiny gap—less than 1/8 of an inch—a little bit of weatherstripping can usually seal it up nicely. For anything larger than that, it's a sign the screen was mis-measured. The best move is to have it remade to ensure you get the energy savings and clean look you were aiming for.
Whether you're just rescreening a single window or outfitting your entire home, Sparkle Tech Screen Service has the experience to ensure a flawless result. Feel free to get a quick quote from us today at https://sparkletechscreenservice.com.


