


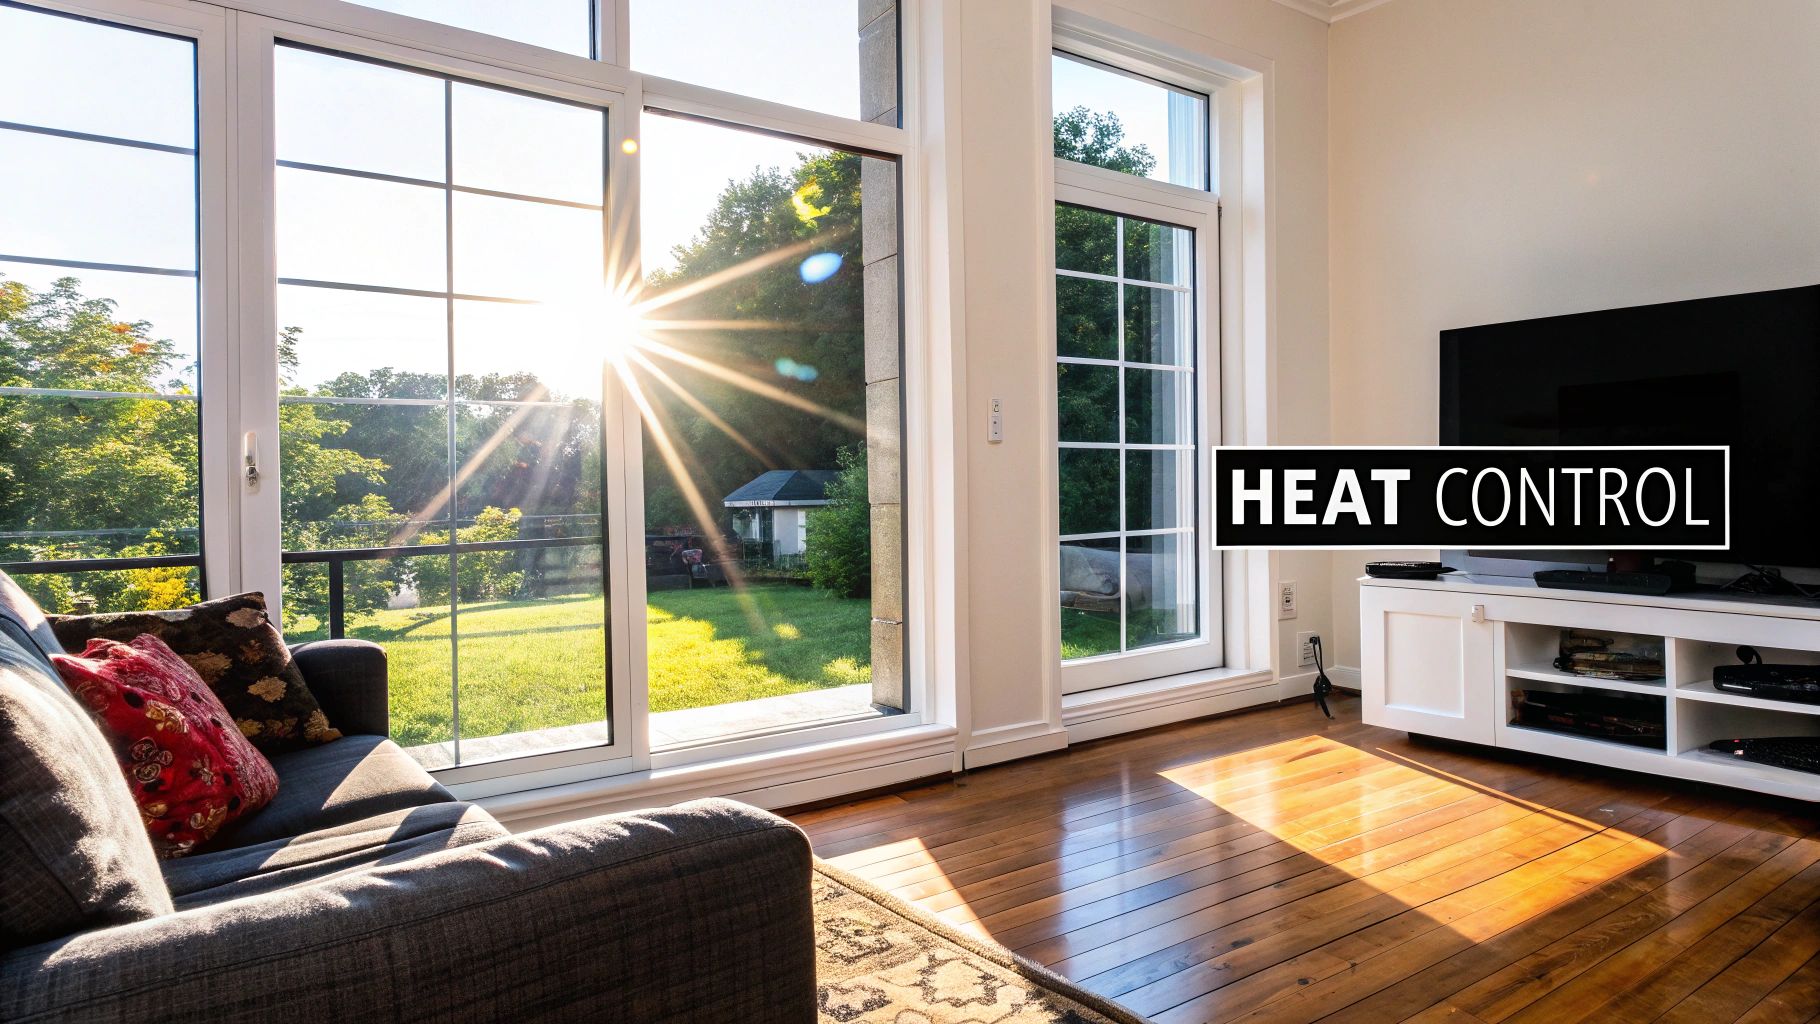
Ever find yourself wondering why some rooms in your house feel like a greenhouse, even with the AC blasting? Your windows are often the culprit, letting in a surprising amount of solar heat. Sun blocking window screens are one of the best ways to tackle this, stopping most of that heat before it even hits the glass. The result? A home that's naturally cooler and more comfortable.
Why Your Home Feels Hotter Than It Should
Standard windows are basically magnets for unwanted heat. This intense solar radiation doesn't just make you sweat; it kicks off a chain reaction of problems that hit your wallet and damage your home's interior.
The True Cost of Solar Heat Gain
When your house absorbs too much heat, your cooling system is forced to work overtime. That leads directly to higher energy bills and puts a ton of extra wear and tear on your HVAC unit. Looking at the big picture, it’s smart to find ways to reduce energy consumption in your home, and managing your windows is a great place to start.
It's not just about the heat, either. Those same UV rays are notorious for fading everything they touch.
- Furniture and Upholstery: That new couch or those beautiful curtains can lose their color and become brittle way too fast.
- Flooring: Hardwood can get bleached out, and carpets often develop faded patches in sunny spots.
- Artwork and Photos: Priceless memories and art can be permanently damaged by constant UV exposure.
More and more homeowners are catching on. The global solar screen market, valued at $2.5 billion in 2024, is expected to nearly double by 2033. It's a clear sign that people are looking for smarter, more energy-efficient solutions. When you consider that windows can be responsible for up to 30% of a home's heating and cooling energy loss, it all makes perfect sense.
Putting up quality sun blocking window screens creates an instant, effective barrier against the sun. Our guide on solar window screens walks you through how this simple upgrade pays for itself in both comfort and savings.
Choosing the Right Screen for Your Home
Picking the right sun-blocking window screens for your home goes way beyond just matching the color of your trim. To get the results you want—cooler rooms, less glare, and lower energy bills—you need to focus on two key things: the screen's material and its openness percentage.
Think of the openness percentage as the secret sauce. It tells you exactly how much sun the screen will block. A screen with 80% blockage is a fantastic all-around option. It significantly cuts down on heat and UV rays but still lets in a good amount of natural light and allows for decent airflow.
If you have a room that gets absolutely baked by the afternoon sun, you might want to step up to a 90% blockage screen. This will give you maximum heat and glare reduction, making that space much more comfortable.
This infographic gives a great visual breakdown of what you can expect.
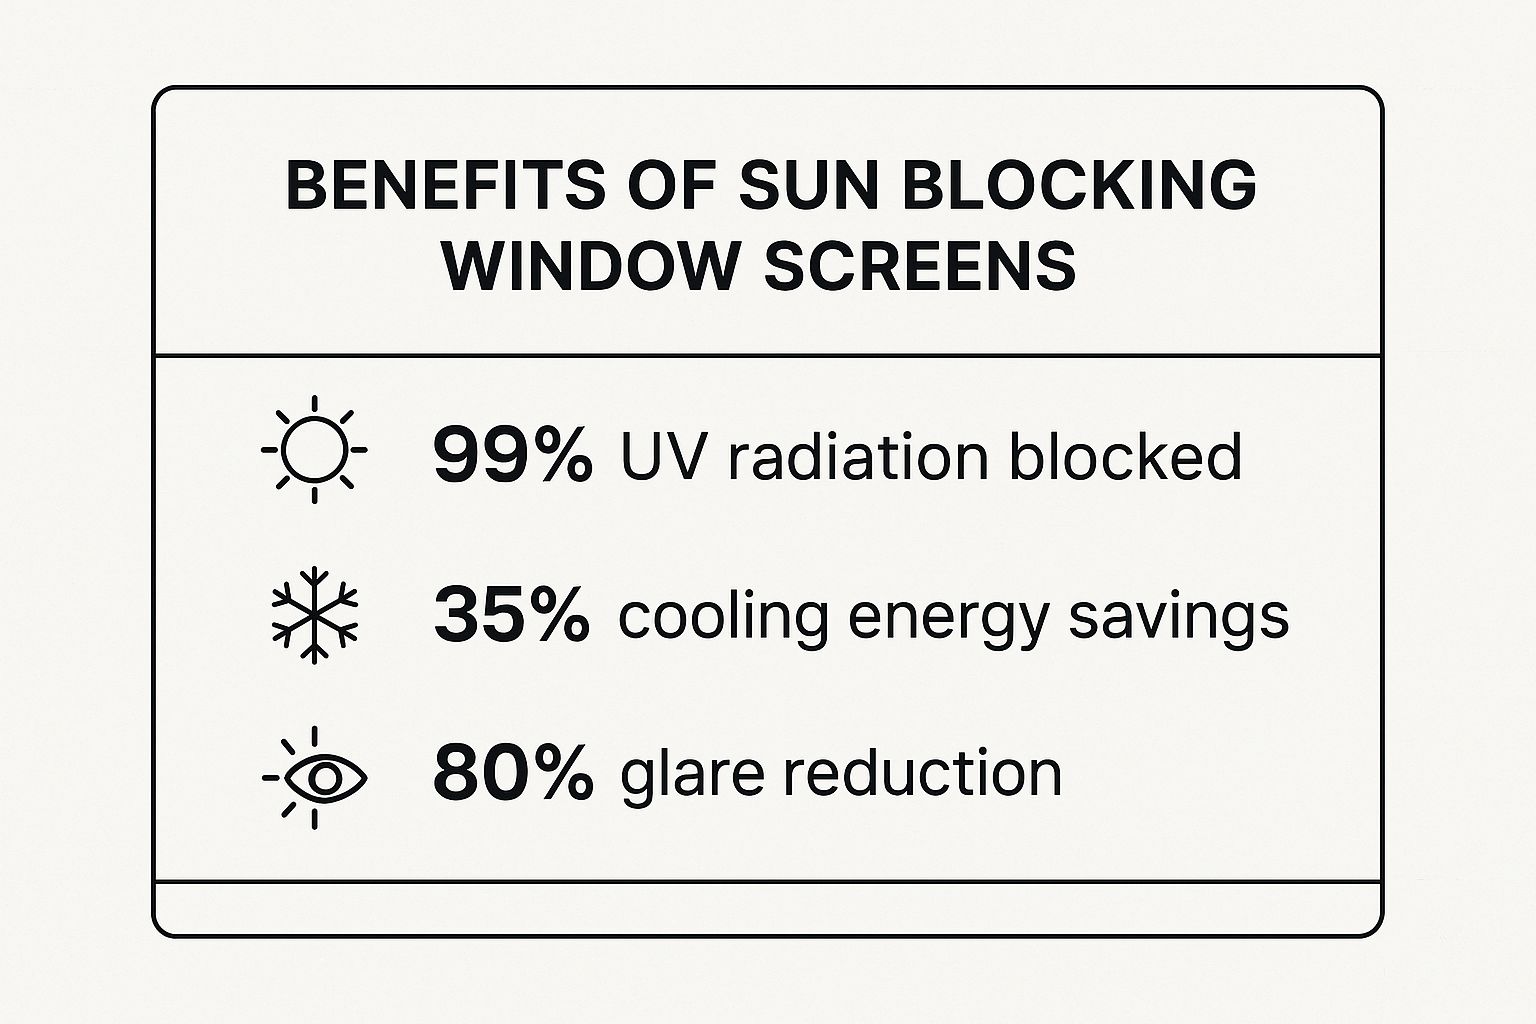
As you can see, these aren't your average window screens. They're high-performance products designed to solve real problems like high cooling costs and sun-faded furniture.
Material Matters Most
The fabric itself is just as critical as the openness factor. Most of what you'll find on the market are fiberglass and polyester screens, and they each have their place. Knowing the difference will help you make a much better decision, and you can always dive deeper into the best window screen material to get all the details.
Here’s a quick overview of what I've seen in the field:
- Fiberglass Screens: This is the standard for a reason. It's affordable, provides great visibility, and gets the job done for most situations. The main drawback is that it’s not the toughest material, so it might not hold up well if you have pets who like to climb or kids who play rough near the windows.
- Polyester (Pet-Resistant) Screens: If you have a dog that paws at the door or a cat that scales the screen, this is what you need. It’s a vinyl-coated polyester mesh that's way stronger and more resistant to tears and punctures. It’s the default choice for any high-traffic area.
Here's a tip I give to all my clients: don't be afraid of dark-colored screens. Many people think a black screen will ruin their view, but the opposite is true. Darker colors actually absorb light and cut down on glare, which can make your view of the outside look even sharper and more vibrant.
Comparing Sun Blocking Screen Materials
To make it even easier, here's a quick comparison table I put together to help homeowners weigh their options at a glance.
| Material | Key Benefit | Best For | Average Cost |
|---|---|---|---|
| Fiberglass | Excellent visibility and affordability | General use on windows in low-traffic areas | $ |
| Polyester | Superior strength and tear-resistance | Homes with pets, children, or high-traffic doors | $$ |
| Aluminum | High durability and a crisp appearance | Historic homes or areas with high sun exposure | $$ |
| Copper | Unique aesthetic that patinas over time | Coastal homes or for a distinctive architectural look | $$$$ |
Ultimately, the right material comes down to your specific home, lifestyle, and budget. For most, fiberglass or polyester will be the perfect fit.
Finding the Balance Between View and Privacy
There's always a bit of a trade-off. The more sun you block, the more the view can be affected. A 90% screen will definitely make a room feel a bit dimmer than an 80% screen, but it comes with a huge upside: daytime privacy. From the outside, it becomes incredibly difficult to see into your home.
This desire for smarter, more functional home upgrades is a growing trend. In fact, the window shade market is expected to jump from USD 4.65 billion in 2025 to USD 7.76 billion by 2032. It just shows that homeowners are increasingly looking for solutions that offer both energy efficiency and style. You can read more on these window shade market trends to see how the industry is evolving to meet that demand.
Getting the Measurements Right: A Pro's Guide to a Perfect Fit

You know the old saying, "measure twice, cut once"? When it comes to window screens, it's more like "measure thrice, order once." Getting this step right is the single most important part of the entire project. It's the difference between a clean, professional look and a frustrating, ill-fitting screen.
The first thing you need to figure out is where the screen is actually going to live. Is it going to sit inside a recessed channel in the window frame itself, or will it be mounted on the flat surface of the trim outside? This decision changes everything about how you measure.
For Screens That Sit Inside a Channel (Inset)
Most modern windows have a built-in channel or track designed to hold a screen. This gives you that clean, flush look. If this is what you're working with, precision is key.
Start with the width. Grab a good tape measure and take a reading across the top of the channel, another across the middle, and a final one at the bottom. Don't be surprised if these numbers are slightly different—very few window frames are perfectly square. Out of those three numbers, you'll want to use the smallest one. This guarantees the screen will slide in without getting stuck.
Now, do the exact same thing for the height. Measure the left side, the middle, and the right side from top to bottom. And just like before, you're going to write down and use the smallest of those three height measurements.
Expert Tip: The biggest mistake I see homeowners make is taking just one measurement for width and one for height. This almost always leads to a screen that’s too tight to install or too loose to create a good seal. Taking those extra two measurements saves a ton of headaches later.
For Screens That Mount on the Outside (External Mount)
Some windows, especially older wooden ones, don't have an internal channel. In this case, you'll be mounting the screen frame directly onto the exterior trim or "face" of the window.
For this style, you’re not trying to fit inside an opening; you’re trying to cover it completely.
-
Width: Measure the full width of the part of the window that opens, then add at least 1.5 inches to each side. This gives the screen frame plenty of surface to rest on and create a solid seal.
-
Height: You'll do the same for the height. Measure the opening top to bottom, then add that same 1.5-inch overlap to the top and bottom measurements.
No matter which type of screen you're measuring for, do yourself a favor and double-check everything before you click "buy." That little bit of extra time up front ensures installation day is smooth and the final result looks fantastic.
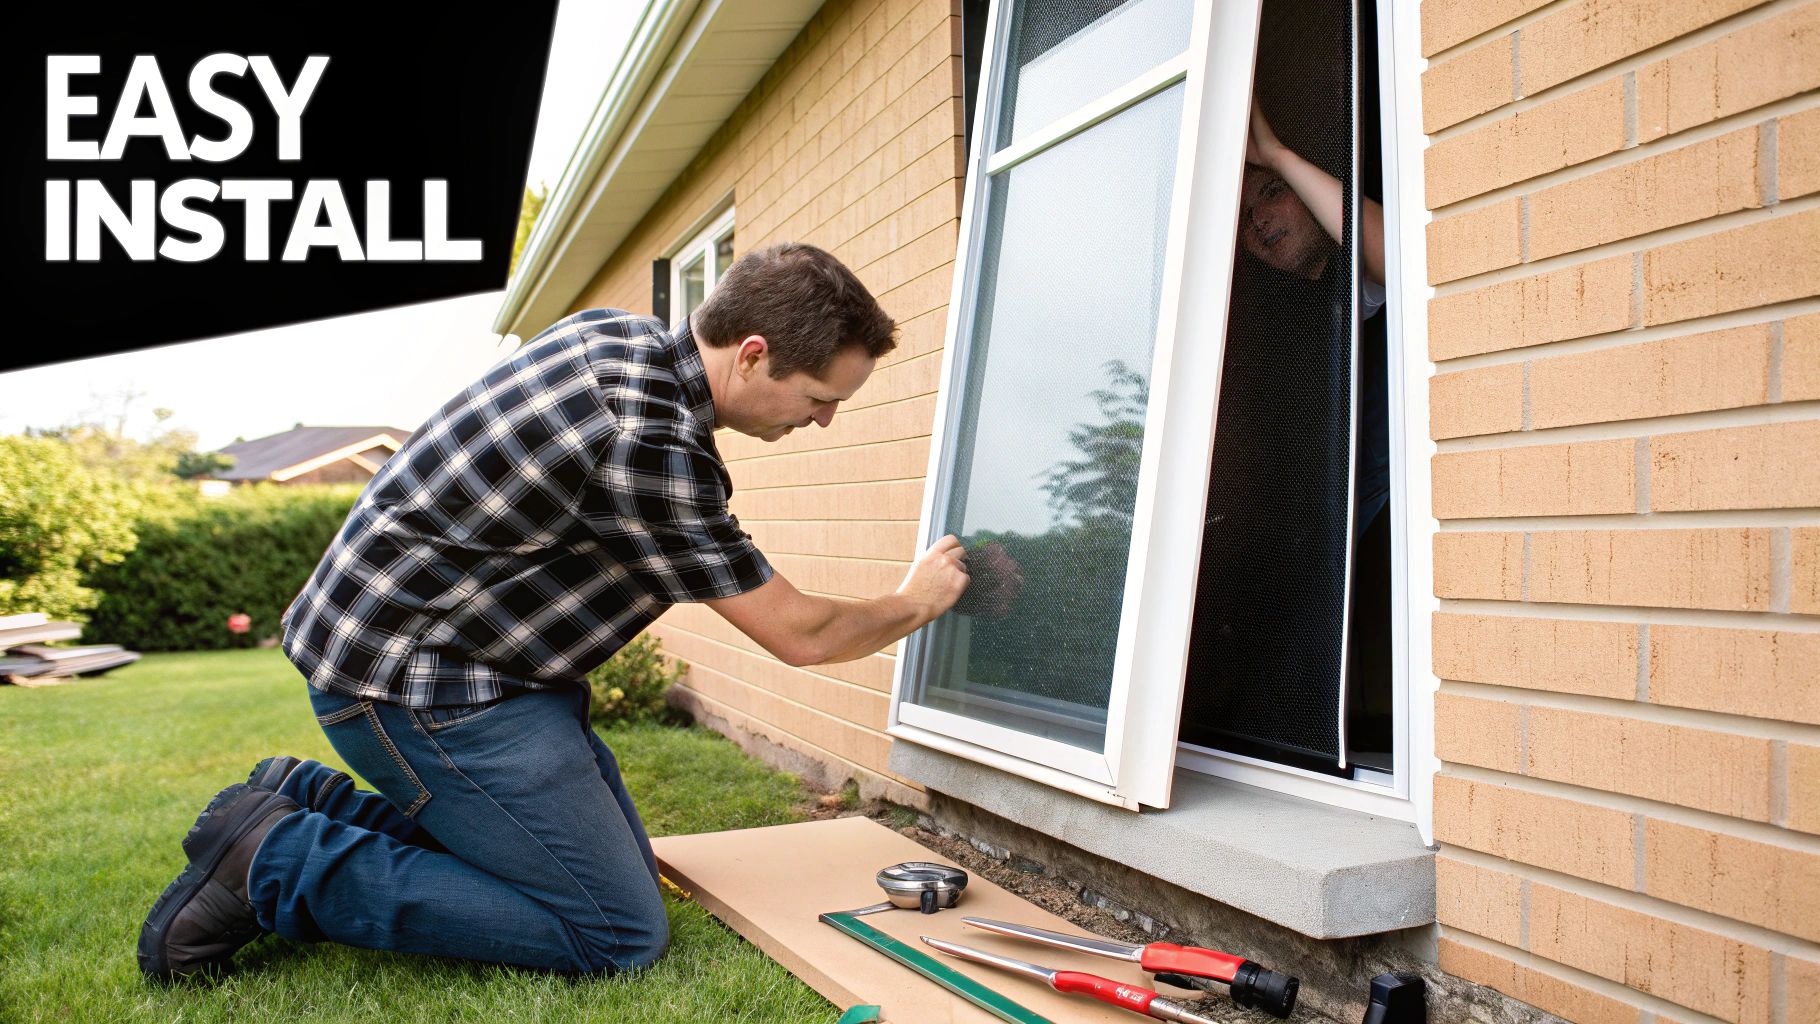
Alright, you've done the measuring, you've picked your material, and the new sun-blocking screens have arrived. Now for the fun part—getting them installed and enjoying that sweet relief from the sun. This is a fantastic weekend project, and trust me, that first moment you see the glare disappear is incredibly satisfying. You don't need a pro's toolkit to get a pro-level finish.
The secret to a frustration-free install is knowing how your screens are designed to fit into your windows. Most of the screens you'll find for DIY projects use one of two main mounting styles, and which one you have depends on your window frames.
Two Main Ways to Mount Your Screens
The simplest and most common method you'll run into involves tension springs. You'll see these little metal springs on one or two sides of the screen frame. The process is pretty intuitive: just pop the spring side into the window channel first, push it in, and then guide the other side into its channel. The springs do all the work, expanding to hold the screen snug and secure. It’s a great system for most vinyl or aluminum windows.
For a more heavy-duty fit, especially on older wooden window frames or if you live in a particularly windy spot, you’ll likely be using screw-in clips or latches. This approach means you'll be mounting small hardware clips onto the window frame itself. Once they're in, you set the screen in place and just turn the clips to lock it down. It takes a little more effort upfront—you’ll need to do some light drilling—but the result is an absolutely solid installation that isn't going anywhere.
Here’s a piece of advice I can't stress enough: grab a helper. Seriously. Especially for big windows or anything on the second floor. Having an extra set of hands makes the job safer and keeps you from accidentally dropping and bending a brand-new screen frame.
Nailing the Installation: A Few Pro Tips
Before you start, get your tools ready. A drill (if you're using clips), a tape measure, and a good step ladder are probably all you'll need. I always recommend giving the window channels a quick wipe-down first to get rid of any dirt or cobwebs. A clean surface means a better fit.
Keep these pointers in mind for a smooth process:
- Right Side Up: Give the screen a quick once-over to make sure you have it oriented correctly. Look for pull tabs—they should be at the bottom and easy to grab.
- Install from Indoors: Whenever possible, install your screens from inside the house. It's much safer and gives you more control.
- Never Force a Fit: If the screen feels too tight, stop. Don't try to muscle it into place. You could damage the screen frame or even your window. Pop it out, re-measure the window opening, and double-check it against the screen's dimensions.
A proper installation is what guarantees you'll get the maximum benefit from your screens for years to come. For a more in-depth visual breakdown, we've put together a full guide on how to install screens that walks you through every detail. Just take your time, and you'll have a perfect fit and instant relief from that harsh sun.
Keeping Your Screens Clean and Effective
You've made a smart investment in your home's comfort with sun blocking window screens. To keep them working like new, a little routine care is all it takes. I recommend giving them a good cleaning at least twice a year—once in the spring and again in the fall—to maintain peak performance and keep that cool air flowing.
The process is simple. All you need is a soft-bristle brush, a bucket of warm water, and a bit of mild dish soap. Just gently scrub both sides to get rid of any built-up dust, pollen, or grime.
After scrubbing, give them a thorough rinse with a garden hose. One word of caution: stay away from pressure washers. The high-powered spray is far too aggressive and can easily tear or warp the delicate mesh.
Seasonal Care and Getting the Most Life Out of Your Screens
If you live somewhere with harsh winters, taking your screens down for the season is a great idea. Storing them in a dry spot like a garage or shed protects them from snow and ice, which can stretch or damage the material over time. This one small step can add years to their lifespan.
The technology in these screens is pretty fascinating. It's not unlike what's used in the solar control window film market, which was valued at over USD 763 million in 2022. Both use special coatings to reflect solar heat. Proper maintenance is key to making sure that technology keeps working for you year after year.
Finally, while clean screens are great, don't forget about the glass behind them. For a crystal-clear view that lets you fully enjoy the scenery, pairing your efforts with professional window cleaning services can make a world of difference.
Got Questions About Sun Blocking Screens? We've Got Answers.
It's smart to have a few questions before you pull the trigger on sun blocking window screens. After all, you want to be sure you're making the right choice for your home. We get a lot of the same questions from homeowners, so let’s clear up a few common concerns.
A big one is always about the view. People worry that a dark screen will make their rooms feel like a cave or block that beautiful backyard scenery. Surprisingly, the opposite is often true. By cutting down on harsh glare, these screens can actually make your view of the outdoors look sharper and more vibrant.
Then there's the question of natural light. Will a screen with a 90% blockage rating turn your sunny living room into a dungeon? Not at all. While it does reduce the intensity, most people describe the result as a softer, more comfortable filtered light. It’s a welcome change, especially in those rooms that get hammered by the afternoon sun.
But What About My Houseplants?
If you've got a green thumb, this is probably top of mind. It’s a fair question—will your indoor garden survive behind these new screens?
For the vast majority of common houseplants, the answer is a resounding yes. They’ll do just fine.
- Less is More: The screens filter the sun's intensity, they don't block it out completely. This is actually a good thing for many plants, protecting them from getting their leaves scorched on hot days.
- Plants Adjust: Most plants are surprisingly resilient and will acclimate to the new, gentler light conditions within a few weeks.
Here's a pro tip from years of experience: If you have sun-lovers like succulents or flowering orchids, just shift them a little closer to the window right after we install the screens. This gives them a little boost while they get used to their new, less intense environment. It’s like putting a good pair of sunglasses on—everything is clearer without the squinting.
When it comes down to it, these screens are all about finding the perfect balance between protecting your home and enjoying it.
Ready to enjoy a cooler home with less glare? The team at Sparkle Tech Screen Service provides expert installation of new and replacement sun blocking window screens. Visit our website or call us at 623-233-0404 for a quick quote and same-week service.


