


A ripped screen isn't just an eyesore; it's an open invitation for every bug, leaf, and piece of debris to join you in your outdoor living space. The key to a solid screened enclosure repair is figuring out exactly what you're up against. A quick patch job is one thing, but a full replacement is another beast entirely. Catching these problems early always saves you headaches and money down the road.
How to Assess Your Screen Enclosure Damage
First things first, you need to play detective. Before you buy any materials or book a service call, you have to get a clear picture of the problem. A tiny hole from a bird's beak requires a much different fix than a whole panel that’s sagging after a nasty storm.
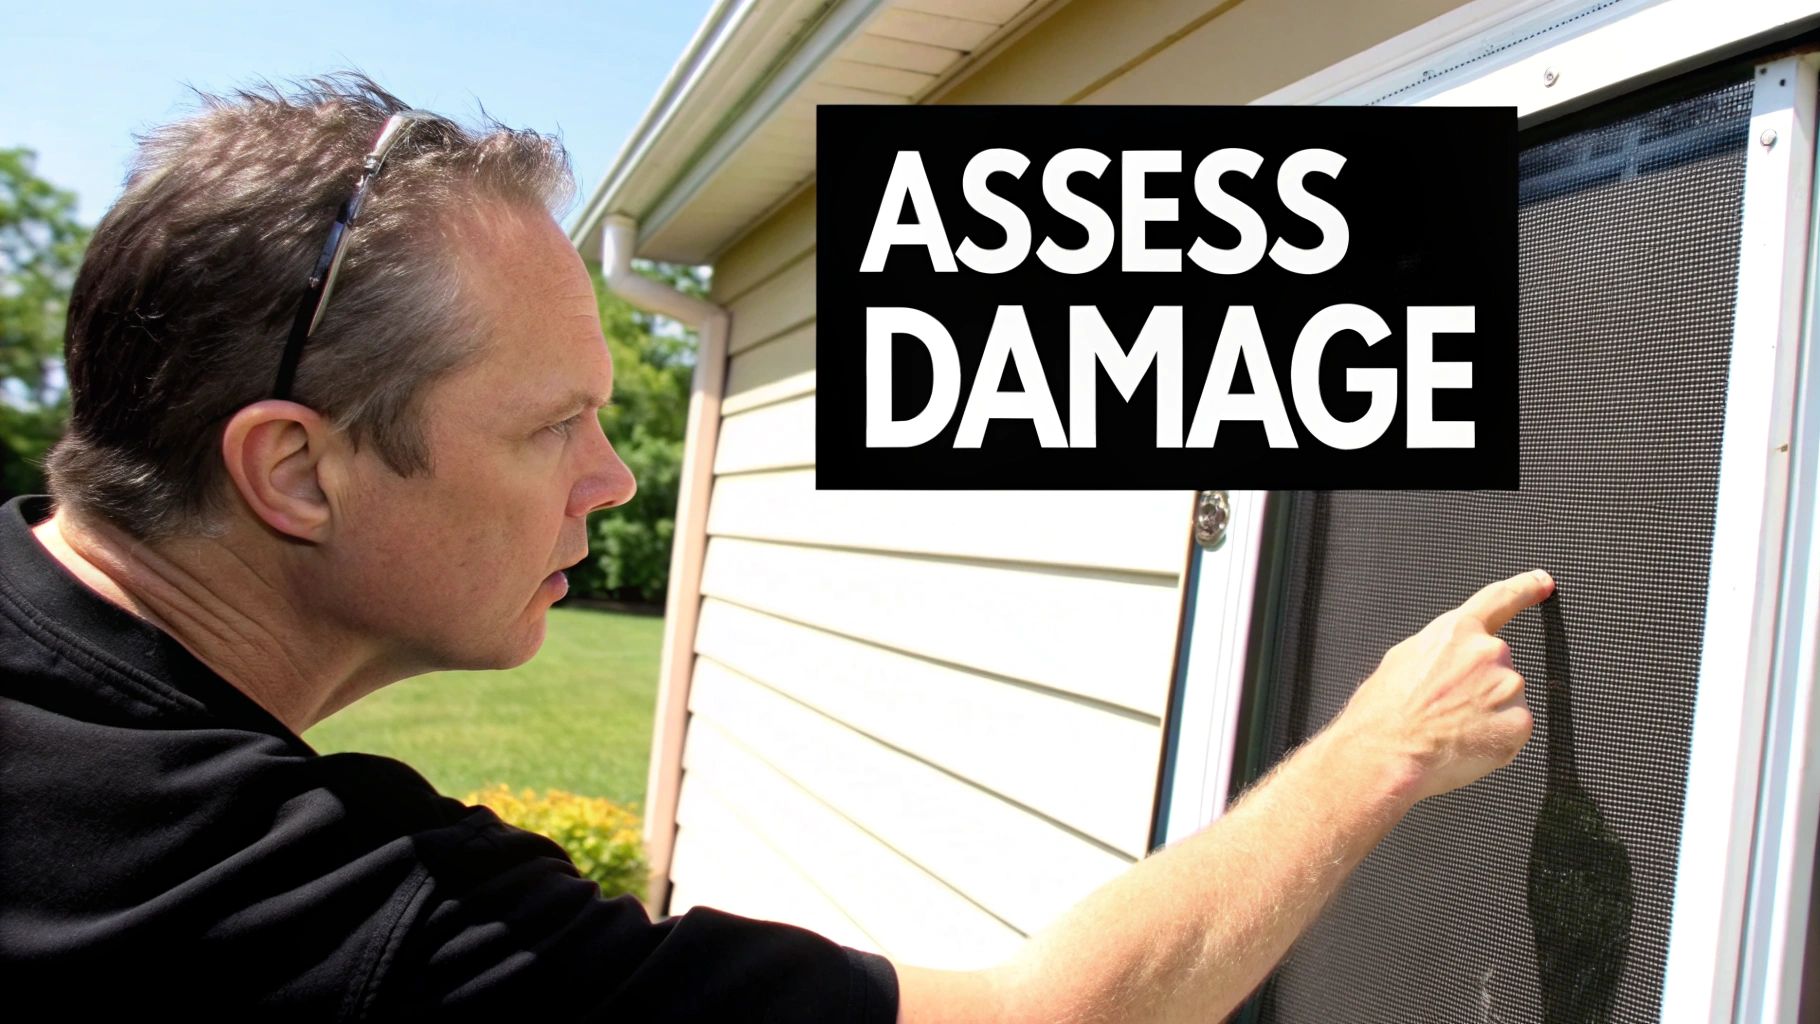
Wait for a bright, sunny day and take a slow walk around the outside of your enclosure. Start by looking for the big, obvious stuff—large tears, panels hanging loose, or sections completely detached from the frame. Those are your red flags.
Once you’ve done a full lap, get up close and personal with each panel. Scan for those smaller, sneaky holes that insects or flying embers love to create. While you're there, pay close attention to the spline. That's the rubbery cord tucked into the frame's channel that holds the screen tight. Is it cracked, looking brittle, or popping out of its groove? Sometimes the screen mesh is perfectly fine, but a worn-out spline is causing it to sag.
Common Types of Screen Damage
Not all screen damage is the same. Once you know what you’re dealing with, you can decide whether it's a quick DIY project or time to get a professional quote.
Here’s a rundown of the usual suspects I see all the time:
- Small Punctures and Holes: We're talking about anything less than an inch across. These are the easiest to fix yourself with a simple adhesive patch kit.
- Long Rips or Tears: These are often the result of an impact (like a stray frisbee) or just old, sun-beaten screen material finally giving up. A small tear might be patchable, but anything significant usually means it's time to replace the whole panel.
- Loose or Sagging Screens: This is almost always a spline problem. The spline has either shrunk over time or popped out, losing its grip on the screen. The good news is the screen itself might be reusable if you just re-spline it.
- "Blown Out" Panels: When a screen has completely pulled away from the frame on one or more sides, that’s a "blowout." There's no patching this—it's a definite full replacement. This is classic storm or high-wind damage.
Here’s a piece of advice I always give homeowners: Be proactive. Slapping a $5 patch on a small hole today can save you from a $150 full panel replacement after the next big storm blows through.
Quick Damage Assessment and Action Plan
To make things easier, I've put together a quick cheat sheet. It helps you match the problem you see with the most practical solution, giving you a realistic idea of the time, cost, and effort involved. For anyone living around Phoenix, keeping that enclosure sealed tight is non-negotiable for enjoying your patio without uninvited pests.
Use this table to quickly identify your screen enclosure issue and determine the best course of action.
| Type of Damage | Recommended Action | Estimated DIY Time | Average Professional Cost |
|---|---|---|---|
| Small Hole (Under 1") | DIY Adhesive Patch | 5-10 Minutes | N/A (Below min. service fee) |
| Loose Spline (Single Panel) | DIY Resplining | 30-45 Minutes | $75 – $125 |
| Large Tear (Over 6") | Full Panel Replacement | 1-2 Hours | $100 – $200 |
| Multiple Damaged Panels | Professional Rescreening | 4-8 Hours (Pro) | $400 – $1,500+ |
| Bent Aluminum Frame | Professional Repair | N/A | Varies by severity |
After looking over this chart, you should have a much clearer idea of whether to grab your tools or your phone. A bent frame or damage across multiple panels is usually a sign that it's time to let the experts handle it.
What You'll Need: Tools and Materials for Your Screen Repair
Jumping into a screen repair project without the right gear is a recipe for frustration. Trust me, I've seen it happen. Gathering everything you need before you start is the difference between a smooth, satisfying job and a project that drags on with multiple trips to the hardware store.
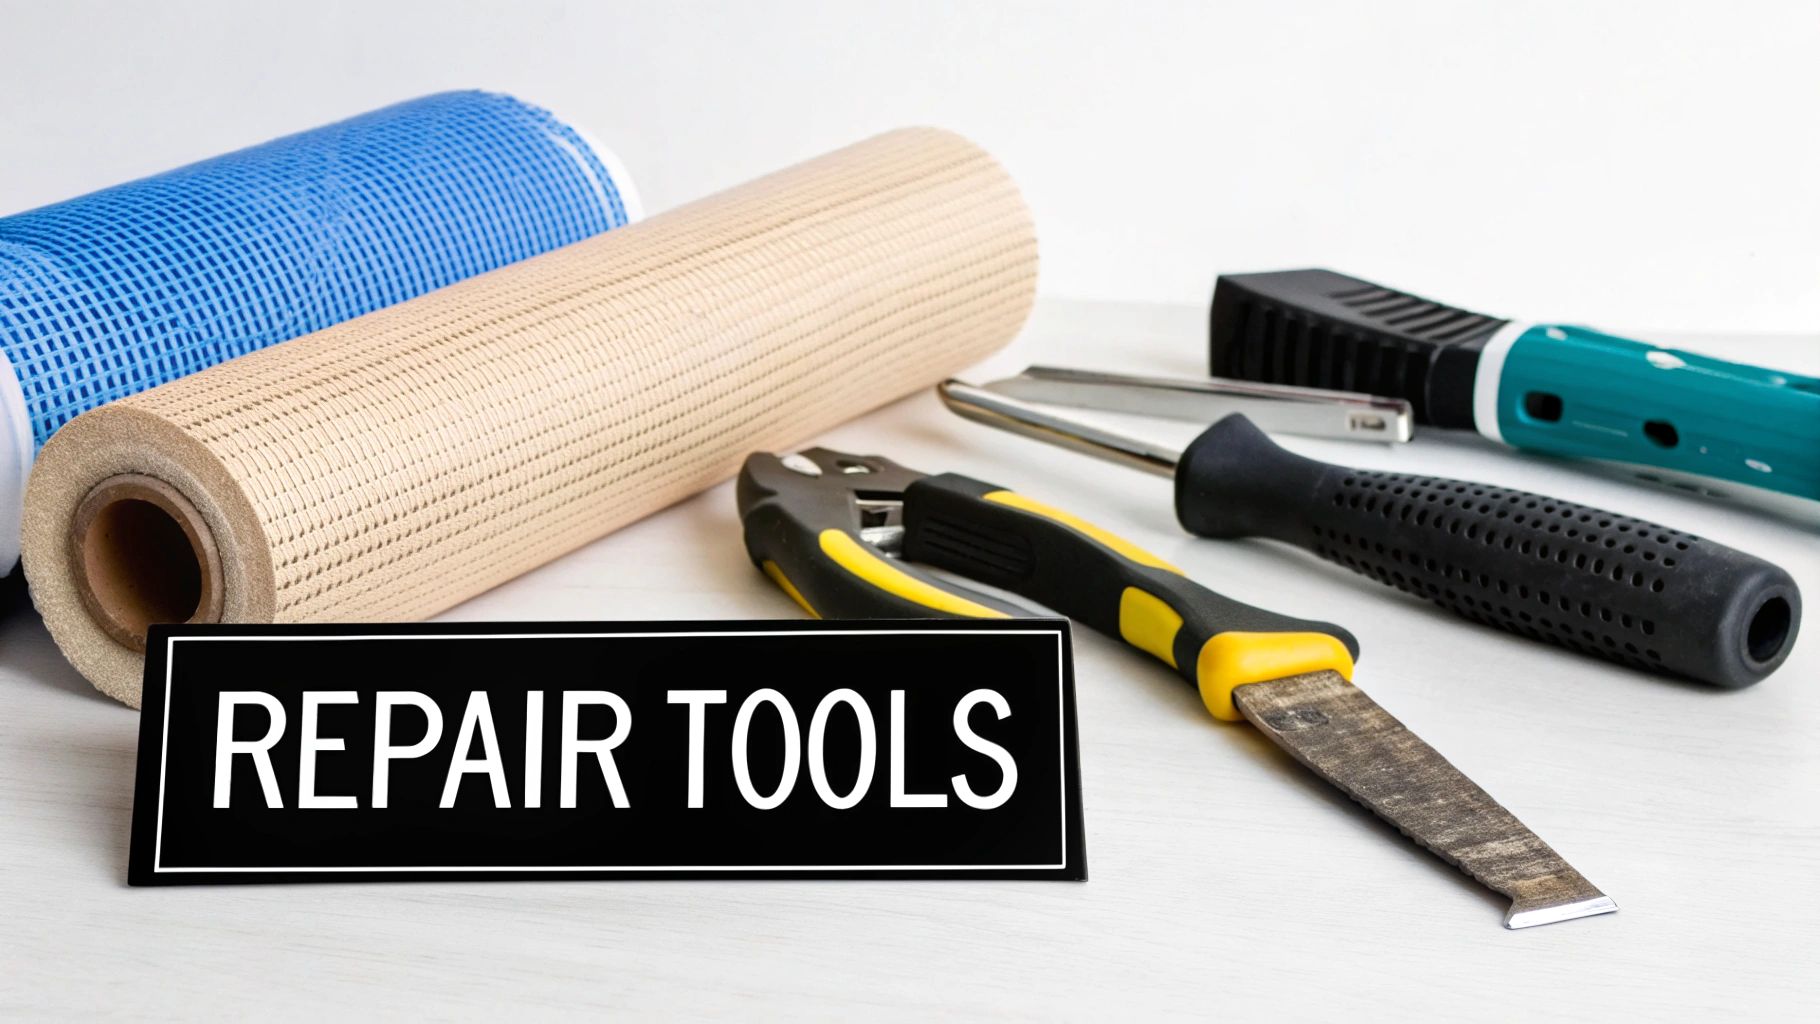
The good news is you don’t need an entire workshop full of expensive equipment. Most of these tools are affordable and easy to find. With more and more homeowners tackling DIY projects, even specialized tools are now readily available at your local big-box store.
This whole trend is part of a bigger picture. The home repair market is booming as people invest in their existing homes. It’s not just about aesthetics; a well-maintained enclosure can improve energy efficiency. In fact, the screen door repair market is projected to hit $2.3 billion by 2026, growing at a steady clip of 5-7% annually. If you're interested in the market data, you can see a full breakdown in the report on Data Insights Market.
Your Must-Have Tool Checklist
Before you even think about tearing out that old screen, let's get your toolkit in order. Having these items ready to go will save you a headache later.
- Spline Roller: This is your most important tool, hands down. It's a small roller that seats the screen and spline into the frame's channel. A good one has two wheels: a rounded (convex) side to push the screen mesh in first, and a grooved (concave) side to press the spline in securely. Don't skip this.
- Utility Knife: A fresh, sharp blade is critical. You'll need it for a clean, professional-looking trim on the excess screen. A dull blade will just snag and unravel the mesh, ruining your work right at the very end.
- Flat-Head Screwdriver or Awl: You need something small and sharp to pry up the end of the old, stubborn spline. Sometimes they can be really baked into the frame.
- Pliers: Once you’ve pried up an end, a solid pair of pliers makes yanking out the rest of the old spline a breeze. After years in the sun, that old spline can get brittle and break apart, so pliers are a huge help.
- Safety Glasses: Seriously, wear them. Old spline can snap and fly right at your face, and screen mesh can flick out small bits of debris. It’s a simple precaution that’s well worth it.
Choosing the Right Screen Material
The screen mesh itself is the main event, and you've got options. What you choose really comes down to your budget, your lifestyle, and what you’re trying to keep out (or in!).
Fiberglass Screen
This is the workhorse of the industry and what you’ll find on most homes around Phoenix. It's affordable, it doesn’t crease or dent easily, and it offers great visibility and airflow. For most situations, it’s the perfect choice.
Pet-Resistant Screen
Got a dog that likes to jump on the door or a cat that thinks your enclosure is a climbing gym? This screen will save you a lot of repeat repairs. It’s a vinyl-coated polyester that’s about seven times stronger than standard fiberglass, built specifically to stand up to claws and paws.
High-Visibility Screen
Often called "invisible screen," this material uses a much finer mesh that practically disappears, giving you a crystal-clear view. If your enclosure overlooks a great landscape or a pool, this is a fantastic upgrade. The trade-off is that it’s a bit less durable than the other types.
Pro Tip: Always buy more screen than you think you'll need. I tell everyone to add at least six inches to both the height and width of the panel. That extra material gives you something to grip while pulling the screen tight and provides a much-needed margin for error.
Don't Forget the Spline
Finally, let's talk about the unsung hero of this whole operation: the spline. This simple rubber cord is what holds the entire screen in place, but it's where most DIY repairs go wrong.
Spline comes in different diameters, usually from .125 inches up to .250 inches. The absolute best way to get the right size is to cut out a small piece of your old spline and take it with you to the hardware store to match it up. If you have to guess, it's generally better to go a tiny bit larger, as that will create a tighter, more secure fit.
Tackling Minor Screen Patches and Fixes Yourself
A small rip or hole in your screen enclosure doesn't automatically mean you have a disaster on your hands or need to replace a whole panel. Honestly, some of the most common screen damage can be fixed in minutes with a couple of simple tricks. Knowing how to handle these little repairs is a great way to get more life out of your enclosure, keep it looking sharp, and stop a tiny issue from turning into a big, expensive headache.
The real secret is matching the right fix to the right problem. A tiny ember burn and a small tear from a tree branch need different game plans. Let’s walk through the two best DIY methods for minor screen damage so you can handle these jobs like a pro and get a fix that actually lasts.
The Quick-and-Easy Fix: Adhesive Screen Patches
For small holes and tears—I’m talking anything under three inches—an adhesive screen patch is your go-to solution. Think of them as heavy-duty stickers made of screen material. They’re fast, strong, and surprisingly hold up well. The key to making them stick, especially in our brutal Arizona heat, is all about the prep work.
Just slapping a patch on a dirty screen is a surefire way to watch it peel off a week later. For a bond that really holds, you have to do it right.
- First, clean the area well. Grab a cloth and some isopropyl alcohol and wipe down the screen around the damage. This gets rid of the dust, pollen, and grime that’ll kill the adhesive. Let it air dry completely.
- Next, trim the frayed edges. Use a small, sharp pair of scissors to snip away any loose strands around the hole. This gives the patch a clean, flat surface to grip.
- Now, apply the patch and press firmly. Peel off the backing, center it over the hole, and press down hard from the middle outwards. You want to smooth out any air bubbles and hold that pressure for at least 30 seconds to get the adhesive properly activated.
Here's a pro tip: for a much stronger, longer-lasting repair, stick another patch on the other side of the screen. This creates a "sandwich" that grips from both directions and dramatically improves how long it holds up.
The Finer Touch: Darning Small Holes
When you're dealing with tiny punctures, like from a pesky insect or a stray spark, a patch can feel like using a sledgehammer to crack a nut. A more elegant and nearly invisible technique is darning the screen, just like you’d darn a sock. You're basically weaving new "threads" across the hole to recreate the screen mesh.
It sounds complicated, but it's really not. All you need is a needle and a single strand of screen material, which you can easily pull from a small scrap piece of screen.
Thread the strand through your needle and start weaving on one side of the hole, going over and under the existing mesh to lock it in place. Then, just pass the needle back and forth across the opening, creating a new little grid that blends right in. Once the hole is covered, tie a tiny, discreet knot and snip off the extra. This is the perfect method for high-visibility areas where a noticeable patch would drive you crazy.
Insider Tip: Found a pinhole-sized fray that hasn't quite broken through yet? A tiny dab of clear nail polish is an amazing preventative fix. It acts like glue, sealing the fibers and stopping the damage in its tracks.
Which Repair Method Should You Choose?
Deciding between a patch and darning really just comes down to the size and location of the damage. They both have a place in your screened enclosure repair toolkit.
| Repair Method | Best For | Pros | Cons |
|---|---|---|---|
| Adhesive Patch | Holes & tears up to 3" | Super fast, very strong, no special skill needed | Can be noticeable, might peel if the screen isn't clean |
| Darning | Tiny punctures (under 1/4") | Almost invisible, a permanent fix, uses scrap material | Takes more time and patience, not great for larger damage |
At the end of the day, being able to do these small repairs yourself is empowering. It doesn't just save you the money from a service call; it keeps your outdoor living space protected and bug-free. For those of us in the Phoenix area who live on our patios, these skills are essential for year-round comfort.
And if you ever run into a problem that looks bigger than a simple patch, don’t hesitate to reach out to Sparkle Tech Screen Service for a quick, no-hassle quote.
Replacing a Full Screen Panel Like a Pro
When a simple patch won't cut it, or the screen fabric is just getting old and brittle, it's time to replace the entire panel. I know, it sounds like a big job, but trust me, this is one of the most satisfying DIY projects you can tackle. With the right approach and a little patience, you can get a professional, drum-tight finish that looks incredible and keeps the bugs where they belong—outside.
We're going to walk through the whole process, focusing on the little details that make a huge difference between a saggy, amateur job and a clean, professional one.
Getting Started The Right Way
Before you even think about touching the old screen, lay out all your tools and materials. There’s nothing worse than getting halfway through, screen pulled tight, and realizing your spline roller is still in the garage. A few minutes of prep work saves you a major headache later. Proper setup is the secret to a smooth screened enclosure repair.
With your tools ready, the first real step is getting that old panel out. The key here is finesse, not force. You want to avoid scratching or denting the aluminum frame.
Find an end of the old rubber spline. A flat-head screwdriver or an awl works perfectly to gently pry a corner up. Once you've got a little bit to grab, use your pliers and pull. It should come zipping out of the channel in one long, satisfying piece. With the spline gone, the old screen pretty much falls right out.
The Art of Cutting and Placing New Screen
Once the old screen is out, take a second to clean the channel in the frame. A stiff brush or the crevice tool on your shop vac will clear out any old spline fragments, dirt, and dust. A clean channel is non-negotiable for seating the new spline properly.
Now for the most critical part, and where most people mess up: cutting the new screen. Always cut your new screen material larger than the opening. I can't stress this enough. Give yourself at least two to three inches of extra screen on all four sides.
This extra material isn't waste; it's your handle. It gives you something to grip and pull the screen taut while you work, which is the secret to avoiding sags and wrinkles. Cutting it too close to the right size is the #1 reason for a loose, sloppy-looking finish.
Drape your oversized screen panel over the opening. A few pieces of tape or some small clamps at the top will hold it in place and let gravity do some of the work for you.
This visual guide breaks down some of the simpler fixes you might try before committing to a full replacement.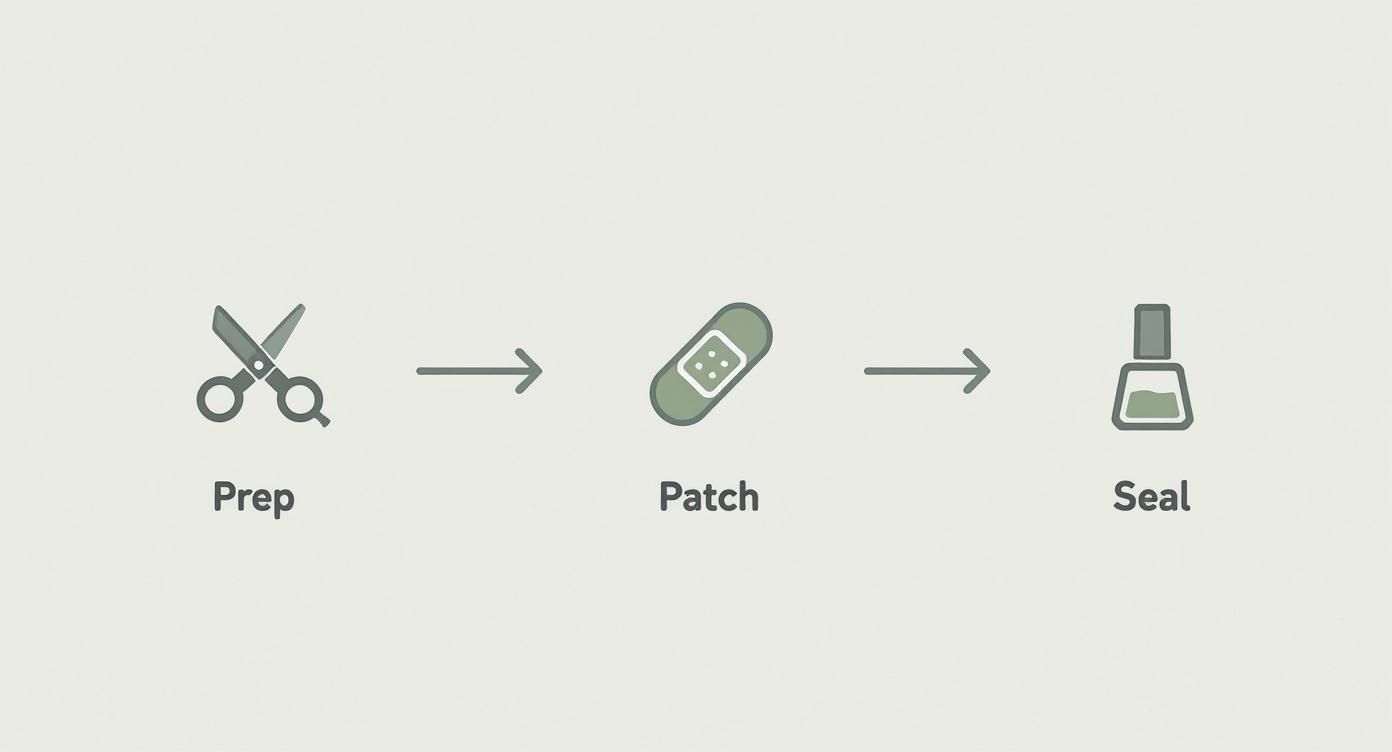
The flow from preparation to patching and sealing highlights how addressing minor issues can prevent the need for larger projects.
Mastering the Spline Roller
This is where the magic happens. Your spline roller is about to become your best friend. Start on one of the shorter sides of the panel—it's just easier to manage.
Using the rounded (convex) wheel, gently press the screen mesh into the channel. You're not trying to jam it in there, just creating a small groove for the spline to follow. Run it down the entire side while keeping a slight, even tension on the screen with your other hand.
With the screen pre-seated, lay your new spline over the channel. Now, flip your tool to the grooved (concave) wheel. Press the spline firmly into the channel, rolling right over the screen. You'll feel it lock everything into place. Don't even think about trimming the excess screen yet!
Next, move to the opposite side. This is where you create that perfect tension. Pull the screen taut—not so hard you bend the frame, but firmly—and repeat the process. First the convex wheel to seat the screen, then the concave wheel to press in the spline. You’ll immediately see and feel the screen tighten up.
Do the same thing for the top and bottom sides. By the time that fourth side is done, your screen should be tight as a drum and completely wrinkle-free.
The Finishing Touches and Common Mistakes
Okay, the hard part is over. With the screen locked in, it’s time to trim off the excess. Grab your sharp utility knife. Holding it at a slight angle pointing away from the spline, carefully slice off the extra screen. The outer edge of the frame channel is your perfect guide. Go slow and steady for a clean, professional line.
A few common mistakes I see all the time:
- Cutting the Screen Too Short: We've covered this, but it's worth repeating. Always leave plenty of extra material to work with.
- Applying Too Much Tension: If you pull way too hard, you can actually cause the aluminum frame to bow inward. The tension should be firm but even.
- Creasing the New Screen: Be careful not to fold or crease your screen material before you install it. Those marks can be nearly impossible to get out.
Replacing a full panel yourself is an incredibly rewarding project. But if you get started and realize the job is bigger than you thought, or if you have multiple panels that need work, don't hesitate to call in the experts. For fast, reliable service in the Phoenix area, contact Sparkle Tech Screen Service for a quick quote.
When It’s Time to Call in a Pro for Your Enclosure Repair
There’s a real satisfaction in fixing things yourself, but some jobs are simply better left to the experts. Knowing when to step back and call for professional screened enclosure repair isn't giving up—it’s making a smart call for safety, quality, and the long-term value of your home.
Some issues are much more complex than a simple patch job and demand specialized tools and know-how. Spotting these red flags early can save you from a DIY project that gets out of hand, potentially causing more damage or creating an unsafe structure. Sometimes, the best way to save money is to get it done right the first time.
Don't Mess with Structural Problems
The aluminum frame is the backbone of your enclosure. If you spot any trouble with the structure itself, that’s your cue to get a professional assessment, no questions asked.
Keep an eye out for these tell-tale signs:
- Bent or Bowing Beams: This is common after a nasty storm or from something heavy, like a tree branch, falling on it. Trying to bend these back into shape yourself can weaken the metal and create a serious hazard.
- Corroded or Rusted Fasteners: The screws and bolts that hold the whole thing together can rust out, especially near the base. A pro knows how to replace these without compromising the stability of the entire enclosure.
- Foundation Trouble: If you notice the base pulling away from your concrete slab or see major cracks around the anchors, that's a serious problem that needs expert attention right away.
A professional crew understands the engineering behind these structures and will make sure any structural fix is up to local building codes. This is about more than looks; it's about ensuring your enclosure is safe and ready for the next big storm.
The Job is Too Big or Too High
Your safety always comes first. Period. Any repair that requires you to work on a second-story enclosure or get up on the roof panels is a job for a team with the right safety equipment, like harnesses and scaffolding.
The risk of a serious fall is just not worth it for the average homeowner. Professionals are trained and insured to work at heights, which protects you from liability if an accident happens on your property.
On top of that, a full rescreening is a much bigger project than most people realize. Replacing a panel or two is one thing, but rescreening an entire enclosure is a two-person job at minimum. It takes skill to get the tension just right across every single panel for that tight, uniform look. A pro team can usually knock out a full rescreen in a day, while it could take a DIYer several weekends to get it done.
Making the Smart Financial Choice
Hiring a professional might seem like the more expensive option at first glance, but it often saves you money down the road. The cost of a professional screened enclosure repair can vary quite a bit depending on the damage. On average, homeowners report paying around $923, but that can swing from $297 for minor fixes to over $1,587 for major structural work. For a closer look at what goes into that final price, this Angi.com guide offers a great cost breakdown.
When you start adding up the cost of specialized tools you'll only use once, materials you might waste on mistakes, and—most importantly—the value of your own time, a professional quote starts to look pretty good. A reputable company will deliver a quality repair backed by a warranty, saving you the headache and cost of doing it all over again in a year or two.
Got Questions About Screen Repair? We Have Answers.
It's one thing to read a guide, but it's another to tackle the project yourself. You're bound to have a few specific questions pop up. That's totally normal. Here are some of the most common things homeowners ask us about screen enclosure repairs, with straight-up answers from our years of experience.
How Long Should My Screen Enclosure Actually Last?
This is the big one, and the honest answer is: it depends. A standard fiberglass screen should give you a solid 7 to 12 years of service. But here in Phoenix, the sun is relentless. That constant UV exposure is the number one killer of screen mesh, causing it to get brittle and break down much faster than it would in a milder climate.
If you upgrade to a premium material, like a tough pet-resistant screen or a solar screen, you can easily push that lifespan to 15 years or more. A little preventative maintenance goes a long way, too.
Pro Tip: The best thing you can do is give your screens a quick rinse with a garden hose every few months. Getting the dust and grime off slows down the wear and tear from the sun. It's a simple step that makes a real difference.
Can I Just Replace a Single Damaged Panel?
Absolutely, and for most situations, that's exactly what you should do. There's no reason to rescreen your entire enclosure just because the dog tore through one panel or a golf ball found its mark. If the rest of your screens are still in decent shape—meaning they aren't faded, chalky, or brittle—a single panel replacement is the smartest, most cost-effective fix.
It's a straightforward job that solves the immediate problem without turning into a massive project. The key is to match the new screen material and spline to what you already have so it all looks uniform when you're done.
What's the Best Screen Material if I Have Pets?
If you've got dogs or cats, don't even think about using standard screen. You need pet-resistant screen. No question. It’s a super-durable, vinyl-coated polyester mesh that’s about seven times stronger than the fiberglass stuff. We’ve seen it stand up to claws, paws, and pets bouncing off it without a single rip.
Yes, it costs a bit more upfront. But installing pet screen on the lower panels of your enclosure will save you from the headache of doing the same repair over and over again. It’s one of the best upgrades any pet owner can make, period.
What Can I Expect to Pay for Professional Repair?
Costs can vary, but here’s a realistic breakdown of what you can expect for a professional job:
- Single Panel Replacement: For a standard-sized panel, you're typically looking at $100 to $200. The final price depends on how big the panel is and how high up it is.
- Spline Replacement (per panel): Sometimes the screen is fine, but the old spline has cracked and fallen out. This is a quicker fix, usually running $75 to $125.
- Full Enclosure Rescreen: This is the big one. Rescreening an entire patio or pool enclosure can range anywhere from $1,200 to $3,500 and up, depending on size, materials, and complexity.
Always get a firm quote before work begins, as local labor rates and your choice of materials will affect the final price.
Why Is My Screen Turning White and Flaky?
Ever see an old screen that looks chalky and feels brittle? That's oxidation. It’s what happens after years of sun exposure have completely broken down the screen’s protective coating. Once you see that whitish flaking, the material has lost all its strength and is just waiting to tear.
At this point, patching is a waste of time and money. The material has reached the end of its life, and that panel—or more likely, the whole enclosure—needs to be fully rescreened. It's a common problem and a sure sign it's time for an upgrade. This trend of maintaining and improving outdoor living spaces is growing, with the global screen enclosure market projected to hit about $2.3 billion by 2033. You can see more details on this expanding market over at MarketReportAnalytics.com.
When you need a no-fuss, reliable fix, Sparkle Tech Screen Service is ready to help. We offer same-week service, fast quotes, and even same-day pickup for bug screens, sun screens, and sliders. Let's get your outdoor space back to perfect. Visit Sparkle Tech Screen Service or give us a call today


