


Before you even think about grabbing your tools, let's figure out what's actually wrong with your retractable screen door. Jumping straight into a repair without a proper diagnosis is a recipe for frustration. A few minutes of detective work now will save you a ton of time and make sure you're fixing the right thing.
Diagnosing Your Retractable Screen Door Problem
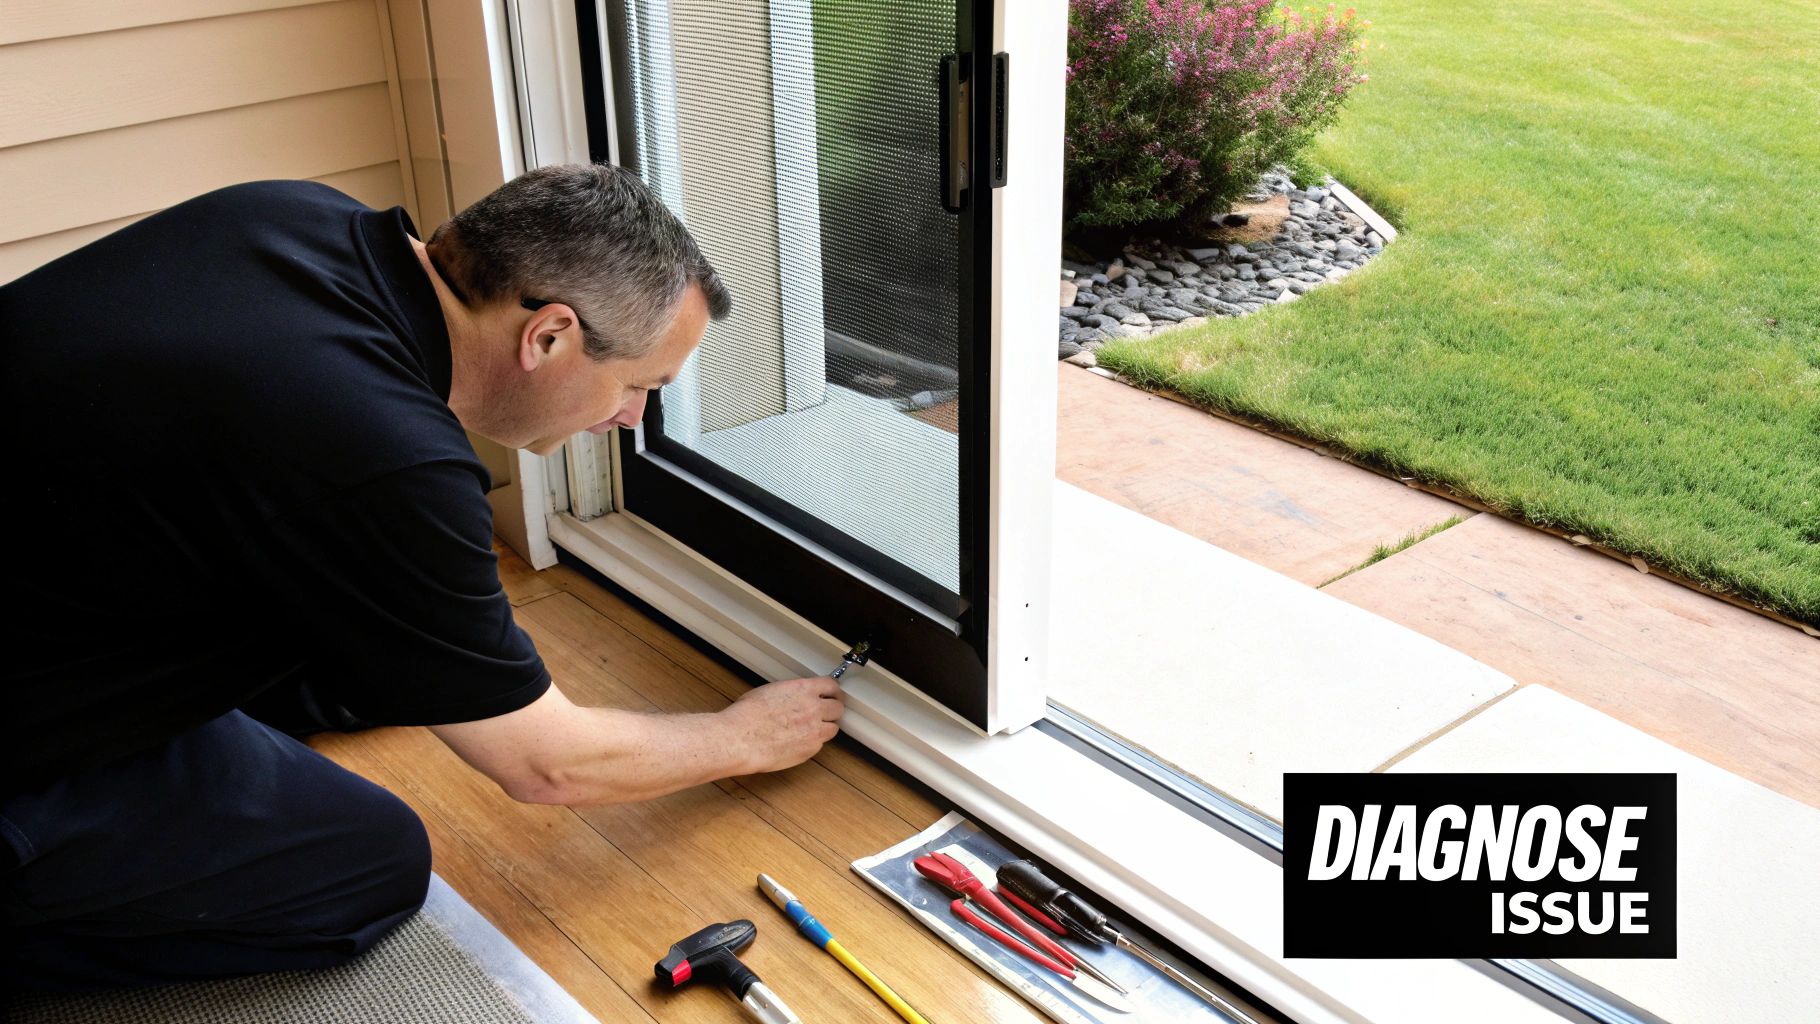
A successful retractable screen door repair always starts with a good diagnosis. It’s easy to assume the worst, but often, what looks like a major mechanical failure is just a simple, overlooked issue. I’ve seen it countless times—a screen that won’t retract is often just a victim of some gunk stuck in the tracks.
Taking a moment to understand the moving parts and pinpoint the exact point of failure is crucial. This helps you know if you're looking at a five-minute fix or something that might require new parts.
Understanding The Core Components
Your retractable screen is a simple system, but all the parts need to work together. If one piece is out of whack, the whole thing can act up. Here’s what you’re dealing with:
- The Housing (or Cassette): This is the long box on the side of your door frame where the screen rolls up. It protects the screen and houses the spring.
- The Screen Mesh: The star of the show. It’s tough, but it’s not invincible. Over time, it can get saggy, torn, or popped out of its track, especially with kids or pets around.
- The Tracks (Top and Bottom): These are the guide rails that the screen slides along. They are absolute magnets for dirt, pet hair, and tiny pebbles, which can stop a door in its, well, tracks.
- The Spring Mechanism: Tucked away inside the housing, this is the engine of your door. It's a powerful spring that creates the tension to pull the screen back. When it gets weak or breaks, your screen won't go anywhere.
A Quick Diagnostic Walkthrough
Okay, let’s figure out your specific problem. Gently slide the door open and closed a few times. Don't force it. Just watch and listen. Where does it stick? Does it make any weird noises?
Is the screen dragging or getting caught? Your first stop should always be the tracks. I’d say more than 80% of "stuck" screen issues I see are caused by simple grime or a tiny leaf in the guides. Run your finger along the inside of both the top and bottom tracks; you'll be surprised what you find.
If the door won’t retract at all, or it does so painfully slowly, that’s almost always a spring tension problem. The spring might just need to be re-tensioned (a simple adjustment), or if it’s old, it might be worn out and need to be replaced. For obvious damage, like a big tear in the mesh, the solution is pretty clear.
Key Takeaway: Don't automatically assume the worst. A thorough cleaning of the tracks and a quick spray of silicone lubricant solves an amazing number of problems without ever needing to pick up a screwdriver.
To help you narrow down the issue, I've put together a quick checklist. Match your door's behavior to the likely cause to find your starting point.
Common Problems and Their Likely Causes
| Symptom | Likely Cause | Repair Focus |
|---|---|---|
| Screen won't retract or retracts slowly | Lack of spring tension or a broken spring. | Adjusting or replacing the internal spring. |
| Screen is stuck or moves unevenly | Debris in the top or bottom tracks. | Thoroughly cleaning the tracks. |
| Screen material is sagging or wavy | Loss of tension or mesh has stretched over time. | Re-tensioning the spring; may need a mesh replacement. |
| Screen has popped out of the track | Bent track, worn-out guides, or accidental impact. | Inspecting and realigning tracks and guides. |
| Visible hole or tear in the mesh | Physical damage from pets, people, or objects. | Patching the screen or complete mesh replacement. |
Using this table can save you from trying to adjust a spring when all you really needed to do was clean out the track.
It’s no surprise these doors are so popular. They're a fantastic, space-saving solution. In fact, the global market for retractable screen doors was valued at around USD 371.5 million and is expected to grow to over USD 596 million by 2031. If you're interested, you can read more about these market trends and their growth.
Assembling Your DIY Repair Toolkit
Before you even think about touching the screen door, let's talk about tools. Trust me, nothing is more frustrating than getting halfway through a repair only to realize you're missing a crucial piece of gear. A quick trip to the garage or a planned run to the hardware store now will save you a massive headache later.
You don't need a professional-grade workshop for this. Most of the common fixes for these doors can be handled with a handful of tools you probably already own, plus one or two specialty items that make a world of difference.
Essential Tools and Materials
Think of this as your go-to kit for retractable screen door first-aid. With these items on hand, you’ll be ready for almost anything, from a sticky track to a full-on mesh replacement.
- Screwdrivers (Phillips and Flathead): You'll need these for just about everything, especially for removing the housing and track screws. A multi-bit driver is a fantastic space-saver.
- Utility Knife (with a fresh blade!): I can't stress this enough—a sharp blade is non-negotiable for trimming new mesh. A dull one will snag, tear, and completely ruin the new screen you just bought.
- Spline Roller: If you're swapping out the mesh, this little gadget is your best friend. It’s the only way to press the rubber spline (the cord that holds the screen in the frame) into its channel without a struggle.
- Silicone-Based Lubricant Spray: This is critical. Do not grab that can of WD-40. Oil-based lubricants are dirt magnets and will gum up the tracks, making the problem even worse down the line. A quality silicone spray keeps things gliding smoothly.
- Needle-Nose Pliers: Invaluable for pulling out old, brittle spline or fiddling with small parts inside the housing.
Expert Tip: Before you buy a single thing, find your door's model number. It’s usually on a small sticker inside the main housing or along the track. This number is your golden ticket for finding the exact replacement parts you need, either from the original manufacturer or a third-party supplier.
Sourcing the Right Replacement Parts
Getting the wrong parts is probably the most common reason a DIY repair goes south. You have to be precise. Start by measuring the width and height of your door opening so you know exactly how much new mesh to buy.
Getting this right is easier than ever, thankfully. The market for home fixtures, including the related retractable storm door market—which is projected to hit USD 0.67 billion by 2033—is booming. This means manufacturers are generally getting better at making parts accessible. You can dig into some of the trends in the home fixture market if you're curious, but the bottom line for you is that finding what you need is usually just a few clicks away.
Getting Your Hands Dirty: Fixing Common Retractable Screen Failures
Alright, let's get to the good stuff—the actual fixes. Don't be intimidated; you can absolutely handle most of these repairs yourself with a little patience and the right know-how. We'll break down the most common problems I see in the field, one by one, so you can get your door sliding like new again.
Before you even touch a screwdriver, a little prep work goes a long way. The last thing you want is to be halfway through a repair and realize you're missing a part. The workflow is simple: measure anything you might need to replace, find the right parts, and then get your tools together.
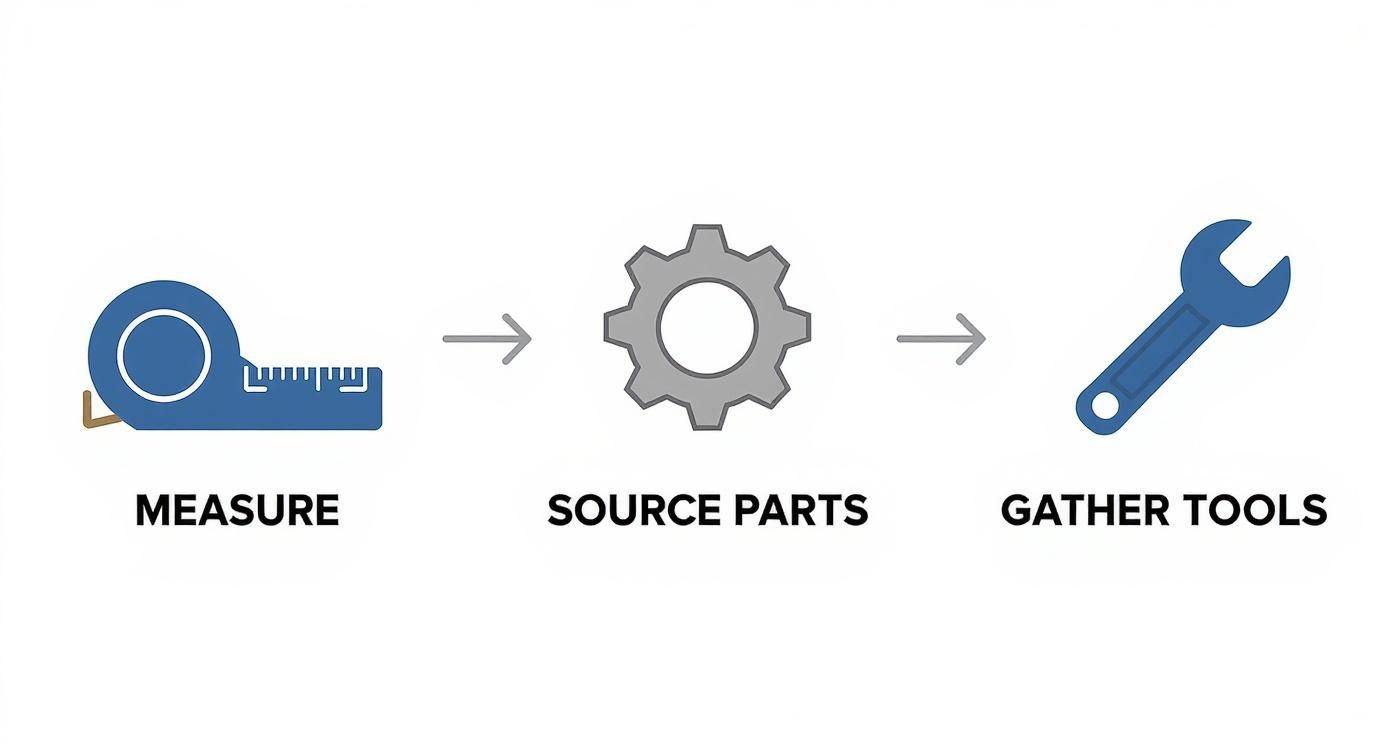
Think of it this way: a few minutes of planning now can save you a frustrating mid-project trip to the hardware store. It's the secret to a smooth, headache-free DIY fix.
Replacing Torn Or Damaged Screen Mesh
A rip or tear in the mesh is probably the most obvious problem you'll run into, especially if you have pets or kids. It looks bad, but trust me, swapping out the fabric is more straightforward than you might think.
First, you'll need to get the screen housing off the door frame, which is usually just a matter of removing a few screws. Find a good, flat surface to work on, like a workbench or your garage floor. From there, you'll pop off the end caps of the housing to get to the roller tube that holds the mesh.
The screen fabric is held in place by a thin rubber cord called a spline, which sits in a groove on both the roller tube and the pull bar. Grab some needle-nose pliers and gently pull out the old spline from both ends. Once it's out, the damaged mesh will slide right off.
Lay your new screen mesh out flat, using the old, torn piece as a template to cut it to the perfect size. Here's a crucial tip: make sure your utility knife has a fresh blade. A dull one will snag and pull the threads, ruining your brand-new mesh before you even install it.
Now for the reinstall. Start at one end and lay the edge of the new mesh over the channel in the roller tube. Take your spline roller tool and press the new spline firmly into the groove, right over the mesh. It should fit snugly. Do the exact same thing for the pull bar on the other end.
Pro Tip: As you roll the spline in, keep the mesh taut but don't stretch it. If you pull it too tight, you’ll get wrinkles, or it'll cause the door to retract crooked. The goal is a perfectly smooth, flat surface.
Once the new mesh is locked in, put the housing back together and mount it on the door frame. Open and close it a few times to make sure everything glides smoothly.
Clearing And Realigning Jammed Tracks
Is your screen door stuttering, sticking, or just fighting you every time you try to use it? Nine times out of ten, the problem is dirty tracks. Over time, those little channels collect an amazing amount of dust, pet hair, leaves, and gunk. All that buildup creates friction and stops the screen in its tracks—literally.
Start with a thorough vacuuming of the upper and lower tracks. Use a crevice tool to get deep into the corners where debris loves to hide. After that, wipe the tracks down with a damp cloth to get any last bits of grime.
Once the tracks are clean and totally dry, it's time to lubricate. This is not an optional step! You must use a silicone-based spray lubricant. Whatever you do, don't grab the WD-40 or any other oil-based spray. Oil is a dust magnet and will just create a sticky mess that makes the problem even worse down the road. A quick, light coat of silicone spray is all it takes.
If it's still sticking after a good cleaning, take a close look at the tracks themselves for any dents or dings. If something has hit the track, it can create a snag point. For a minor dent, you can often gently bend it back into shape with pliers. Just be sure to wrap the jaws in electrical tape so you don't scratch up the finish.
Readjusting A Weak Or Broken Retraction Spring
When a screen refuses to retract—or does it so slowly it’s painful to watch—the culprit is almost always the internal spring. This spring provides all the tension needed to pull the screen back into its housing, and after years of use, it can get tired.
A word of caution: That spring is wound under serious tension. Always wear safety glasses and handle it with care. If it releases unexpectedly, it can cause injury or damage the door's mechanism.
To tweak the tension, you'll usually have to remove an end cap from the housing to get to the adjustment gear. The exact method changes from brand to brand, so this is one time where digging out your owner's manual or looking up a brand-specific video online is a really smart move.
On most models, you'll either turn an adjustment screw or rotate the entire end cap to add more tension. I always recommend adding tension one full rotation at a time, then testing it. You're aiming for a smooth, controlled retraction—not a violent snap that slams the door shut.
- If the screen is too slow: Add more tension by tightening the mechanism.
- If the screen slams back: It's too tight. Carefully release the tension, one turn at a time, until it retracts at a safe, steady speed.
If you've added tension and it's still not working, the spring itself might be broken. That’s a more involved fix, often requiring a full replacement of the spring cassette. For this level of retractable screen door repair, many homeowners prefer to call in a pro. Our team at Sparkle Tech Screen Service can handle it safely and get it done right the first time.
Smart Maintenance to Prevent Future Problems

Fixing a door after it breaks is one thing, but avoiding the repair altogether is the real goal. When it comes to mechanical systems like retractable screens, a little prevention goes a very long way. Just a few minutes of care each season can dramatically extend the life of your screen, saving you from future headaches and the cost of a major retractable screen door repair.
Think of it like changing the oil in your car. It’s a simple task, but it prevents catastrophic engine failure down the road. The same idea applies here. Consistent, minor upkeep keeps the whole system running smoothly and reliably for years to come.
Mastering the Cleaning and Lubrication Process
How you clean your screen is just as important as how often you do it. The wrong products or techniques can actually cause more harm than good, leading to stretched mesh or gummy tracks that just attract more dirt.
Let's start with the screen mesh. All you need is a mild soap (dish soap works great) mixed with warm water. Gently wipe the mesh with a soft cloth or sponge—never use a stiff brush or a power washer, as the pressure can easily stretch or tear the fabric. Rinse with a clean, damp cloth and let it air dry completely before you roll it back up.
Now for the tracks. Honestly, this is where most problems start.
- Vacuum First: Grab your vacuum and a crevice tool attachment. Suck out all the loose dirt, pet hair, dust bunnies, and whatever else has found its way into the top and bottom tracks.
- Wipe It Down: Follow up with a damp cloth to get any remaining grime. An old toothbrush is perfect for scrubbing out stubborn gunk in the corners.
- Lubricate the Right Way: This part is critical. Once the tracks are spotless and completely dry, apply a silicone-based spray lubricant. Do not use oil-based products like WD-40. They leave a sticky residue that becomes a magnet for more dirt, defeating the whole purpose of cleaning. Just a light coat of silicone spray is all it takes to get that smooth, easy glide back.
Your Seasonal Maintenance Checklist
Building a simple maintenance habit is the best thing you can do for your door. It’s not complicated—a quick check-in when the seasons change is usually enough to catch small issues before they snowball.
| Task | When to Do It | Expert Tip |
|---|---|---|
| Clean Tracks & Housing | Early Spring & Late Fall | Use a vacuum with a crevice tool to get deep into the channels. An old toothbrush works wonders for stubborn grime. |
| Wash the Screen Mesh | Once per year, or as needed | Use a soft cloth and mild, soapy water. Always let it air dry completely before retracting to prevent mildew. |
| Lubricate the Tracks | After each cleaning (twice a year) | Silicone-based spray only! It repels dust and won't get gummy like oil-based lubricants. |
| Check Screws & Fasteners | Annually (Spring) | Gently check if any mounting screws have loosened over time. Don't over-tighten, just make sure they're snug. |
This simple routine not only prevents jams but also gives you a chance to spot things like a loose screw or early signs of mesh fraying before they turn into a real problem.
Key Insight: Most retractable screen issues don't happen overnight. They're the result of dirt and neglect building up slowly over time. A simple seasonal cleaning is your best defense.
Smart Usage Habits to Protect Your Investment
Finally, how you use the door every day makes a huge difference. That spring mechanism is tough, but it's not invincible.
Instead of letting the screen slam back into its housing, always guide it gently by the handle. This one simple habit prevents a world of hurt by reducing stress on the internal spring and stopping the pull bar from smacking into the housing, which can cause cracks or alignment issues over time. By pairing good habits with regular maintenance, you'll keep your retractable screen door working like new for years.
When to Skip DIY and Call a Professional
There's nothing like the satisfaction of a successful DIY project. But with retractable screen door repair, knowing when to throw in the towel is just as important as knowing which end of the screwdriver to hold. Sometimes, trying to force a complex fix can turn a minor headache into a major, expensive migraine.
The smartest thing any homeowner can do is recognize where that line is—the one between a manageable task and a job that’s best left to an expert. Some problems just aren't worth the struggle. They might require specialized tools, deep knowledge of a specific brand, or carry a high risk of making things much, much worse. This is when picking up the phone is the most efficient and, surprisingly often, the most cost-effective choice.
Red Flags That Scream "Call a Pro"
While cleaning out the tracks or patching a tiny tear are perfect weekend warrior jobs, some issues are giant, flashing neon signs telling you to stop. If you run into any of these, it’s time to call for backup.
- The Spring Mechanism is Toast: I'm not talking about a screen that's a little slow to retract. I mean a spring that has completely given up the ghost. Replacing the internal cassette is a tricky, and frankly, dangerous job. Those springs are under a ton of tension and can cause serious injury if they let go unexpectedly. We use special tools for a reason.
- Bent or Crushed Housing: The metal cassette that holds the screen is the whole foundation of the unit. If it's taken a hard hit and has a serious dent or bend, the screen will never roll up right again. Trying to straighten that kind of damage without the right equipment is a surefire way to ruin it completely.
- Seriously Damaged Tracks: You can often gently bend back a minor ding in a track. But if the track is cracked, warped from the heat, or bent all to heck along its length, it needs to be replaced by a pro. A damaged track means a screen that will never glide smoothly.
The Real Math: DIY vs. Professional Repair Costs
It’s easy to just look at the cost of a part and think DIY is the cheaper route. But you have to factor in the hidden costs: your time, your frustration, and the very real potential for costly mistakes.
What might take you a whole Saturday—complete with multiple trips to the hardware store for the wrong part—a seasoned tech can usually knock out in under an hour. We've got the right parts on the truck, we've got the specialized tools, and we've seen it all before.
A Word from an Expert: I've seen it happen more than once. A homeowner tries to fix a spring mechanism themselves, the whole assembly gets wrecked in the process, and what should have been a sub-$200 professional fix turns into a $500+ bill for a full replacement.
The retractable screen door market is massive, with global estimates hitting anywhere from USD 2.1 billion to USD 3.18 billion recently. All those doors mean a lot of repairs are needed, and the service side of the industry is projected to grow by 6-8% every year. This just shows how common these issues are and why having a reliable pro is so important. If you're curious about the numbers, you can find more details on the retractable screen door repair market.
Hiring a professional service like Sparkle Tech Screen Service simply gives you peace of mind. We use the right manufacturer-grade parts, we back our work with a warranty, and we have the know-how to get it right the first time. Sometimes, the smartest and cheapest fix is letting an expert take care of it.
Your Top Retractable Screen Door Repair Questions, Answered
When your retractable screen door starts acting up, you're bound to have questions. It's one of those home repairs that can seem a little intimidating at first, but with the right information, you can tackle it with confidence. We've pulled together the most common questions we hear from homeowners to give you straight-up, practical answers.
This is more than just a quick fix guide; it's about understanding how your screen door works so you can keep it running smoothly for years. Let's get into the details that can make all the difference.
How Much Is This Going To Cost Me?
This is always the first question, and for good reason! The answer really hinges on the problem and whether you're a do-it-yourselfer or calling in a pro.
If you're handling the repair yourself, you're only paying for parts.
- Small Parts: Need a new handle or some track guides? You're likely looking at just $15 to $30.
- New Screen Mesh: A full DIY mesh replacement kit usually falls in the $50 to $80 range, depending on your door's size and the mesh quality you choose.
Hiring a professional costs more but buys you their time and expertise. A standard service call for basic adjustments and a good track cleaning and lubrication will probably start around $125 to $175. If the job is more involved, like replacing the entire screen mesh or re-tensioning a tricky spring, the cost can climb to between $250 and $450.
The biggest expense comes from damage to the housing unit, or cassette. If that main component gets bent or broken, the repair cost can jump significantly, sometimes getting close to the price of a whole new door.
My Pro Tip: Always, always get a detailed quote before a professional starts any work. It prevents surprise bills and makes sure you know exactly what you’re paying for.
Can I Replace The Screen Mesh Myself, Regardless Of The Brand?
Yes, you almost certainly can. Most reputable manufacturers design their doors to be serviced, which means you can replace the mesh without having to junk the whole unit. The real trick isn't if you can do it, but doing it correctly.
Success comes down to having the right materials and knowing the specific takedown process for your door. Some brands make this easy by selling pre-sized mesh kits made just for their models. If you go the route of buying a generic roll of screen from the hardware store, you absolutely have to measure twice (or three times!) and cut once.
Before you even pick up a screwdriver, I strongly suggest finding a video tutorial for your specific brand online. Watching someone else walk through the process of popping off end caps, detaching the roller, and fiddling with the spline can save you a mountain of frustration. More importantly, it can keep you from accidentally damaging that delicate spring mechanism inside.
What's The #1 Reason My Screen Won't Retract?
I see this all the time, and the answer is almost always the same: dirty tracks. It's the undisputed champion of retraction problems. Day after day, your tracks collect a nasty mix of dust, dirt, pet hair, and whatever else the wind blows in. That gunk builds up, creates friction, and stops the screen from gliding back into its housing.
Before you assume the spring is busted, a deep clean should be your very first move.
- Grab a vacuum with a crevice tool and get all the loose debris out of the top and bottom tracks.
- Follow up with a damp cloth to wipe out any grime that's caked on.
- Once everything is bone dry, hit the tracks with a silicone-based spray lubricant.
Whatever you do, stay away from oil-based lubricants like WD-40. They're great for other jobs, but on a screen door track, they're a magnet for dust and will eventually turn into a sticky sludge that makes the problem even worse. Nine times out of ten, a simple clean and lube is all it takes to get your screen zipping back into place.
How Long Should A Retractable Screen Door Last, Anyway?
A quality retractable screen door is a solid investment and should easily last you 10 to 15 years—sometimes even longer if you take care of it. Its lifespan really comes down to three things: how much you use it, the environment it's in, and—most importantly—how well you maintain it.
The screen mesh itself will usually be the first part to go. If you have kids or pets running in and out, you might find yourself needing to replace it every 5 to 8 years. The mechanical components, however, like the housing, spring, and tracks, are built to be much more durable.
The best thing you can do to get the most out of your door is to follow a simple seasonal maintenance plan. Regularly cleaning and lubricating the tracks, just like we talked about, prevents the most common failures and takes a ton of stress off the retraction spring. A little bit of proactive care saves you from the cost and headache of a big repair down the road.
When the repair feels like it's over your head or you just want the job done right, Sparkle Tech Screen Service is ready to help. Our pros can tackle anything from a quick tune-up to a full replacement, making sure your door works like new. Contact us today for a fast, reliable quote!


