


Deciding to rescreen your pool enclosure usually happens right after you spot a huge, glaring tear. But honestly, the real signs that your screens are on their last legs are often a lot more subtle. Learning to spot these clues can save you from a bug-infested summer and help you figure out if you need a simple patch or a full-blown replacement.
Knowing When It Is Time to Rescreen Your Pool Enclosure
Before you even think about starting a rescreening project, the first step is to give your entire enclosure a good, honest inspection. Sure, a gaping hole is a dead giveaway, but there are plenty of other signs that your screens are past their prime. Take a walk around the enclosure and keep an eye out for these less obvious—but just as critical—signs of wear.
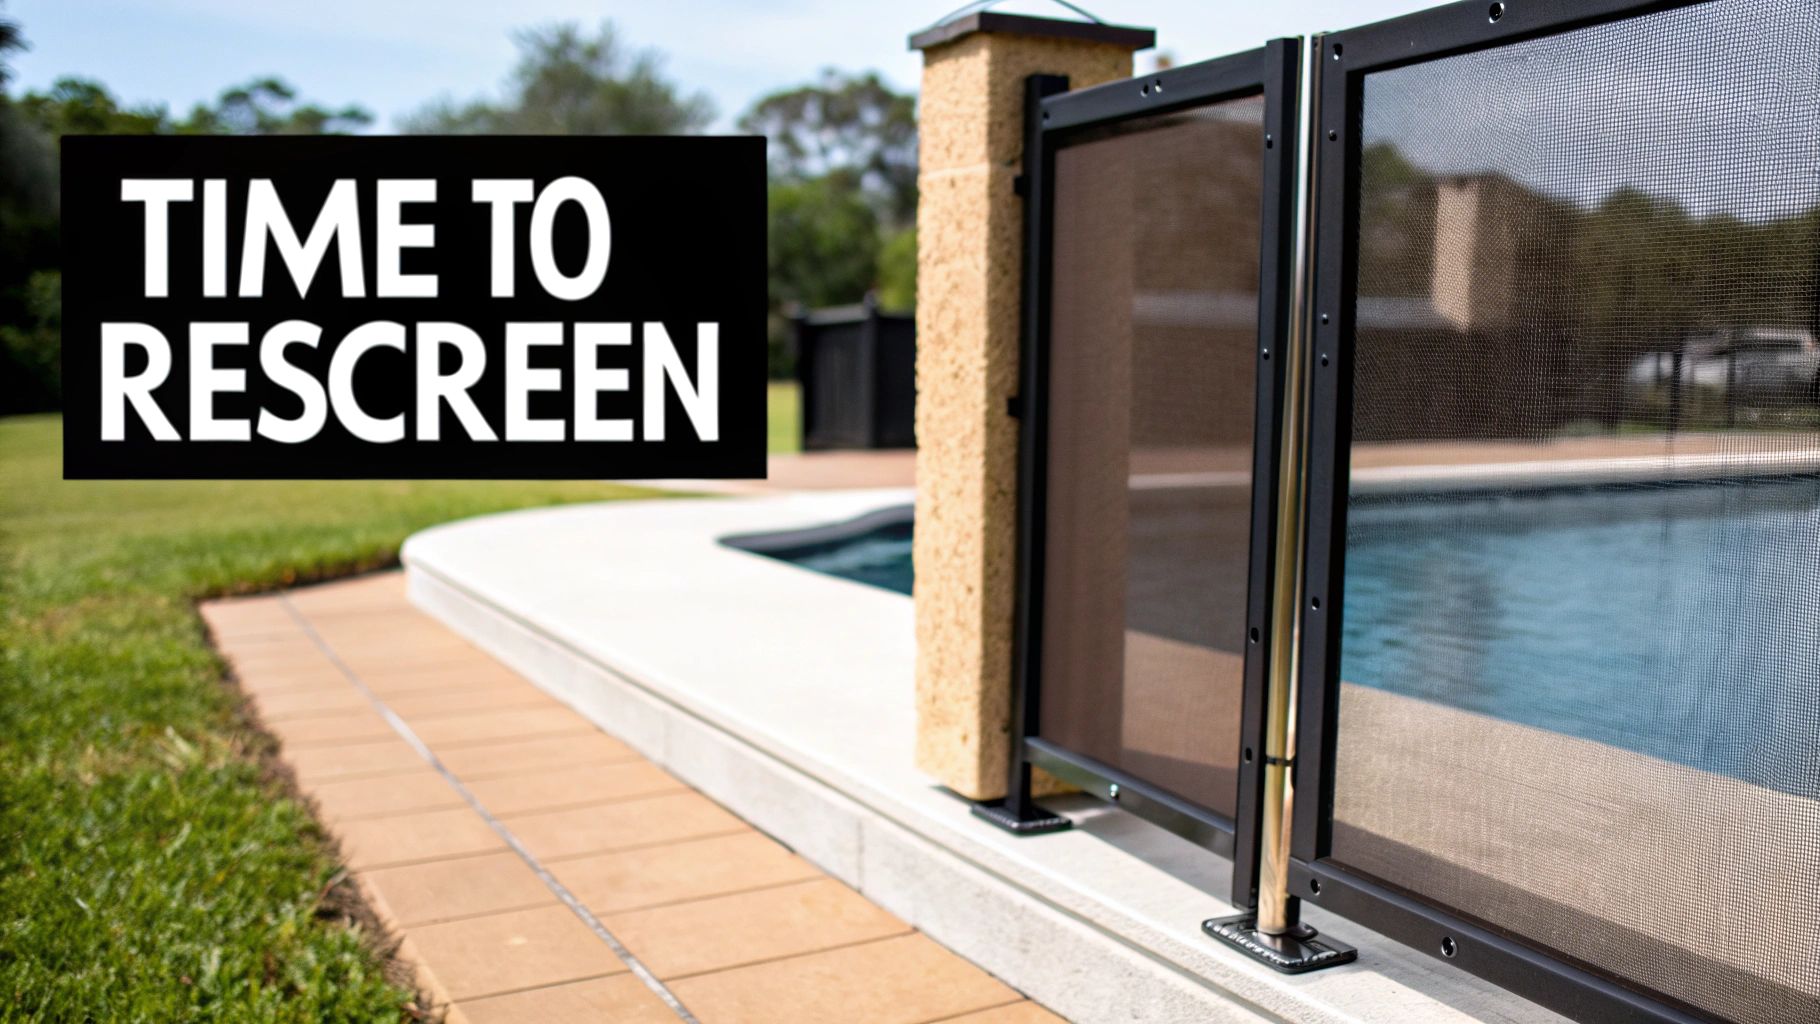
Subtleties of Screen Wear and Tear
It's easy to overlook the small stuff, but that's where the story of your screen's health is told. I've put together this quick table to help you spot the common issues I see every day.
Signs Your Pool Screen Needs Replacement
| Symptom | What It Looks Like | What It Means |
|---|---|---|
| Chalky Residue | A fine, powdery dust comes off on your hand when you touch the screen. | The protective coating has broken down from UV exposure, leaving the material weak. |
| Brittleness | The screen feels stiff and makes a slight cracking sound when gently pushed. | It has lost its flexibility and is highly susceptible to tearing from wind or impact. |
| Discoloration | The once-black screen has faded to a silvery-gray color. | This is a classic sign of sun damage. The material's integrity is compromised. |
| Sagging or Rippling | Panels look loose, wavy, or droopy instead of being taut. | The screen has stretched out, or the spline holding it in the frame has shrunk or failed. |
| Small Tears | You notice several tiny "L" shaped tears, especially near the frame. | This indicates the screen is brittle and tearing under its own tension. More will appear soon. |
If you're seeing just one of these symptoms on a single panel, you might get away with a small repair. But if you spot several of these issues across your whole enclosure, it's a clear sign that the material is failing system-wide.
Phoenix-Area Pro Tip: Here in the Valley, that relentless sun is enemy number one for pool screens. The intense UV rays don't just bleach the color—they cook the elasticity right out of the material, making it brittle and weak long before its time.
A Growing Market for Outdoor Comfort
It's not just you—everyone wants a comfortable, bug-free outdoor space. The demand for pool enclosures and proper maintenance is booming. In fact, the global swimming pool market was valued at USD 3.55 billion in 2023 and is expected to climb to USD 4.18 billion by 2032.
This growth shows just how much we value having a durable, safe place to relax by the pool. If you're curious, you can find more information about the growing swimming pool enclosure market.
Patch Job Versus Full Overhaul
So, what's the verdict: patch it or replace it all?
A single, isolated hole from an errant frisbee or a rogue golf ball is a perfect candidate for a simple patch kit, especially if the rest of the screen is in good shape.
However, if your inspection reveals widespread brittleness, chalkiness, and that faded gray color across multiple panels, you're dealing with systemic failure. In that case, patching is just a temporary fix. Rescreening the entire enclosure at once is the smart move. It gives you a clean, uniform look and, more importantly, ensures every panel has the same strength and durability. You won't have to worry about another "old" panel giving out a few weeks down the road.
Picking the Right Tools and Screen for the Job
Before you tear out a single inch of old screen, you need to get your gear in order. Heading to the hardware store without a plan can be overwhelming, but for this project, you really only need a few specific items. Think of it less like a massive construction job and more like a big craft project—having the right tools is what separates a professional-looking finish from a frustrating mess.
You don't need to break the bank on a huge, fancy toolkit. A few key essentials will see you through the entire rescreening process. If there's one thing you absolutely shouldn't skimp on, it's the spline roller. It's the only tool made specifically for this task, and trying to improvise with something else is a surefire way to get a loose, sloppy-looking screen.
The Must-Have Tool Checklist
Here’s the short list of what you’ll absolutely need to have on hand:
- Utility Knife: Make sure you have a fresh, sharp blade. A dull one will just snag and fray the new screen mesh, ruining your clean lines.
- Spline Roller: This little gadget is your best friend for this project. One wheel is rounded (convex) to press the screen into the channel, and the other is grooved (concave) to perfectly seat the spline on top of it.
- Flathead Screwdriver: A small one works best. You’ll need it to dig in and pry up the end of the old spline, which can get brittle and stuck in the channel over the years.
- Pliers: A simple pair of needle-nose pliers is perfect for grabbing that old spline once you've lifted it with the screwdriver and pulling the whole thing out.
Getting these tools gathered before you start means you won't have to stop mid-panel to hunt for something. It just makes the whole process go that much smoother.
How to Choose the Best Screen Material
The type of screen you buy will directly affect how long your enclosure lasts, how it looks, and what it protects you from. Especially here in sunny Arizona, picking the right material is a big deal. Each option comes with its own set of pros and cons, usually trading off between cost, durability, and special features.
Here's a quick rundown of the most popular choices you'll find:
- Standard Fiberglass Screen: This is what you'll see on most enclosures. It's affordable, flexible, and pretty easy for a first-timer to work with. The downside? The intense sun here breaks it down, and you can expect it to last about 7-10 years before it gets brittle and starts tearing easily.
- Polyester Screen (aka "Pet Screen"): If you've got dogs that jump on the screen or live near a golf course, this is the only way to go. Made from vinyl-coated polyester, it's a whopping 7 times stronger than fiberglass. It can stand up to claws, paws, and the occasional errant golf ball. It costs more upfront, but it's incredibly tough.
- Solar Screen: Think of this as a screen and a sunshade in one. It’s designed to block a significant amount of the sun's heat and UV rays, which can make your patio noticeably cooler and stop your furniture from fading. The trade-off is slightly reduced visibility, but the UV protection also helps the screen material itself last longer.
Homeowners are definitely leaning towards stronger, more durable materials for their outdoor spaces. Just look at the market for inground pool safety covers—which also act as a barrier, much like screens—valued at around USD 500 million in 2025. It shows a real trend of people investing in quality for long-term peace of mind and value. You can read more about these developments in pool safety products.
So, what’s the right call? It really comes down to balancing your budget now with how soon you want to do this job again. A polyester screen might feel like a splurge, but it could easily save you from repeating the entire project in just a few years.
A Practical Walkthrough of the DIY Rescreening Process
Alright, you've got your tools and your new screen roll is waiting. Let's get down to business. The secret to rescreening pool enclosures isn't about muscle; it's all about patience and a good technique. I always tell people to think of it like stretching a canvas for a painting. If you're methodical and steady, you'll end up with a beautiful, professional-looking result.
Each screen panel is its own little project. We'll walk through the entire workflow, from tearing out the old, tired screen to making that final, clean trim for a crisp finish.
Getting Rid of the Old Screen and Spline
First things first, you have to get the old panel out. This part is pretty straightforward, but you'll want to be careful not to gouge or scratch the aluminum frame of your enclosure.
Look for an end of the old rubber spline tucked into the channel along the frame. A small flathead screwdriver is perfect for this—just gently pry up the end. Once you have enough to grab onto with your pliers, give it a steady pull. Most of the time, the entire spline will come out in one long, satisfying piece.
With the spline gone, the old screen pretty much falls right out. Get it out of the way and take a second to clean out the channel with a brush. You’ll be surprised how much dirt, dust, and little bits of old spline get trapped in there, and you want a clean slate for the new installation.
Cutting and Positioning the New Screen
Now for the new material. Unroll your screen and lay it over the opening. The key here is to give yourself plenty of extra material—at least a few inches of overlap on all four sides. This slack is your safety net, giving you something to hold while you work and making sure you don't end up short.
Don't try to pull the screen tight yet. That's a classic rookie mistake. If you stretch it too tight right away, you'll almost always end up with a bowed frame or a wavy, distorted screen once the spline is in. For now, just let it lay flat and loose without any big wrinkles.
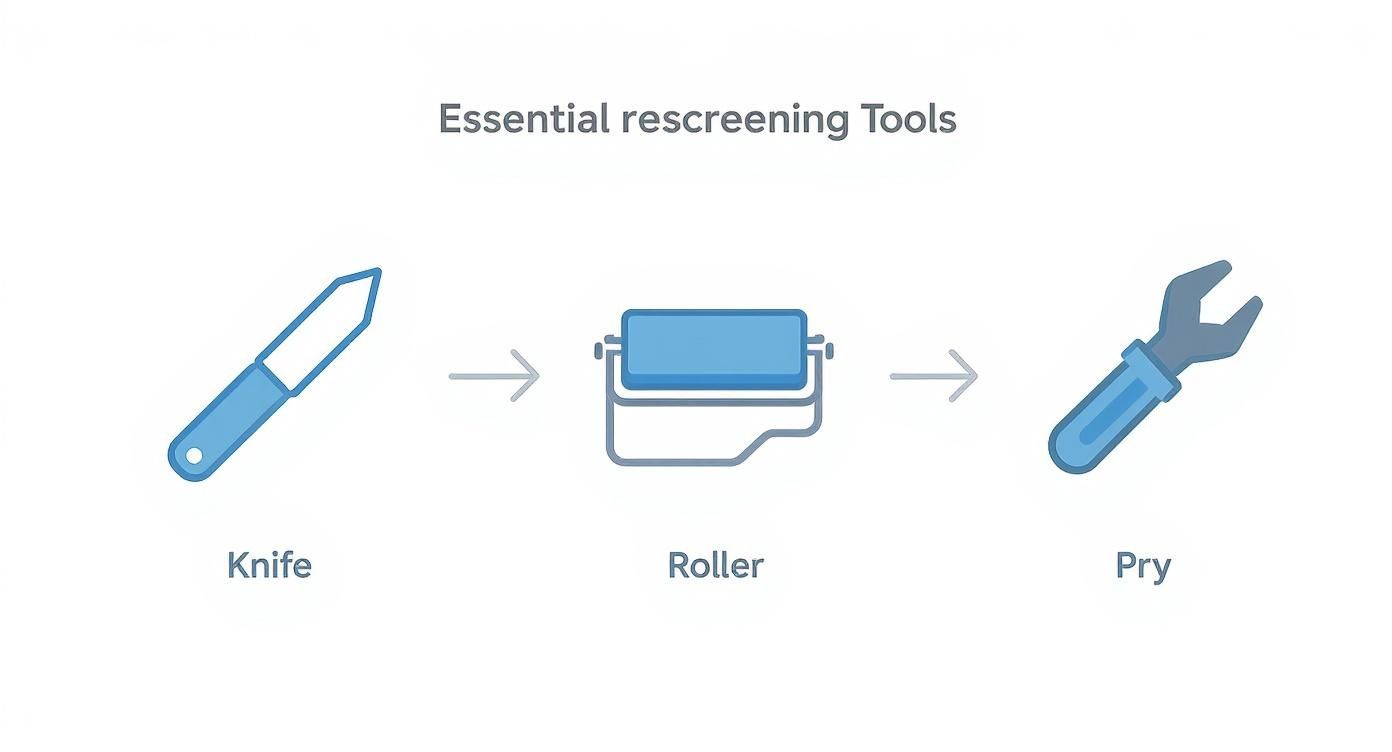
As you can see, you don't need a massive toolbox for this. A successful job really just comes down to having the right tool to pry, the right tool to roll, and the right tool to cut.
The Art of Installing the New Spline
This is where the magic happens. A good-looking, tight panel is made or broken in this phase. Grab your spline roller and the new spline, and let's start in one of the top corners.
- Start the first side: Using the rounded (convex) wheel of your roller, gently press the screen mesh into the channel for a few inches. This creates a perfect little groove to guide your spline.
- Seat the spline: Place the end of the new spline over the screen in the channel. Now, flip your tool to the grooved (concave) wheel. With firm, even pressure, roll the spline right into the channel. This will lock the screen in place as you move down the entire first side.
- Add gentle tension: Move to the side next to the one you just finished. As you press the screen into the channel with the convex wheel, use your free hand to apply very light, steady tension, pulling the screen away from the completed side. This is how you eliminate slack.
- Roll the second side: Once the screen is set in the channel, use the concave wheel to roll the spline in, just like before.
- Repeat for the last two sides: Just keep this process going for the third and fourth sides. Always apply that gentle, consistent tension away from the side you just finished to get that tight, wrinkle-free look.
The key is consistency. If you pull too hard in one spot, you’ll get tight and loose spots, which creates that dreaded wavy look. The goal is a perfectly even, taut surface across the whole panel.
Trimming for a Professional Finish
Once all four sides are splined in, your panel should be looking taut and secure. The last step is trimming off all that excess screen.
Grab your utility knife—and make sure it has a fresh, sharp blade. Run it right along the outside edge of the spline you just installed. I find it helps to angle the blade slightly away from the new screen, just to be safe. The spline acts as a perfect guide, giving you a clean, straight cut every time.
Take your time here. Rushing the trim can leave a frayed, messy edge that just ruins all the hard work you put in. It's a skill that comes in handy for a lot of DIY projects. For instance, when you're learning how to repair a hole in a metal roof system, that same steady hand and precision cutting make all the difference.
After you've trimmed all four sides, step back and take a look. You've just rescreened your first panel. Now you just have to repeat the process for the rest
Analyzing the Cost of Rescreening Pool Enclosures
Let's talk numbers. Understanding what goes into the cost of rescreening your pool enclosure is the best way to budget properly and avoid any last-minute surprises. The final price tag really boils down to three things: the size of your enclosure, the type of screen you pick, and whether you're rolling up your sleeves to do it yourself or calling in the pros.
Going the DIY route can definitely save you cash on labor, but don't underestimate the time commitment. If you've never done this before, set aside a full weekend for a standard-sized enclosure. It could easily take longer if you're wrestling with tricky angles or tall roof panels.
DIY vs. Professional Cost Comparison
The biggest difference between doing it yourself and hiring a professional is, without a doubt, the labor cost. When you bring in an experienced crew, you're paying for their speed, skill, and the specialized equipment that gets the screen perfectly tight every time. For a DIY job, your costs are almost entirely wrapped up in materials and any tools you need to buy.
A professional crew can often knock out a full rescreening of a pool enclosure in just one day. A DIY project, on the other hand, might stretch over several weekends. Your time is valuable, so make sure to factor that into your decision.
So, what should you expect to pay? On average, a professional rescreening job runs between $7 to $9 per square foot, a price that includes both materials and labor. For a pretty typical 600-square-foot enclosure, that puts the total somewhere in the $4,200 to $5,400 range. You can dig deeper into regional pool enclosure repair costs to get a feel for how prices vary across the country.
To put it in perspective, here's a rough breakdown for a standard 10×20 foot (200 sq. ft. of screen area) enclosure.
DIY vs Professional Rescreening Cost Comparison
| Cost Item | DIY Estimate | Professional Estimate |
|---|---|---|
| Screen Material | $200 – $400 | Included in Total |
| Spline & Tools | $50 – $100 | Included in Total |
| Labor | Your Time (1-2 weekends) | $800 – $1,200 |
| Total Estimated Cost | $250 – $500 | $1,400 – $1,800 |
This table shows the clear savings on paper for a DIY project, but it also highlights that the professional cost is all-inclusive, covering expertise and a warranty that your weekend efforts won't have.
Breakdown of Potential Expenses
Whether you're writing a check to a contractor or a receipt from the hardware store, these are the costs you'll encounter.
- Screen Material: This is your biggest material expense, and the prices can swing wildly. Standard fiberglass screen is your most budget-friendly option. If you upgrade to something tougher like a pet-resistant polyester screen or a solar screen to block that intense Arizona heat, expect material costs to jump by 2-3 times. The trade-off is that they last much, much longer.
- Spline and Tools: These are smaller line items, but you can't do the job without them. A quality spline roller and enough new spline for the whole enclosure will probably set you back around $50-$100.
- Labor Costs: For professional jobs, this is the main event. Here in the Phoenix area, labor often accounts for 50-60% of the total quote. That fee covers the crew's expertise, their insurance, and the guarantee that your screen will be installed correctly and look great.
In the end, it’s a classic trade-off: money versus time and skill. My advice? Get a few quotes from local, reputable companies. Even if you plan to do it yourself, those quotes will give you a solid baseline of what the job is worth and help you make a smart financial decision.
When You Should Call a Professional Instead
Look, I'm all for a good DIY project. There's a real satisfaction in doing it yourself. But when it comes to rescreening your pool enclosure, knowing when to tap out and call in the pros isn't admitting defeat—it's just plain smart. It’s about safety, quality, and ultimately, your peace of mind.
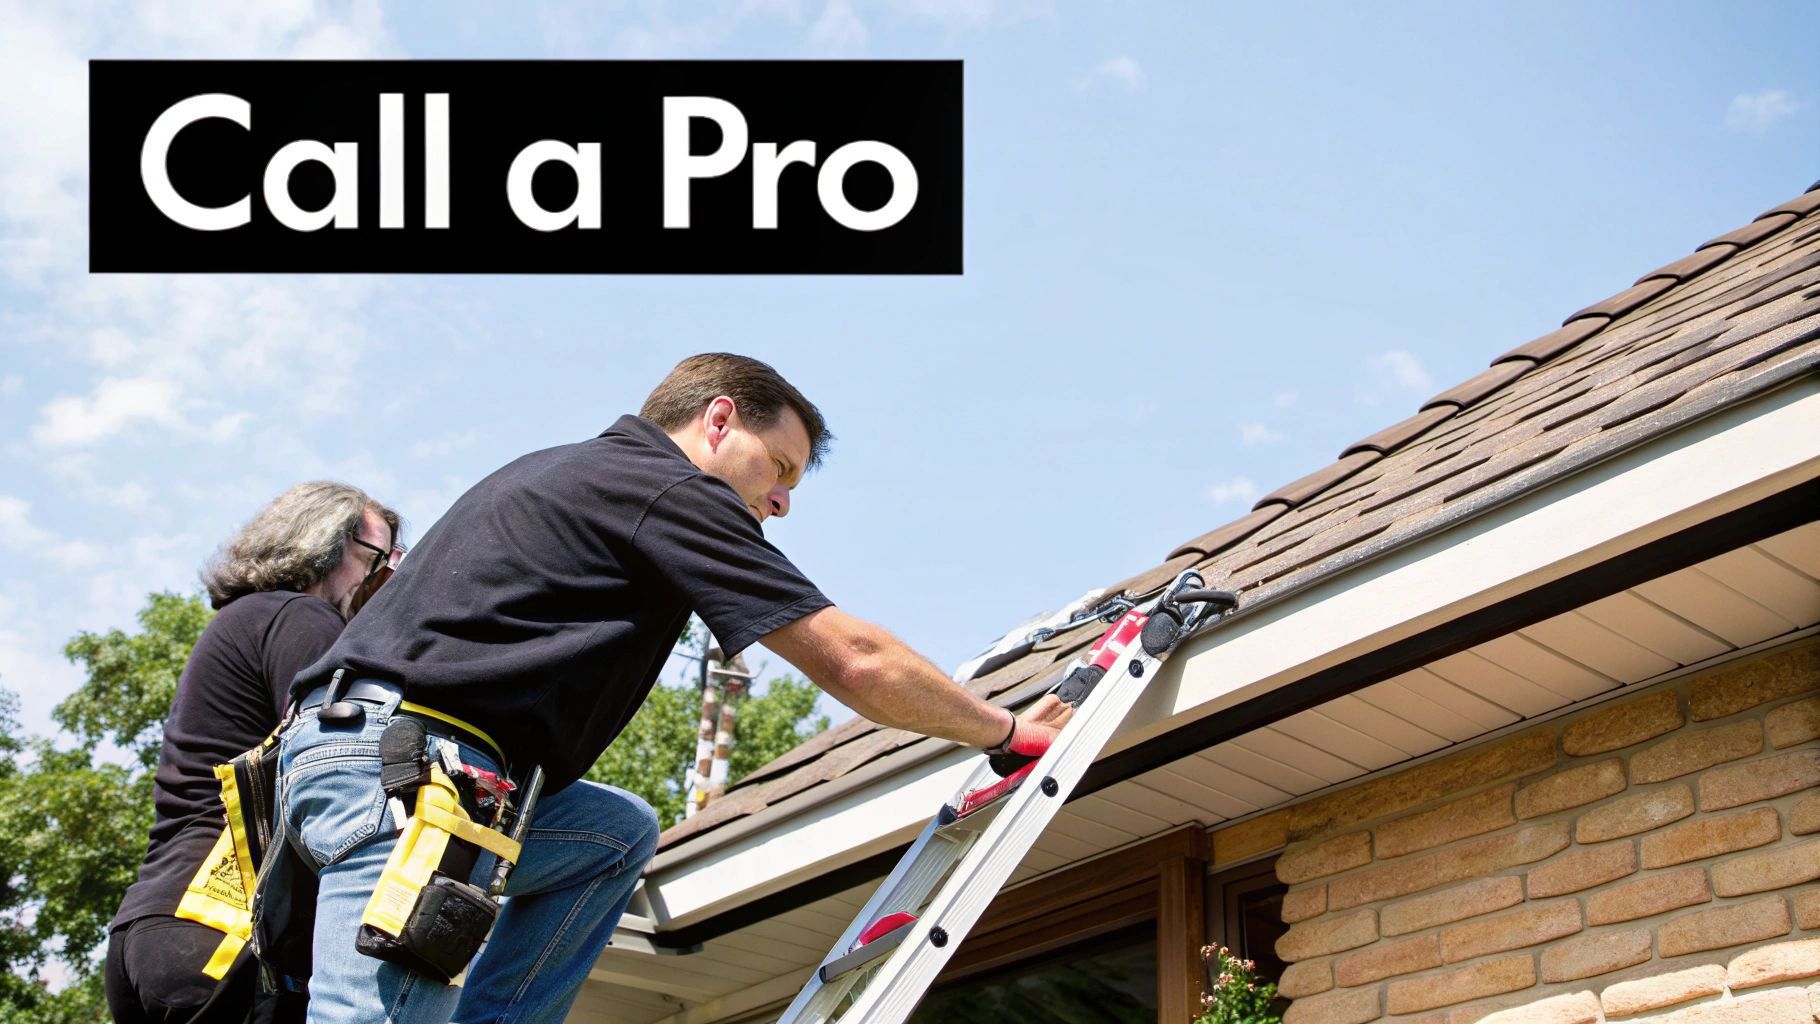
Some situations should be an immediate red flag. Are you looking up at a two-story enclosure? That's not a job for a standard ladder and a can-do attitude. Pros have the scaffolding, harnesses, and experience to work safely at those heights. Trying to stretch a screen panel while balancing 20 feet in the air is a dangerous game you don't want to play.
And then there are the big, awkward roof panels. Getting those right takes a specific knack that only comes with experience. One misstep and you've got a saggy, loose panel that will pool rainwater and look terrible.
When Safety and Structure Are a Concern
The screen itself is only part of the equation. Take a good, hard look at the aluminum frame. If you spot any bent supports, serious corrosion, or damaged sections, that's your cue to call for backup.
A professional isn't just a "screen guy." They can properly assess the structural integrity of the entire cage and make necessary repairs. Slapping a new screen on a compromised frame is like putting a fresh coat of paint on a crumbling wall—it hides the problem but doesn't fix it.
Pro Tip for Phoenix Homeowners: Before you hire anyone, do your homework. Make sure they have a valid license with the Arizona Registrar of Contractors (ROC). Just as important, ask for proof of liability insurance. This protects you and your property if something goes wrong.
The Advantages of Hiring a Professional
Going with a pro isn't just about avoiding a headache. It comes with some very real perks that you just can't replicate on your own.
- Specialized Equipment: Professionals use tools that create that perfect, drum-tight tension. It's a look and feel that's incredibly difficult to get with a simple hand roller from the hardware store.
- Premium Materials: They have access to commercial-grade screens and spline that are built to withstand the Arizona sun. These materials often outlast the standard retail options by years.
- Efficiency and Speed: What might take you several weekends of frustration, an experienced crew can knock out in a day or two. They have the process down to a science.
- Guaranteed Work: This one is huge. A reputable company will stand behind their work with a solid warranty. If a panel comes loose a few months later, they'll come back and fix it.
Ultimately, hiring a pro is an investment in a durable, safe, and beautiful outdoor space. It's about getting the job done right the first time so you can get back to enjoying your pool.
Common Questions About Pool Enclosure Rescreening
Even after walking through the whole process, you probably still have a few questions rolling around in your head. That's completely normal. Let's dig into some of the most common things homeowners ask before they kick off a rescreening project.
Getting these details ironed out will help you feel much more confident, whether you decide to tackle it yourself or bring in a pro.
What Is the Best Type of Screen for the Arizona Sun?
This is the big one for us here in Phoenix. The sun is just relentless. For our kind of intense, year-round sun, you really want to look at a high-quality solar screen or a super-durable polyester screen.
Solar screens are engineered specifically to block a huge percentage of UV rays. This does two fantastic things: it stops the screen material itself from getting brittle and breaking down, and it makes your patio area noticeably cooler.
Polyester screens, on the other hand, are just incredibly tough. They are far more resistant to sun damage and tearing than the standard fiberglass you see everywhere, making them a really smart long-term investment for our climate.
How Long Should a New Pool Screen Last?
The lifespan of your screen really comes down to the material you choose. A basic, standard fiberglass screen will typically give you 7 to 10 years. But let's be realistic—in a harsh climate like ours, you'll be lucky to get to the lower end of that range because of the constant UV beating.
By upgrading to a premium polyester screen or a quality solar screen, you can often push that lifespan out to 12-15 years, sometimes even more. They're just built tougher and made to handle the elements.
Can I Replace Just One or Two Damaged Panels?
Absolutely, and for minor issues, this is the way to go. If a branch falls during a monsoon or a stray golf ball finds its way into your enclosure, patching up a single panel is a great, cost-effective fix.
However, there's a tipping point. If you start seeing multiple panels that are faded, brittle to the touch, or have that chalky film when you run your hand over them, that’s the screen telling you its time is up. At that stage, rescreening a whole section—or the entire enclosure—is a much better move. It's more efficient in the long run and gives you a clean, uniform look instead of a patchwork quilt effect.
Remember, the screen is just one part of the system. The overall integrity of your pool area is crucial, which is why it's also a good idea to look into tips for maintaining pool gates to keep the whole space safe and secure.
Ready to restore your view and reclaim your patio from pests? For fast, professional rescreening services in the Phoenix area, trust the experts at Sparkle Tech Screen Service. We offer same-week service and quick quotes to get your project done right. Visit us at https://sparkletechscreenservice.com or call 623-233-0404 today.


