


Ever dream of enjoying your patio without battling mosquitoes or getting blasted by the afternoon sun? A professionally installed patio screen can do just that, turning a space you barely use into a comfortable, bug-free retreat for relaxing or hosting friends. It’s one of those home improvements that can completely change the way you see your own backyard.
Why a Screened Patio Is a Smart Home Upgrade
Screening in your patio is so much more than just putting up a barrier against bugs. It's a smart investment in your home's comfort and value. Think of it as adding a whole new room—one that perfectly blends the comforts of the indoors with the beauty of the outdoors.
This isn't just a niche trend, either. The global market for screen enclosures is booming, currently valued at $1.5 billion and expected to climb to around $2.3 billion by 2033. It’s clear that homeowners are catching on to the value of expanding their functional living areas. In fact, the residential sector drives this growth, accounting for about 70% of all screen enclosure sales.
Key Benefits of a Screened Enclosure
A well-done patio screen installation brings a ton of immediate and long-term perks. People who take the plunge often say it dramatically improves their quality of life.
- Keeps Pests and Debris Out: This is the big one. A screened enclosure creates a bug-free bubble, keeping mosquitoes, flies, and other unwelcome guests away. It also stops leaves and yard debris from blowing in, which means less time cleaning and more time relaxing.
- Boosts Your Home's Value: A screened patio is a huge selling point for potential buyers. It adds usable square footage and enhances curb appeal, often delivering a great return on your investment when you decide to sell.
- Adds Privacy and Comfort: Screens offer a nice layer of privacy from your neighbors without making you feel boxed in. You can also opt for specialty solar screens that block up to 90% of UV rays, keeping your patio significantly cooler and more comfortable on hot, sunny days.
A screened-in room is a fantastic starting point, but it can also be the centerpiece of much bigger outdoor living space ideas. When you pair it with the right landscaping, lighting, and furniture, you can create an incredible backyard oasis. This guide will walk you through exactly how to get it done.
Choosing the Best Screen Material for Your Needs
Picking the right screen material is easily the most critical decision you'll make for your new patio enclosure. This isn't just about keeping the mosquitos at bay—it's about the durability, the look, and the day-to-day function of your entire outdoor space. Think of it like picking tires for your car; the all-seasons that are perfect for a family sedan just won't cut it on a rugged off-road truck.
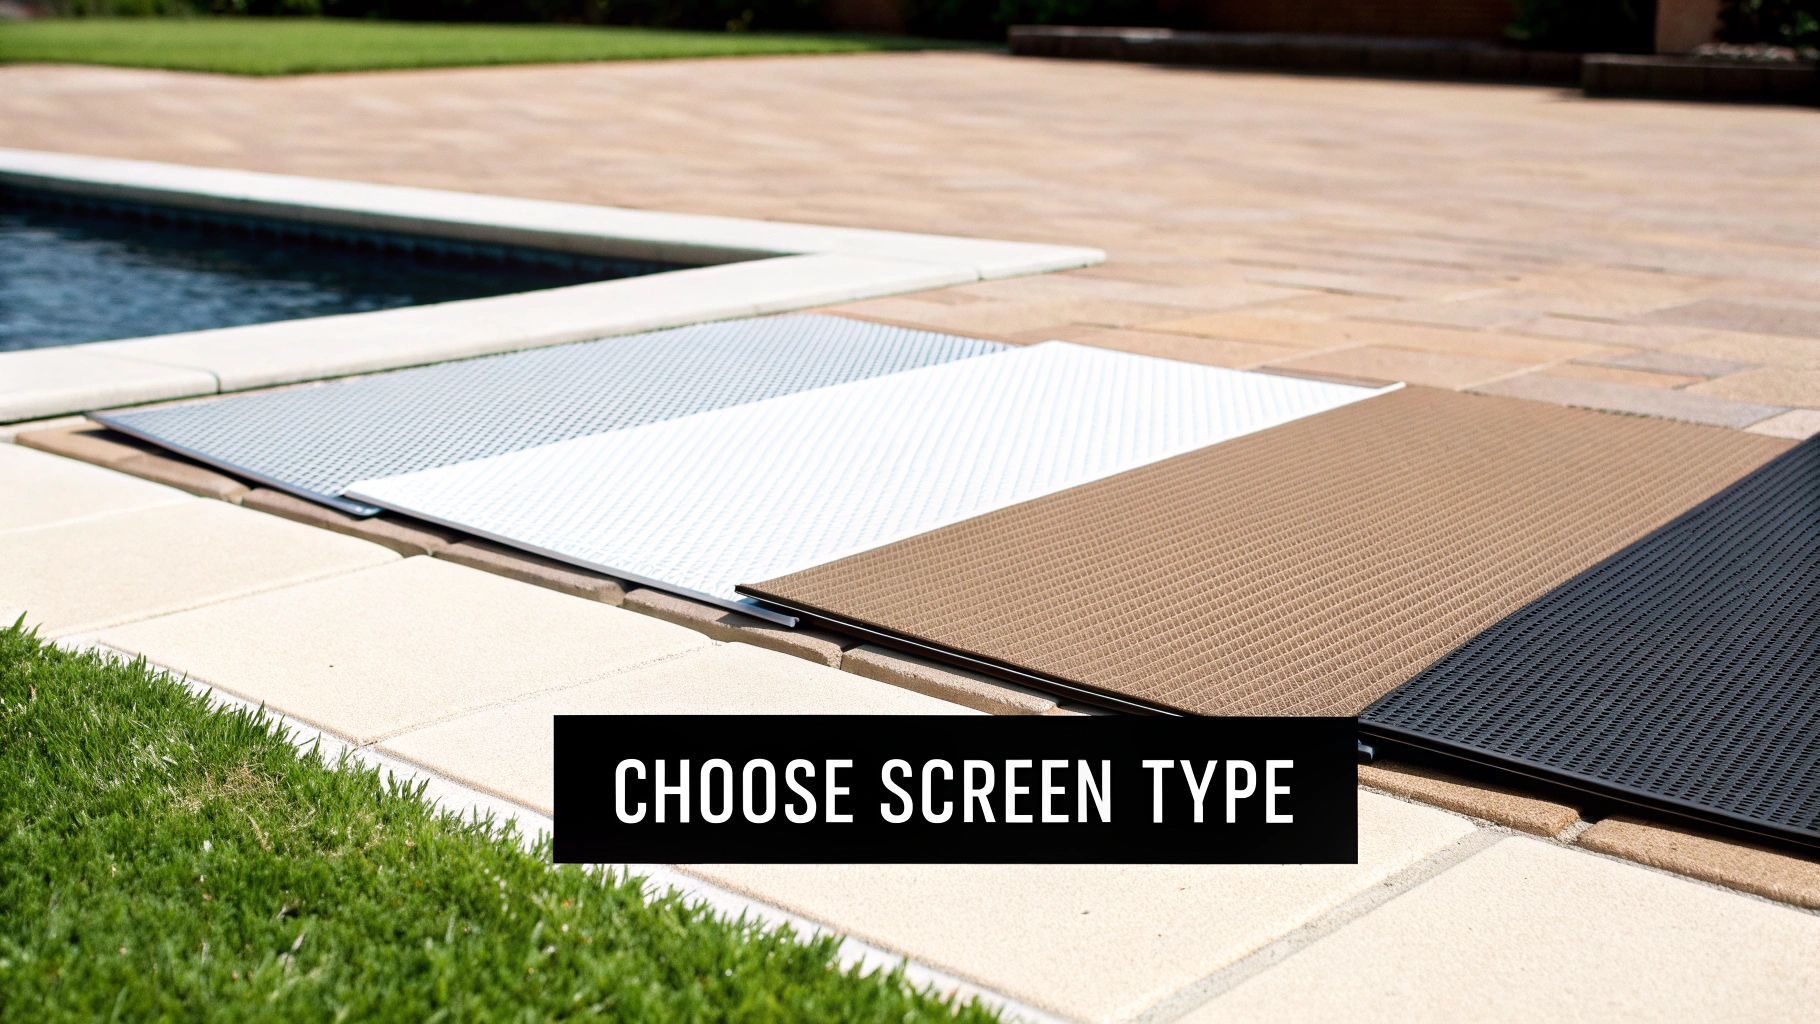
Your lifestyle, the local Florida climate, and what you hope to get out of your patio will point you toward the perfect material. Let’s walk through the most common options so you can find the right match.
The Standard Choices: Fiberglass and Aluminum
For most people, the conversation starts with two tried-and-true materials: fiberglass and aluminum. They're the workhorses of the industry, and while both do a great job, they have different strengths.
Fiberglass screen is the go-to for a reason. It's budget-friendly, flexible, and won't crease or dent, which makes it pretty forgiving to work with. The trade-off for that flexibility is in its toughness; it can tear if a pet gets too excited or stretch out after a few seasons of strong winds.
Aluminum screen, on the other hand, is a clear step up in strength. It's much more rigid, offering fantastic resistance to sagging, which is a big deal for those large, sweeping panels. While it won't rip like fiberglass, it can get dented by a stray ball or piece of hail, and it's best to be mindful of potential corrosion if you live right on the coast.
Specialty Screens for Specific Lifestyles
What if the standard options don't quite cover your needs? That's where specialty screens come in. These are advanced materials engineered to solve very specific, common problems—from rambunctious pets to the relentless sun.
- Pet-Resistant Screens: Made from a tough, vinyl-coated polyester, this stuff is about seven times stronger than standard fiberglass. It’s built to stand up to claws, paws, and the occasional full-body lunge from a dog who spotted a squirrel. This screen can save you a ton of money on repairs.
- Solar Screens: An absolute game-changer in sunny climates. Solar screens use a denser mesh that can block up to 90% of the sun's heat and damaging UV rays. This doesn't just make your patio noticeably cooler; it also acts like sunscreen for your outdoor furniture, preventing it from fading.
- High-Visibility Screens: If you paid for a beautiful view, you should be able to see it! These screens use a super-fine thread and a tighter weave to essentially become invisible from a few feet away, keeping your gorgeous backyard landscape as the main event.
Choosing a specialty screen isn't an upgrade; it's a customization. Matching the material to your primary need—whether it's durability against pets or protection from the sun—ensures you get the maximum value and enjoyment from your investment.
Comparison of Patio Screen Materials
To really see the differences, let's put these materials head-to-head. This table lays out the key features to help you weigh the trade-offs between cost, longevity, and special features.
| Screen Material | Key Features | Best For | Average Lifespan |
|---|---|---|---|
| Fiberglass | Flexible, affordable, good visibility, easy to install. | General use patios in moderate climates with no pets. | 8-10 years |
| Aluminum | Strong, durable, won't sag over time, crisp appearance. | Large screen panels and areas with high winds. | 20-30 years |
| Pet-Resistant | Puncture and tear-resistant vinyl-coated polyester. | Households with active dogs, cats, or small children. | 15-20 years |
| Solar Screen | Blocks UV rays, reduces heat and glare, increases privacy. | Patios with direct sun exposure, especially in hot climates. | 10-15 years |
| High-Visibility | Ultra-fine mesh that provides an unobstructed view. | Homes with scenic views of gardens, lakes, or landscapes. | 7-10 years |
At the end of the day, the best material for your patio screen installation comes down to your unique priorities. Find the right balance between your budget and your desire for durability and specialized functions, and you'll have the perfect fit for your personal outdoor oasis.
DIY vs. Professional Patio Screen Installation
So, you’re ready to screen in your patio. Now comes the big question: should you do it yourself or call in the pros? It's a classic crossroads for any homeowner. Think of it like this—you can either assemble that complex piece of IKEA furniture yourself or pay a little extra to have it delivered and set up perfectly. One way gives you the pride of a job well done with your own hands; the other gives you a flawless result without the headache.
Both paths have their merits. A DIY job can definitely save you some cash on labor, but it's going to cost you in time, tools, and a healthy dose of patience. On the flip side, hiring an expert team like Sparkle Tech guarantees a durable, professional finish without you lifting a finger, though the initial investment is higher. Let's dig into what each option really looks like so you can make the right call for your home.
The Reality of a DIY Installation
Taking on a patio screen installation yourself can be a fantastic and rewarding project. But you have to go in with your eyes wide open. The single biggest mistake people make is underestimating just how tricky it is to get that perfect, drum-tight finish.
A screen that’s loose, saggy, or wrinkled doesn’t just look sloppy—it won’t do its job right. Getting the tension just right is a bit of an art form, a delicate touch that honestly comes from practice and experience.
Self-Assessment: Is DIY Right for You?
Before you head to the hardware store, ask yourself these questions honestly:
- Do I already own or can I easily borrow the right tools (spline roller, sharp utility knife, clamps)?
- Can I realistically block out a full weekend or a few solid afternoons for this project?
- Am I comfortable with measuring twice (or three times) and cutting once?
- Do I have the patience to pull out a spline and restart a panel if it’s not perfect?
- Is the personal satisfaction of doing it myself a major priority?
If you answered "no" to a couple of these, it doesn't mean you can't do it, but it does flag some of the hurdles you'll face. The key is knowing what you're getting into before you start.
The Advantages of a Professional Installation
Hiring a professional for your patio screen installation isn't just paying for labor; it's an investment in quality and peace of mind. A pro brings years of on-the-job experience, specialized equipment, and an eye for detail that most of us just don't have.
They also have access to commercial-grade materials you won't find at the local big-box store, which means a tougher screen and a more polished final look. More importantly, an expert can spot and fix potential problems with your patio's frame or structure—things that could turn a simple DIY job into a total nightmare. Their expertise ensures the screen is not only beautiful but also structurally sound for years to come.
- Guaranteed Quality: Pros stand by their work. You're protected if a screen sags or comes loose.
- Time Savings: A project that could consume your entire weekend is often just a few hours of work for an experienced crew.
- Specialized Tools: They use tools built for the job, like pneumatic screen rollers that deliver perfectly even tension every single time.
- Safety and Efficiency: Let's be honest, wrestling with huge rolls of screen on a ladder can be awkward and even a little risky. A pro team does this every day, safely and efficiently.
It’s no surprise that more and more homeowners are choosing this route. The Deck & Patio Construction industry in the U.S. is now a $1.3 billion market, and its steady growth shows just how much people value high-quality, professionally built outdoor spaces. You can read more about the growth of the patio construction industry on ibisworld.com.
Making the Final Decision
When it comes down to it, the choice between DIY and professional installation hinges on three things: your budget, your time, and your skill level. If you're working with a tight budget, you're pretty handy around the house, and you genuinely enjoy the process, then a DIY approach could be perfect for you.
But for everyone else who wants a perfect, worry-free result and an investment that adds real value to their home, hiring a professional is the smarter move. It turns a potentially frustrating chore into an exciting home upgrade you can start enjoying right away.
What to Expect During the Installation Process
Whether you’re tackling this yourself or watching the pros work, it helps to know what a proper patio screen installation actually involves. Understanding the steps takes the mystery out of the process and helps you spot a job well done. It’s less about brute force and more about getting the details right.
Think of it like stretching a canvas for a painting. You can't just tack it to the frame and hope for the best. You have to carefully stretch it, securing it bit by bit to get a perfectly taut, smooth surface. Screening a patio is a lot like that—it demands precision and a methodical approach.
The Foundation: Accurate Measurement
Everything hinges on getting the measurements right. Seriously, this is the one step you can't afford to rush. A tiny mistake here can throw the whole project off, leading to wasted screen material and a sloppy fit. Remember the old carpenter's motto: "measure twice, cut once." That’s the golden rule for any patio screen installation.
A pro will measure the height and width of every single opening in at least three different places. For width, they’ll measure at the top, middle, and bottom. For height, it's left, center, and right. Why? Because virtually no frame is perfectly square. They then use the smallest of these numbers to ensure the screen will fit cleanly, even at the frame's tightest points.
A classic DIY blunder is taking a single measurement and just running with it. This almost always leads to a screen that’s too big and bunches up, or one that’s too small and leaves frustrating gaps for bugs to sneak through.
This infographic breaks down the basic physical steps of the job.
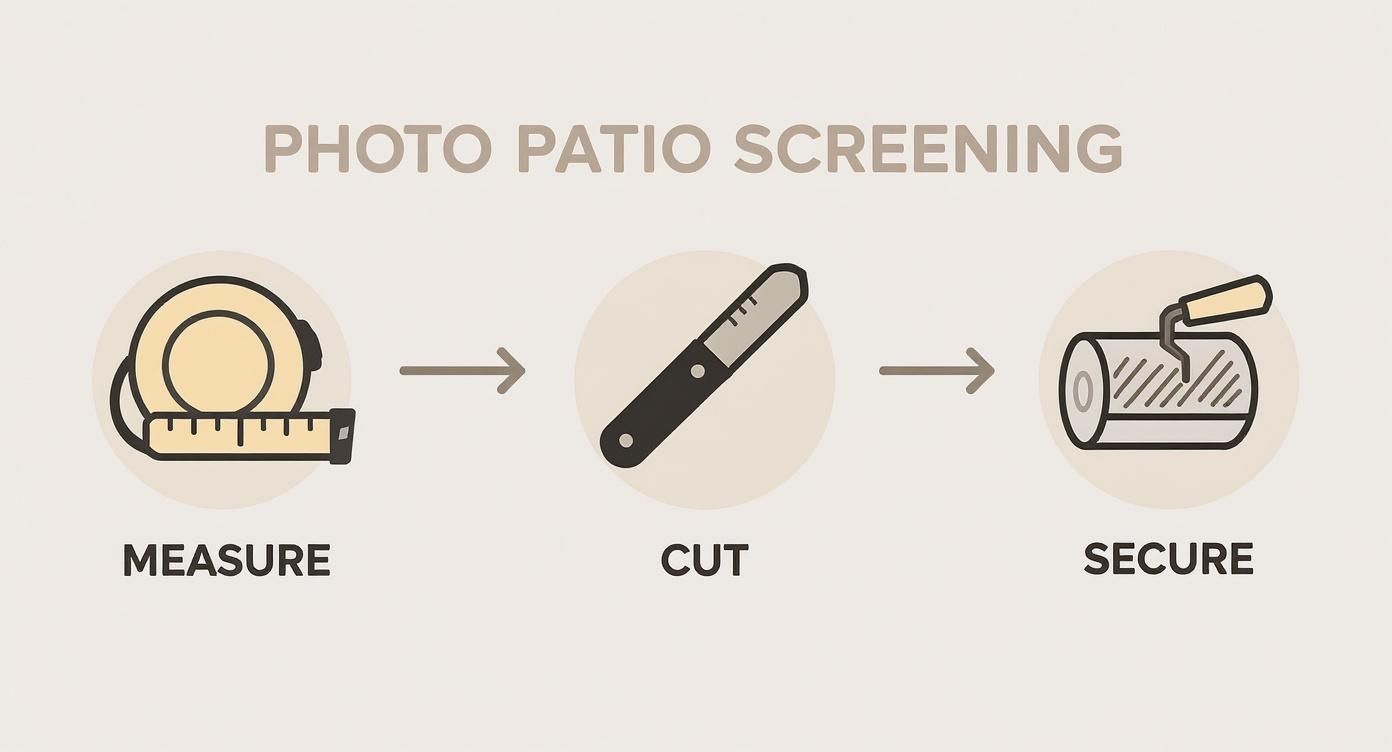
As you can see, it's a logical flow. You measure, you cut, and you secure it. Each step sets the stage for the next, leading to that perfect finish.
Cutting and Securing the Screen
With the exact measurements in hand, it’s time to cut the screen. We always cut the material a bit larger than the frame—usually giving it an extra two to three inches on all sides. This overlap isn't waste; it gives you something to grip while pulling the screen tight during installation.
Now comes the part that requires a bit of finesse: securing the screen with spline. This is the flexible rubber or vinyl cord that gets pushed into a channel around the frame, locking the screen mesh in place.
- Start at the Top: We begin by lightly pressing the spline into the top channel. This anchors the screen and holds it in position.
- Create Tension: Using a special tool called a spline roller, we work our way down one side, gently pulling the screen taut to get rid of any slack.
- Secure the Bottom: Next, we install the spline along the bottom, pulling the screen vertically to make it smooth and flat.
- Finish the Final Side: The last side is where the magic happens. As the spline goes in, it pulls the screen horizontally, creating that drum-tight finish everyone wants.
This methodical, four-sided approach is the key to preventing sags and wrinkles. Trying to rush it or applying uneven pressure is what separates a professional job from one that looks like a weekend project gone wrong.
The Final Touches
Once the screen is locked in tight, the last thing to do is trim the excess material. Using a sharp utility knife, the installer slices off the overhanging screen right along the outside edge of the spline. This leaves a crisp, clean line that’s practically invisible.
The final product is a perfectly installed screen that looks great and does its job. From that first careful measurement to the final clean cut, every step is designed to give you a beautiful and durable barrier for your patio.
How to Budget for Your Patio Screen Project
Alright, let's talk money. Before you get too far down the road dreaming of a bug-free patio, you need a realistic budget. It’s easy to wish for a single, simple price tag, but the truth is, the final cost for a patio screen installation depends on a handful of key factors.
Think of it like buying a car. The sticker price for the base model is just the starting point. Once you start adding a sunroof, leather seats, or a bigger engine, that final number changes. The same idea applies here. The size of your patio, the type of screen you pick, the condition of your existing frame, and even local labor rates all have a say in the final tally. Figuring these out upfront is the best way to avoid any surprise costs later on.
And you're not alone in thinking about this kind of upgrade. Homeowners everywhere are investing more in their outdoor living spaces. The global market for outdoor privacy screens was valued at around USD 2.98 billion and is expected to climb to USD 5.16 billion by 2033. This boom shows just how much people want to make their backyards more comfortable and private. You can get more details on the outdoor privacy screen market trends from Business Research Insights.
Key Factors Influencing Your Budget
To get a real handle on what your project will cost, you need to break it down. Every patio is a little different, but the main things that drive the price are always the same.
- Patio Size: This one's the most obvious. A bigger patio simply needs more screen, more framing, and more time to install, which all adds up.
- Screen Material: We've talked about the different types, and their costs are all over the map. Standard fiberglass is your budget-friendly option, while tougher screens—like pet-resistant or solar-blocking ones—will cost you more upfront.
- Frame Condition and Type: If you already have a patio enclosure with a frame that's in good shape, you're in luck. That's a huge money-saver. But if the frame needs repairs or you're building a whole new enclosure, the cost of aluminum will be a significant chunk of your budget.
- Labor Costs: This is where the DIY vs. Pro decision really comes into play. Hiring a professional costs more, of course, but you're paying for their expertise and a guaranteed result. Labor rates can also swing quite a bit depending on where you live.
DIY vs. Professional Installation Cost Estimates
So, what does this look like in the real world? Let's run through an example. Here's a rough cost breakdown for screening a pretty standard 10-foot by 20-foot (200 sq. ft.) patio.
| Cost Component | DIY Project Estimate | Professional Installation Estimate |
|---|---|---|
| Screen Material (Fiberglass) | $100 – $150 | $150 – $250 (Higher Grade) |
| Spline and Tools | $50 – $75 | Included in Labor |
| Miscellaneous Supplies | $25 – $50 | Included in Labor |
| Labor Costs | $0 | $400 – $800 |
| Estimated Total | $175 – $275 | $550 – $1,050+ |
A Quick Note: These are just ballpark figures. If you decide to go with a premium material like a solar screen, your material costs could easily double or even triple, whether you do it yourself or hire it out. Your best bet is always to get a specific quote for your actual space.
Essential Tools and Materials for a DIY Project
If you're feeling adventurous and decide to take this on yourself, you absolutely must have the right tools. Skimping here will only lead to frustration and a job you're not happy with.
Here’s a shopping list of what you'll need to get it done right:
- Screen Mesh: Buy a roll that’s big enough to cover every opening, with a little extra just in case of a slip-up. Trust me, you'll be glad you have it.
- Spline: This is the rubbery cord that locks the screen into the frame's channels. Double-check that you're getting the right diameter for your frame.
- Spline Roller: This is your most important tool, hands down. It has two wheels: one to push the spline into the channel, and another to seat it firmly in place.
- Utility Knife: A sharp blade is non-negotiable for trimming the excess screen neatly.
- Tape Measure: Accurate measurements are everything. Measure twice, cut once!
- Clamps (Optional): A few small clamps can be a lifesaver for holding the screen tight while you work.
By thinking through these details and making a clear list, you can put together a budget that makes sense for you and makes sure your patio screen project goes off without a hitch.
Keeping Your Screened Patio Looking Its Best
You’ve invested in a fantastic new screened patio—now, let's make sure it gives you years of enjoyment. The good news is, protecting this addition is incredibly straightforward. A simple maintenance routine is all it takes to keep your outdoor oasis looking brand new.
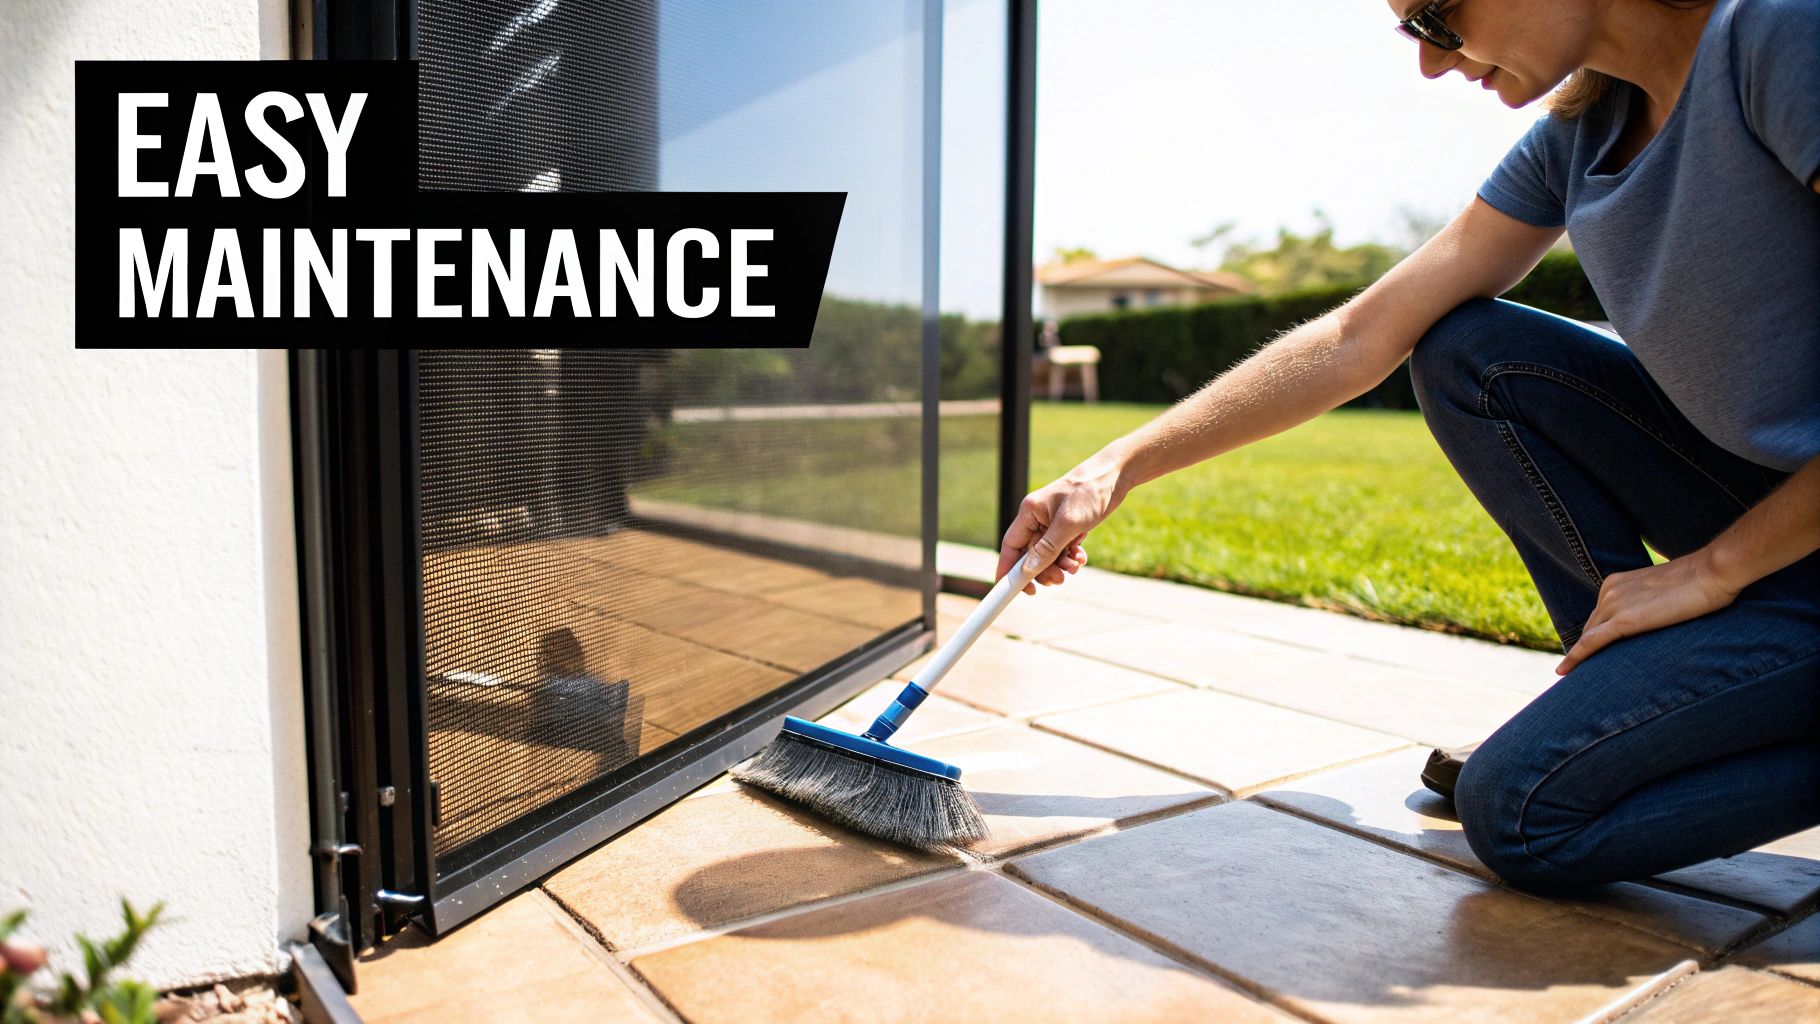
It helps to think of your patio screens just like the windows on your home. Over time, they're going to collect dust, pollen, and everyday grime, which can cloud up your view and slowly wear down the material. A gentle cleaning once or twice a year is really all you need to keep them looking sharp.
Your Simple Maintenance Checklist
Being proactive is the easiest way to get the most life out of your screens. By giving your enclosure a quick once-over every season, you can catch small issues before they snowball into expensive repairs. It only takes a few minutes.
- Gentle Cleaning: Grab a soft brush or a cloth with some mild soap and water to gently wipe down the screens. Whatever you do, avoid pressure washers! Their high-powered blast can easily stretch, sag, or even tear the mesh.
- Frame Inspection: While you're at it, wipe down the aluminum frame and check for any loose screws or wobbly connections. A quick tightening here and there keeps the whole structure solid.
- Track Cleaning: If you have sliding screen doors, keep those tracks clear of leaves, dirt, and grit. A quick pass with a vacuum or a wipe with a rag will ensure your door glides smoothly every time.
This simple routine is the best preventative medicine for your patio enclosure, making sure it stands strong against whatever the weather throws at it.
Handling Common Repairs
Life happens. Even with the best care, wear and tear is inevitable. A stray baseball from the kids, an overly excited pet, or a nasty storm can all lead to damage. Fortunately, most common issues are surprisingly easy to fix.
For small punctures or tiny tears, a screen repair kit from any hardware store is your best friend. These kits usually include adhesive patches you can stick right over the hole for an instant seal. It’s a quick, simple fix that stops the damage from getting worse and, most importantly, keeps the bugs out.
When a whole panel is peppered with holes or has one large tear, replacing that entire section of the screen is a much better long-term solution. Patching is great for a tiny spot, but a full panel replacement restores the screen's original strength and gives you that flawless, like-new look again.
If you’re dealing with a bigger repair job or just want it done perfectly, that's where professionals come in. A service like Sparkle Tech can handle a full rescreening quickly and reliably. A professional patio screen installation or repair guarantees the tension is just right and the finish is seamless, restoring your patio to its original glory.
Got Questions About Patio Screens? We've Got Answers.
As you get closer to starting your project, you're bound to have a few last-minute questions. It happens every time. We've put together answers to the most common things we hear from homeowners, tackling those final details so you can feel completely confident moving forward.
One of the first things everyone wants to know is how long it's all going to take. For a professional crew simply replacing the screens on an existing frame, it's a pretty quick job—usually wrapped up in just 3 to 5 hours. If we're building a whole new aluminum enclosure from the ground up, that’s a different story. You should set aside 1 to 3 days for a full build.
Nailing Down the Details: Installation and Repairs
Let's get into the nitty-gritty of the actual installation and what happens if you run into trouble down the line.
A lot of people ask if they can screen in a concrete patio. Absolutely! In fact, that's the most common foundation we build on. We anchor the aluminum frame directly into the concrete with heavy-duty fasteners, creating a solid, permanent structure that isn't going anywhere.
So, what do you do when a big storm rolls through and tears a panel? Your first move is to check how bad the damage is. If it's just a small rip, you can probably fix it yourself with a patch kit from the local hardware store.
For bigger tears, or if several panels are damaged, it’s time to call in a pro. We’ll replace the entire panel to get the tension just right again, making sure it's as strong and clean-looking as the day it was installed.
The Paperwork: Permits and Local Rules
This is where things can get confusing for homeowners: building permits and local regulations. Getting this right from the start will save you a world of trouble.
Do you actually need a permit to screen in your patio? The short answer is: it depends on where you live. Most of the time, just rescreening an existing structure doesn't require one. But if you're building a brand-new enclosure with a permanent roof, you almost certainly will.
These rules exist for a good reason—they make sure the structure is safe and can handle local weather, like high winds. Your best bet is to always check with your city's building department or your HOA before any work begins. A good professional installer will know the local codes and handle all the permitting for you.
Ready to get clear answers and a fast quote for your project? The team at Sparkle Tech Screen Service offers same-week service to ensure your patio is ready for enjoyment without the wait. Get your quick quote today at SparkleTechScreenService.com.


